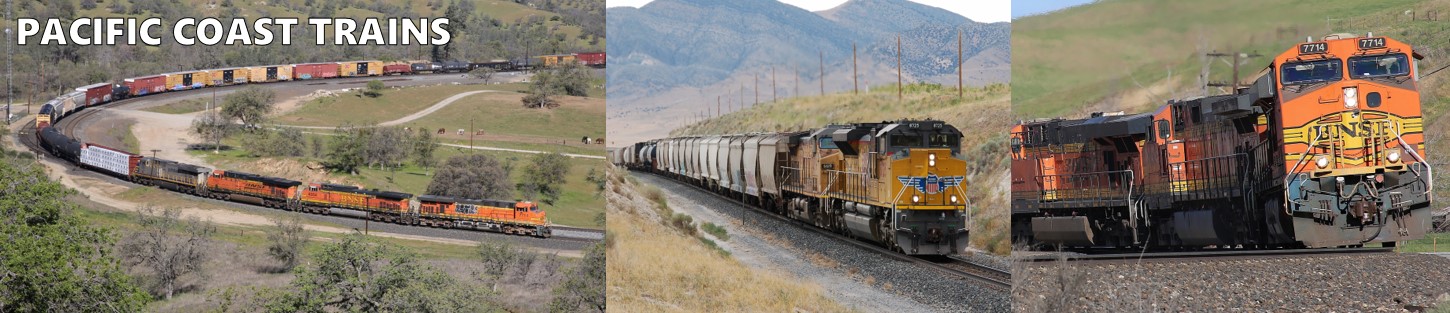
| Prototype Background |
|
Southern Iron & Equipment Company (SIECO) operated in the first two-thirds of the 20th century in the US. They made their name primarily as a locomotive manufacturer and refurbisher. However, at some point they branched into railcar refurbishment, and even some manufacture of their own cars. They were taken over by Evans Products in the 70s. |
| The Model and Modifications |
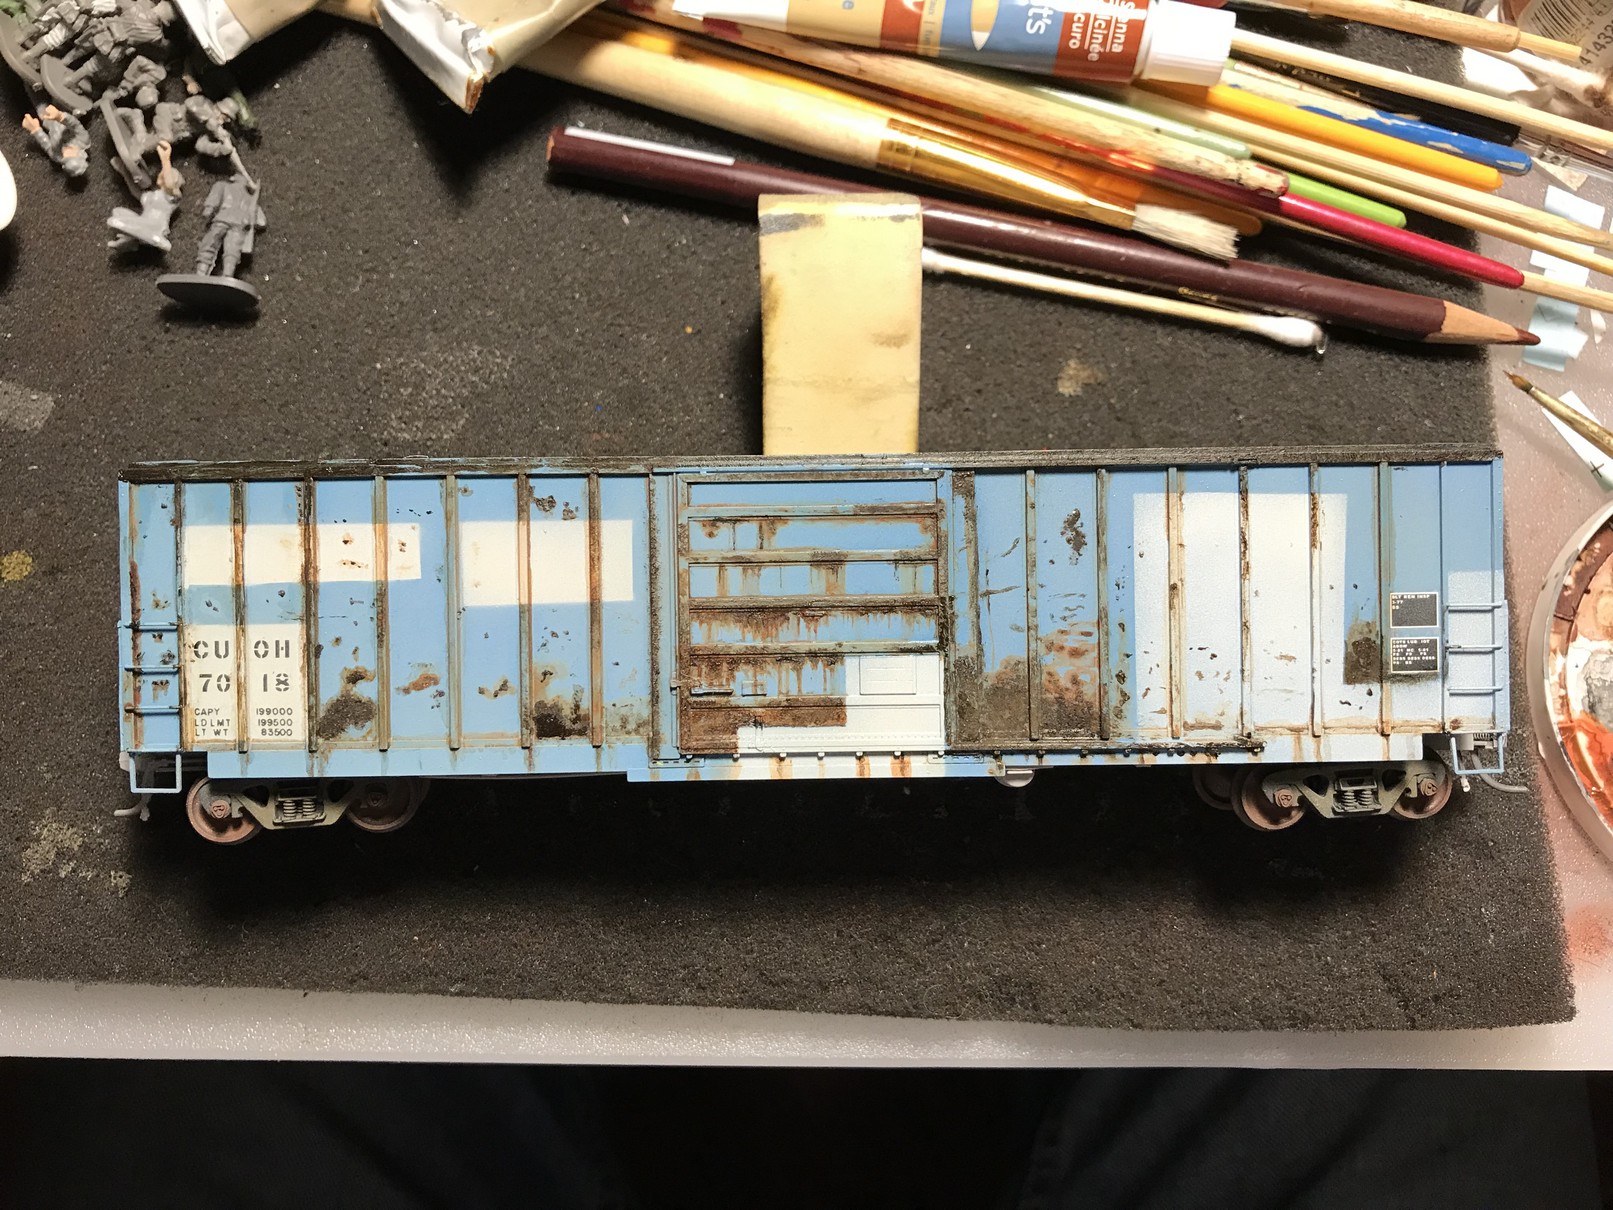
Athearn's Genesis SIECO boxcar is a beautiful car, as you'd expect from this brand line. These cars even have the rotating bearing caps, which while sometimes a pain (they can come off the axle) they are really very cool.
This was a Raritan River car that I had weathered, but then decided that I didn't like the job I'd done. So in the alcohol bath it went. No modifications were made to the car itself, though I couldn't locate the roof (truly baffling), so some improvising had to be made.
| Paint and Markings |
Not much to talk about here, really. Stripped the car in a bath of 90% Isopropyl alcohol in a small plastic tub. That's usually where I start, as the alcohol should have no effect on the plastic apart from making it really sterile. If that doesn't dislodge the paint/printing, then I move on to a shop degreaser (the purple stuff sold in hardware stores). Finally, my last resort is acetone, which I'm careful not to leave on the plastic too long as I don't want to craze the surface.
Then a primer coat of gray, a coat of a very pale blue (in this case Tamiya Sky Blue thinned with 70% alcohol). Some masking and then I airbrushed some white patches. I wasn't too careful about lining things up- the prototype photos have clean lines, but not at perfect angles, so I could be a little loose with my painter's tape placement.
 |
This shows a little weathering on part of the car, but you can see the base car after the color and patching. |
| Weathering |
I used my fairly normal styles on the car here. I started with a thinned raw umber gouache and outlined the vertical side posts. I wouldn't normally use raw umber, which when thinned looks very rusty; to get some depth to the car details, I will normally use a dark gray (sometimes black). But here, given the condition of the prototype, the rusty color seemed like a good choice.
Gouache is a great material- water soluble, but spread the color better than thinned craft paints (which I do use). I think the pigments in the gouache are finer, which yields more even coverage it seems. You will get some hard edges around puddles when the water evaporates out, but those are pretty easy to clean up.
I also started in on the doors, using the same color, and just started making vertical streaks. Lots of streaks.
You can see the outlines of the posts right of the door. I've also started streaking (on the door, that is). |
|
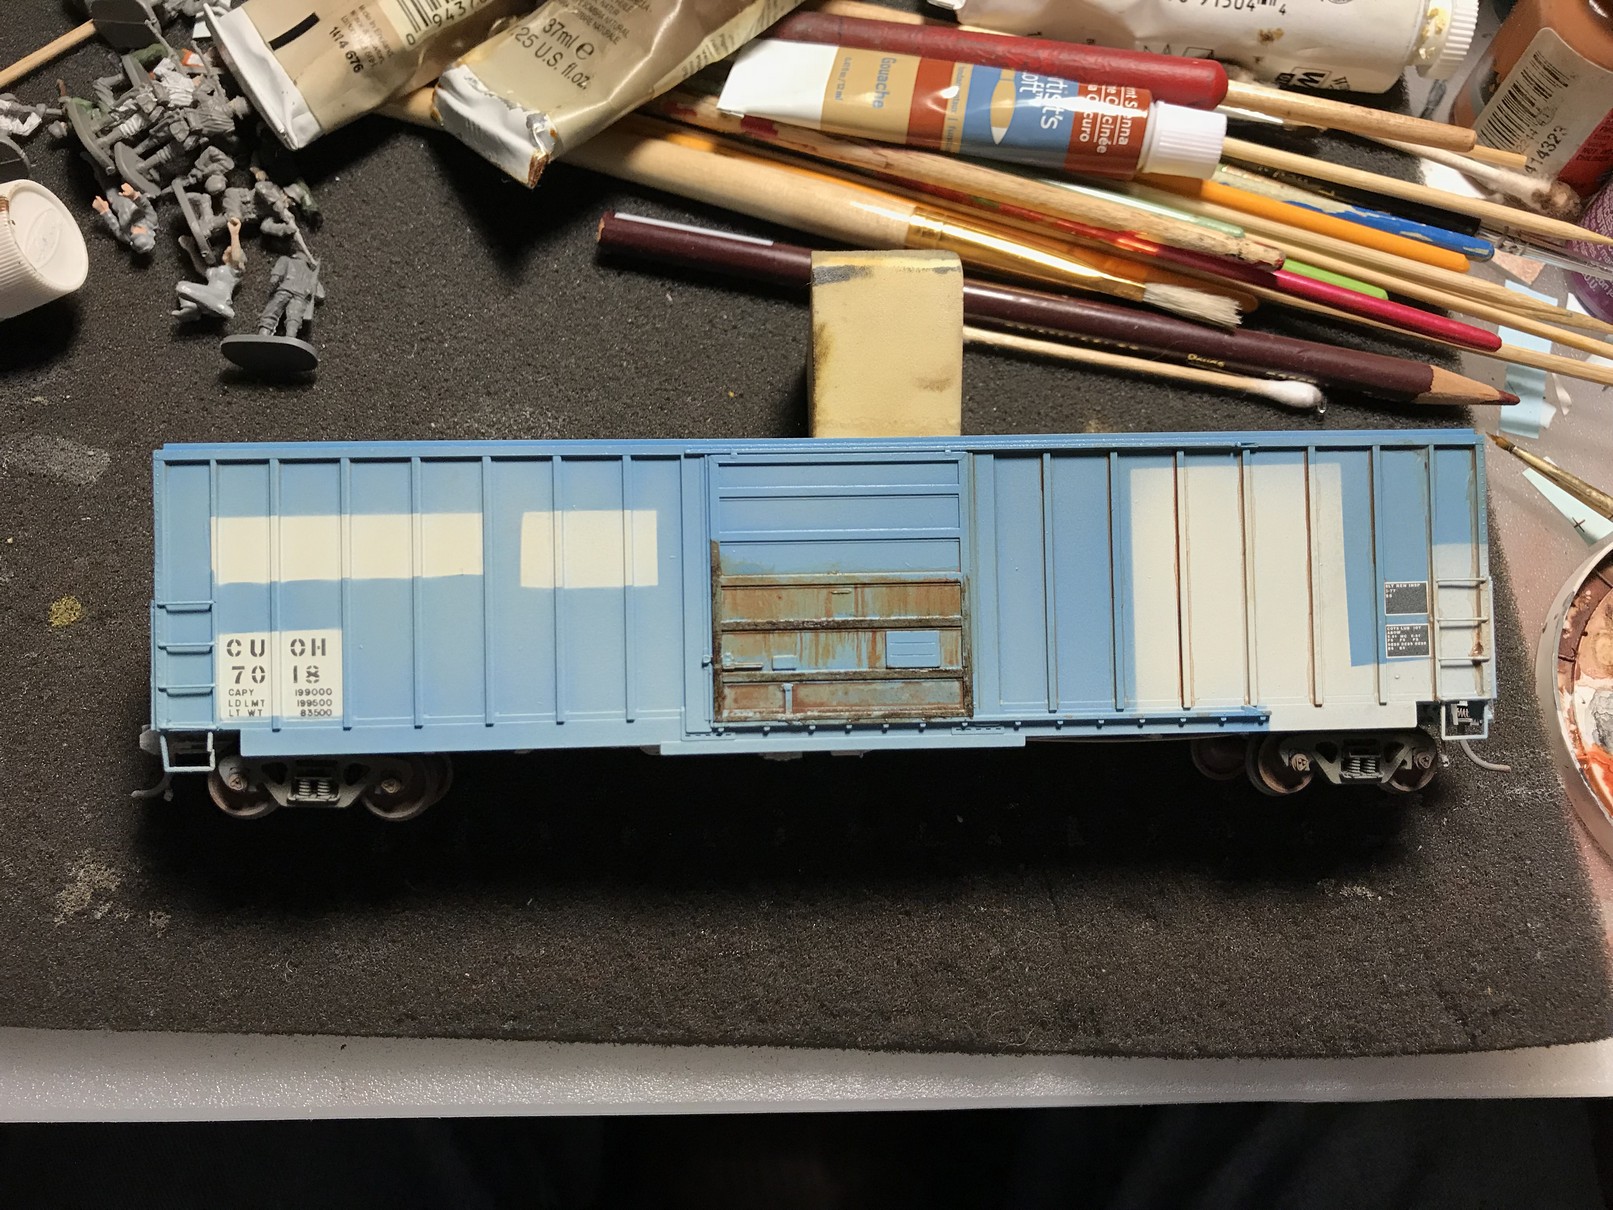
After the light layer for the posts, doors and some of the panels between the posts, I started to hit it with oils, in this case Vandyke Brown and Raw Umber. My approach is to dot the dots with a fine tipped brush (usually a cheap one cut down) or with a skewer tip, but for patches apply paint and then spread it with the tip of a round brush, pushing the paint into the model. A lot of the paints gets collected by the brush, but that's ok because I can always add more.
I definitely use prototype pictures for inspiration. I'm not usually modeling a specific car, with its individual spots and patterns; rather I'm trying to get something that looks like it could be in the wild. I take a panel here, half a side there, and kluge something that looks "right" to me.
| Summary |
| Resources |
Athearn Genesis SIECO boxcar- exploded parts diagram