| Project Background |
Inspiration can come from the most random places. I was cruising through the interwebs looking for pictures of door-and-a-half boxcars (e.g. the ABOX Railbox cars), and found a picture of one that looked really good. Followed the picture link to the page, and it turned out to be from Chris Palomarez of Microscale, who had written an article for Microscale (using their products) about updating the MDC/Athearn car (article here).
I spent far too much time cruising the archives of these articles, and found one he produced that referenced a weathering challenge on The Weathering Shop, of which I've been a member for many years. Of course I didn't remember this challenge, but as is sometimes said, better late than never! The challenge involved updating the Life-Like Evans 50' boxcar, which is a nice model (surprisingly so, given the date of the tooling and the brand). With a little work, I decided this could be a fun project.
| The Build |
Thanks to the magic of Ebay, a few cars were found for me to work over. These didn't cost much, in part because they aren't very good: truck-mounted coupler pockets sporting hook-horn couplers; plastic wheels; molded on side and end ladders. Drop grabs that were quite blobby. Cars were underweight. The paint jobs were varied: the RF&P looked pretty nice and sharp, the Doritos car a horrorshow of 70s toy-like nightmares.
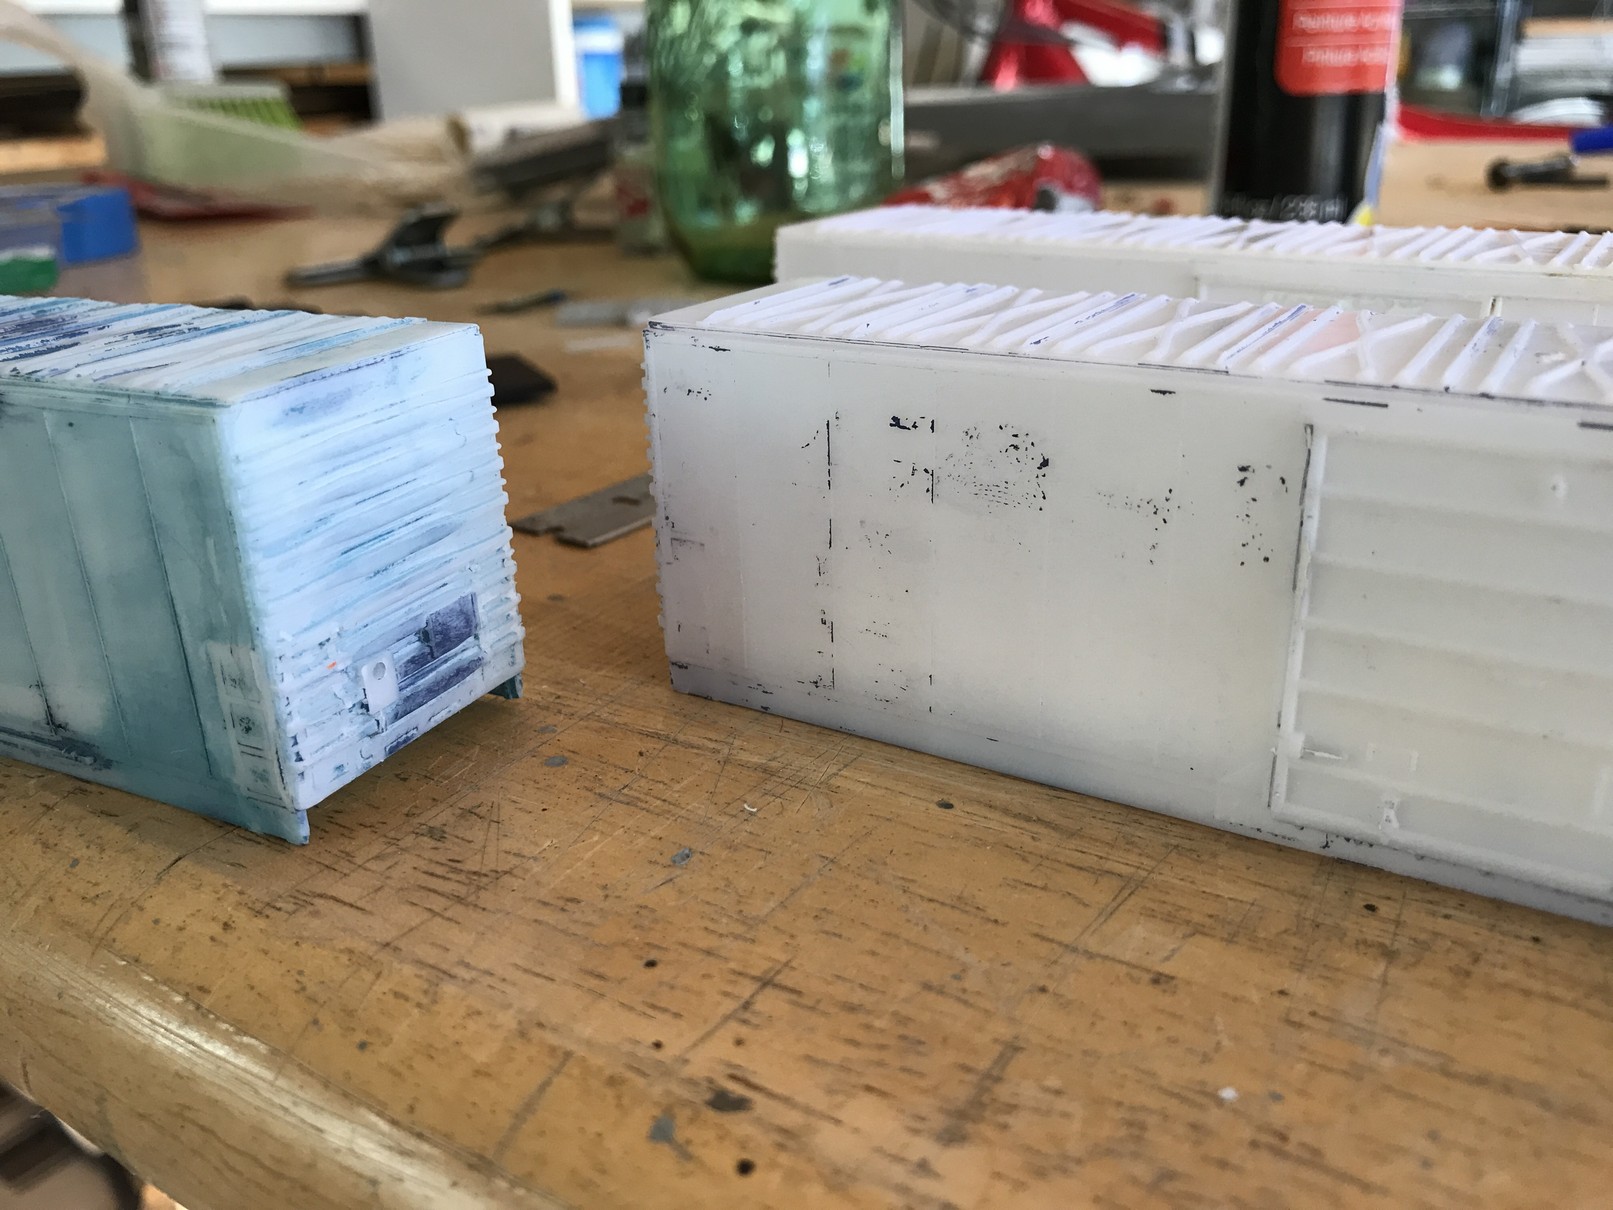
 So into the paint-stripping process they went. I start with 91% Isopropyl Alcohol, because it's not expensive (especially if you reuse it, though it seems to lose potency over time) and it's easy to clean up afterwards. It's also surprisingly effective: two of the cars' paint came off in pieces and sheets rather easily.
One car (the RF&P, with the nicer, thinner, higher quality paint job) required more. Step 2 is the auto-shop degreaser (Purple Power, though it goes by other names too). I use this as my primary cleaner for my airbrush, letting the parts soak after use. It seems to do a pretty good job on most of my paints, including acrylic but also of course the oil-based older paints that I sometimes use. That did a lot of the work on the RFP car.
However, some paint still remained. That's when the Acetone came out, which was applied with cotton swabs in certain areas (the door paint was pretty thick and gunky). Felt I had to use sparingly so as not to craze the plastic, but it seemed to work all right.After a few timid applications, I declared victory over the paint, and moved on to the reclamation.
 |
 |
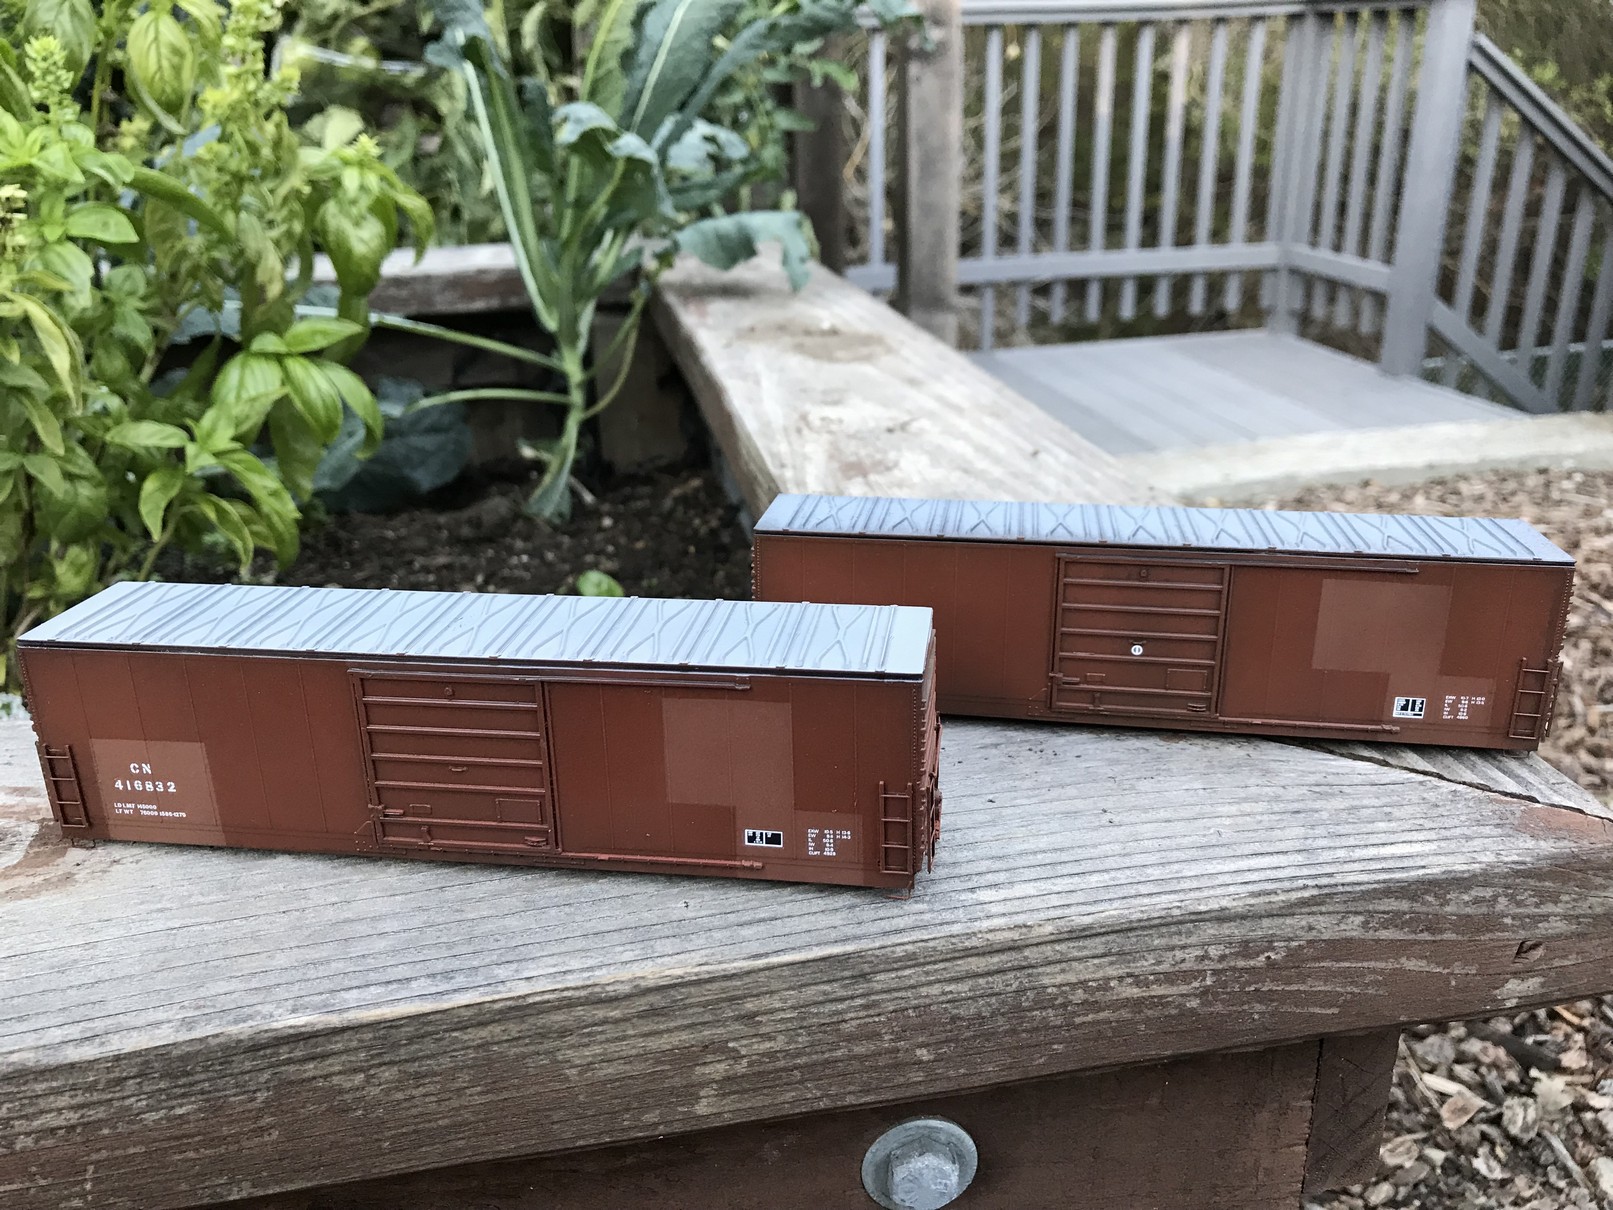
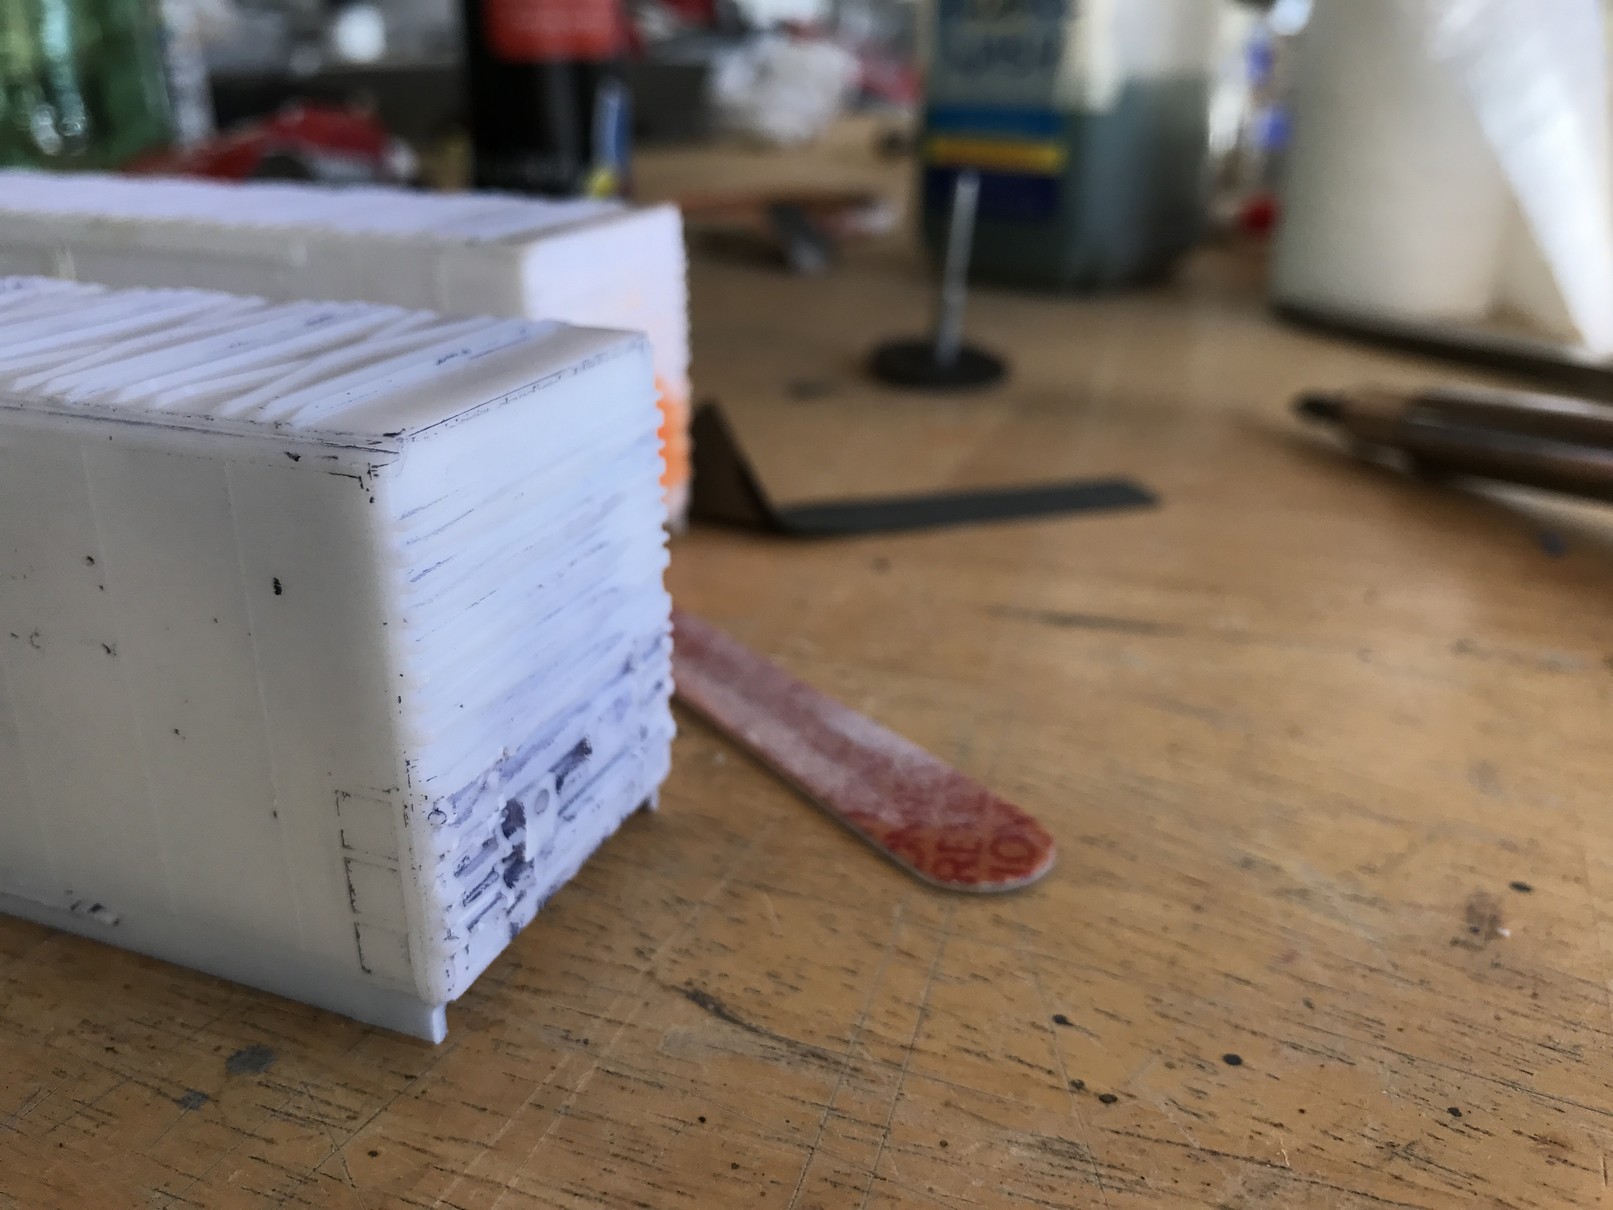
I invested a couple of new-ish straight razor blades in carving off the side and end ladders. On the sides, I did just a bit of sanding; for the ends, a little more was applied. My Dremel rotary tool was fitted with a pointed carving blade, which loosened up some of the ladder rungs enough for me to more easily cut them out with the blade. I left the tack boards, which seems good enough to keep. Stirrups were cut of and sanded away. What remained was a pretty nice shell overall (surprisingly so) that with some better ladders, wire stirrups and a better brake wheel would look pretty good.
 |
 |
In order to seat the ladders, which came from left-over Cannon and Company freight car kits (their kits include a Genesis ladder sprue, the side ladders aren't used in their kits, just the ends), I built a jig for the mounting pins. I used a t-pin to make pilot holes through the jig, and then hit the 3 x 4 x 4 = 48 holes with a rotary tool on low speed. I added Exactrail end platforms, and Cal-Scale brake housings.
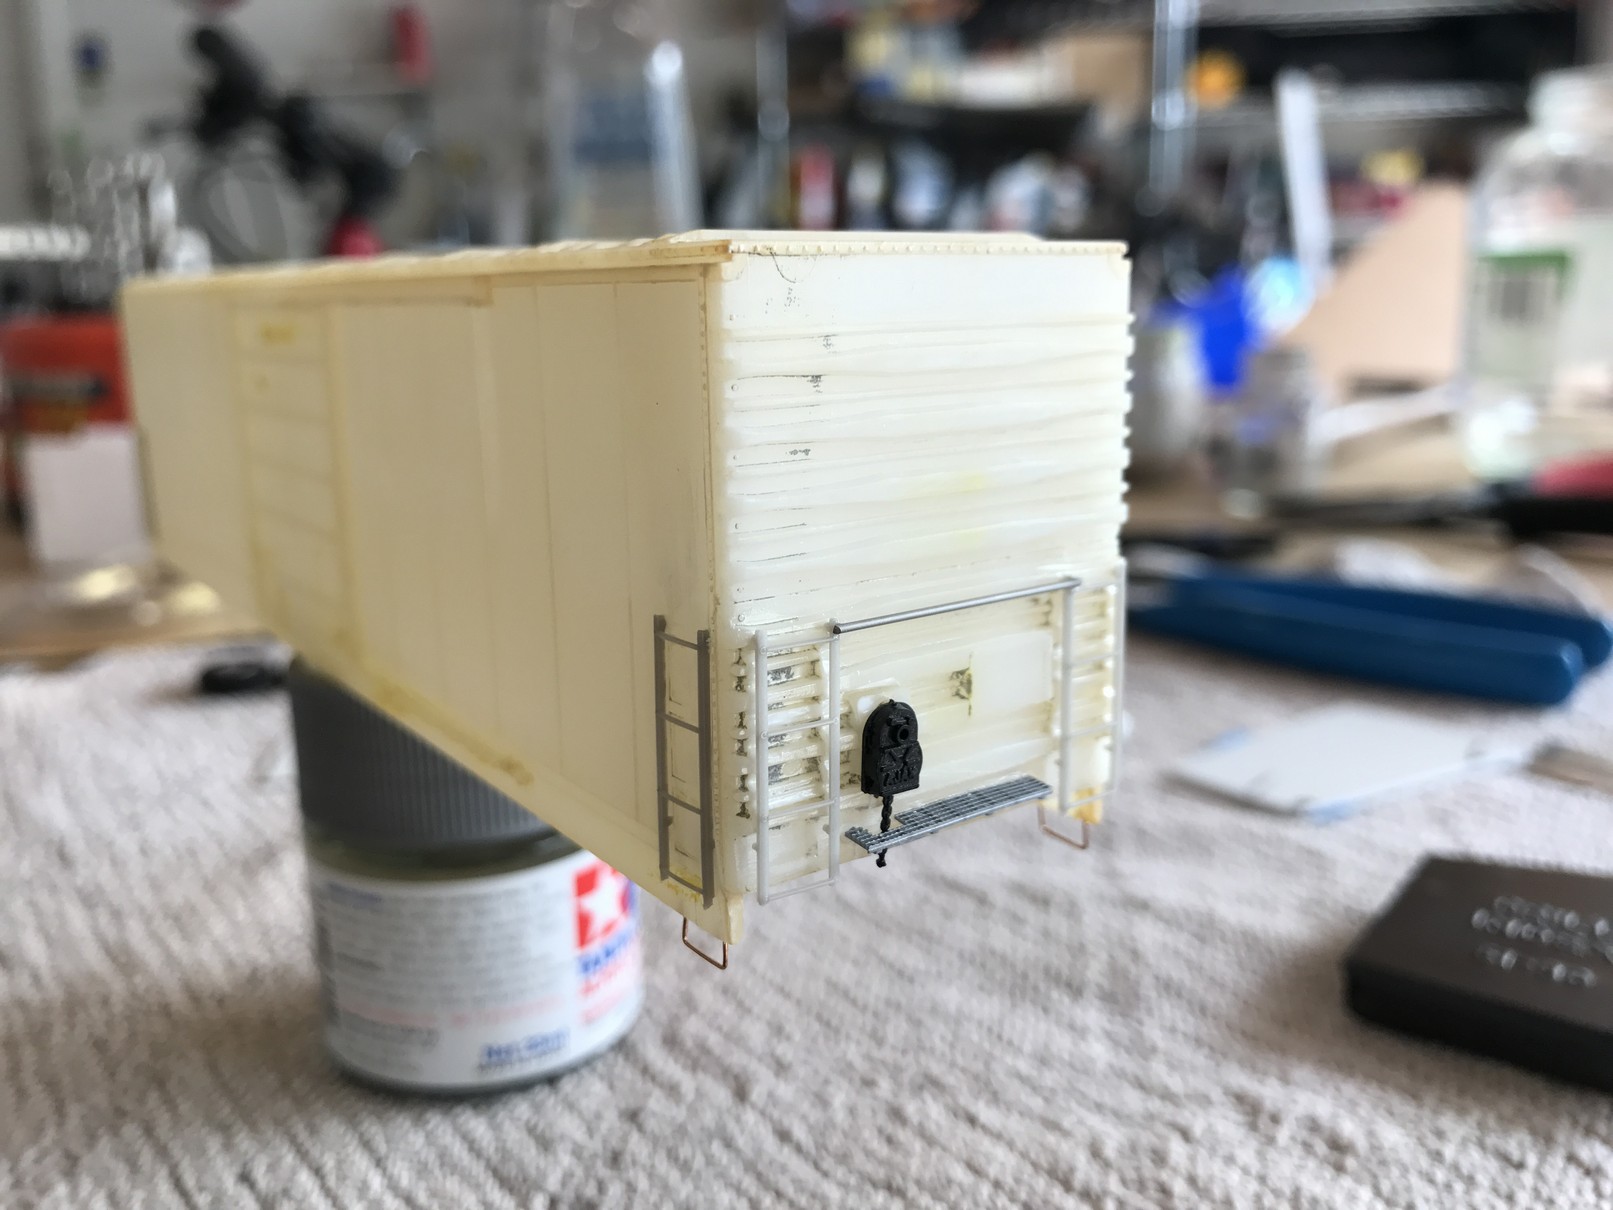 |
The Details West Evans underframes are a perfect fit, and take care of the coupler box seating issue.
| Painting |
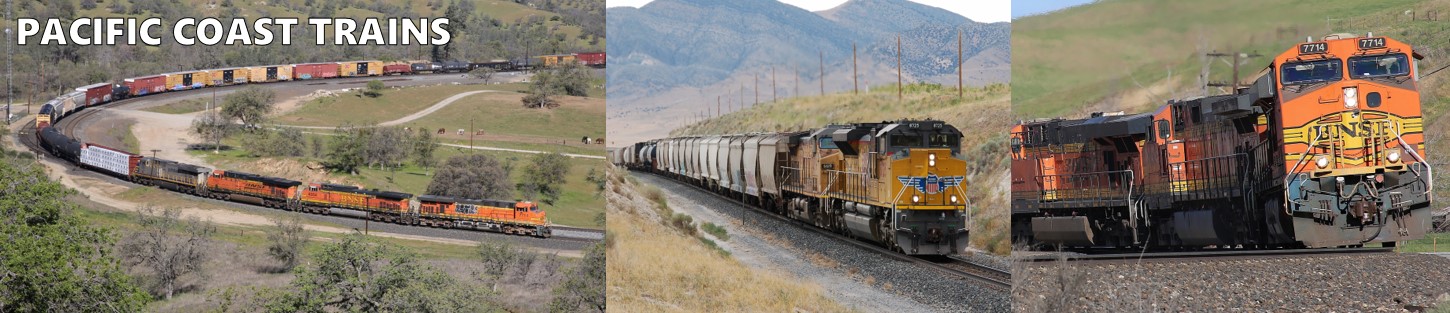
I found a number of good prototype photos online, and recall that this project is based on a Microscale article from an old newsletter, in which the author resurrected a Life-Like boxcar and modified it into something quite nice. To that end, I decided to model a couple of prototypes I wouldn't normally do, based on East Coast railroads: Conrail and Canadian Nation (CN), the latter of which obtained a number of these cars.
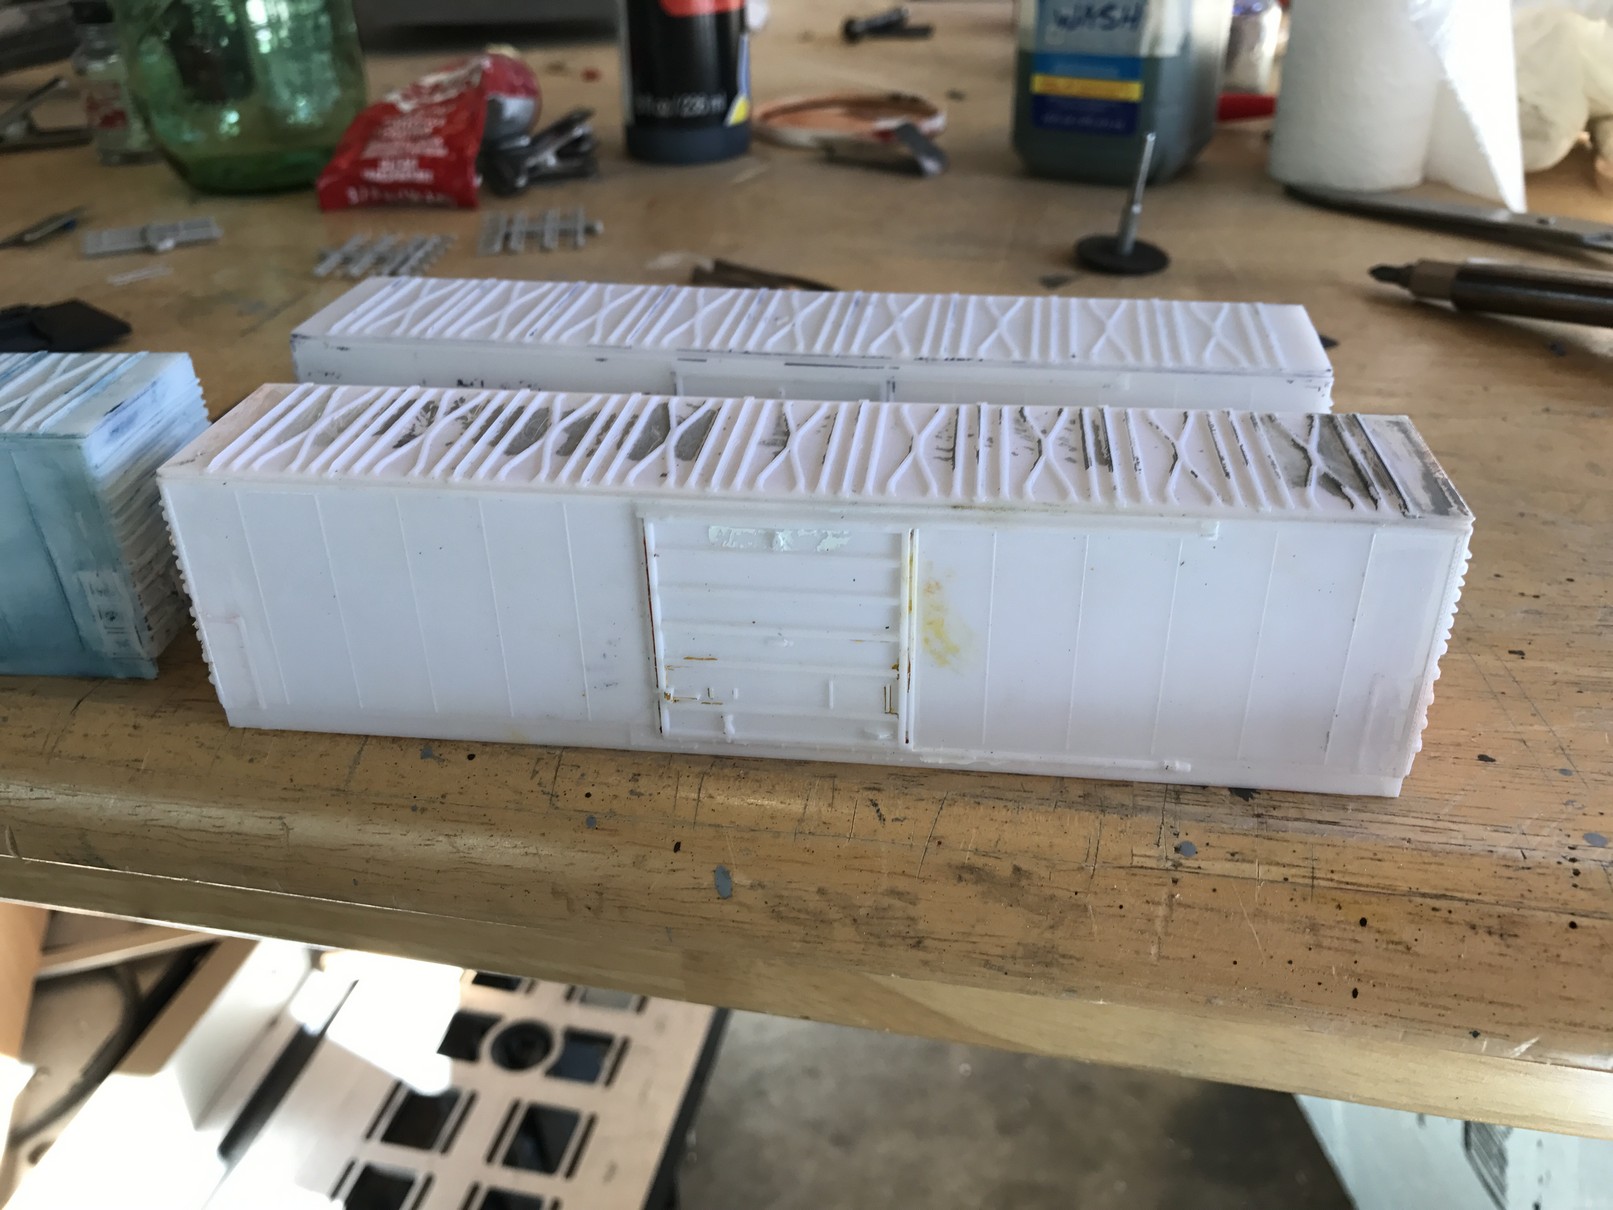
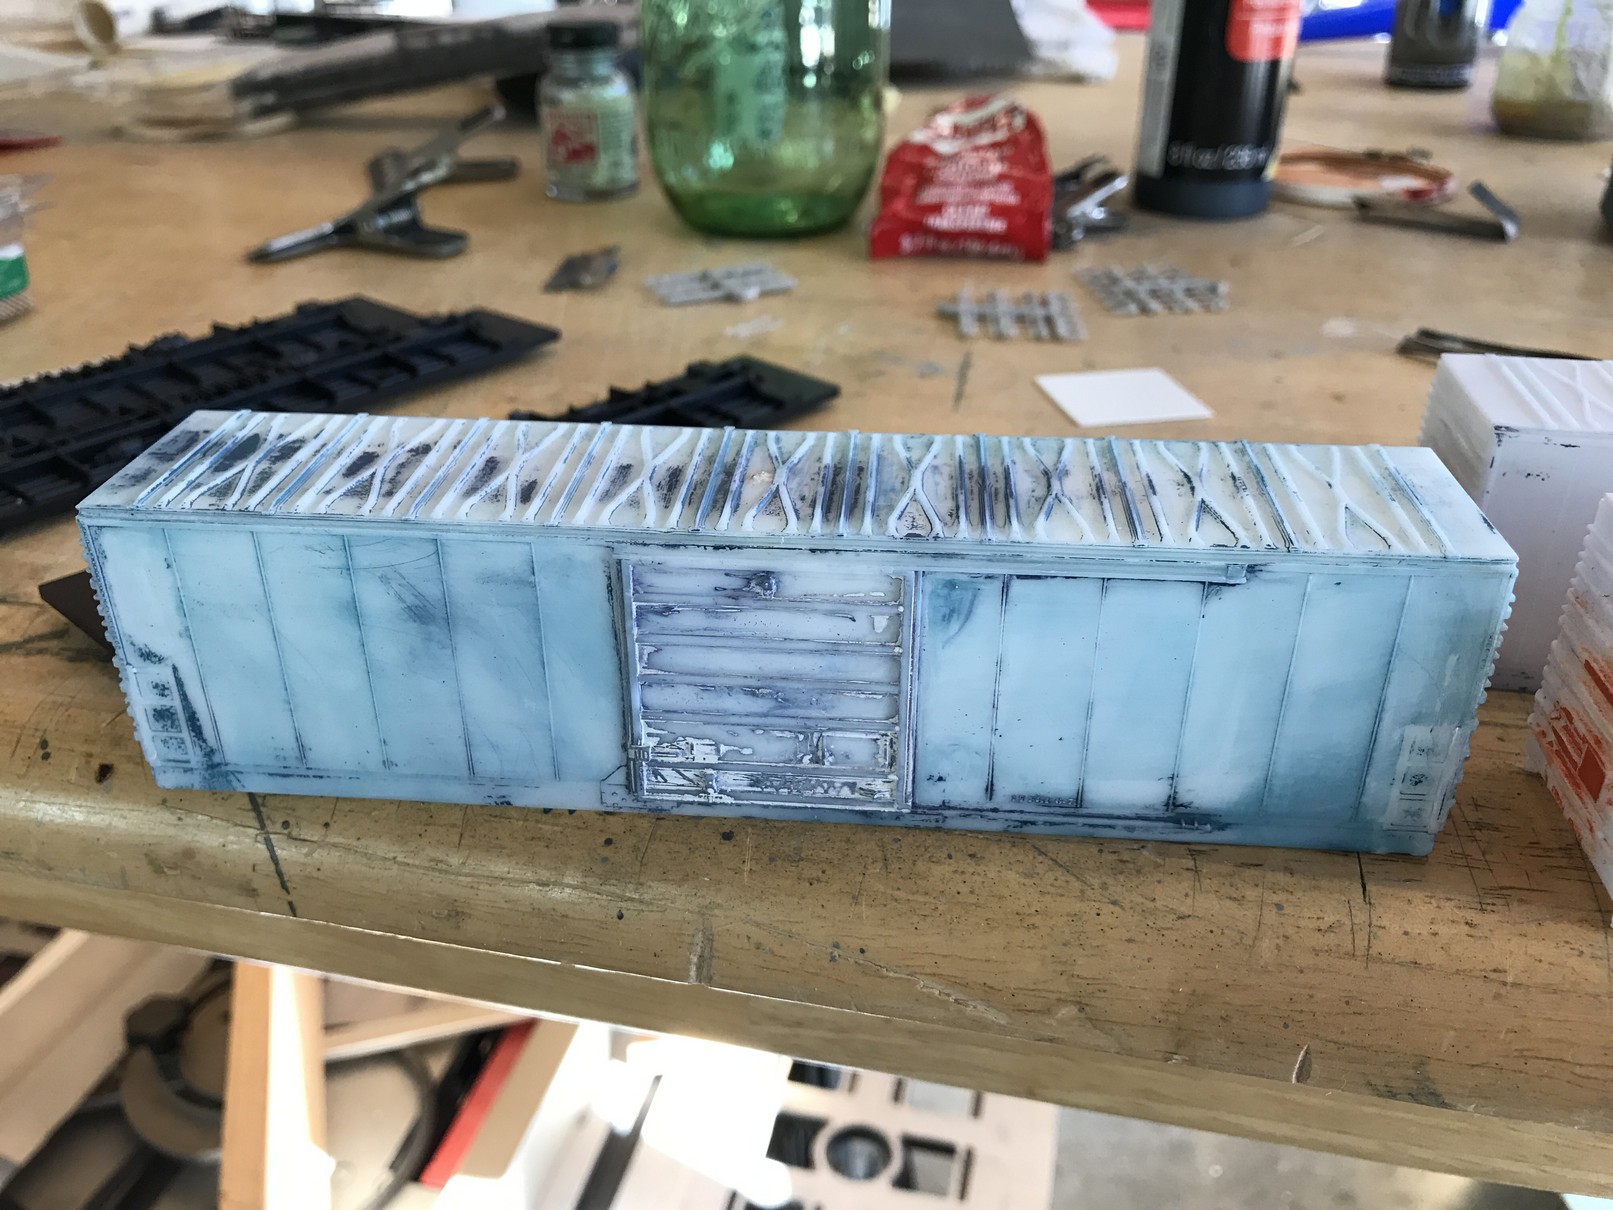
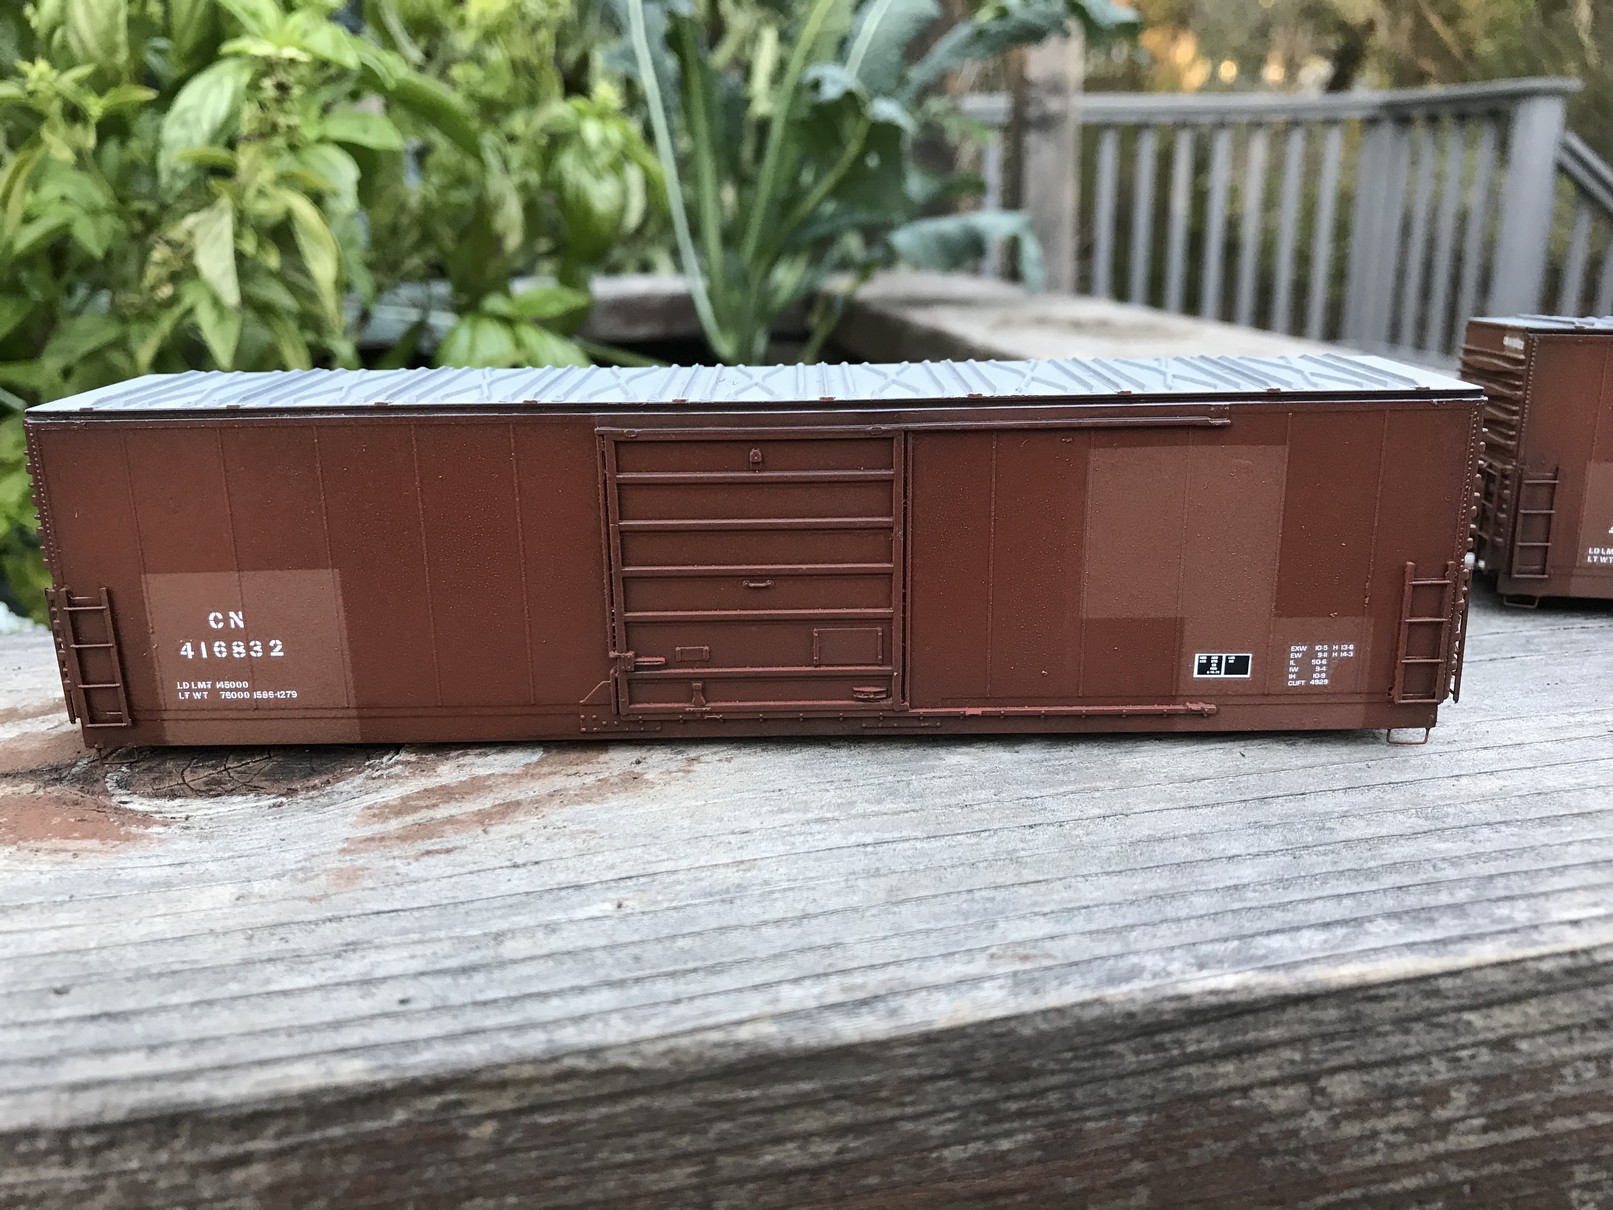
Using my new technique-du-jour, I primed everything with Tamiya Flat Black. I chose this in hopes that an uneven coat of color which yield some interesting variations in the panels- we'll see how I did in a bit. First though a photo of the patched-out cars that will become the CN boxcars.
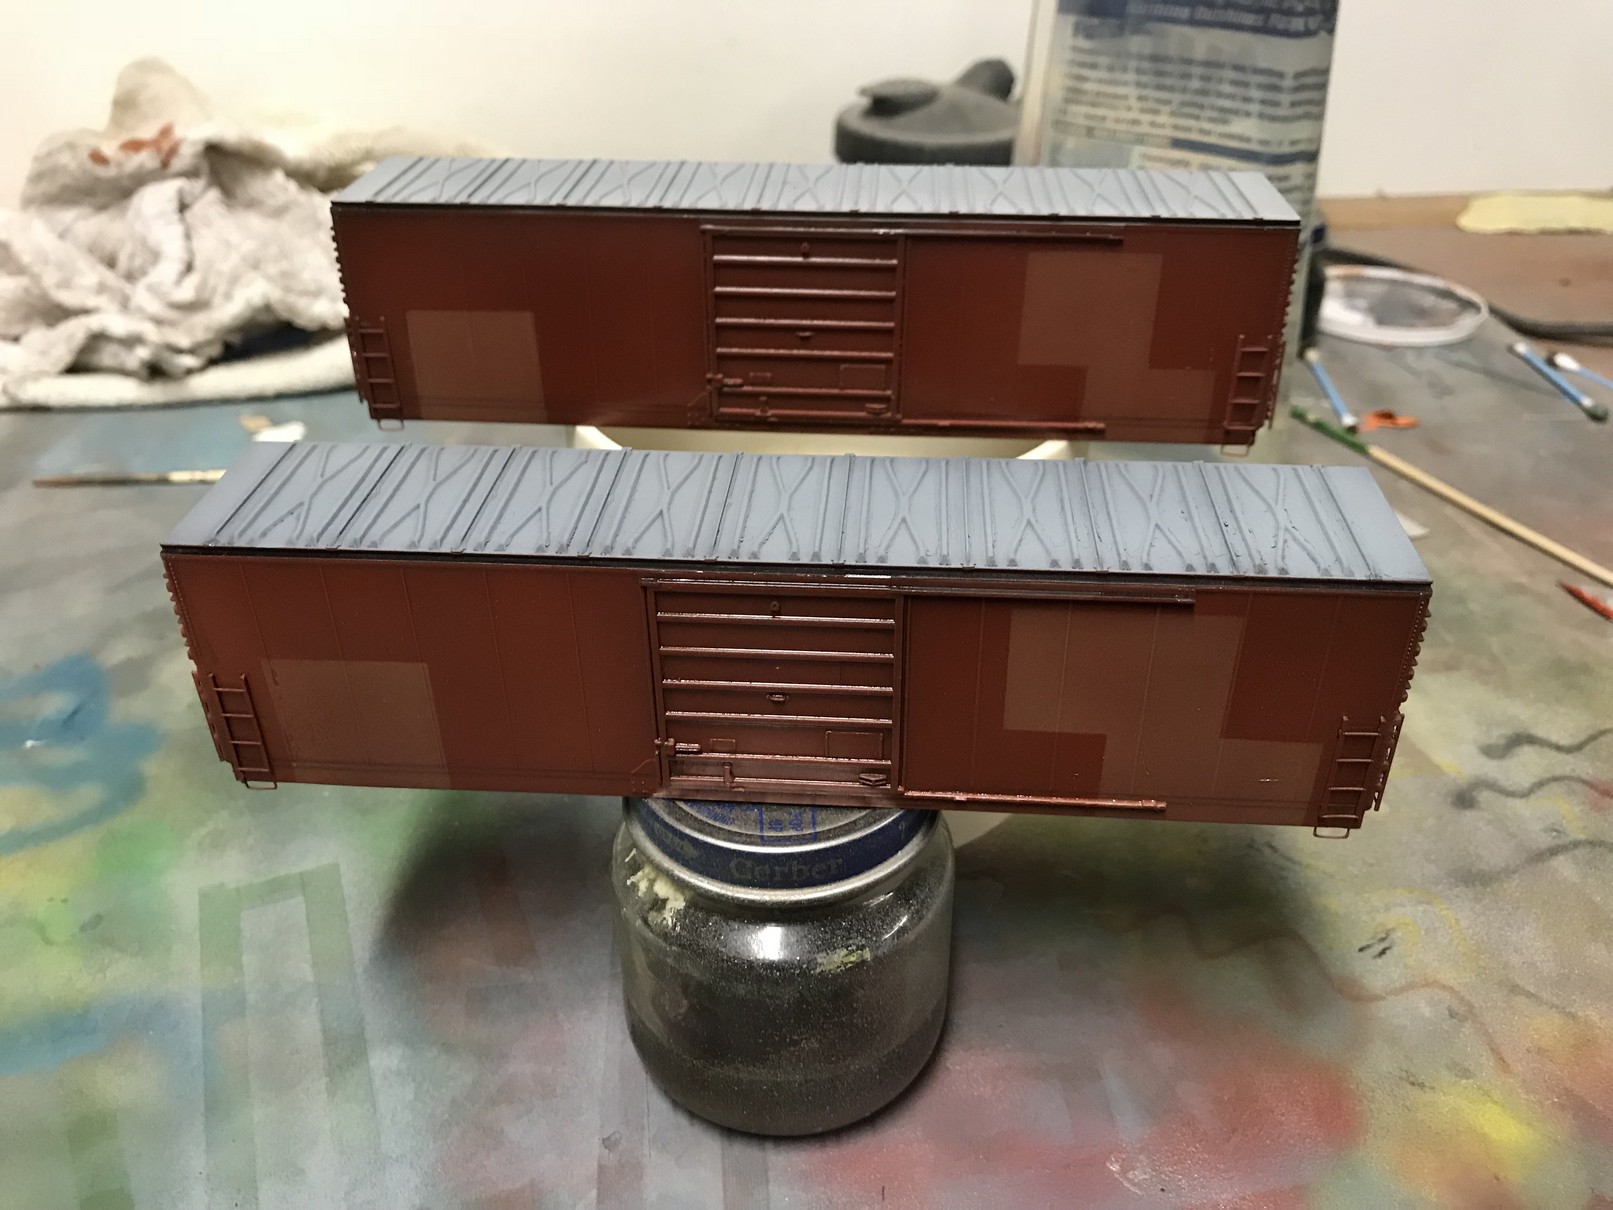 |
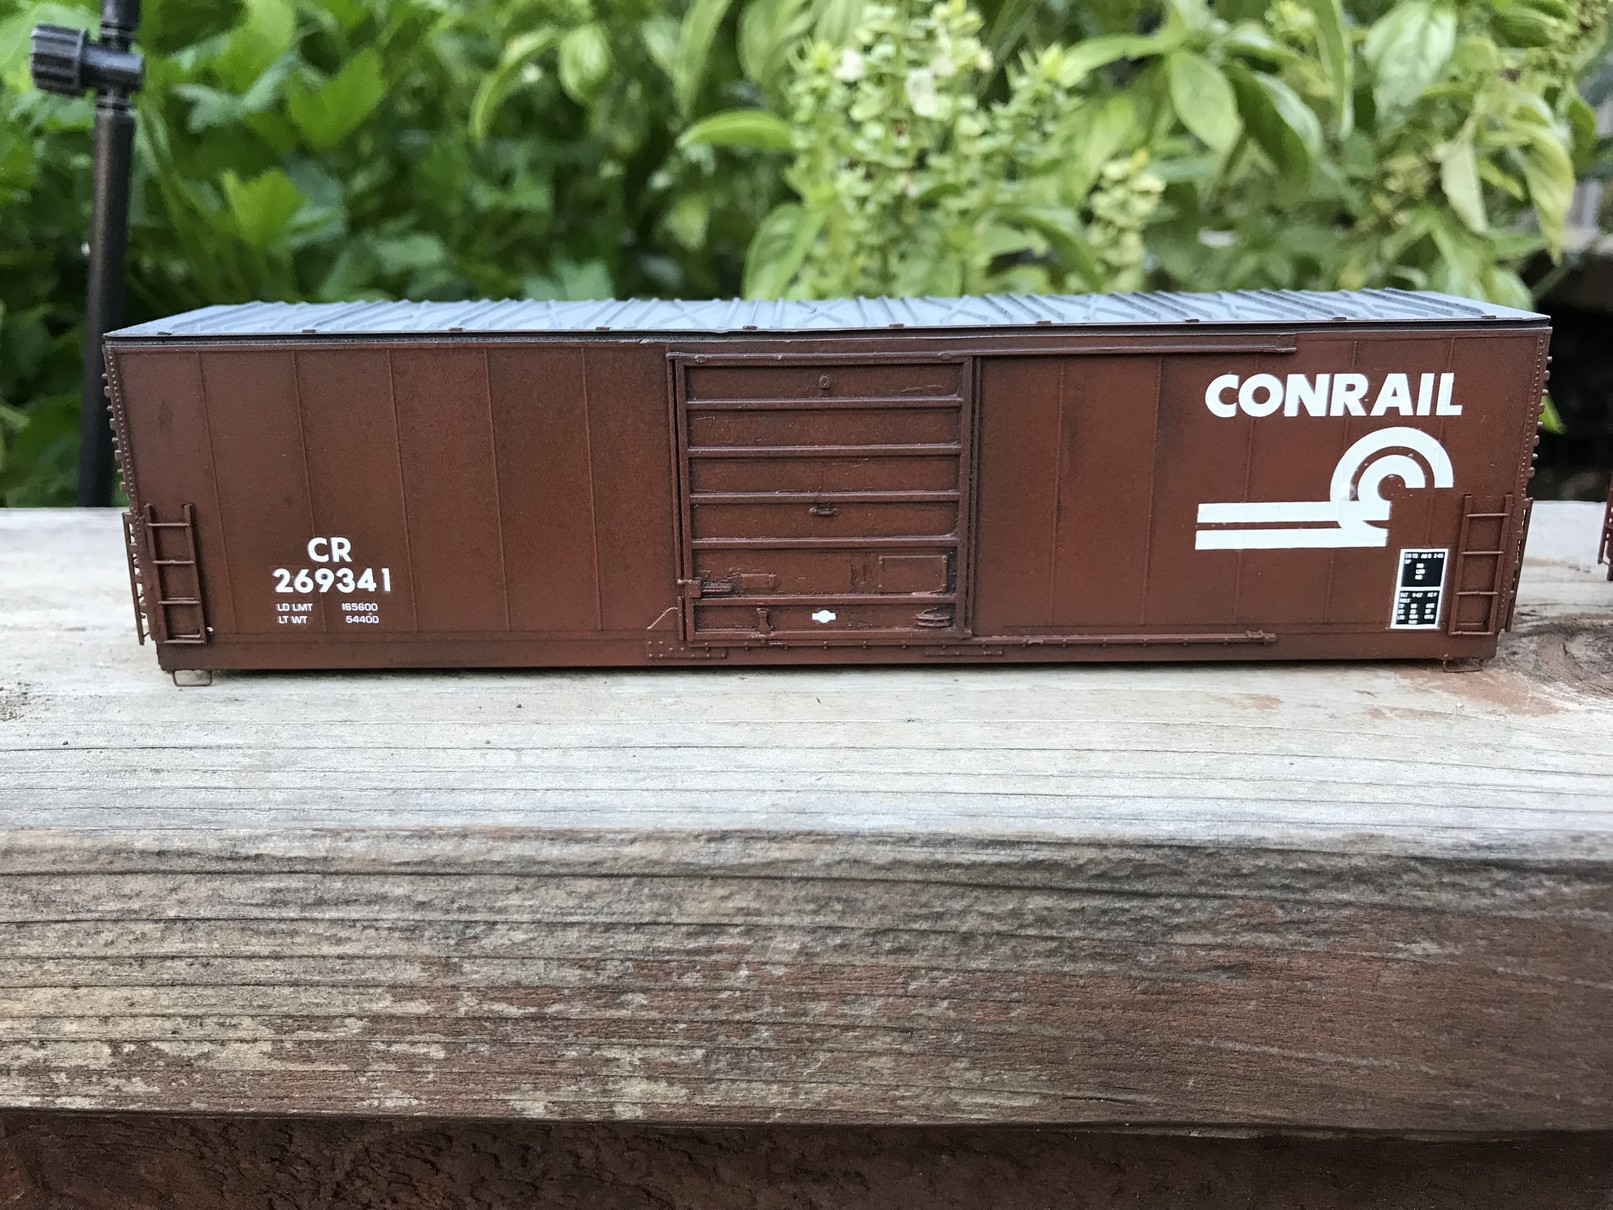
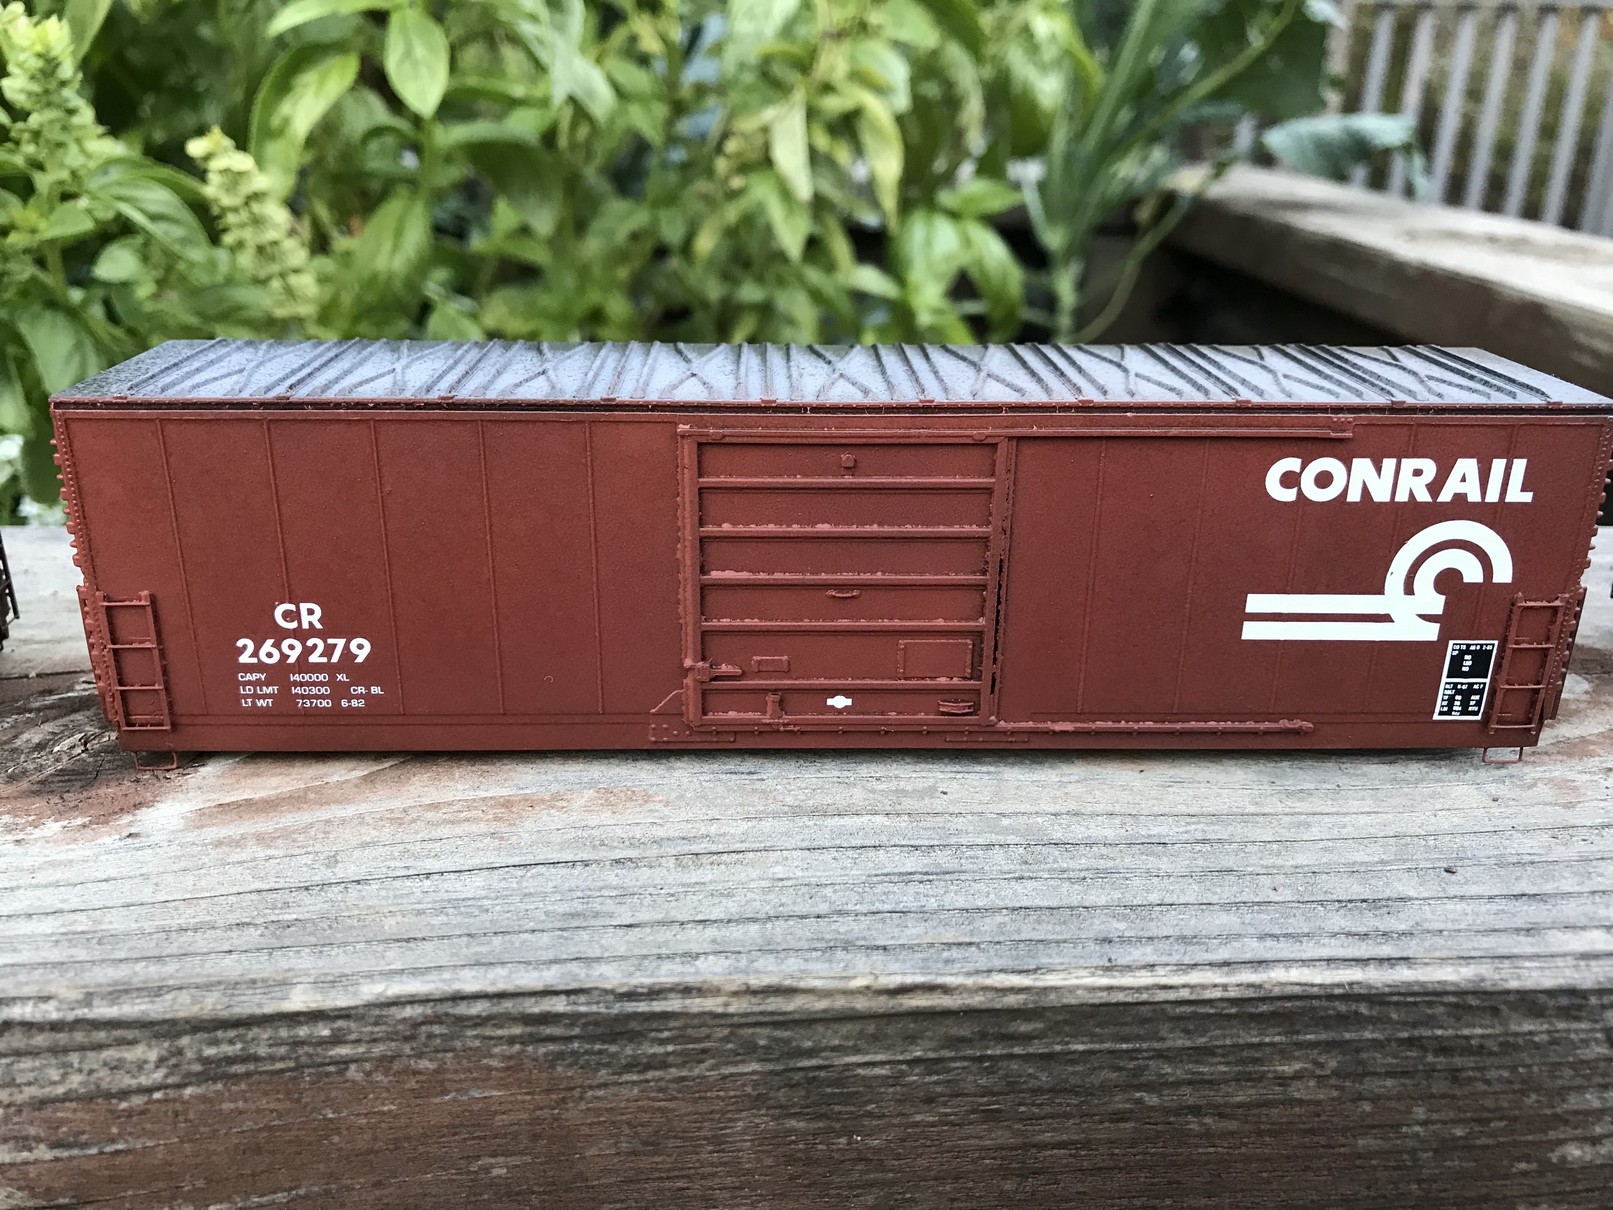
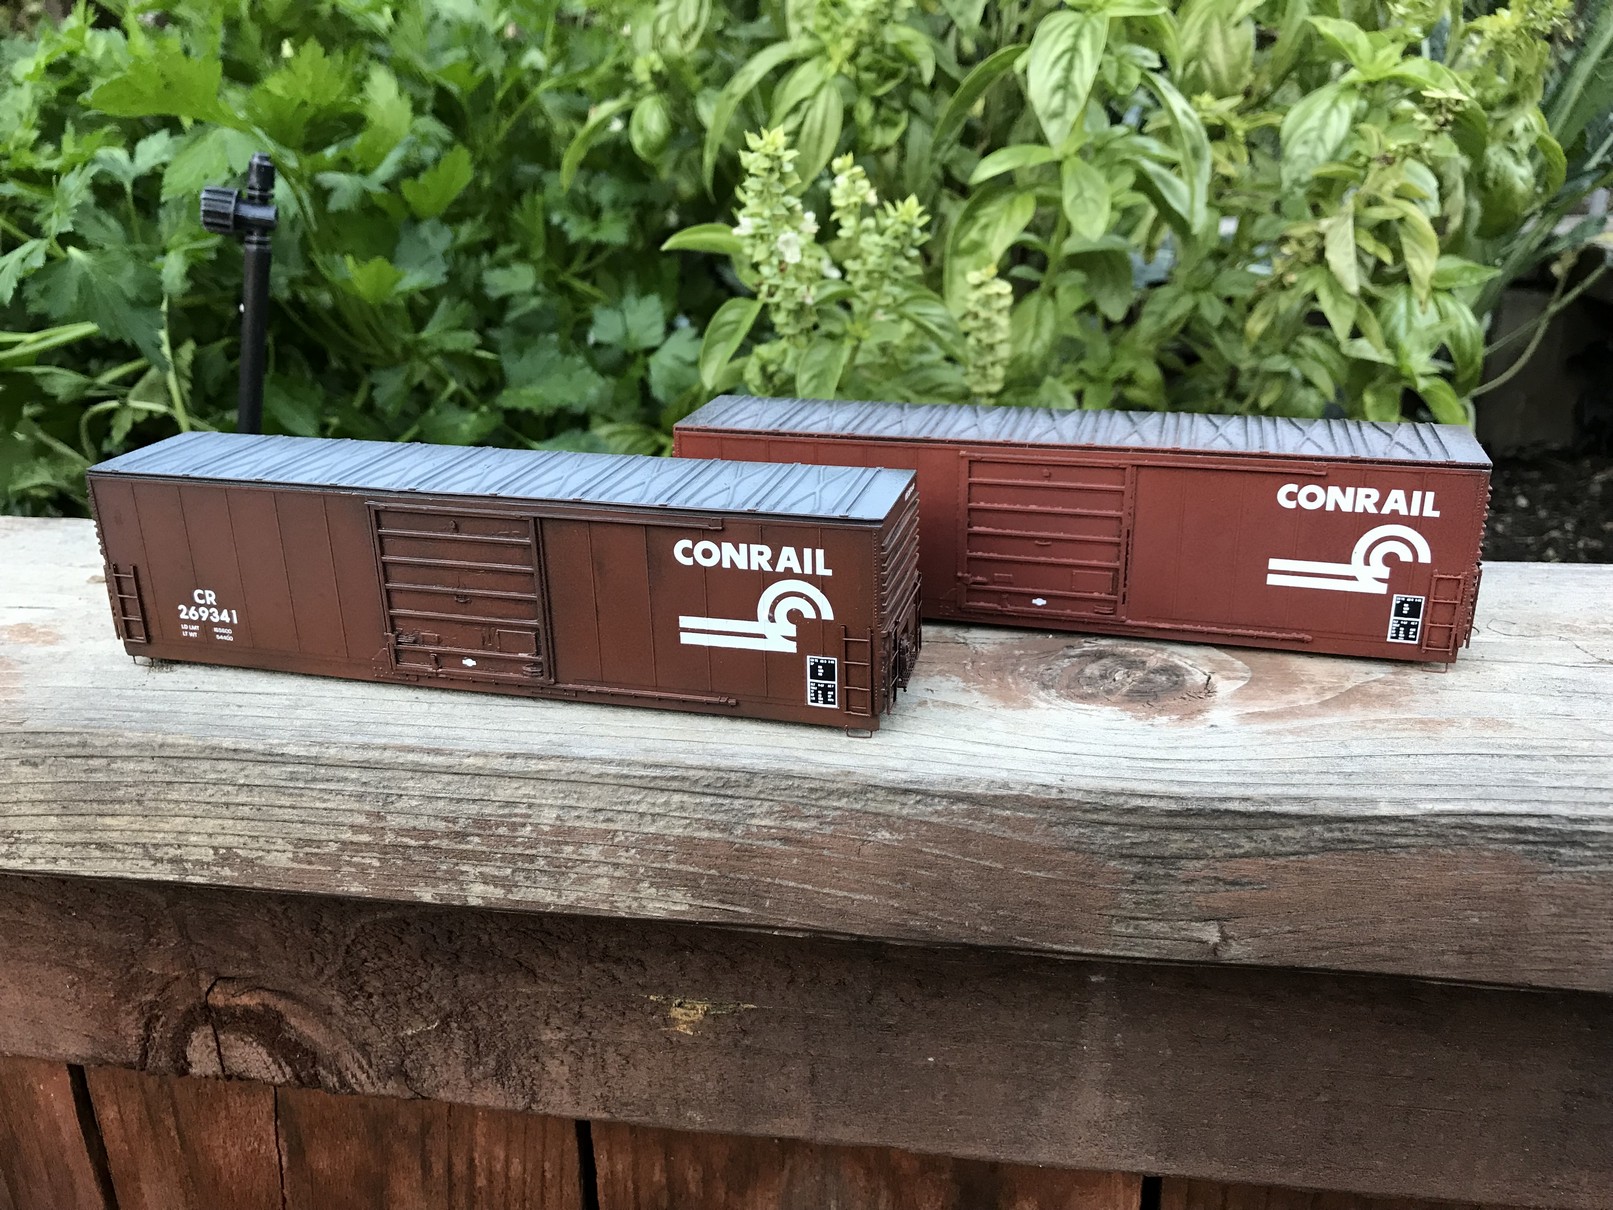
First up, the pair of Conrail cars (now painted with decals applied). I opted to go for a couple of different colors here, one a bit more purplish, one a more faded boxcar red.
 |
 |
 |
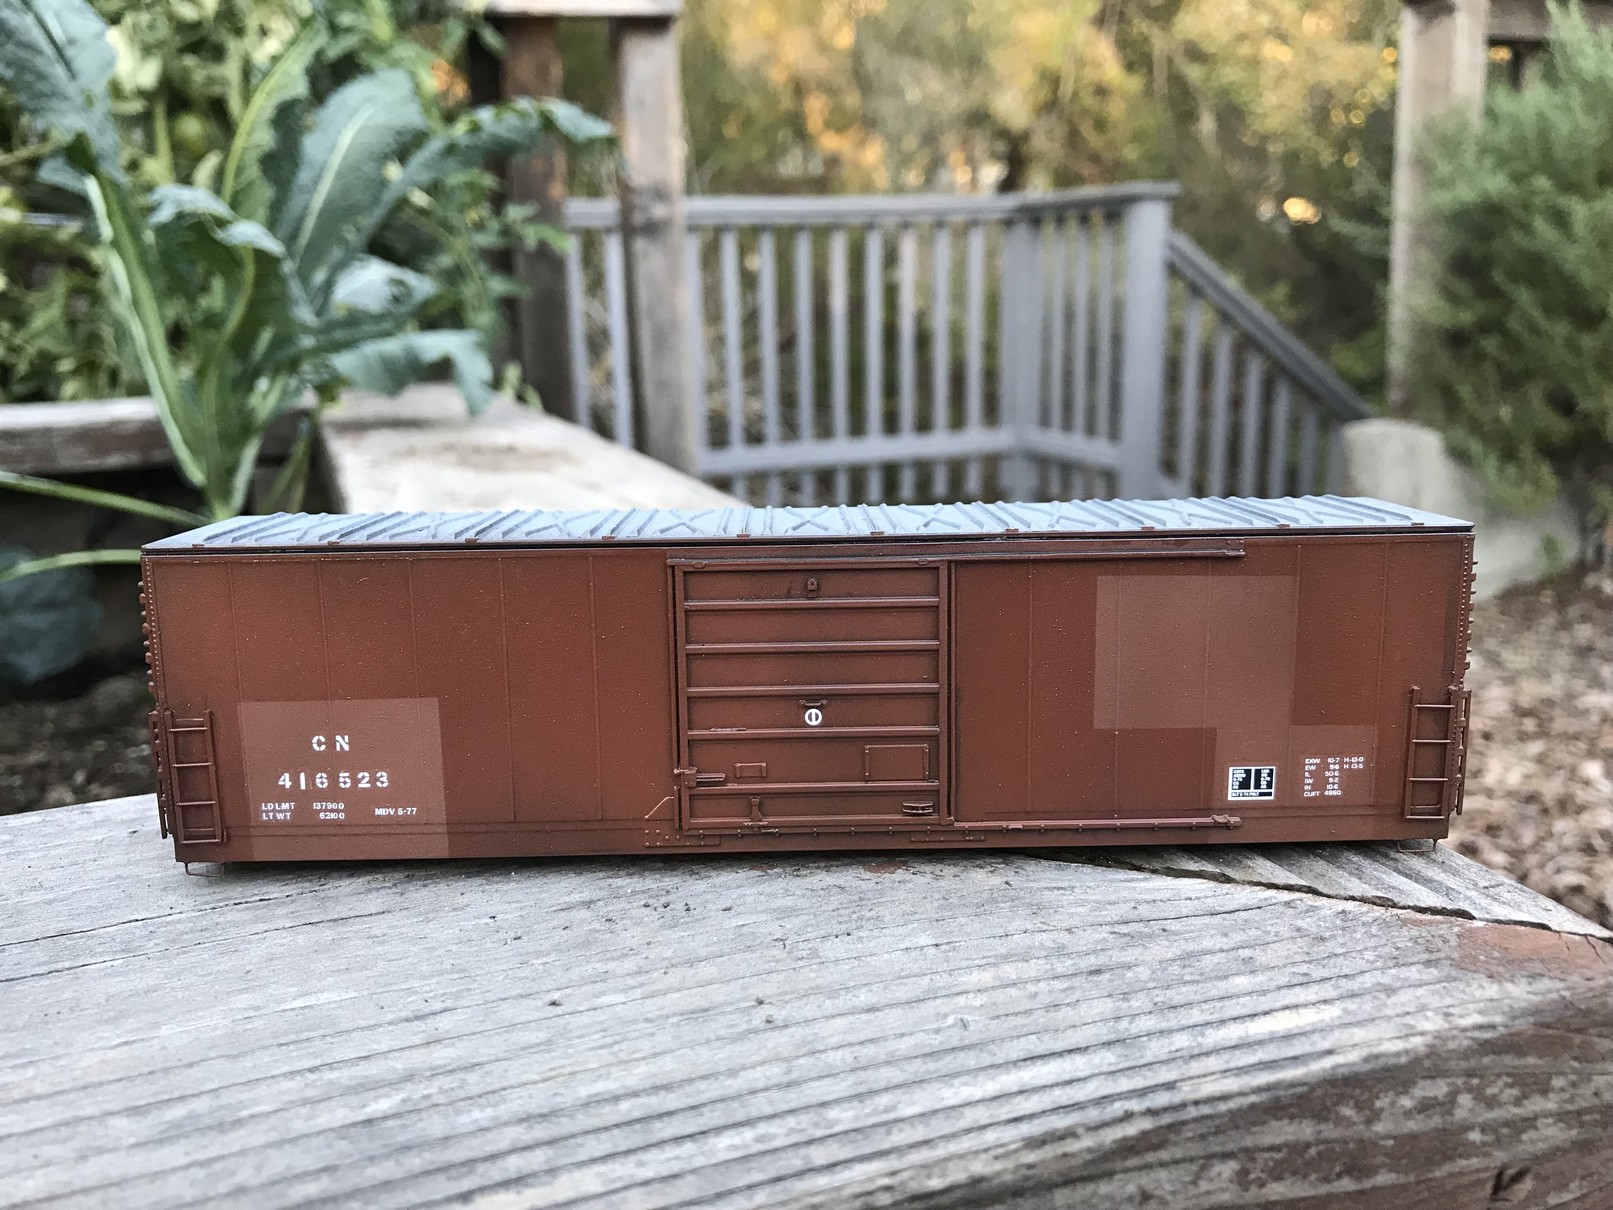
Here's the pair of CN patched cars- these I intentionally made closer to one another.
 |
 |
|
I did manage to extract a little bit of panel variation in these cars- the seams look just a touch darker on a couple. I like this enough so that I think I'll keep doing this for a while yet.
| Weathering |
The prototype cars are in decent shape, which a few rusty patches to model on the sides and the roofs to attend to.
| Final Assembly |
I turned a little bit of attention to the underframes, which seemed a bit plain. I added cut levers, and trimmed off the Kadee pins. Metal wheels, yada yada.
| Summary |
Fun project, which produced some cars that are unique in my collection- I don't do a lot of east-coast cars.
| Resources |
Microscale article here
Microscale follow-up article, based on The Weathering Shop challenge, here