| Prototype Background |
|
ACF produced a two-bay version of their smooth-sided covered hopper. This car is well modeled by Intermountain Railway, though their choice of the discharge gates is a little disappointing (would be nice to have the gravity gates as they have on their 3 bay). |
| The Model and Modifications |
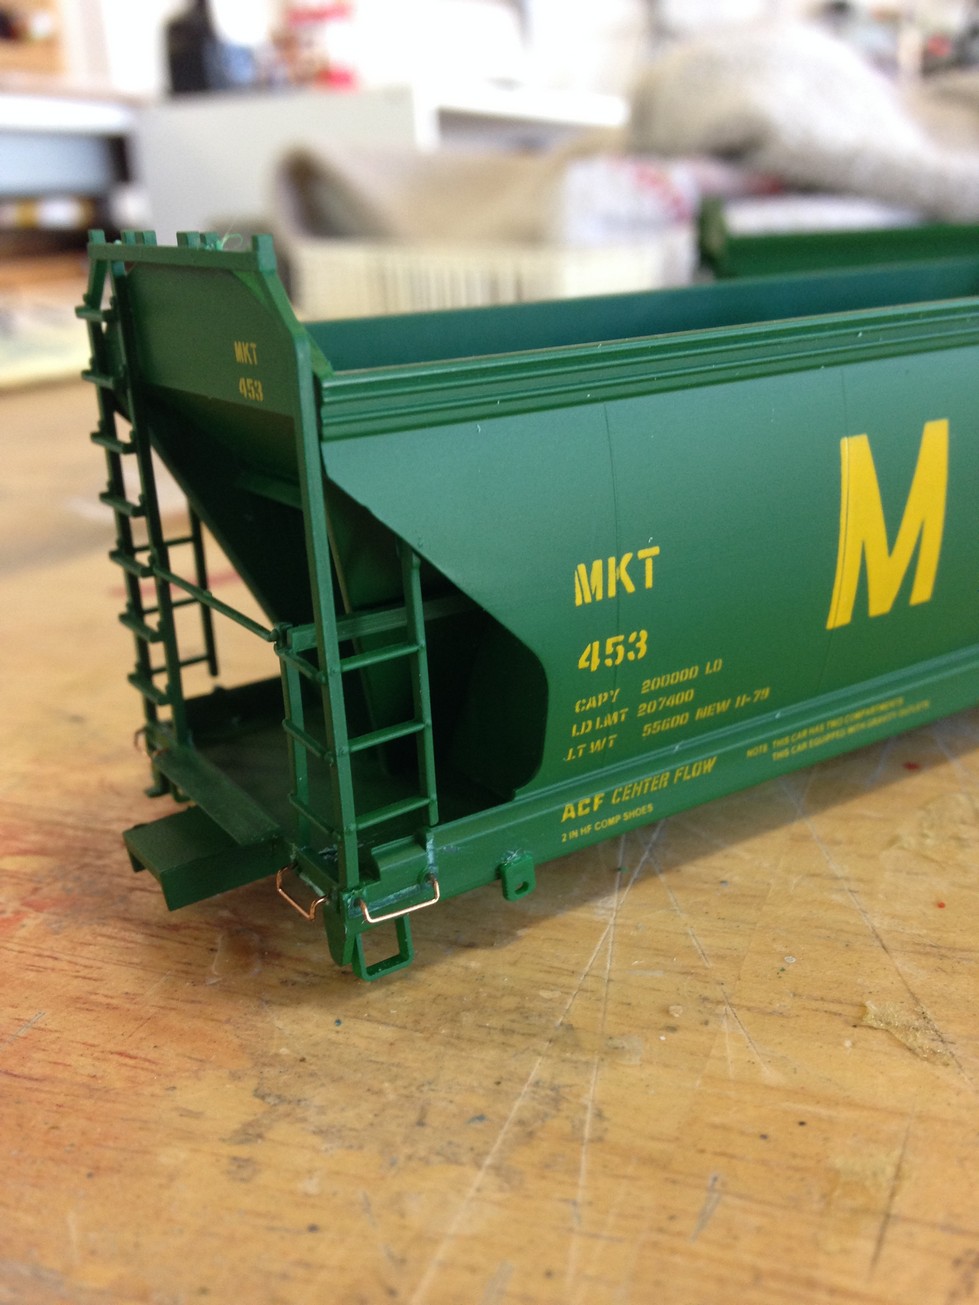
Intermountain makes a pretty nice model of this car. There are nicer versions of similar cars (American Limited's beautiful care for example) but for a model this old there is pretty good detail I think. I used a pair of MKT kits for this project which I picked up online and have been on my shelf for a while, teasing me with their potential.
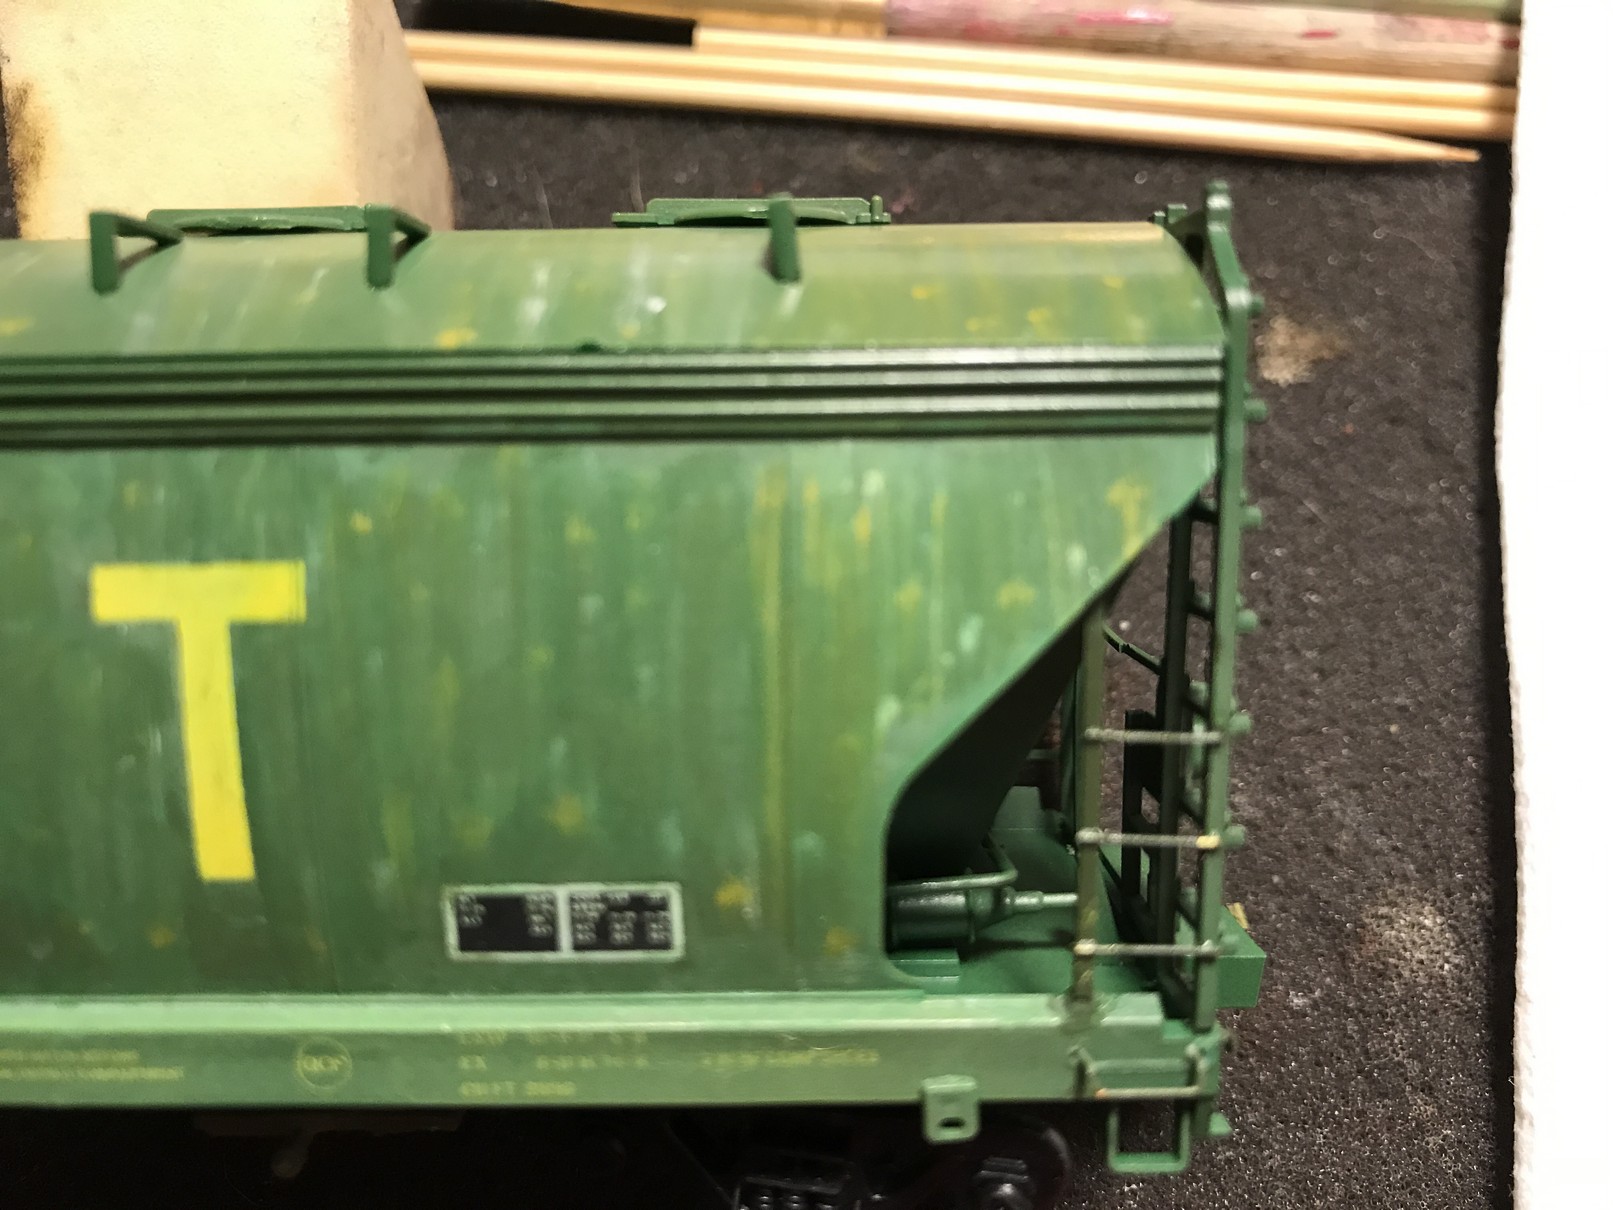
The molded-on grab irons on the sides and ends are unfortunate; finally, the ladders sometimes gap between the vertical post and the side sill. Some of these are relatively easy to fix however, so I made those changes to the car.
 |
 |
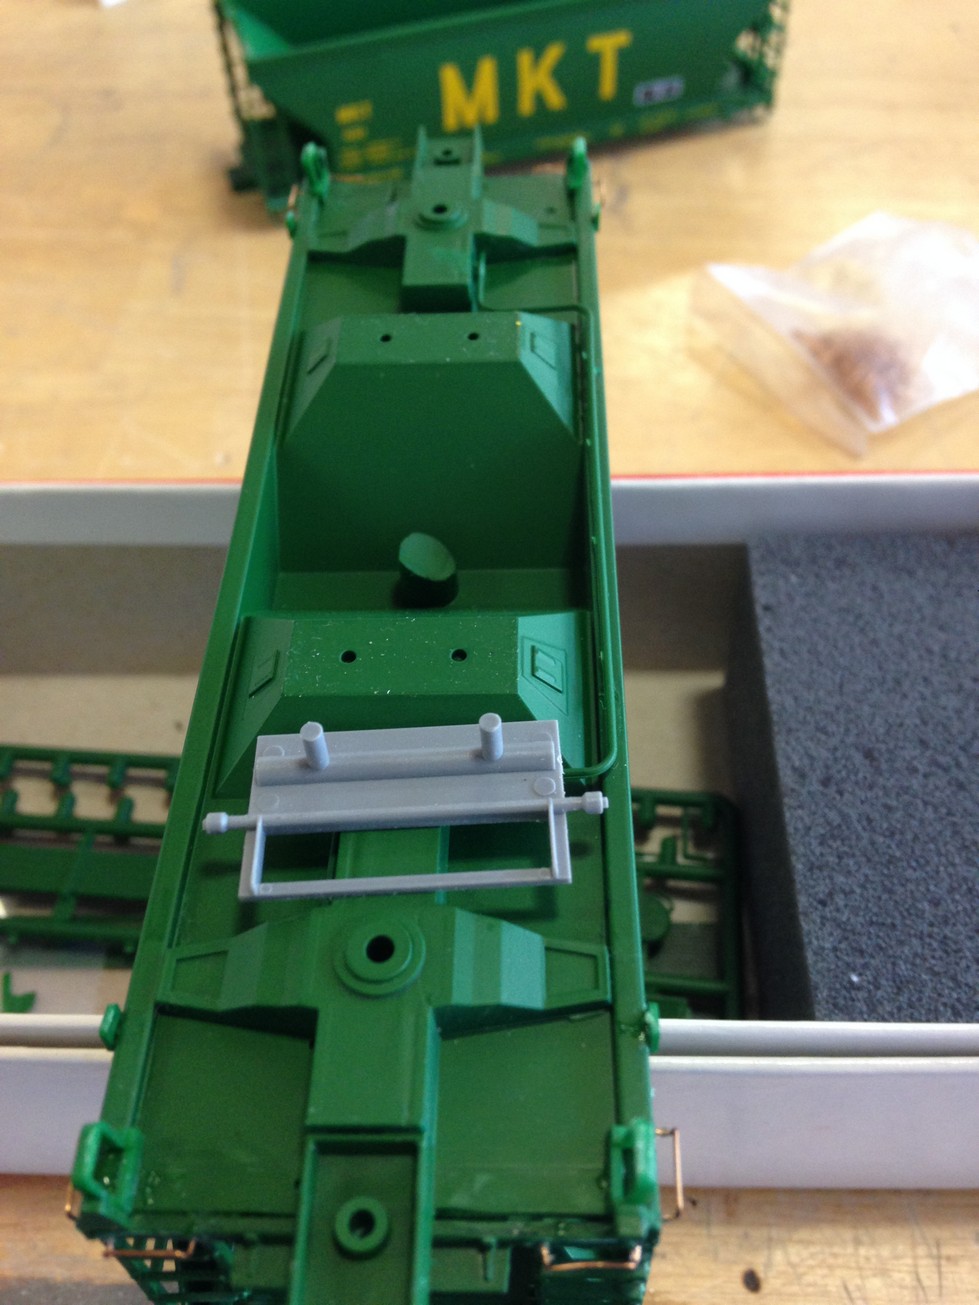
I next wanted to address the discharge gates. The stock Intermountain parts were not a match for the prototype cars; again, including gates from the 4650 kit would be very useful, but hey they probably don't want to re-tool this model. So I got to make my own.
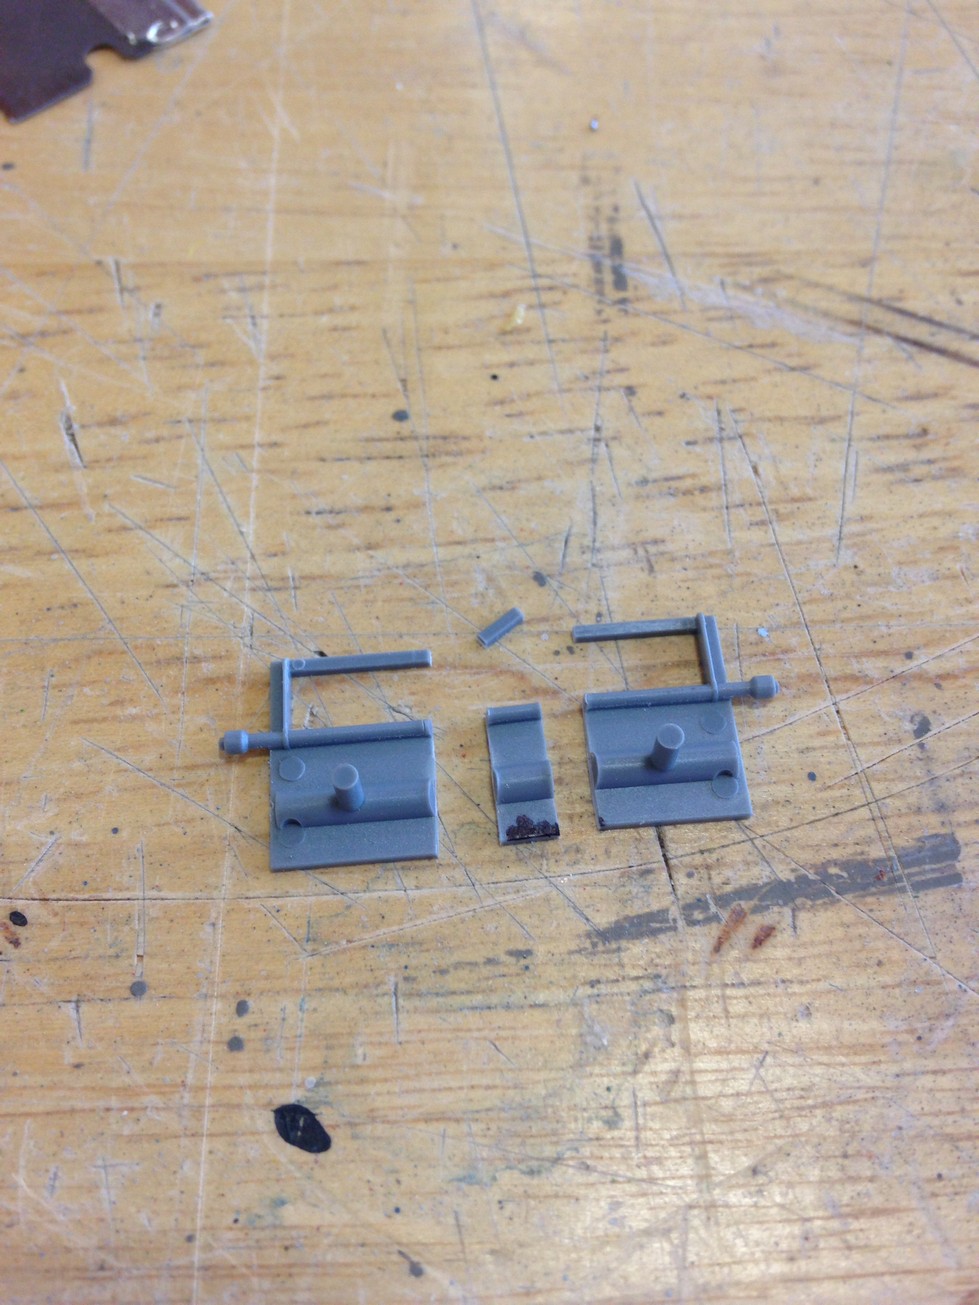
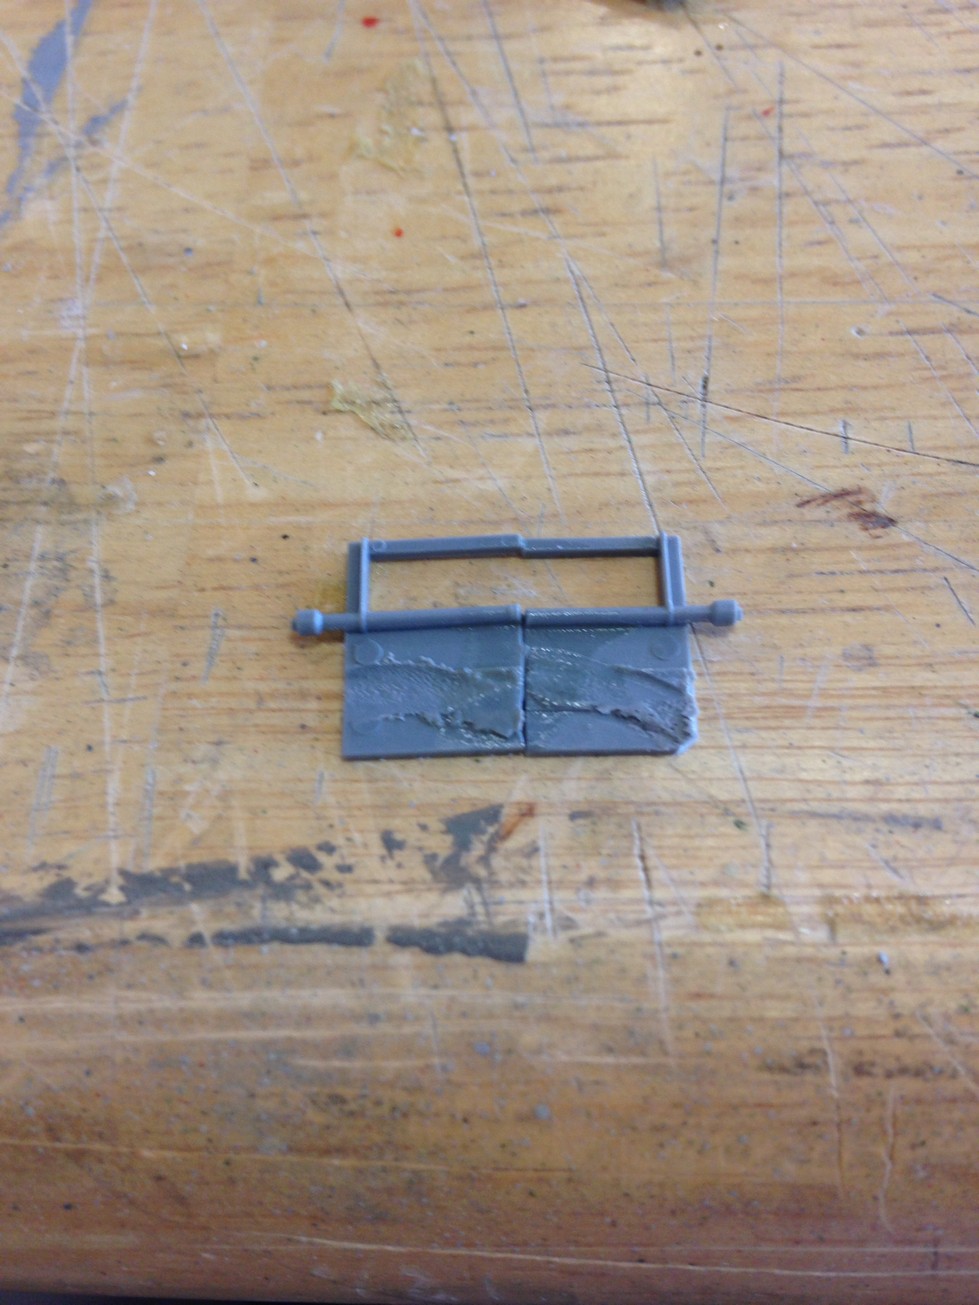
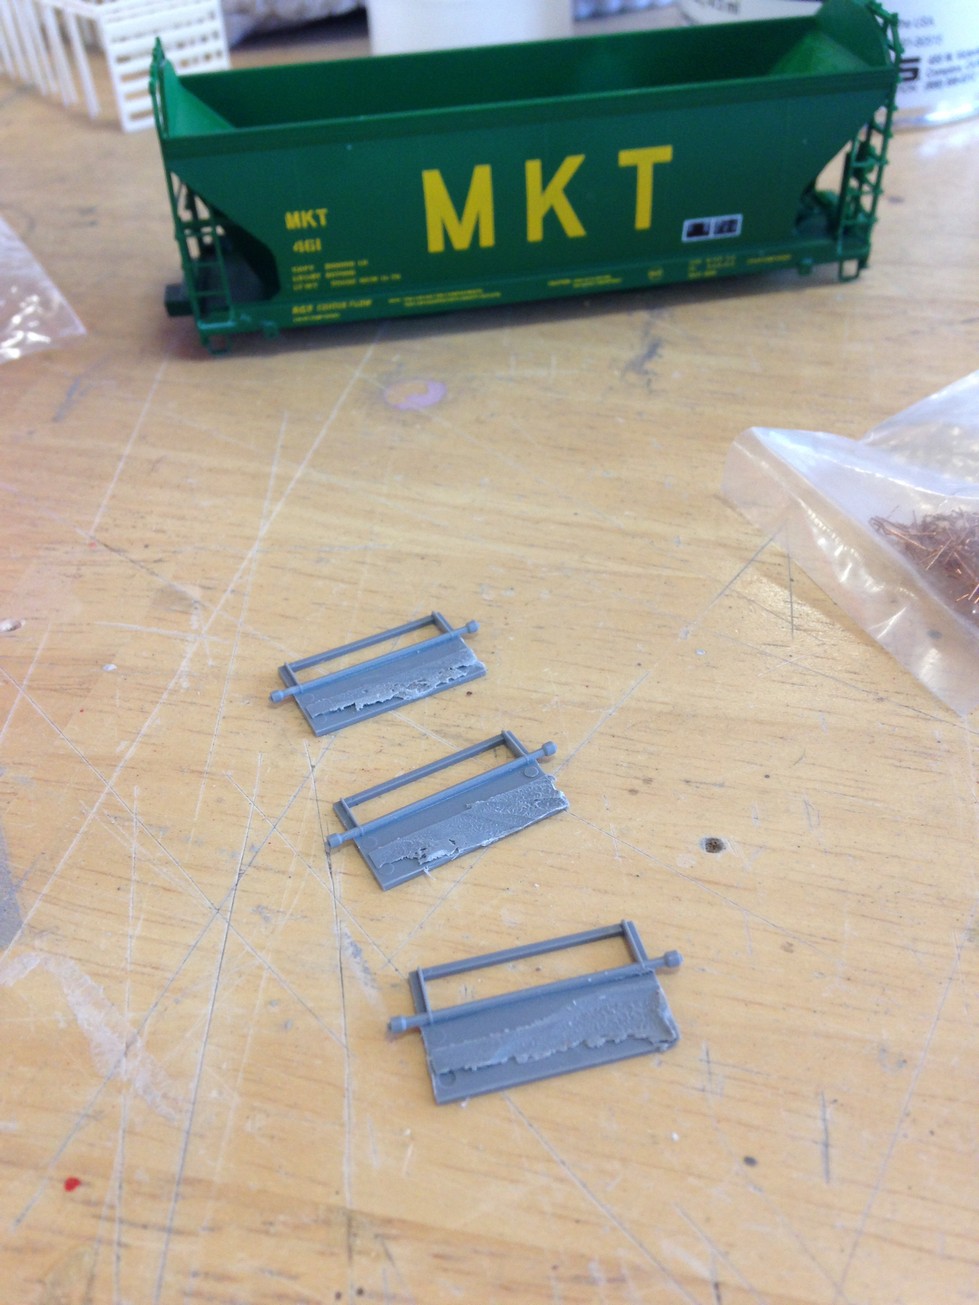
I started by buying some Detail Associates hopper discharge gates (Detail Associates 6229 - Covered Hopper Gravity Discharge Outlet), and realized they were too wide; so I sliced a chunk from the middle and glued back together.
 |
 |
 |
 |
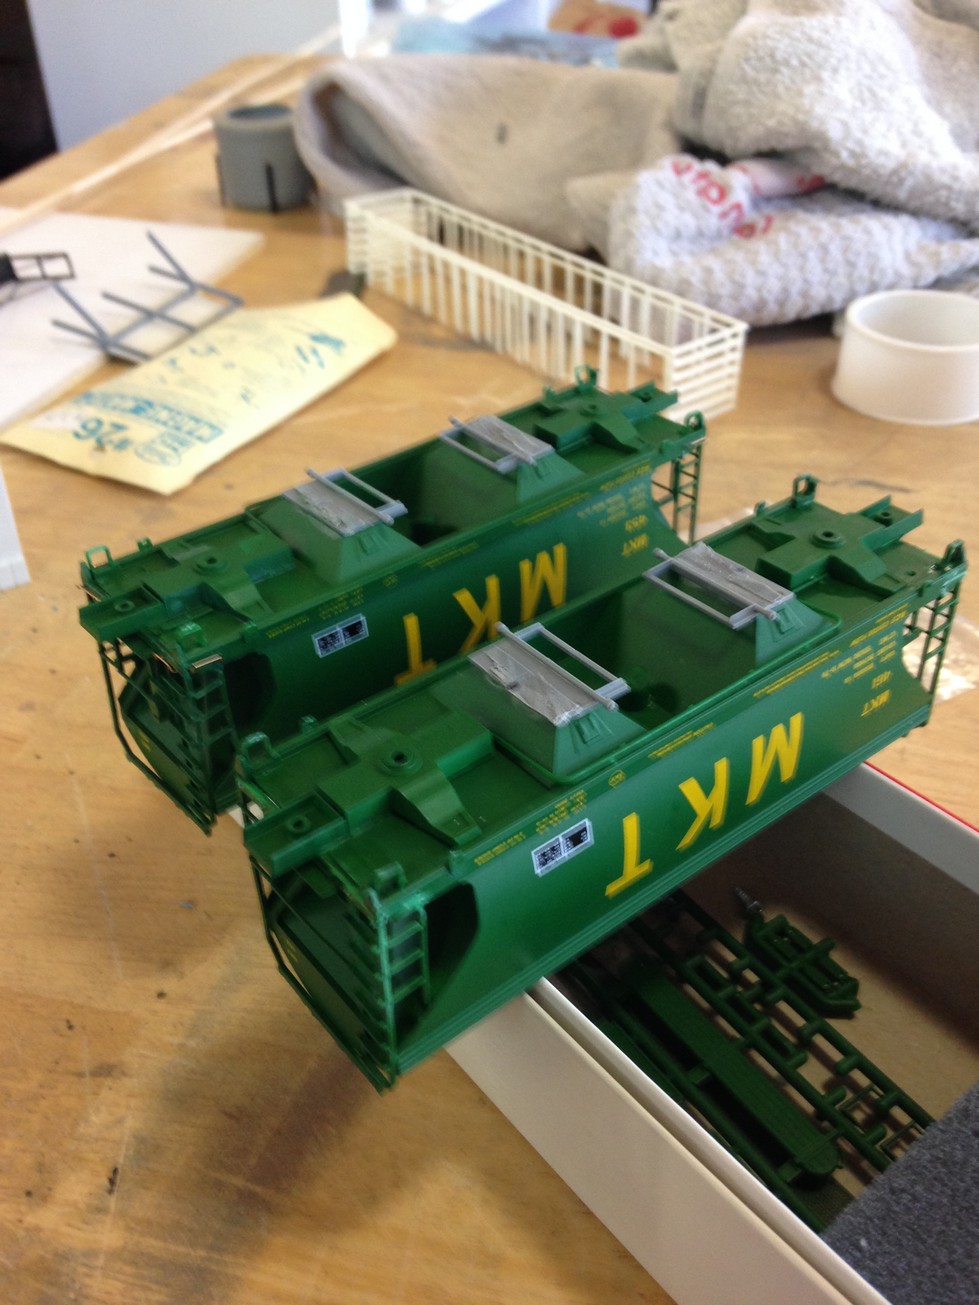 |
I figured, given this work, I should do something about the walkways. Stupidly, I'd already assembled the car, so the end walkways were hard to shave off and replace. I decided (later in the project) to simply add a veneer of thin metal mesh, cut to size. Once weathered, it's hard to tell that the diamond pattern isn't really accurate, but it does look better than the plain shelf that comes molded onto the end frame. I then added some weight (using my usual approach of adding pennies secured with contact cement) and started in on the painting.
| Paint and Markings |
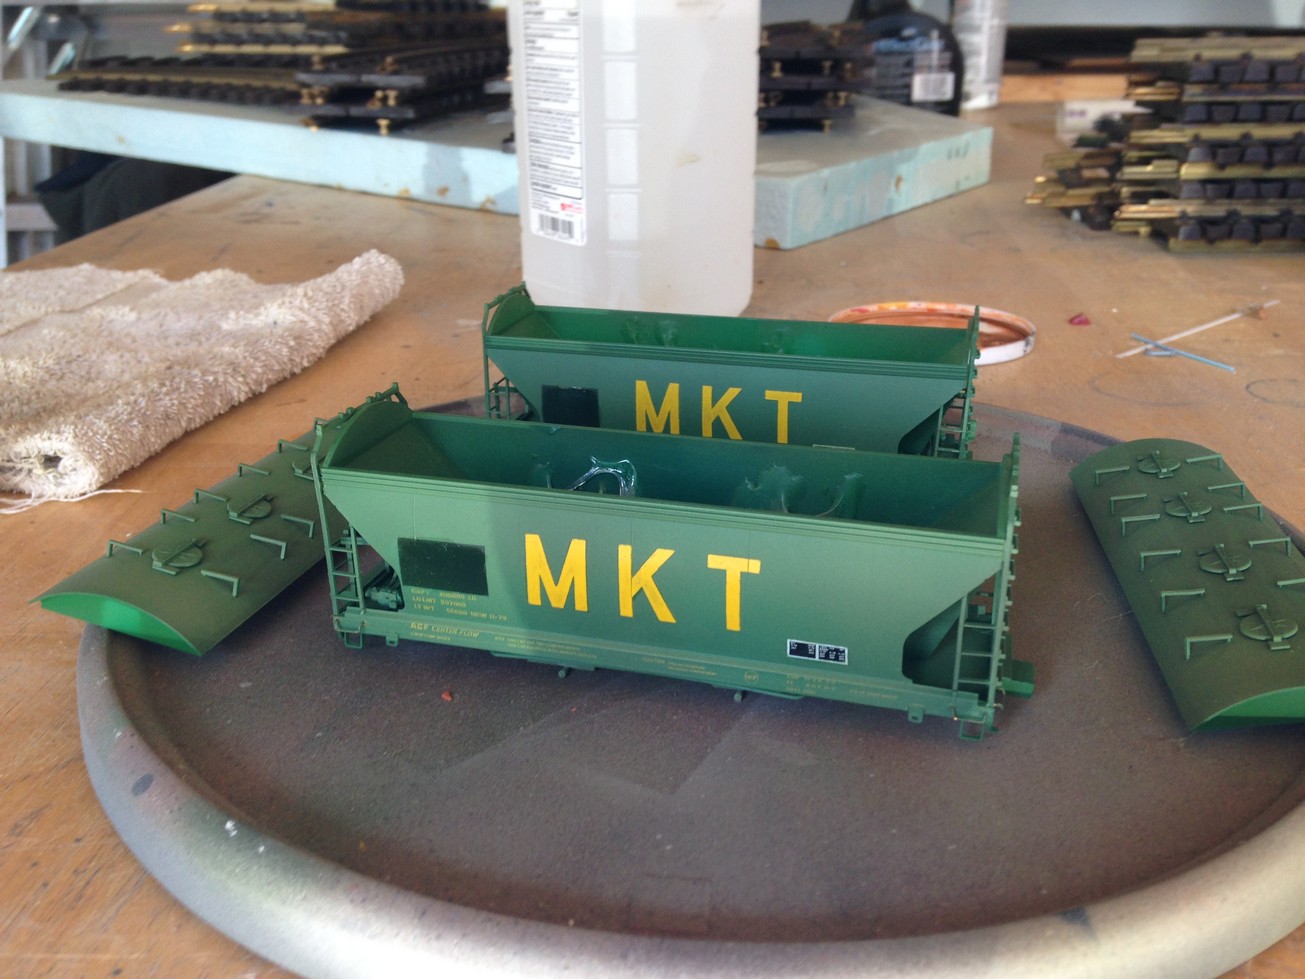
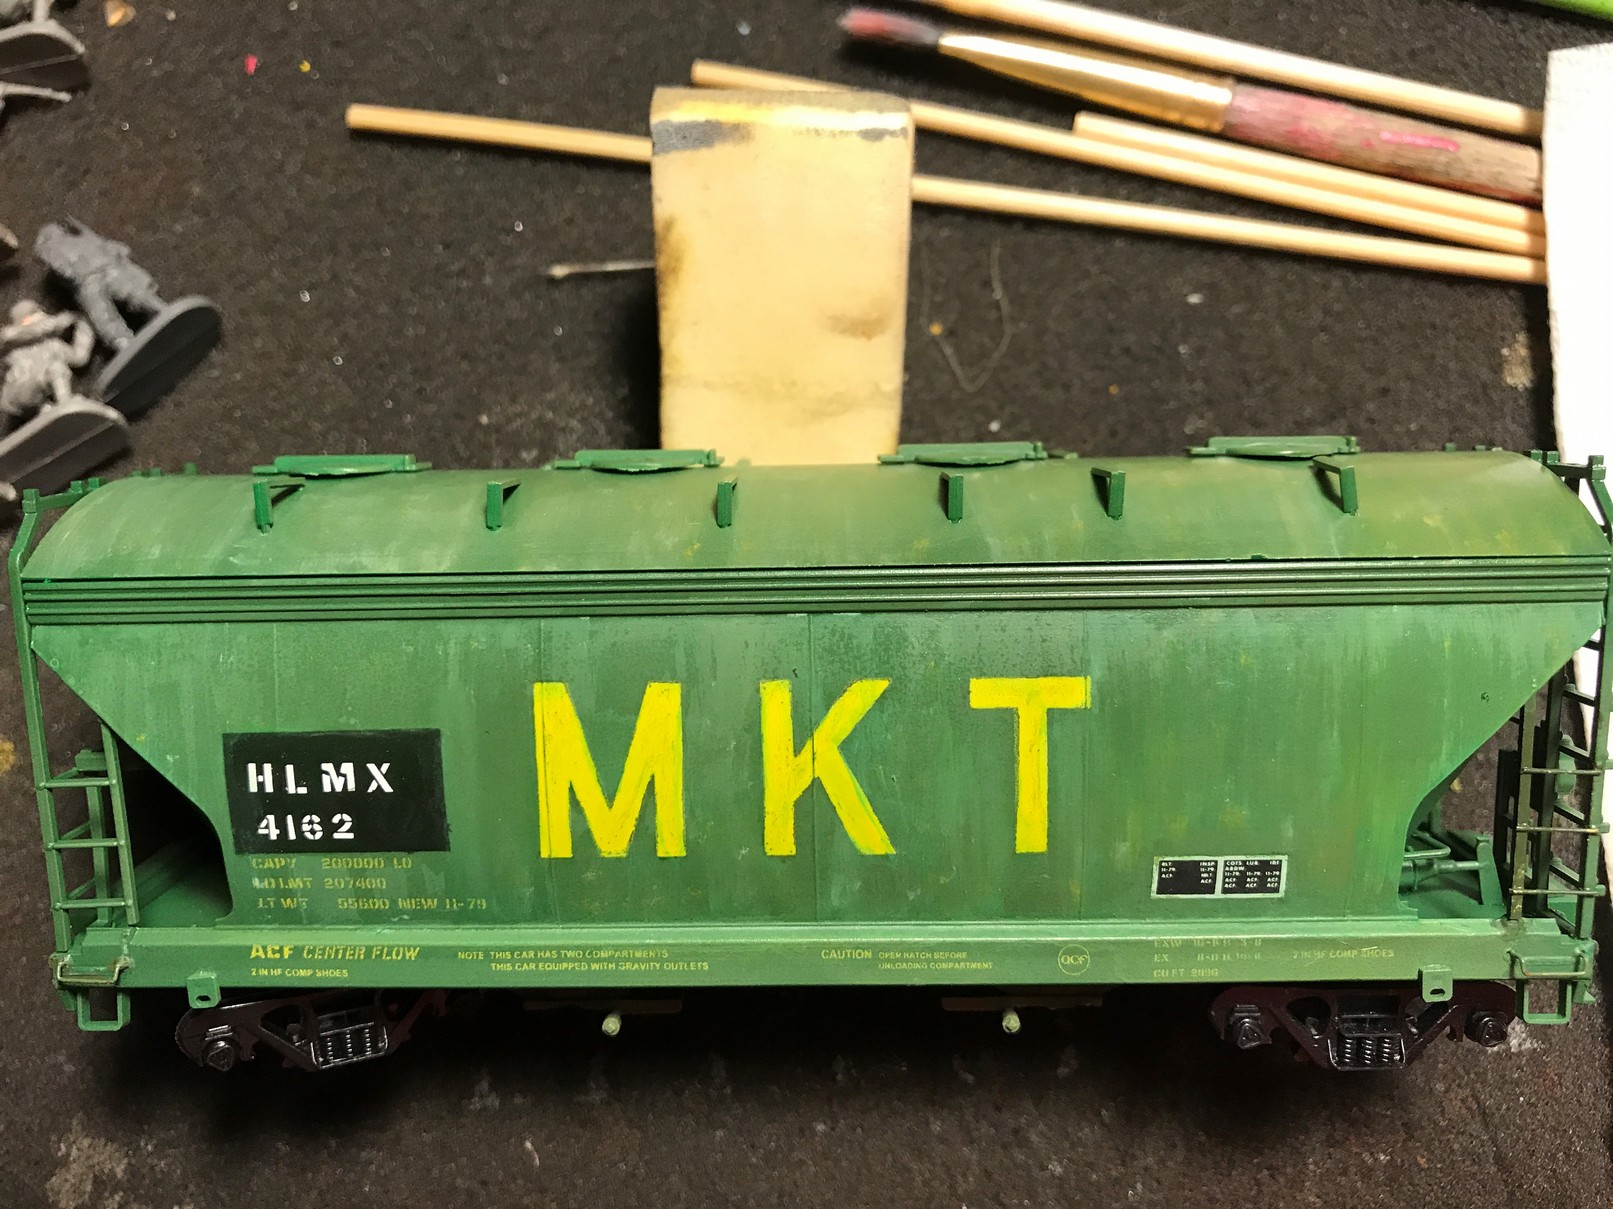
I applied a coat of green to the new gates, to get them to blend in. I then painted on the patch area in a darker green. I've come to love the Tamiya paints, which when thinned with a bit of isopropyl alcohol (70% is fine) yield wonderful results. Easy to apply, good coverage, and no clumping when thinning means you can really control the coverage and get interesting splotchy results. In this case, for the patch I wanted a solid block, so after masking I used Japanese Navy Green for the patch color.
 |
 |
I brush painted a coat of Future floor wax for a glossy surface for the decals. The decals were from a Microscale set of stencil letters; easy, standard, no drama here
| Weathering |
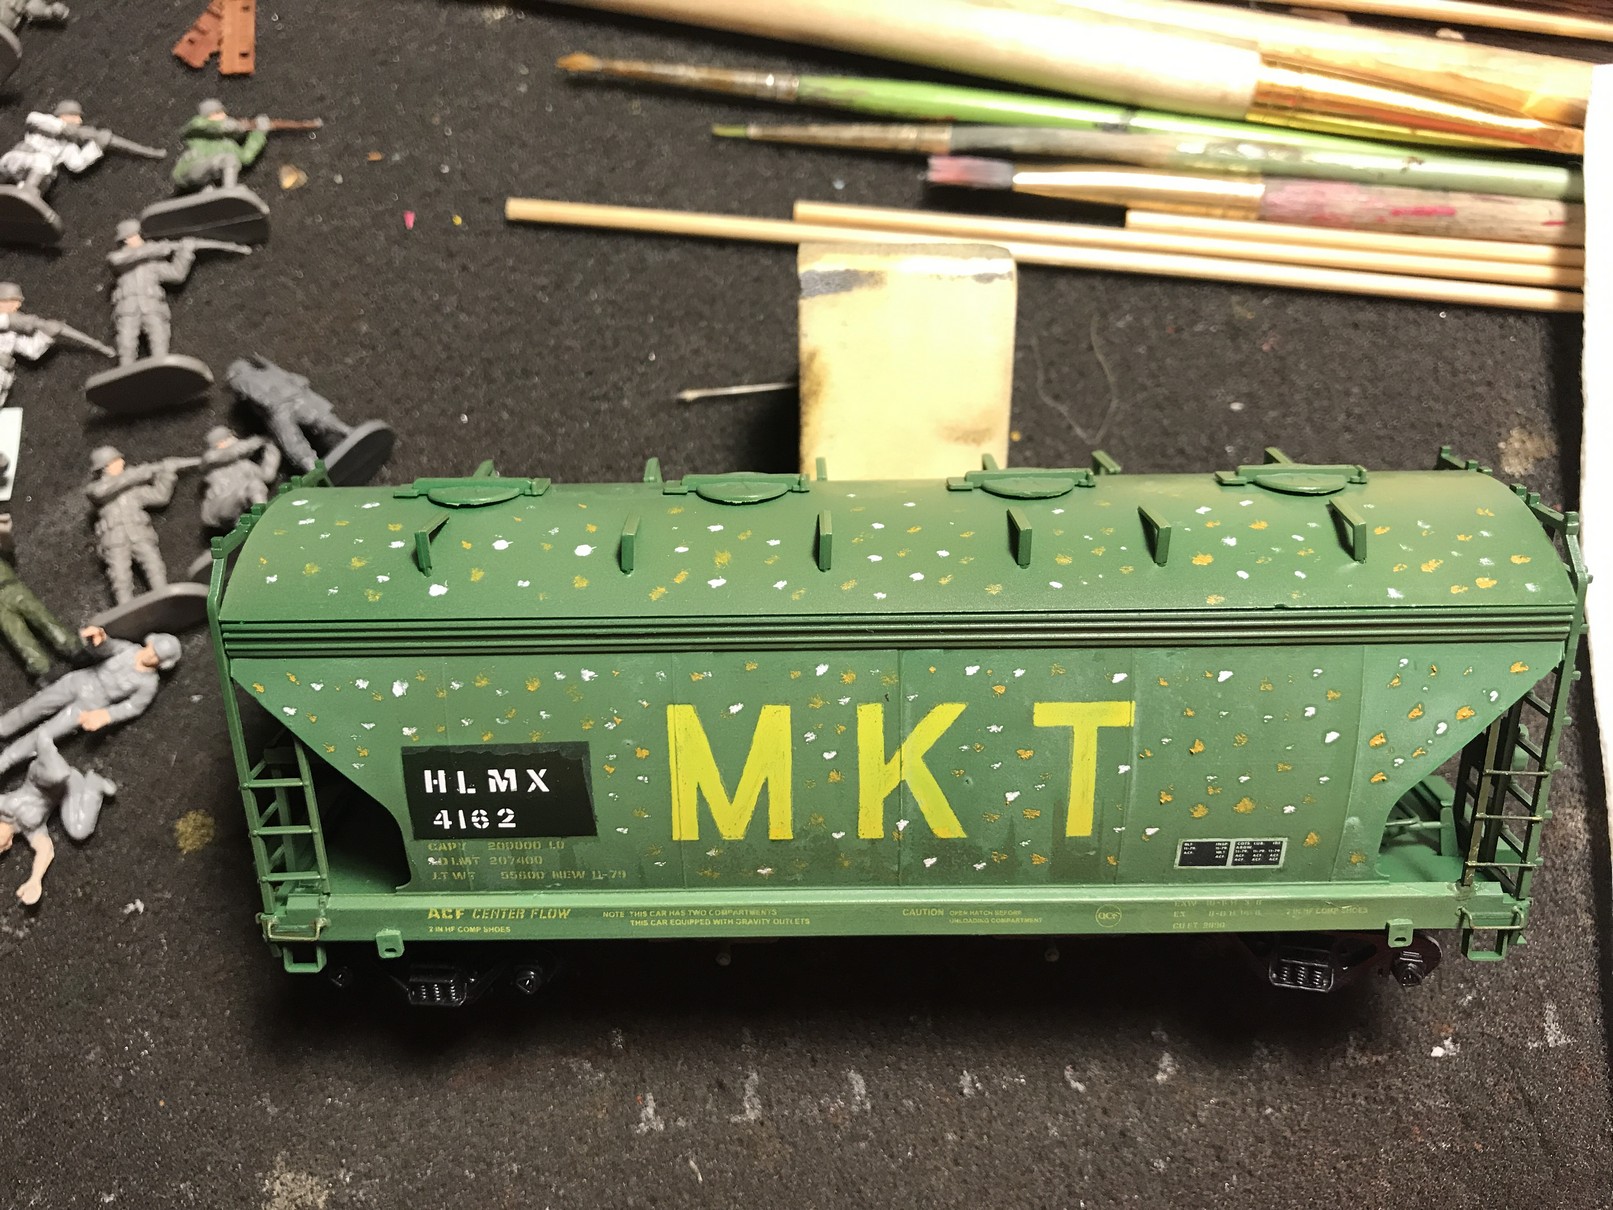
Here's where it gets good! I leaned in pretty hard on this project, in order to try some things out. First up: the pox!
 |
 |
 |
 |
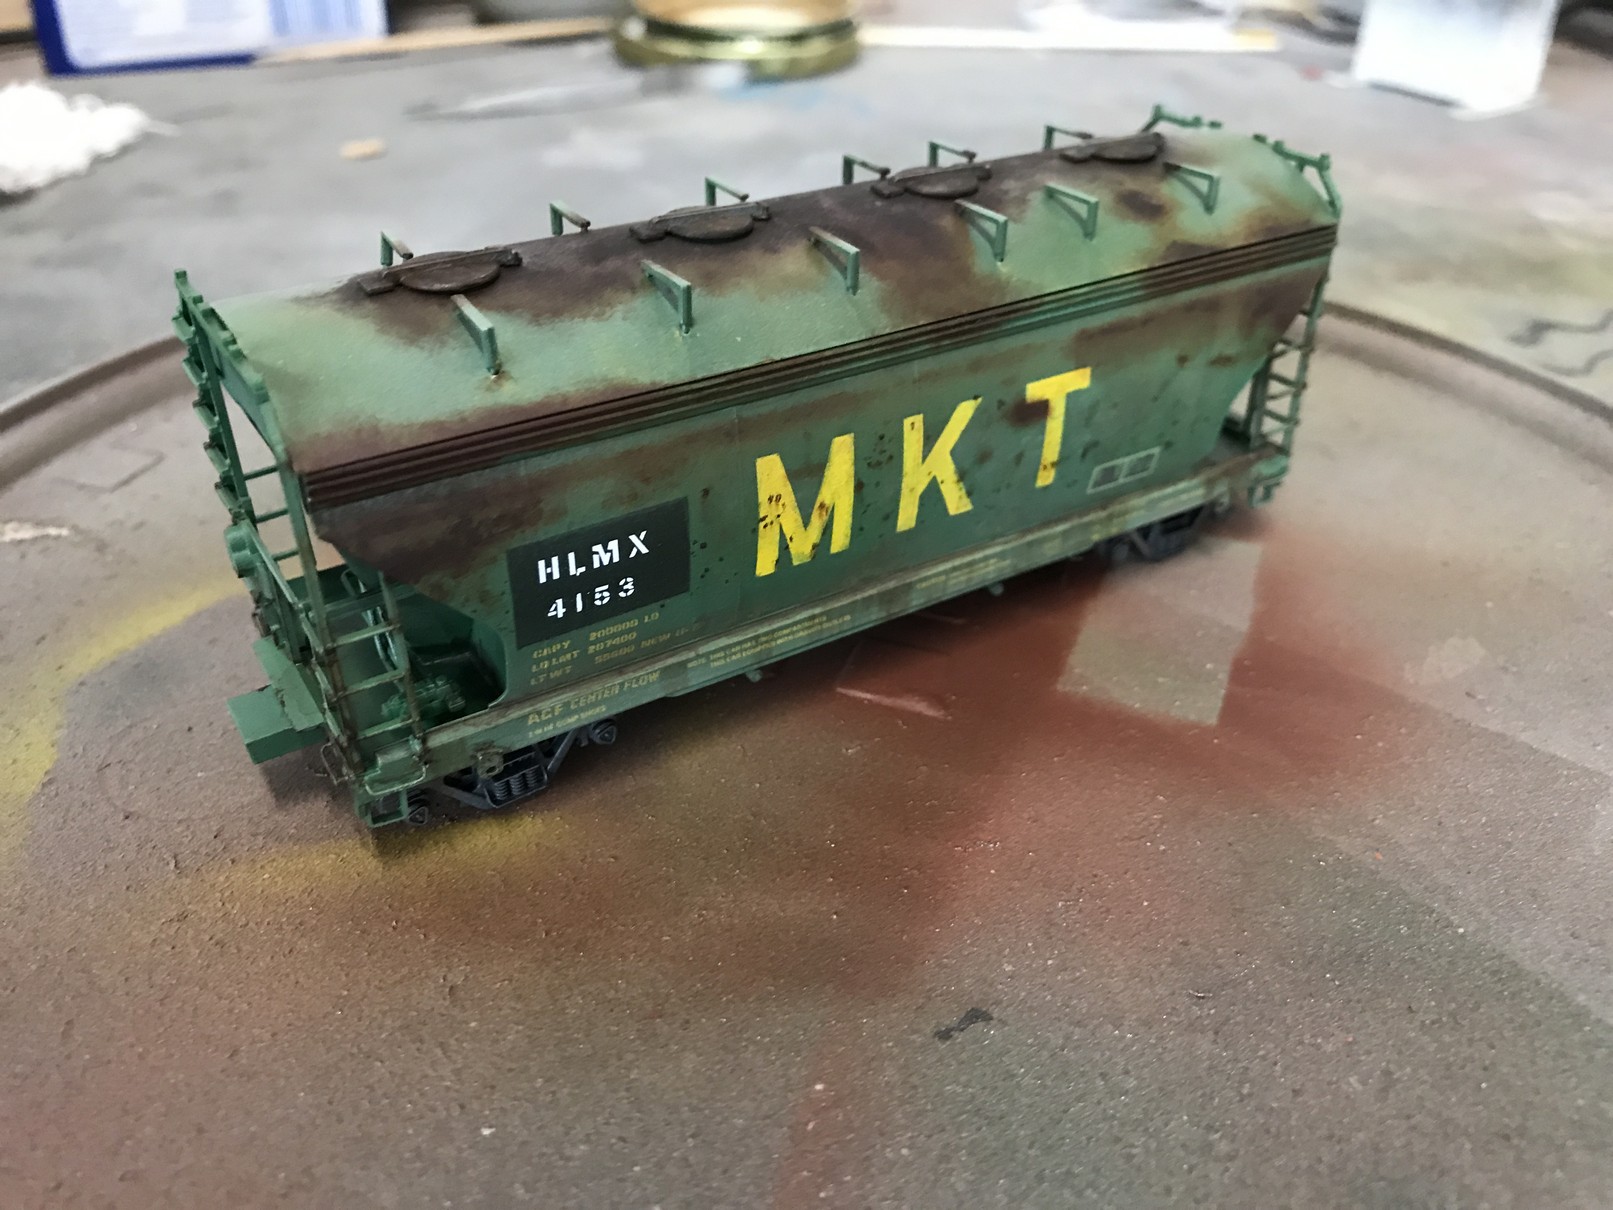
The pictures show the progression: a bit of oil paint dot fading to get some variety of color on the sides. I let white and raw sienna oil paint sit on a paper towel for a bit, and then started dotting. It's a subtle effect, so I kept adding until it felt like too much. However, once blended with a wide dry brush it really started to provide the variation I was looking for.
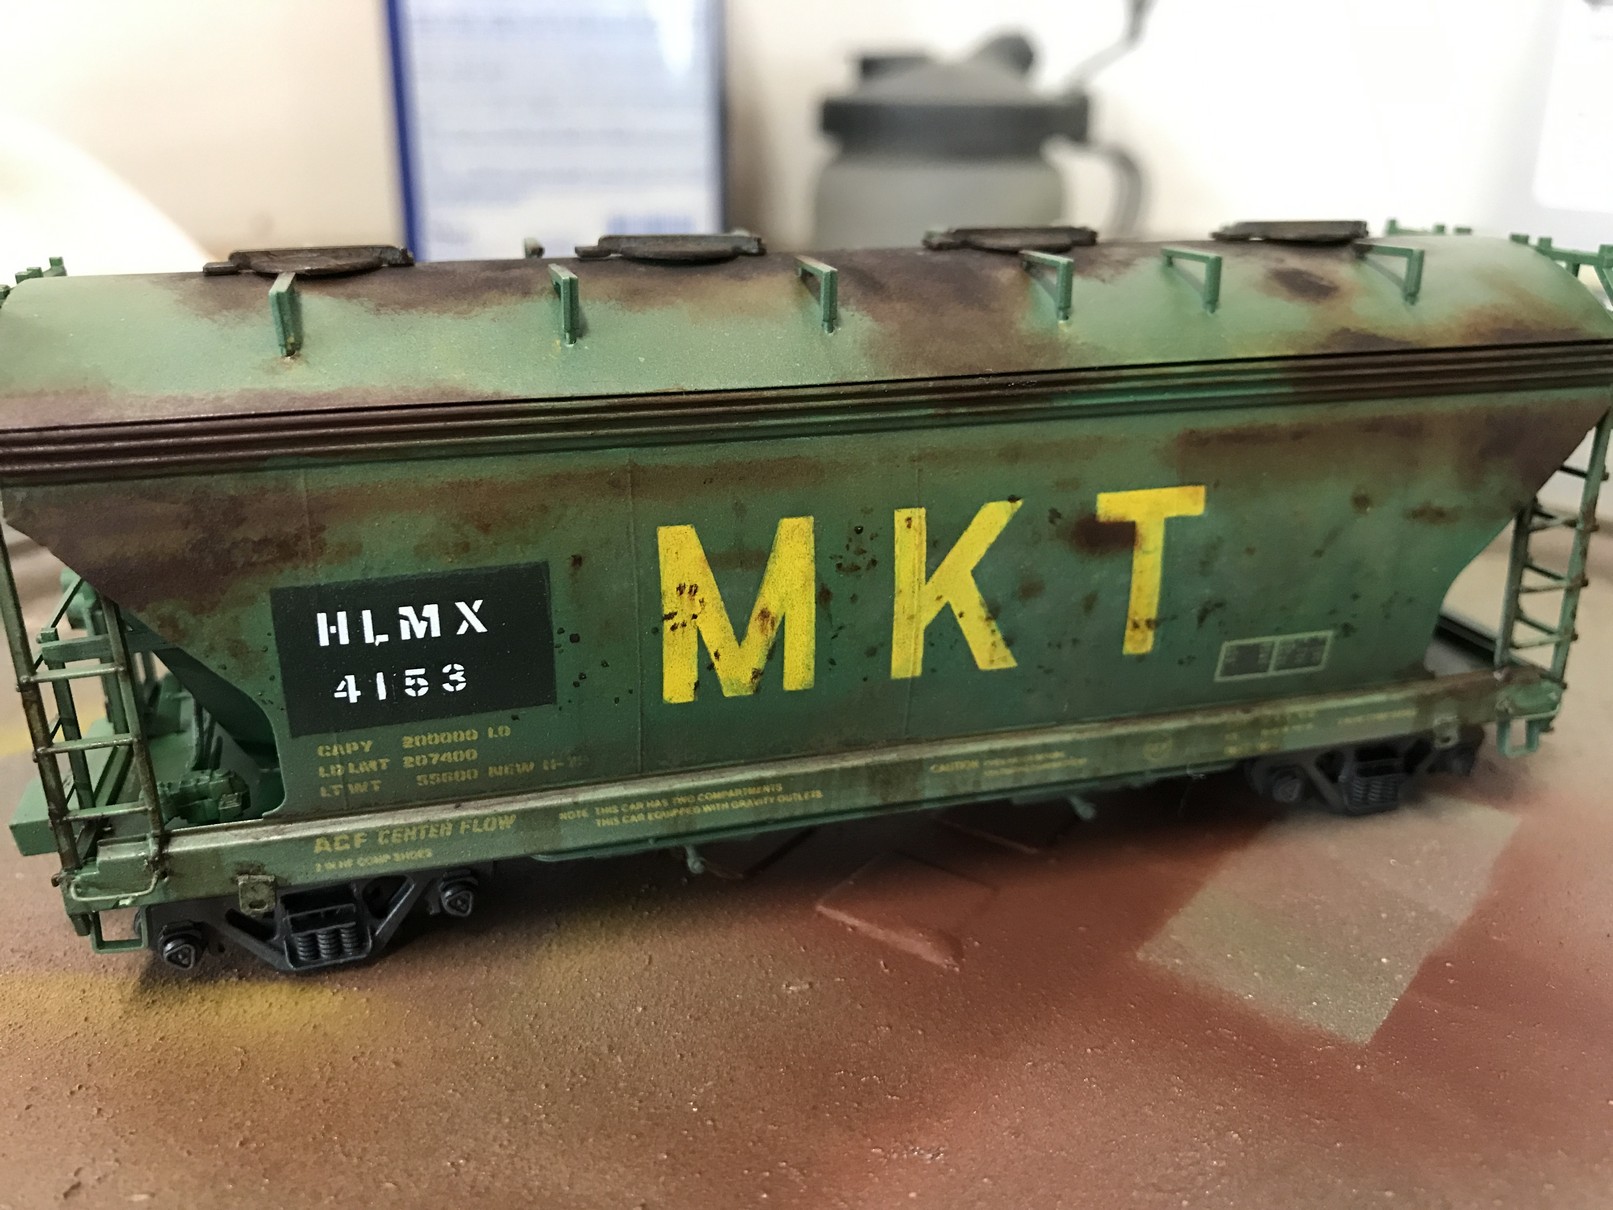
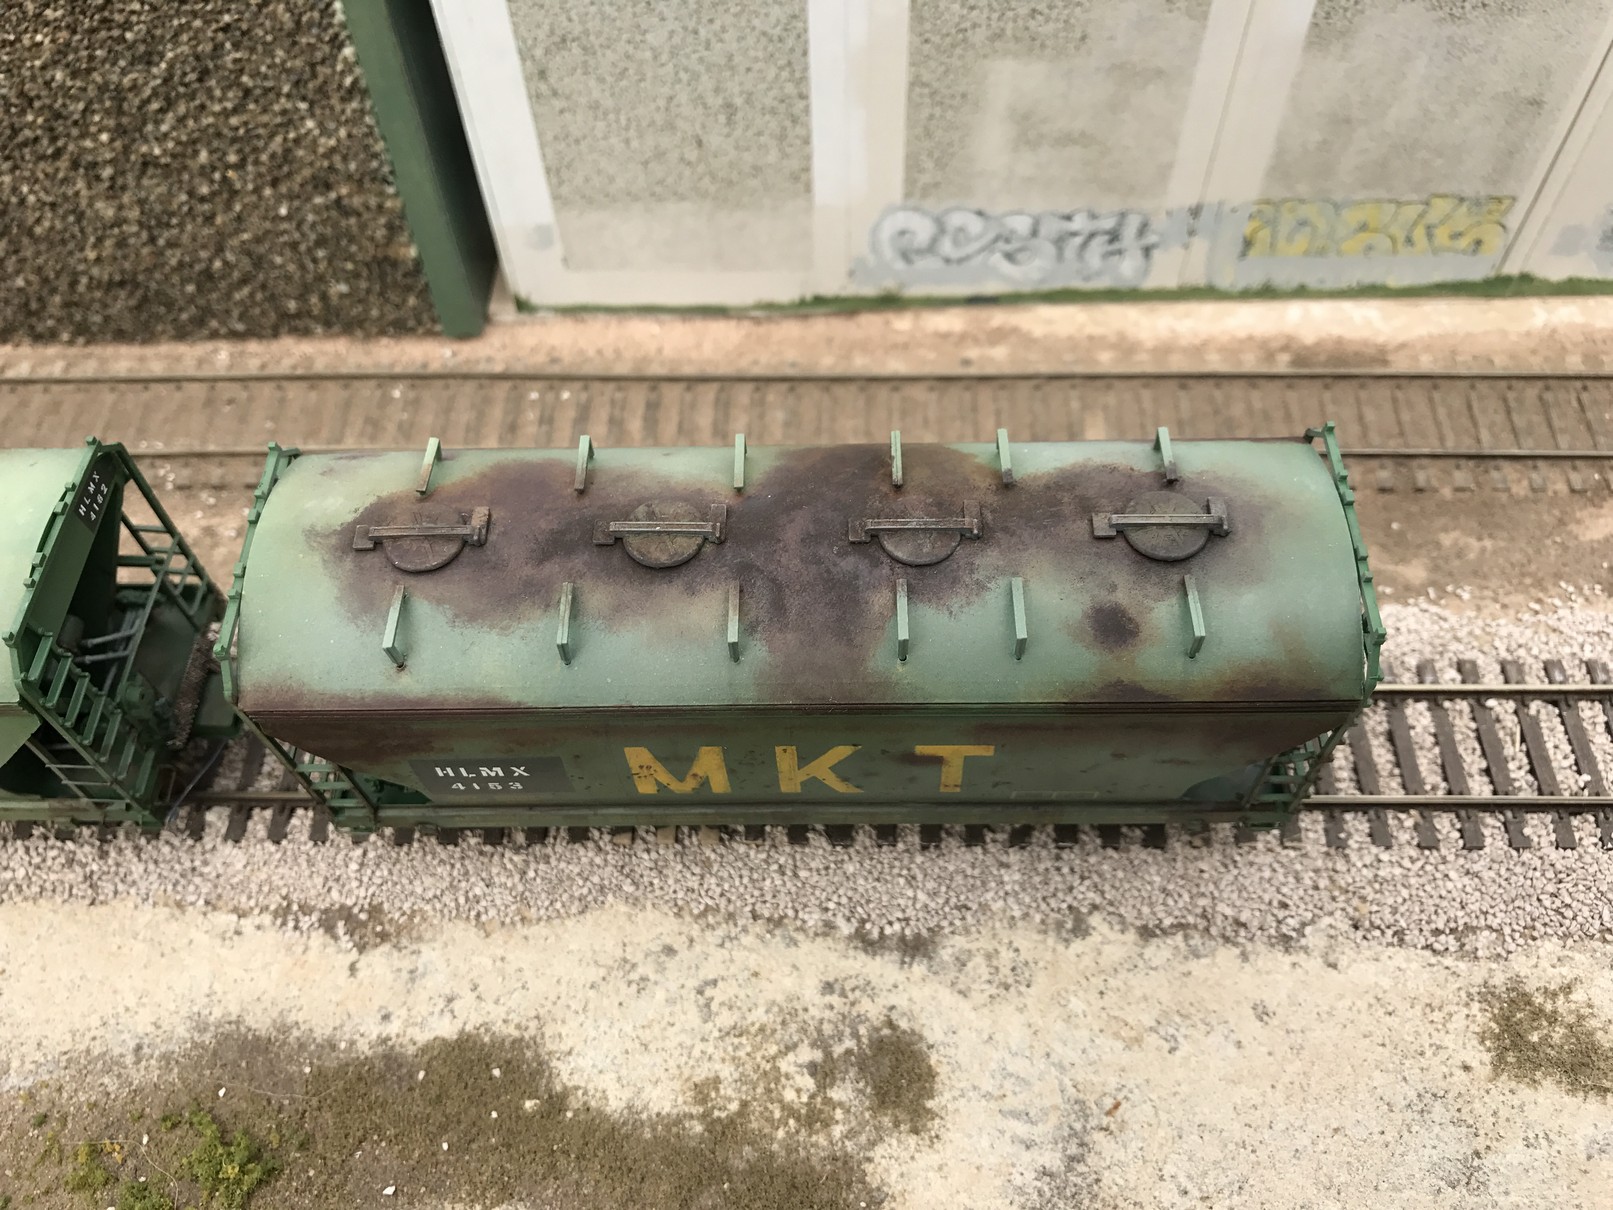
Then came the rust. The patches are oil paint feathered out in a blotch, and then dusted with chalk using a soft brush I dedicate to this (which both tones down the color and adds a bit of texture as well).
 |
 |
 |
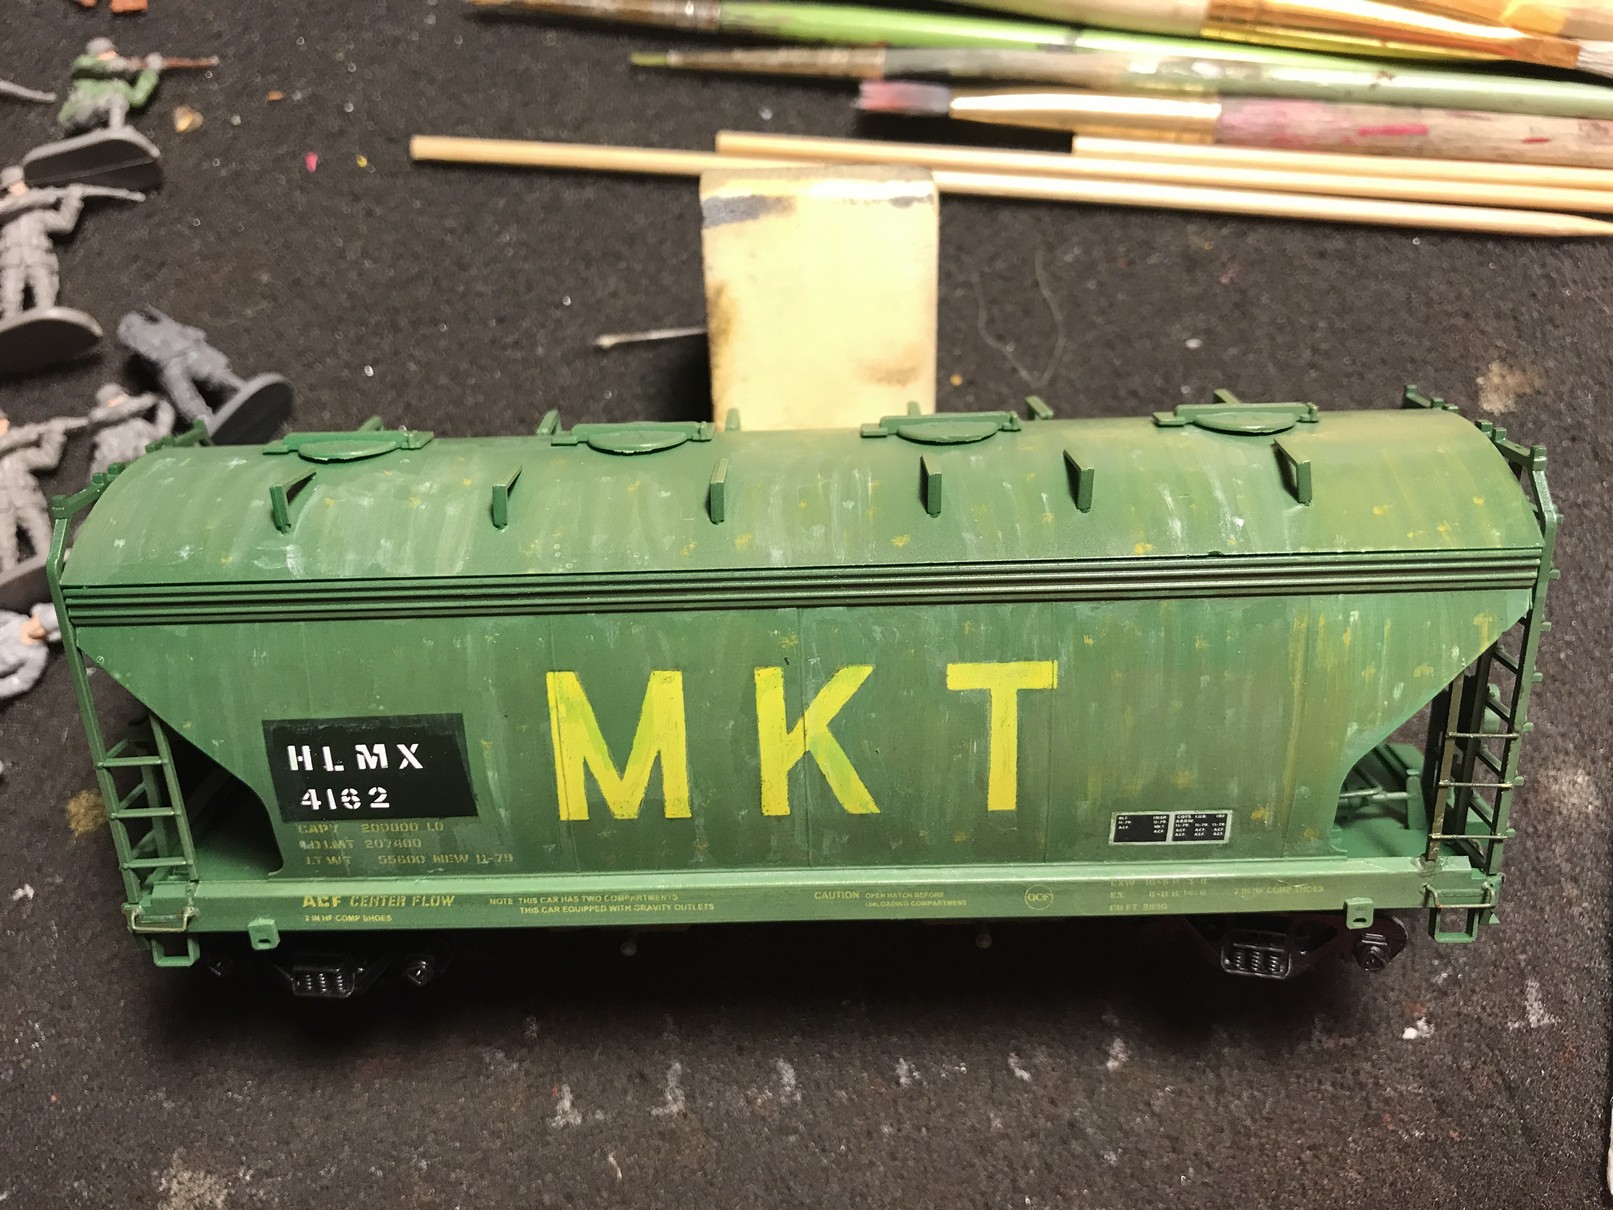
I decided in looking more at the prototype photos, I wanted to lighted a sides a bit more. I used a very dilute airbrush overspray of light gray, as well as dotted some areas with white oil and then feathered them out. The sky in these photos makes the roof look whiter than it is, but it's still much lighter than I started with, which was the goal.
 |
 |
 |
 |
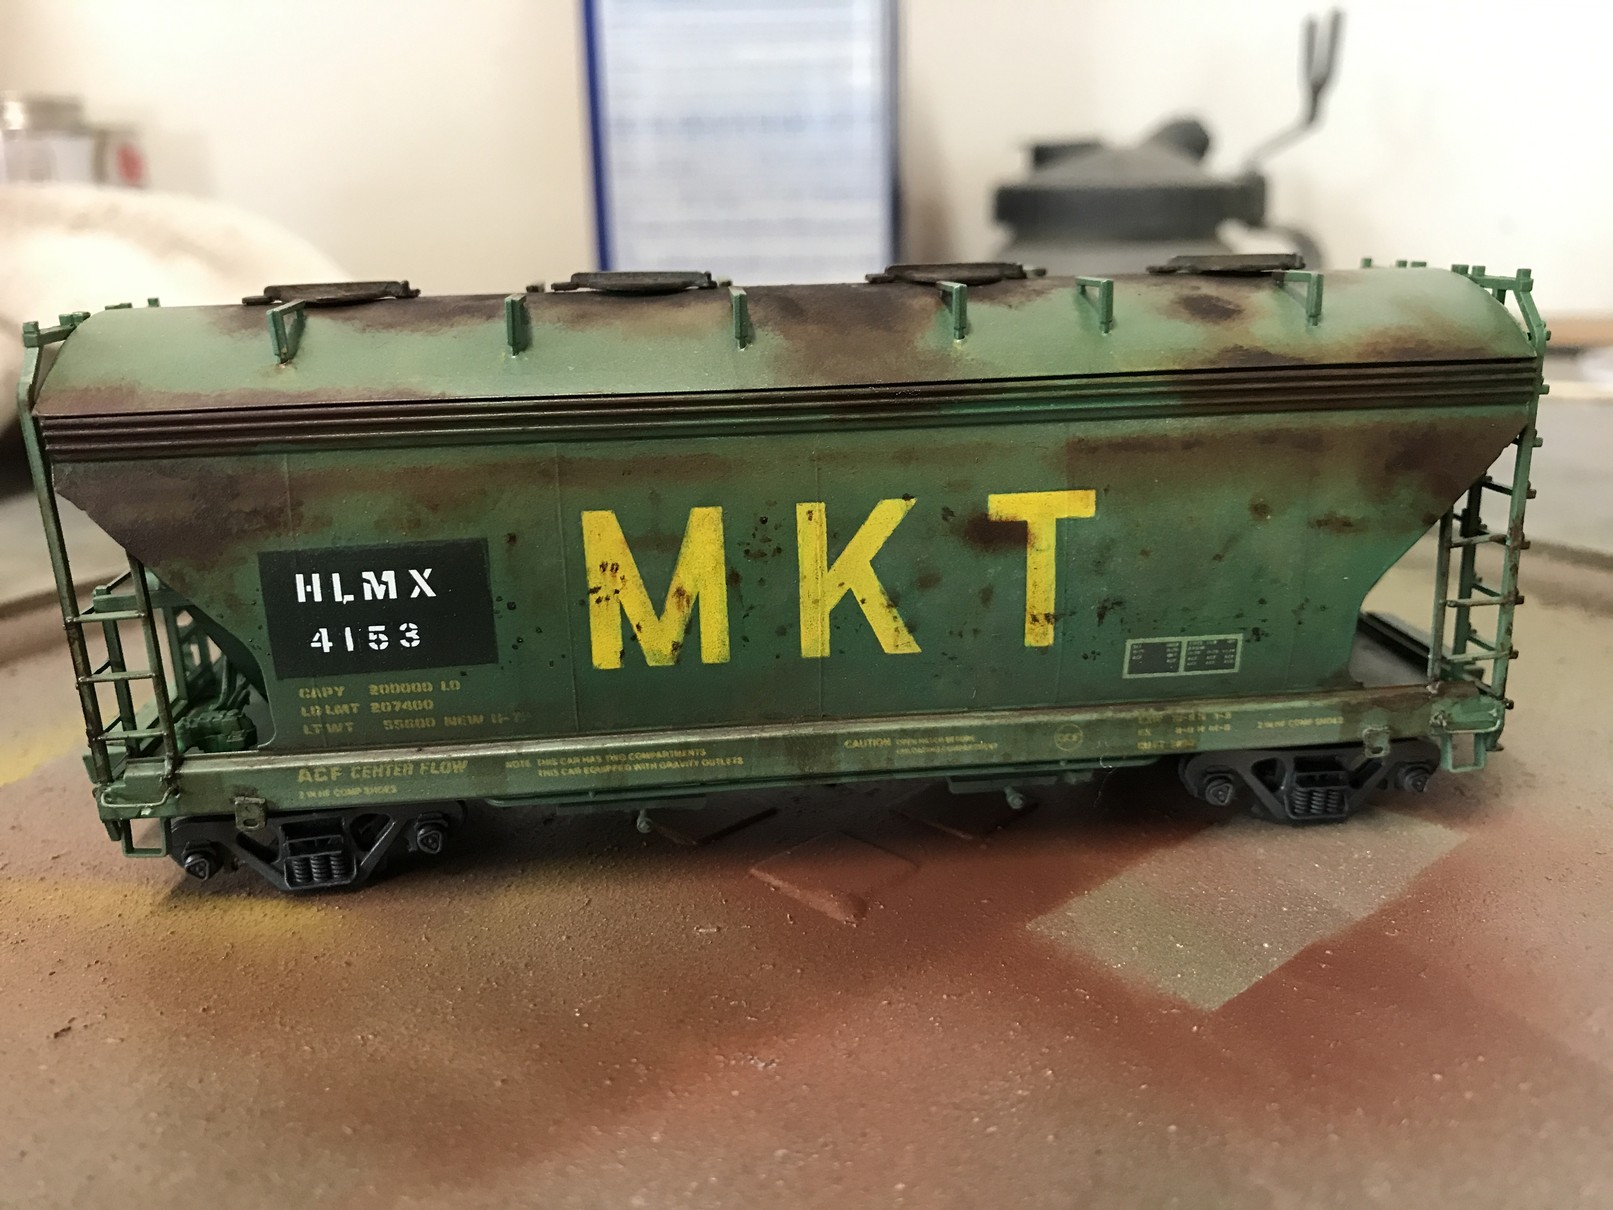
The last few steps were on the details. First a wash for the side sills and ends; sometimes gouache, sometimes craft acrylic paints. I added cut levers (I could hear the Weathering Shop comments before they came, so figured what the hey; it actually wasn't too bad- some 28 gauge wire cut and shaped something like a cut lever, if not the exact handle the prototype uses). The kit-supplied metal roofwalk came in Katy green, so I sprayed that with a Tamiya light Gray before applying oils and chalk for a bit of rusting. Added air hoses, cut the pin from the Kadee #58 couplers.
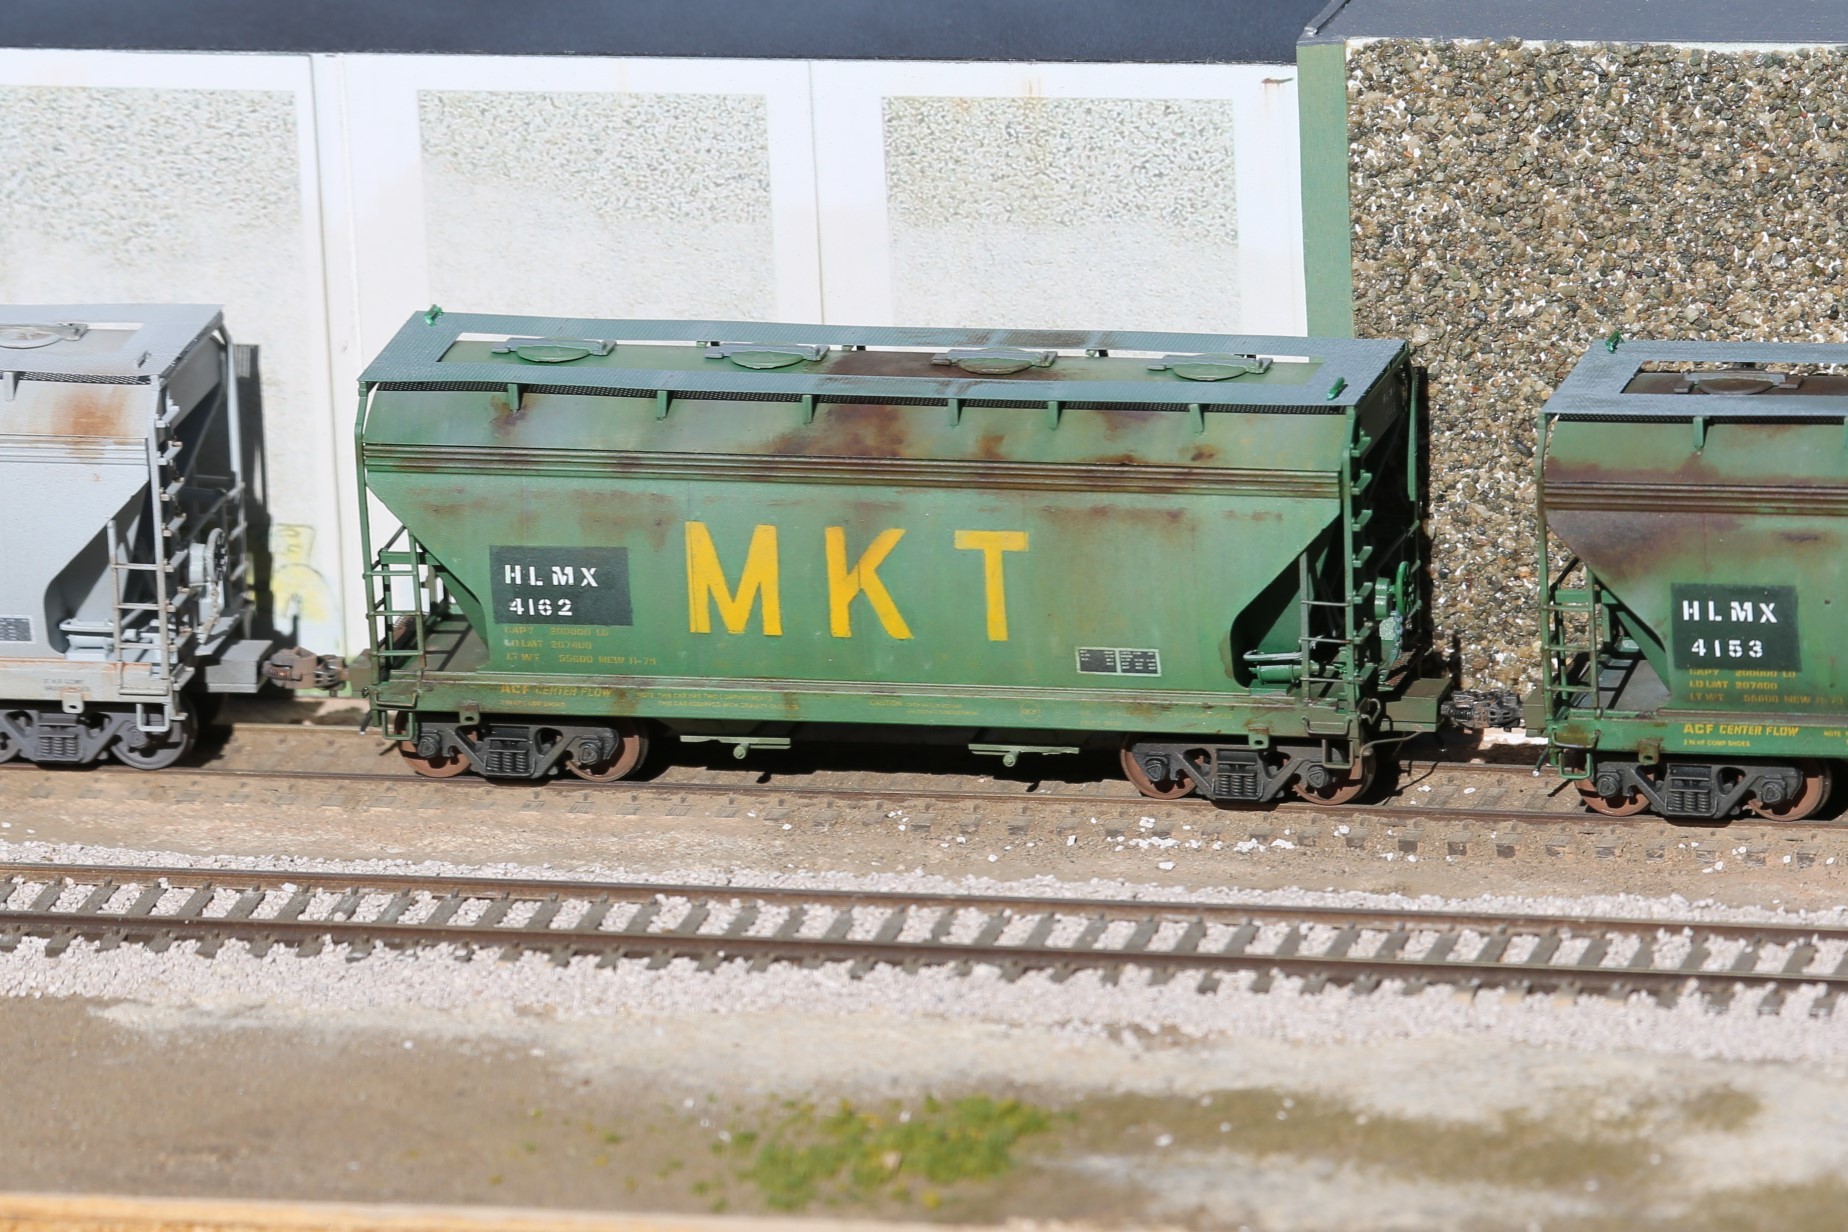
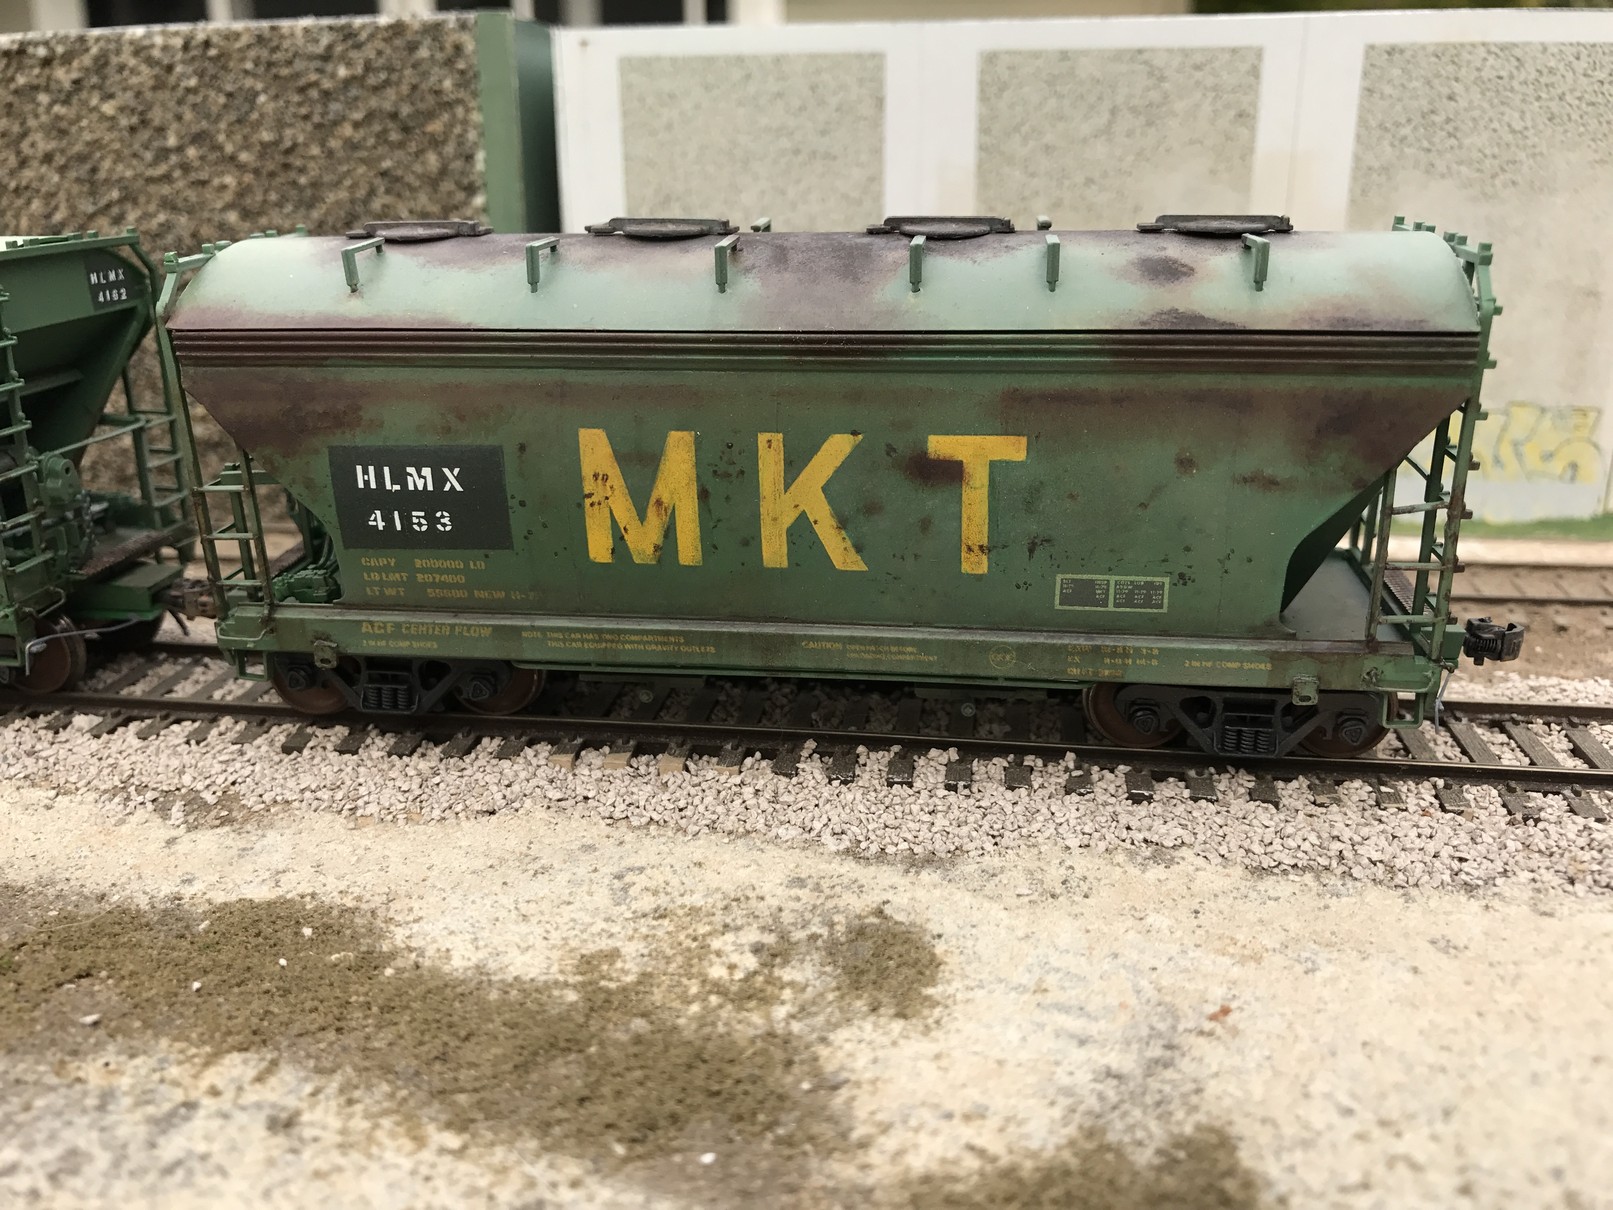
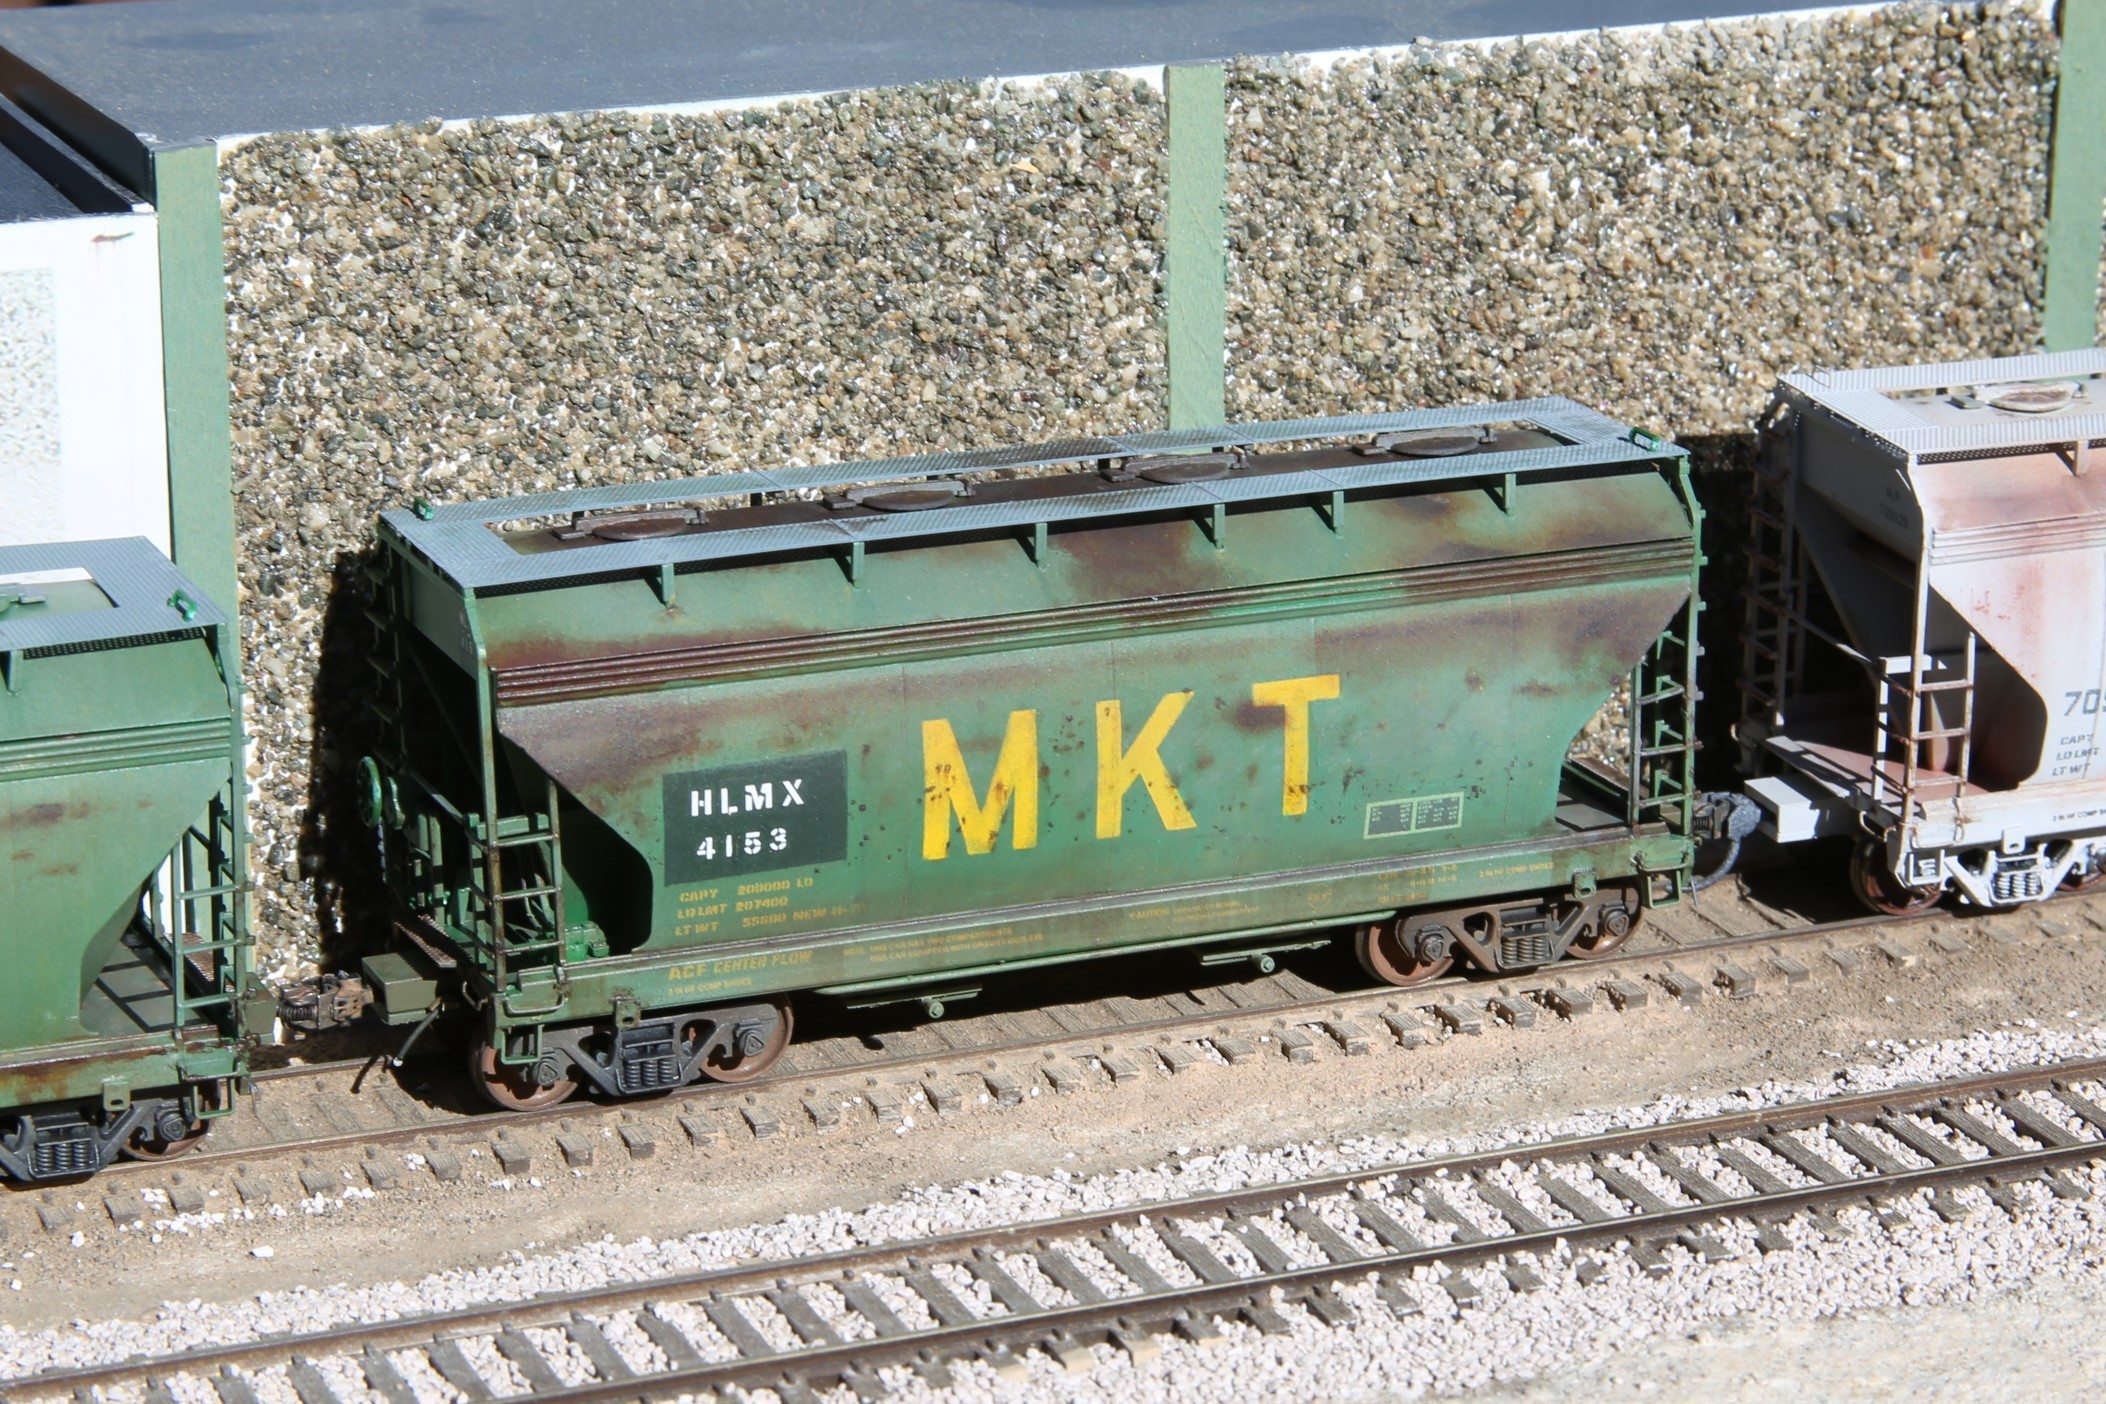
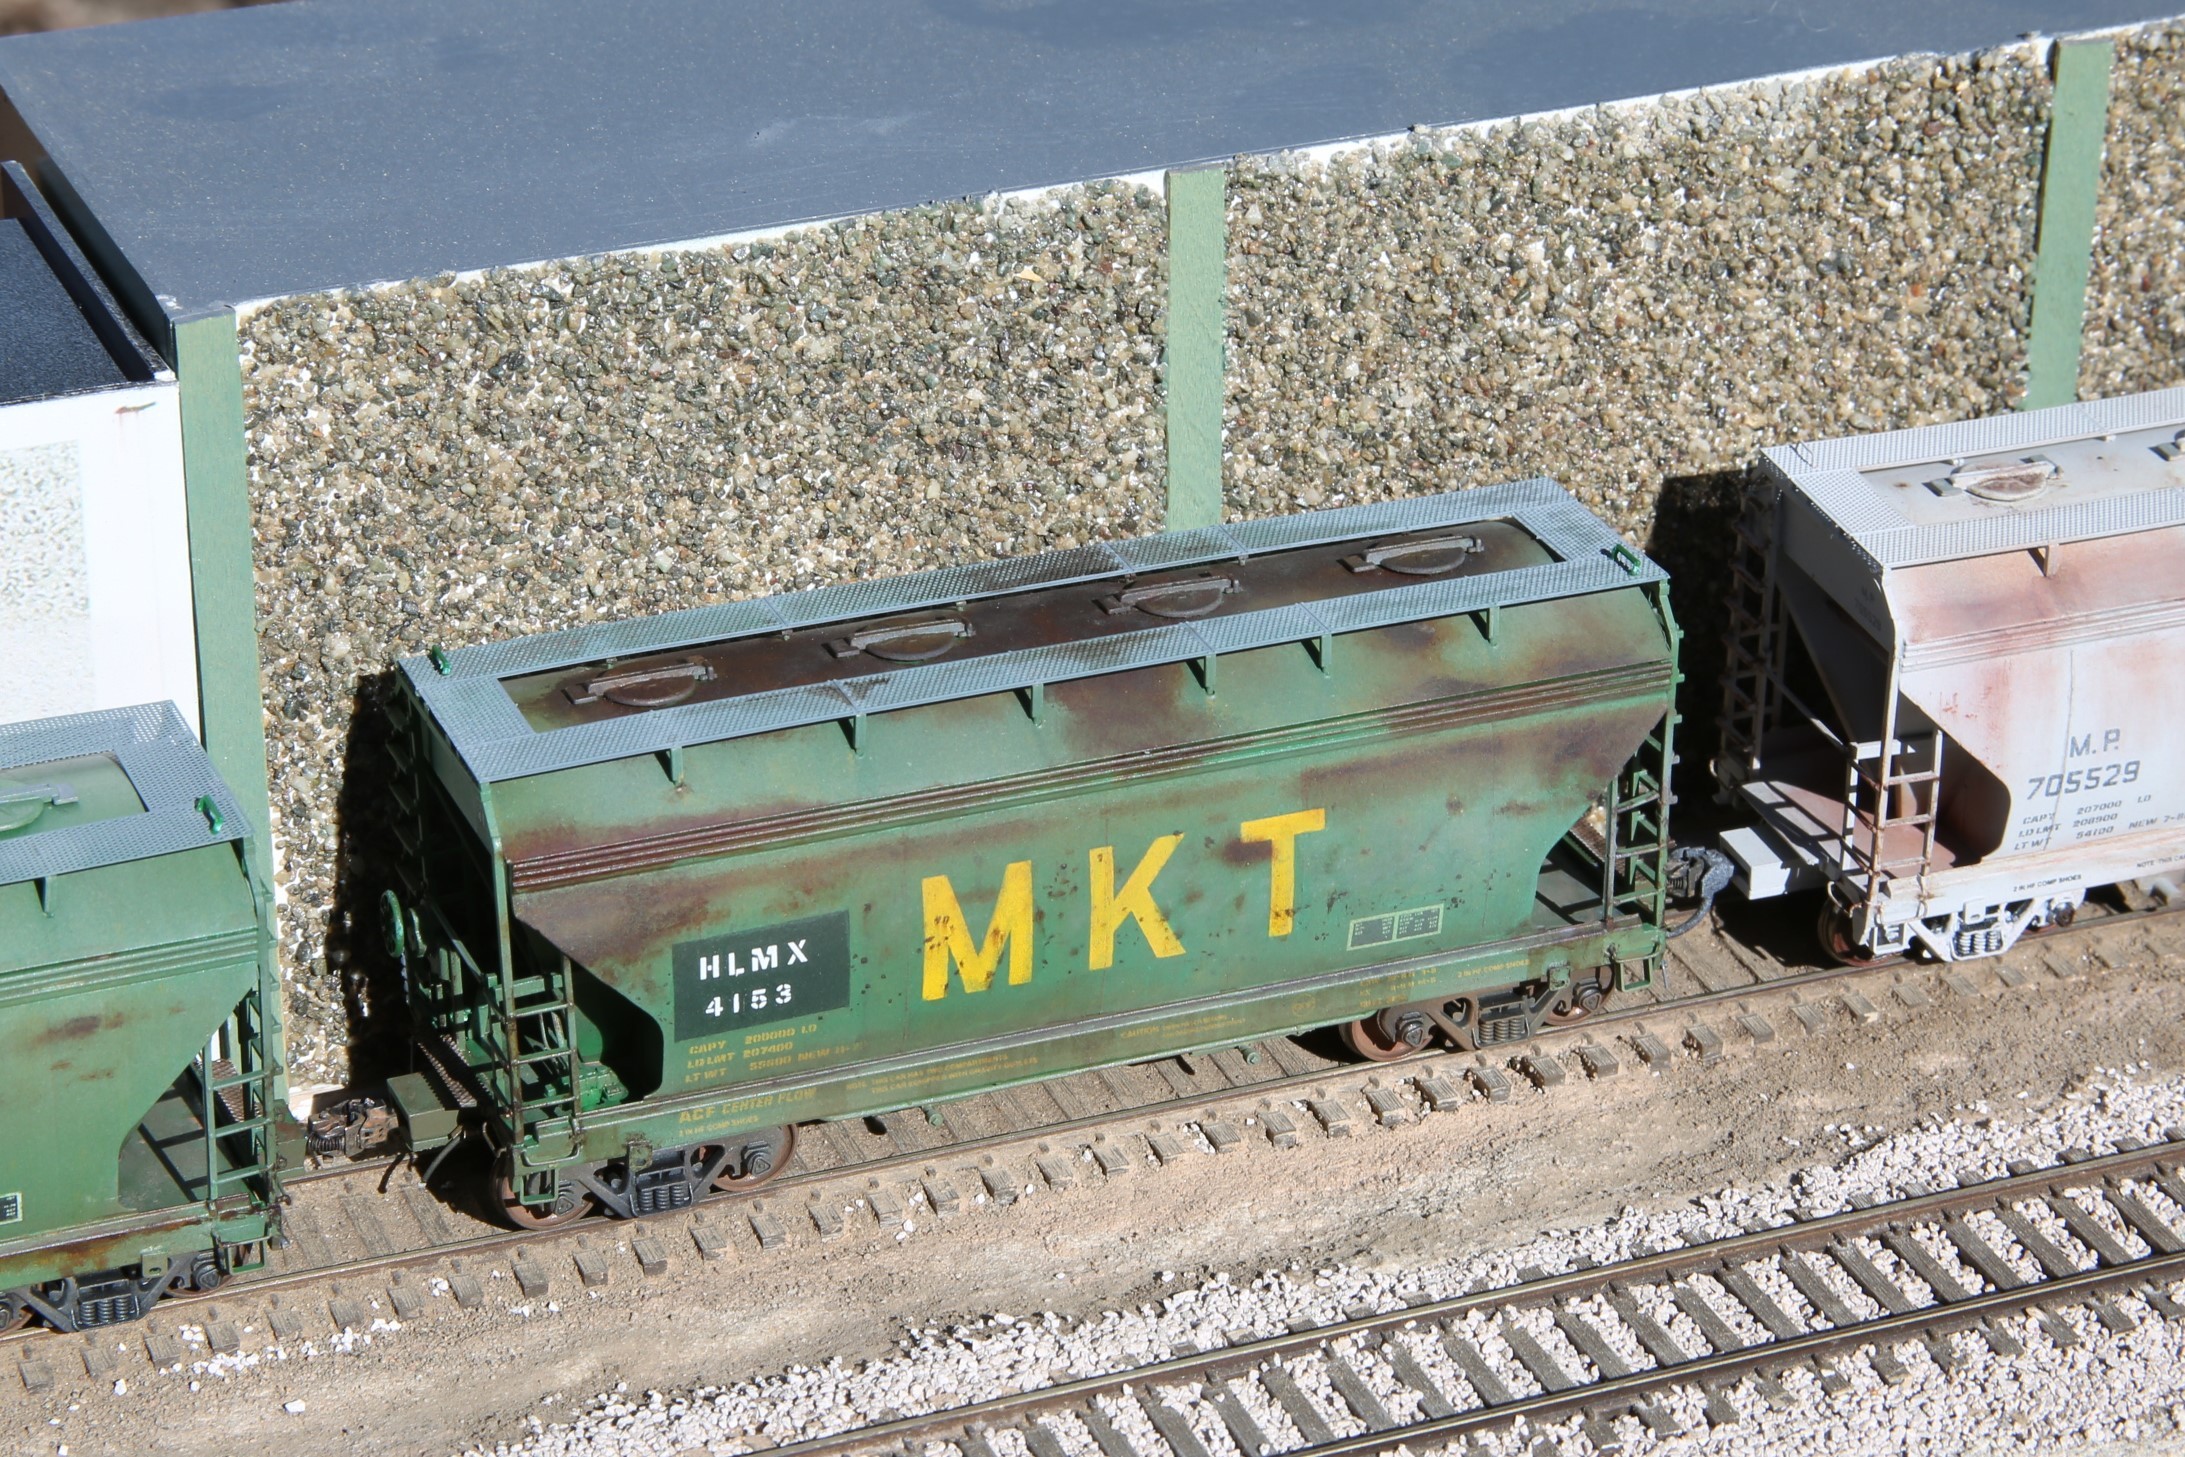
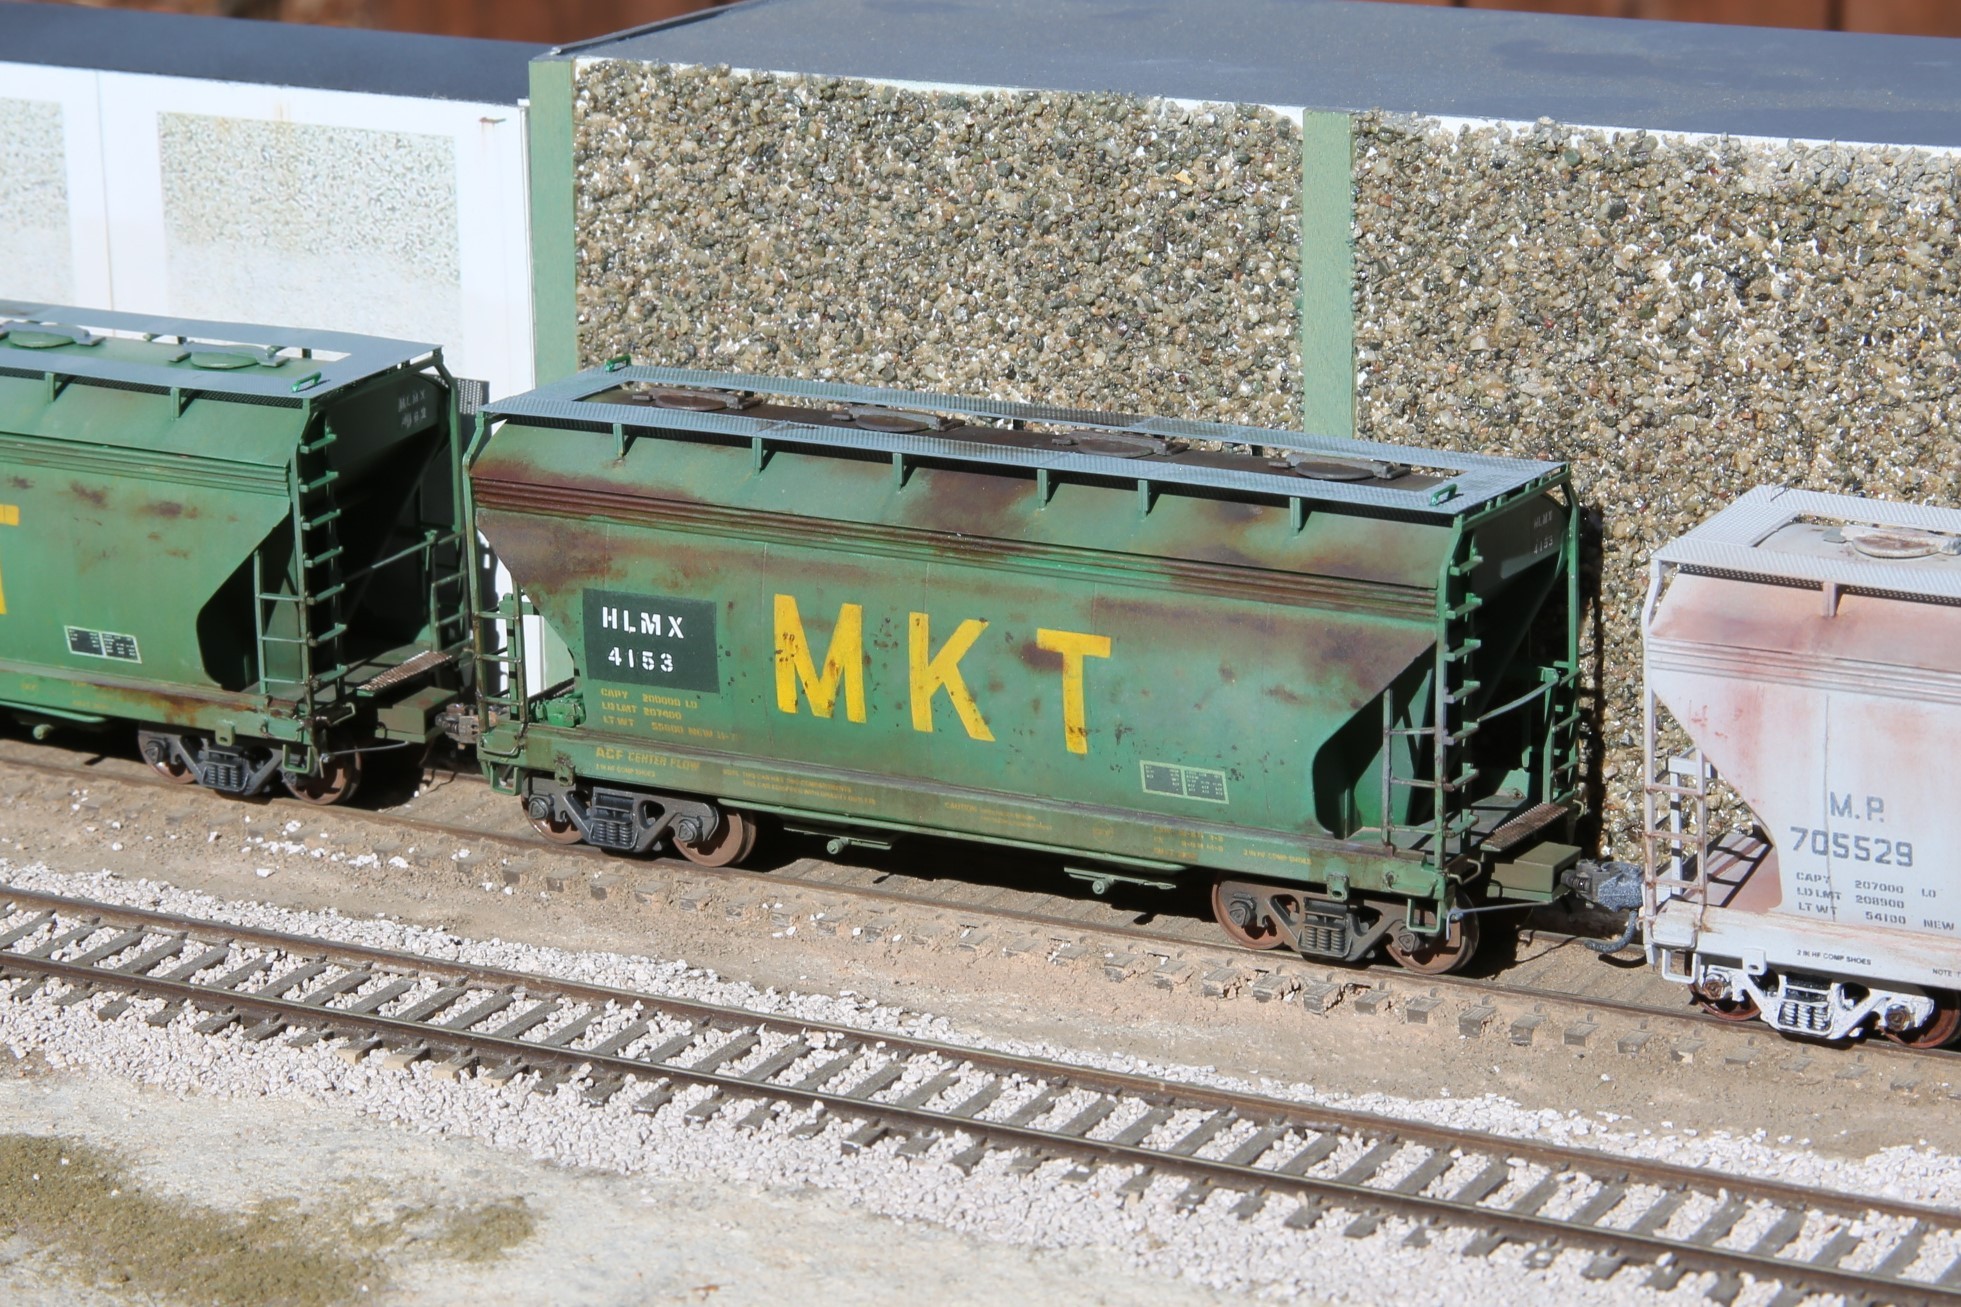
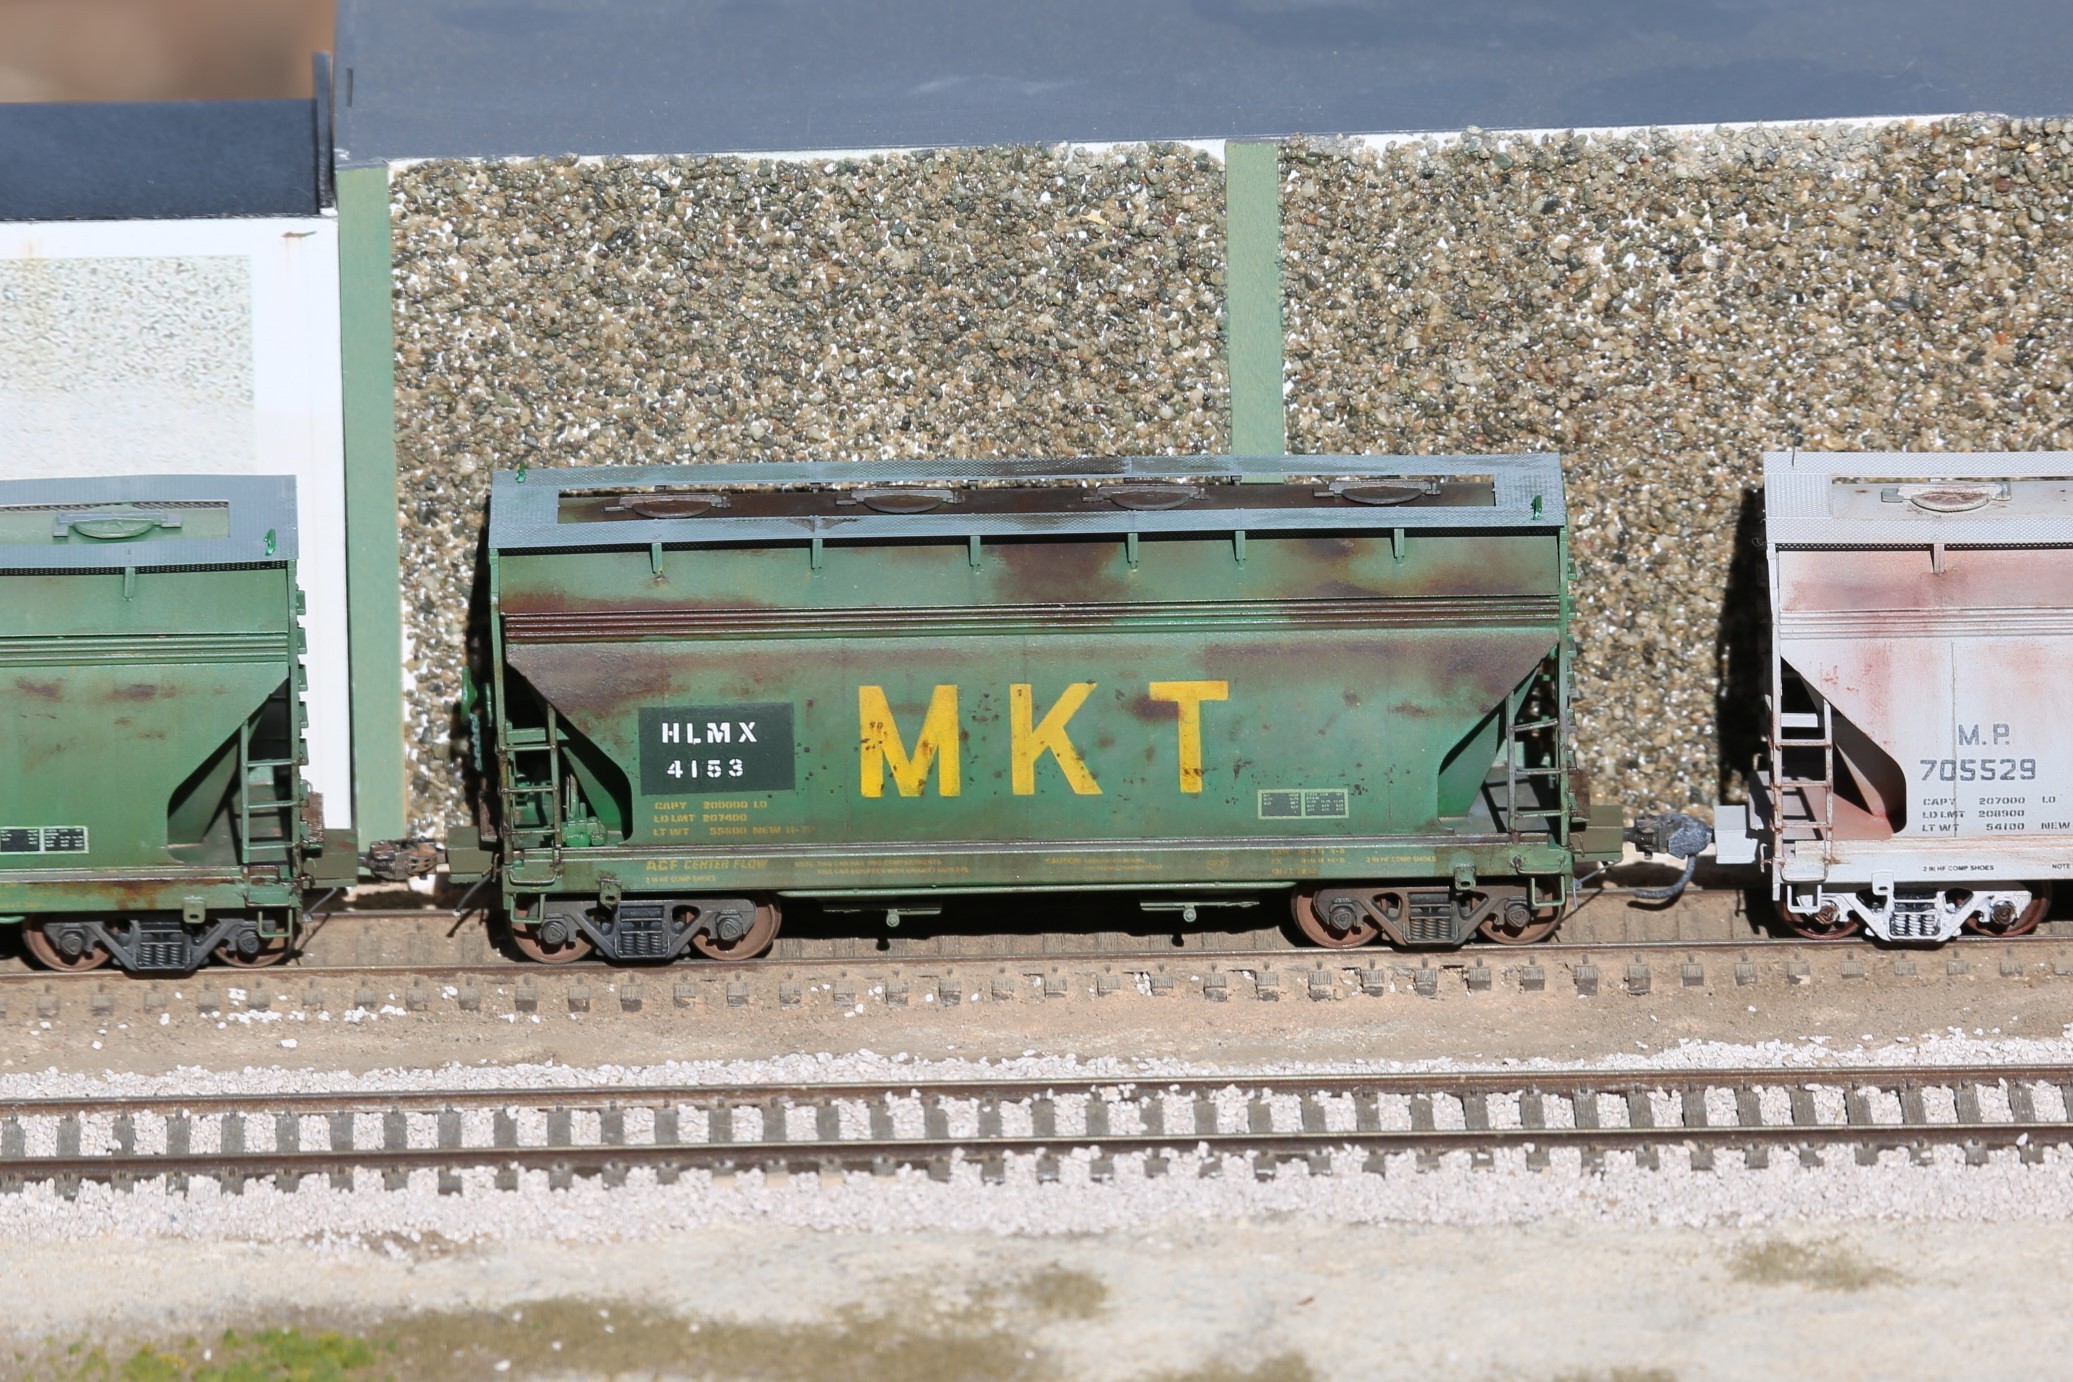
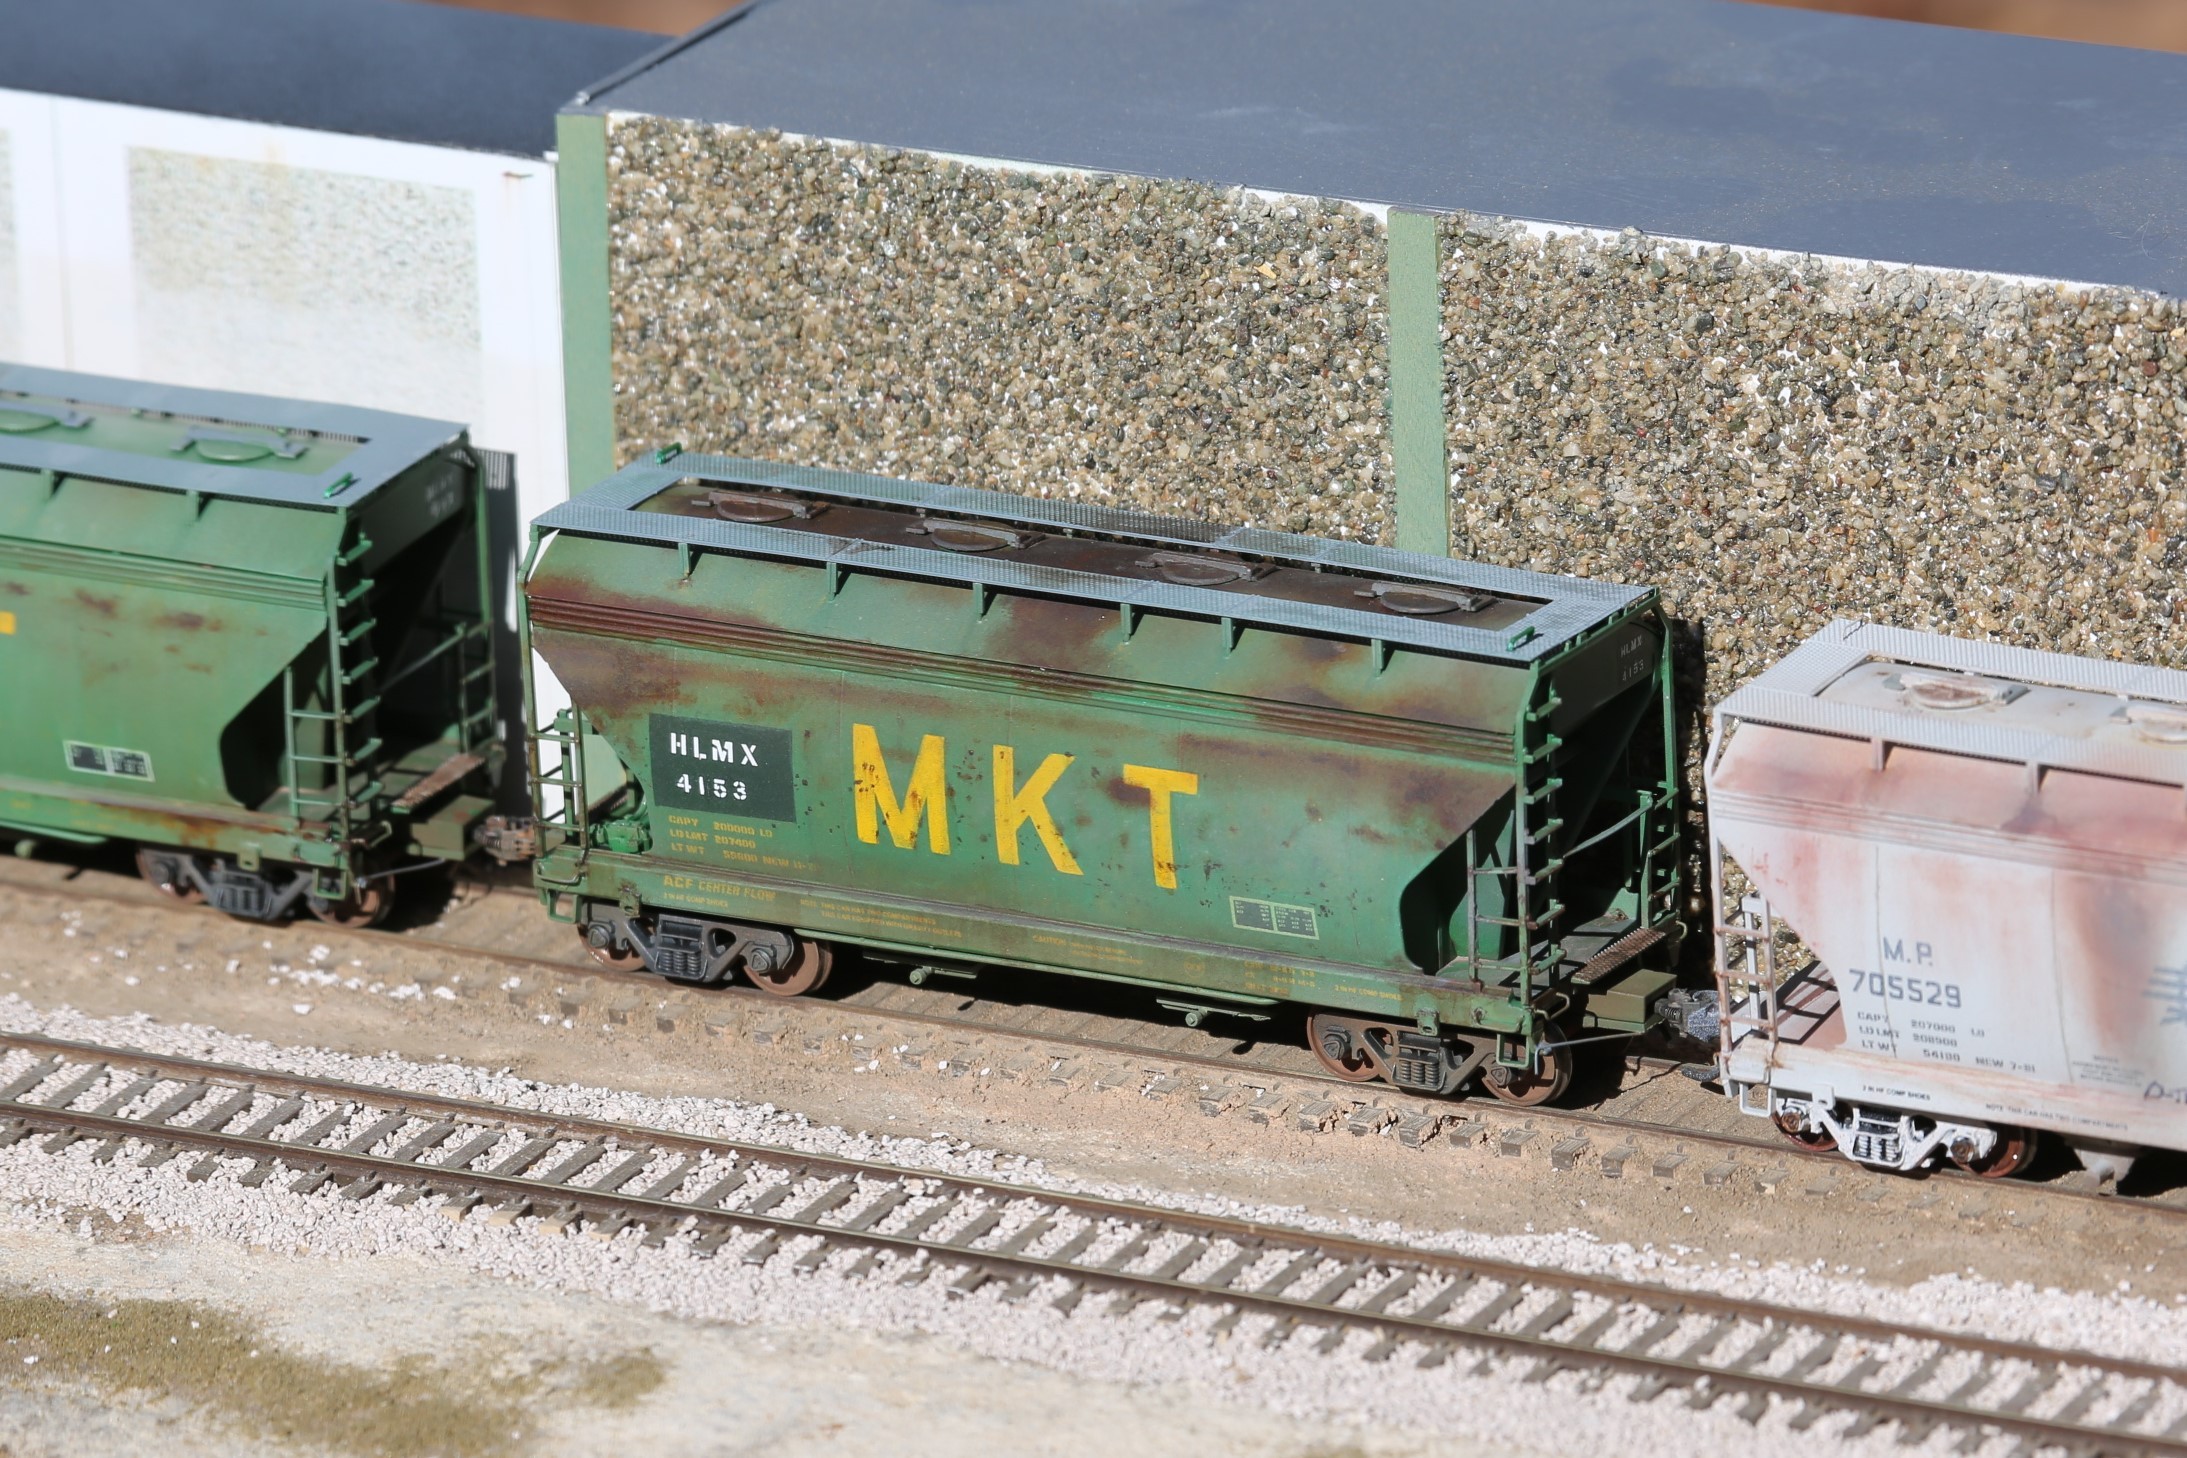
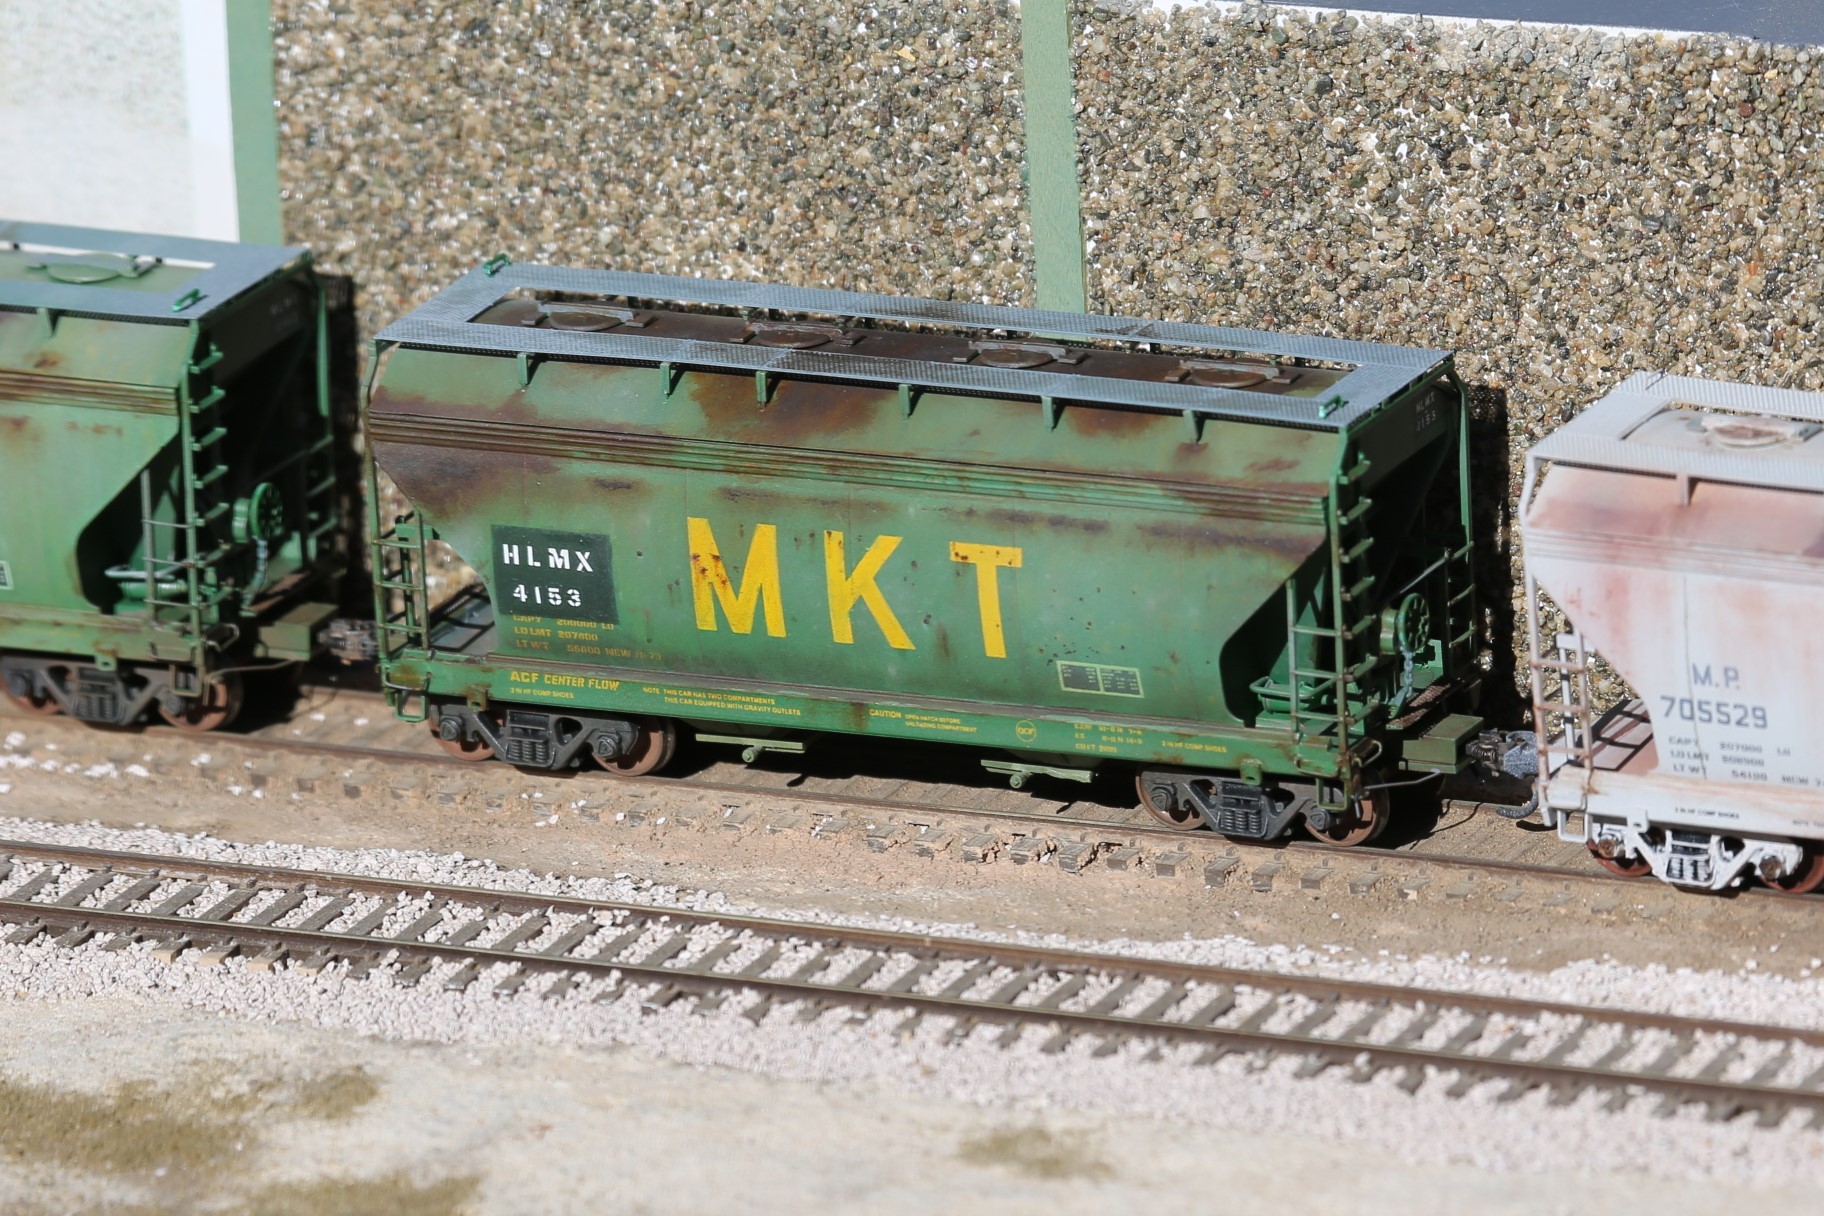
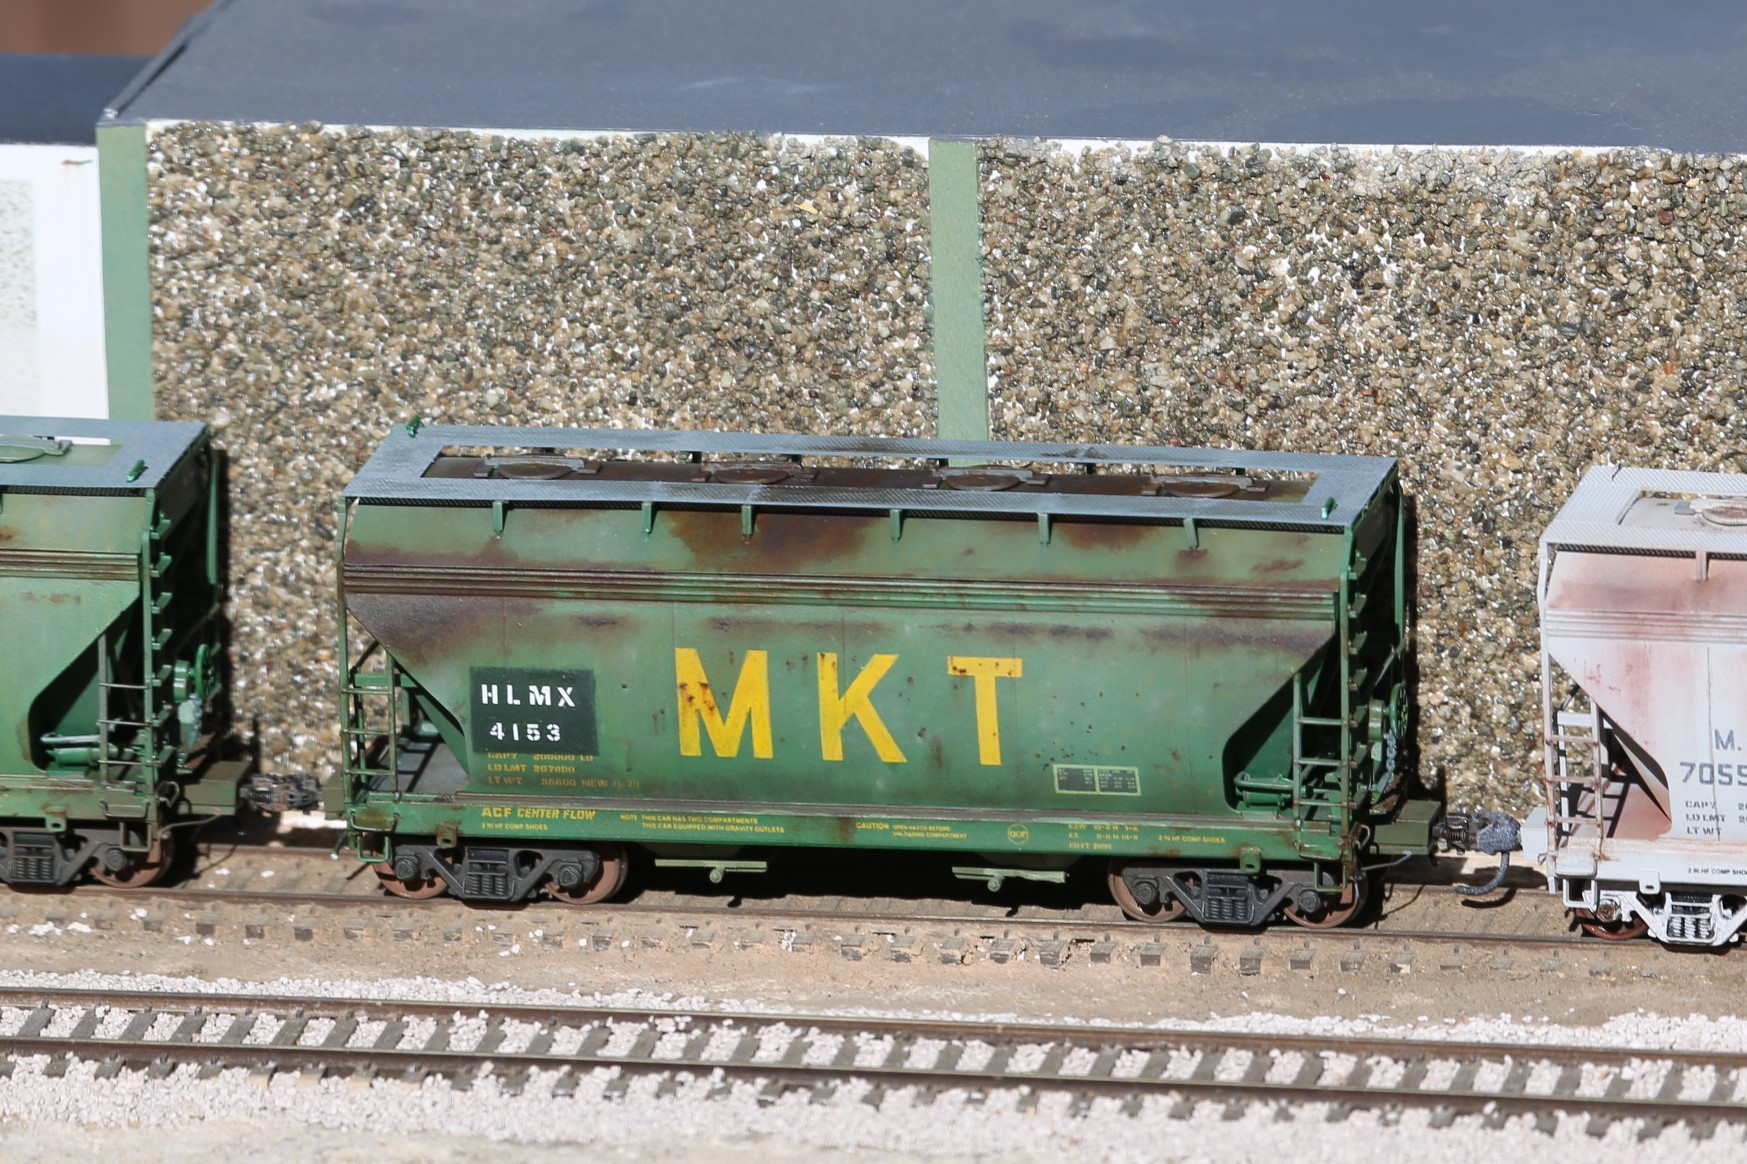
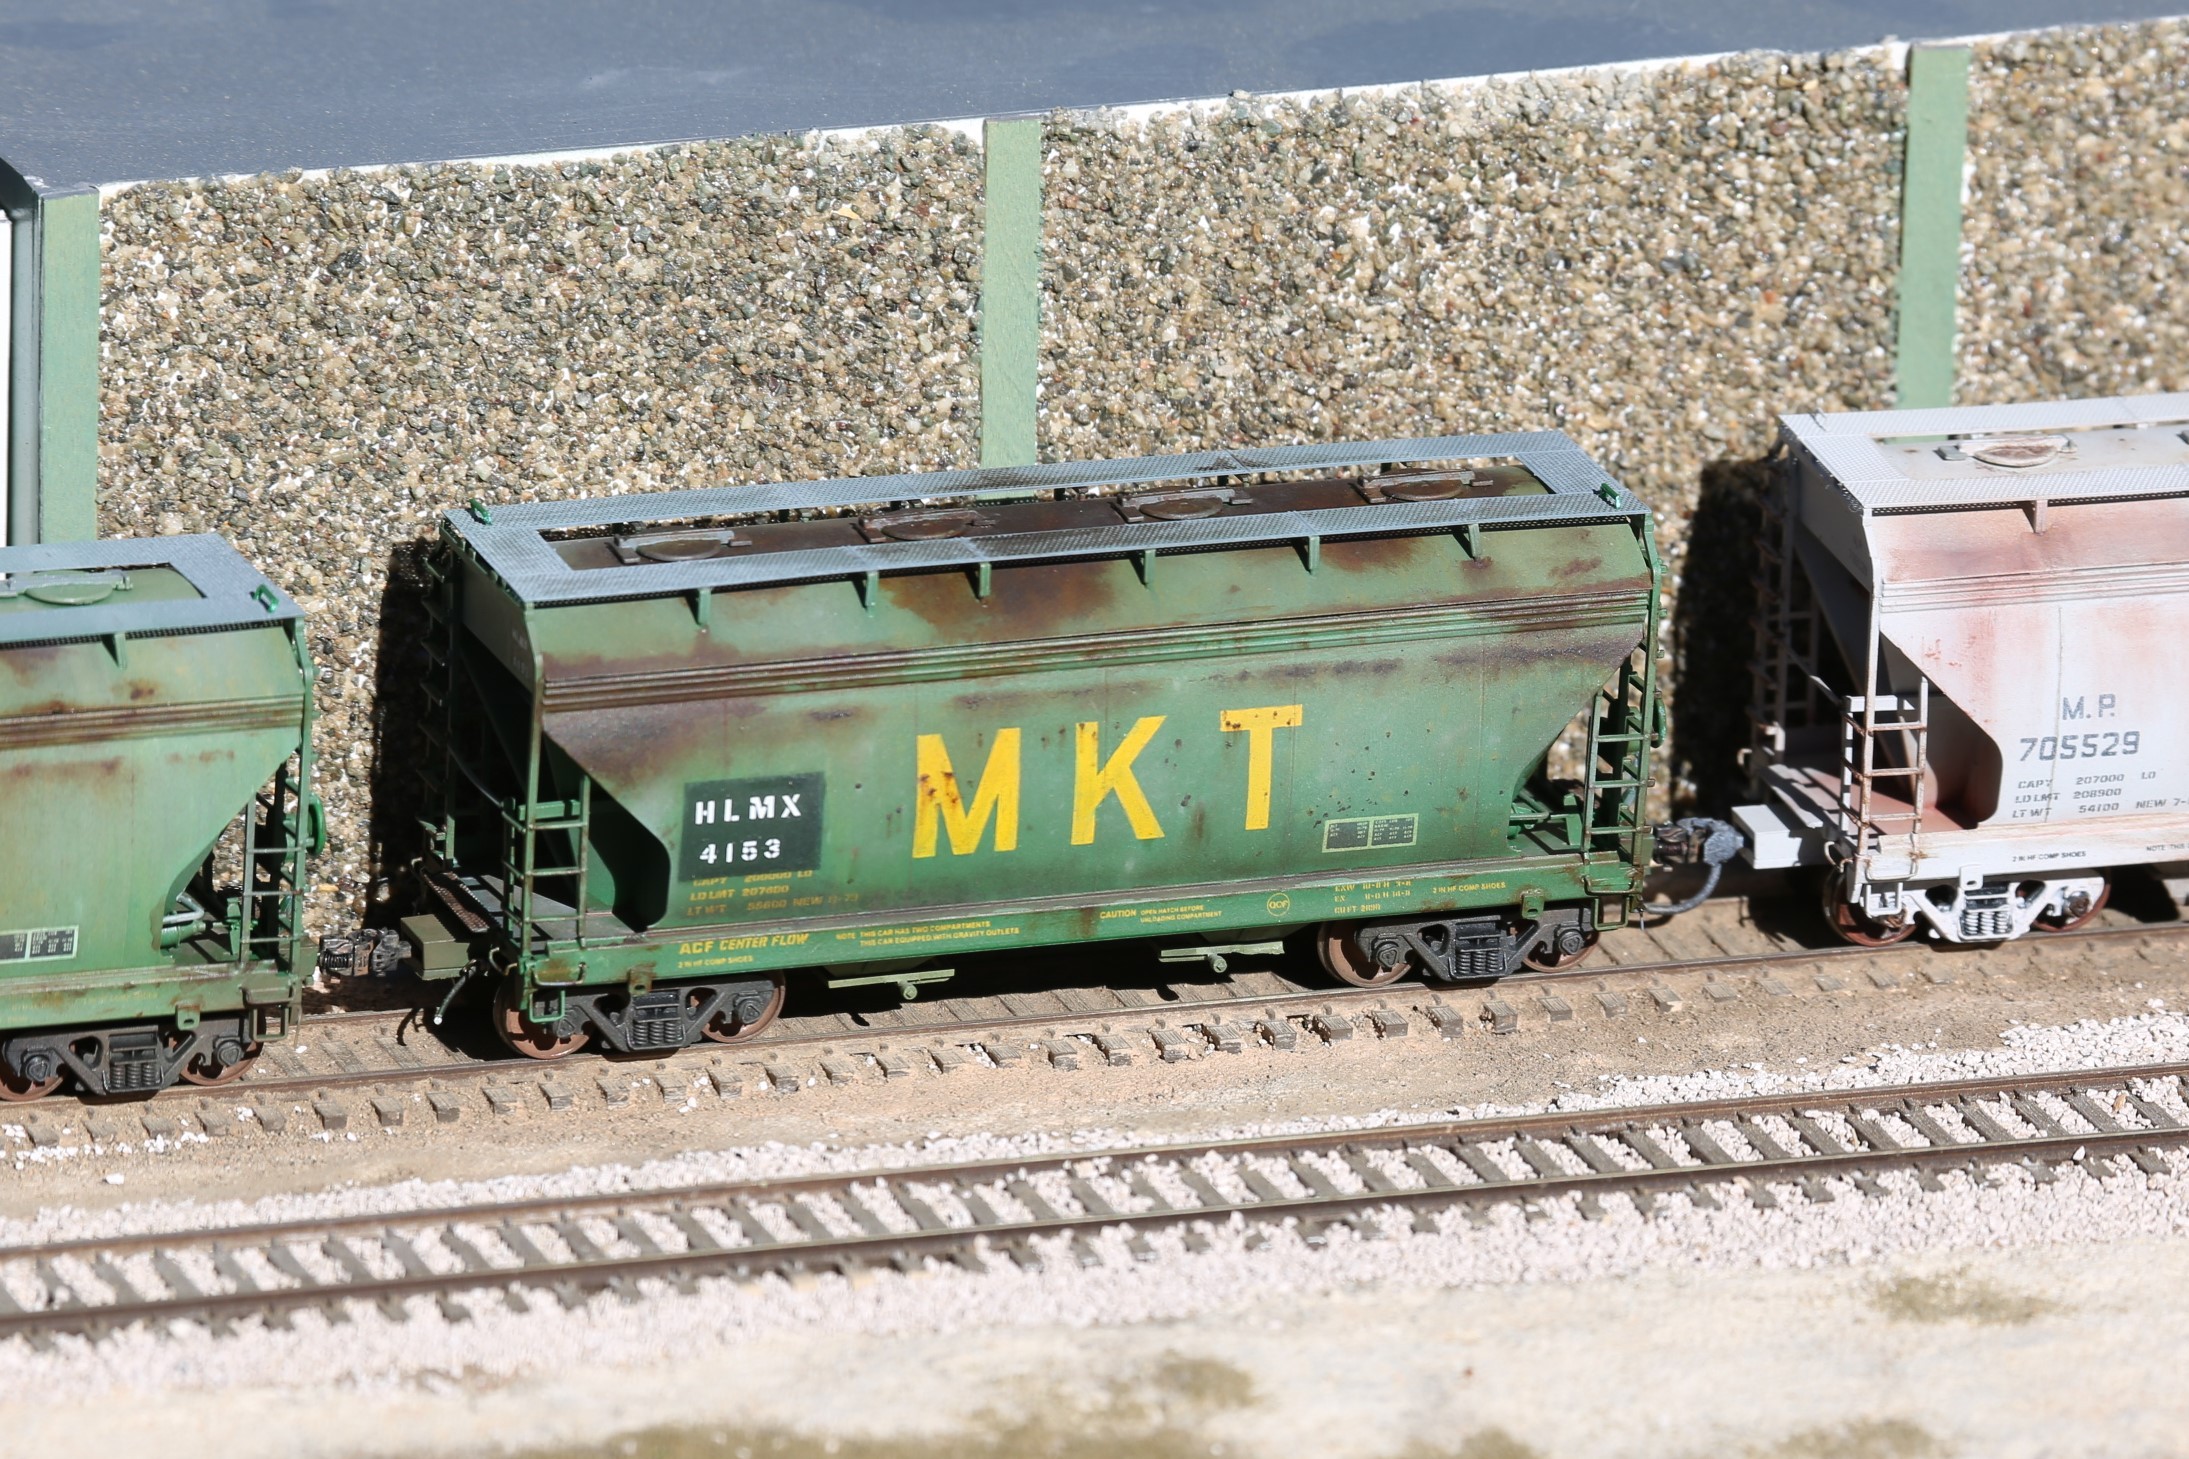
HLMX 4153
 |
 |
 |
 |
 |
 |
 |
 |
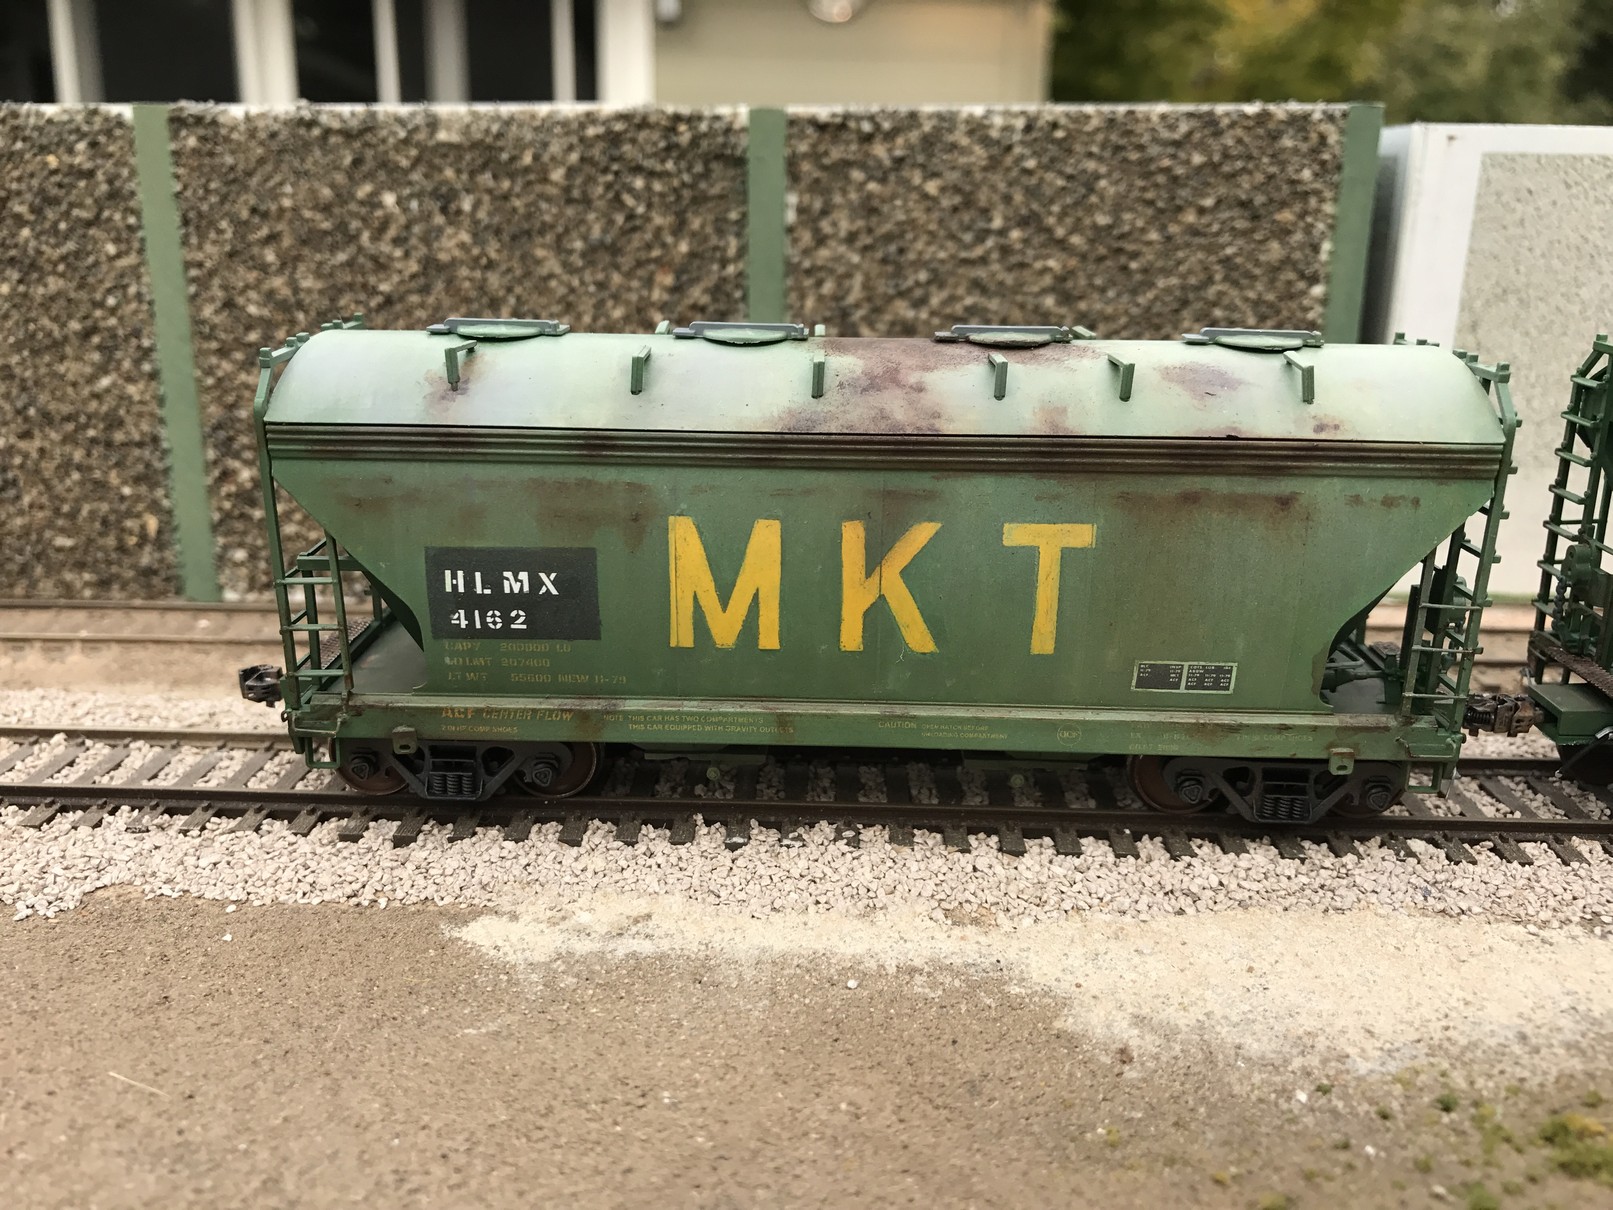
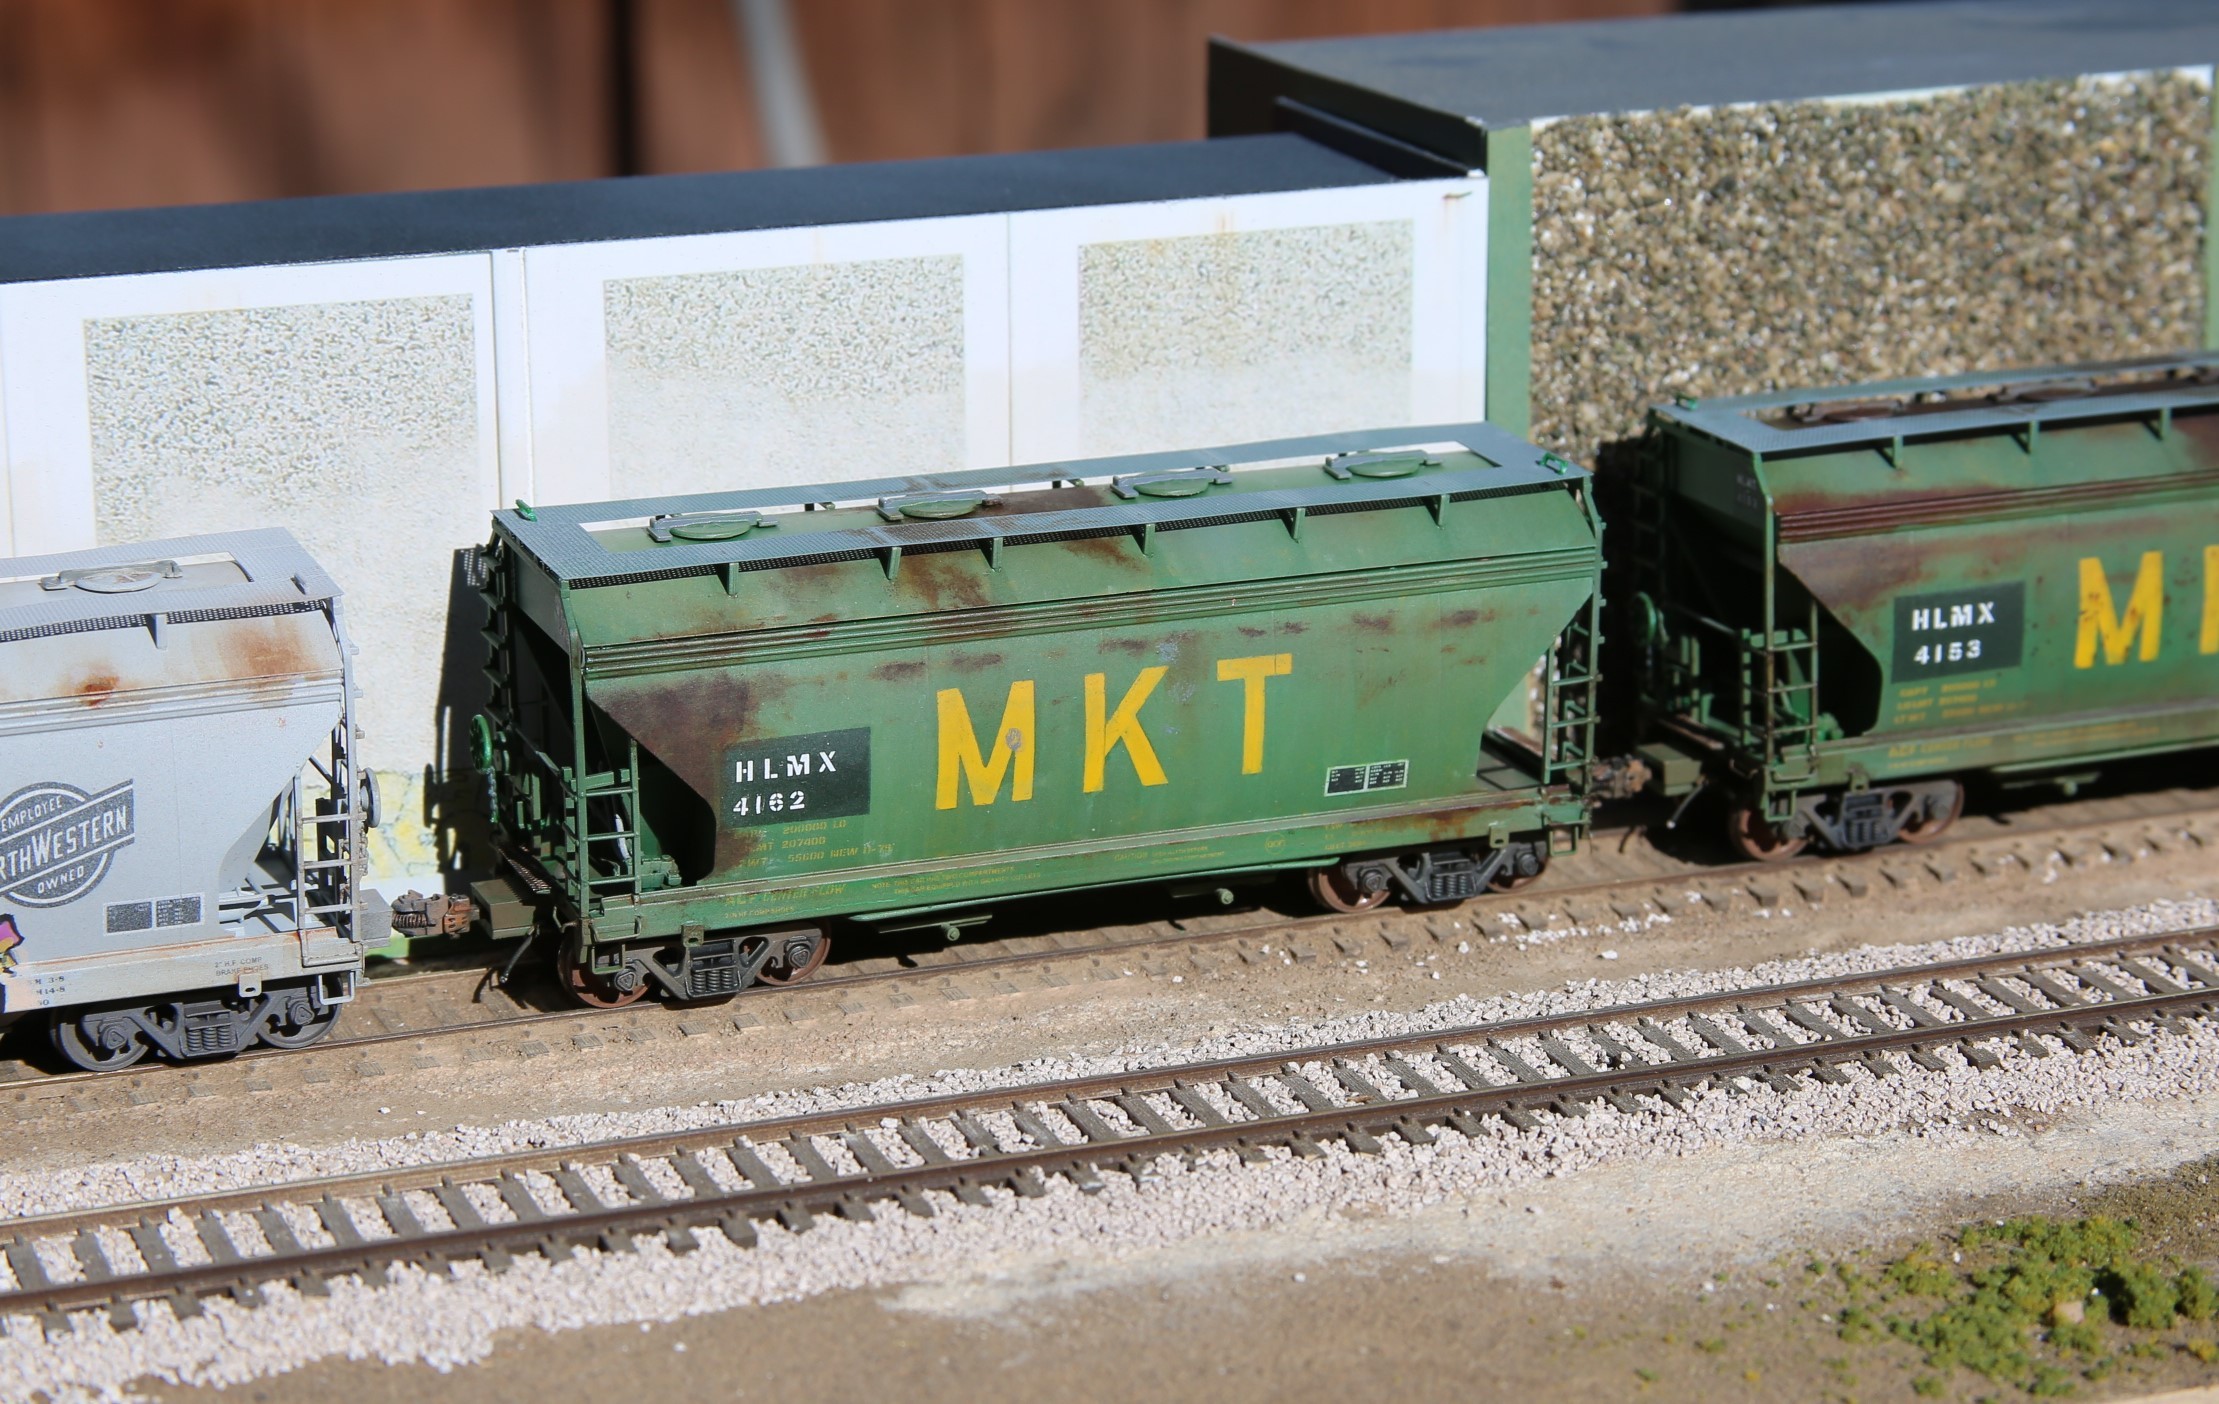
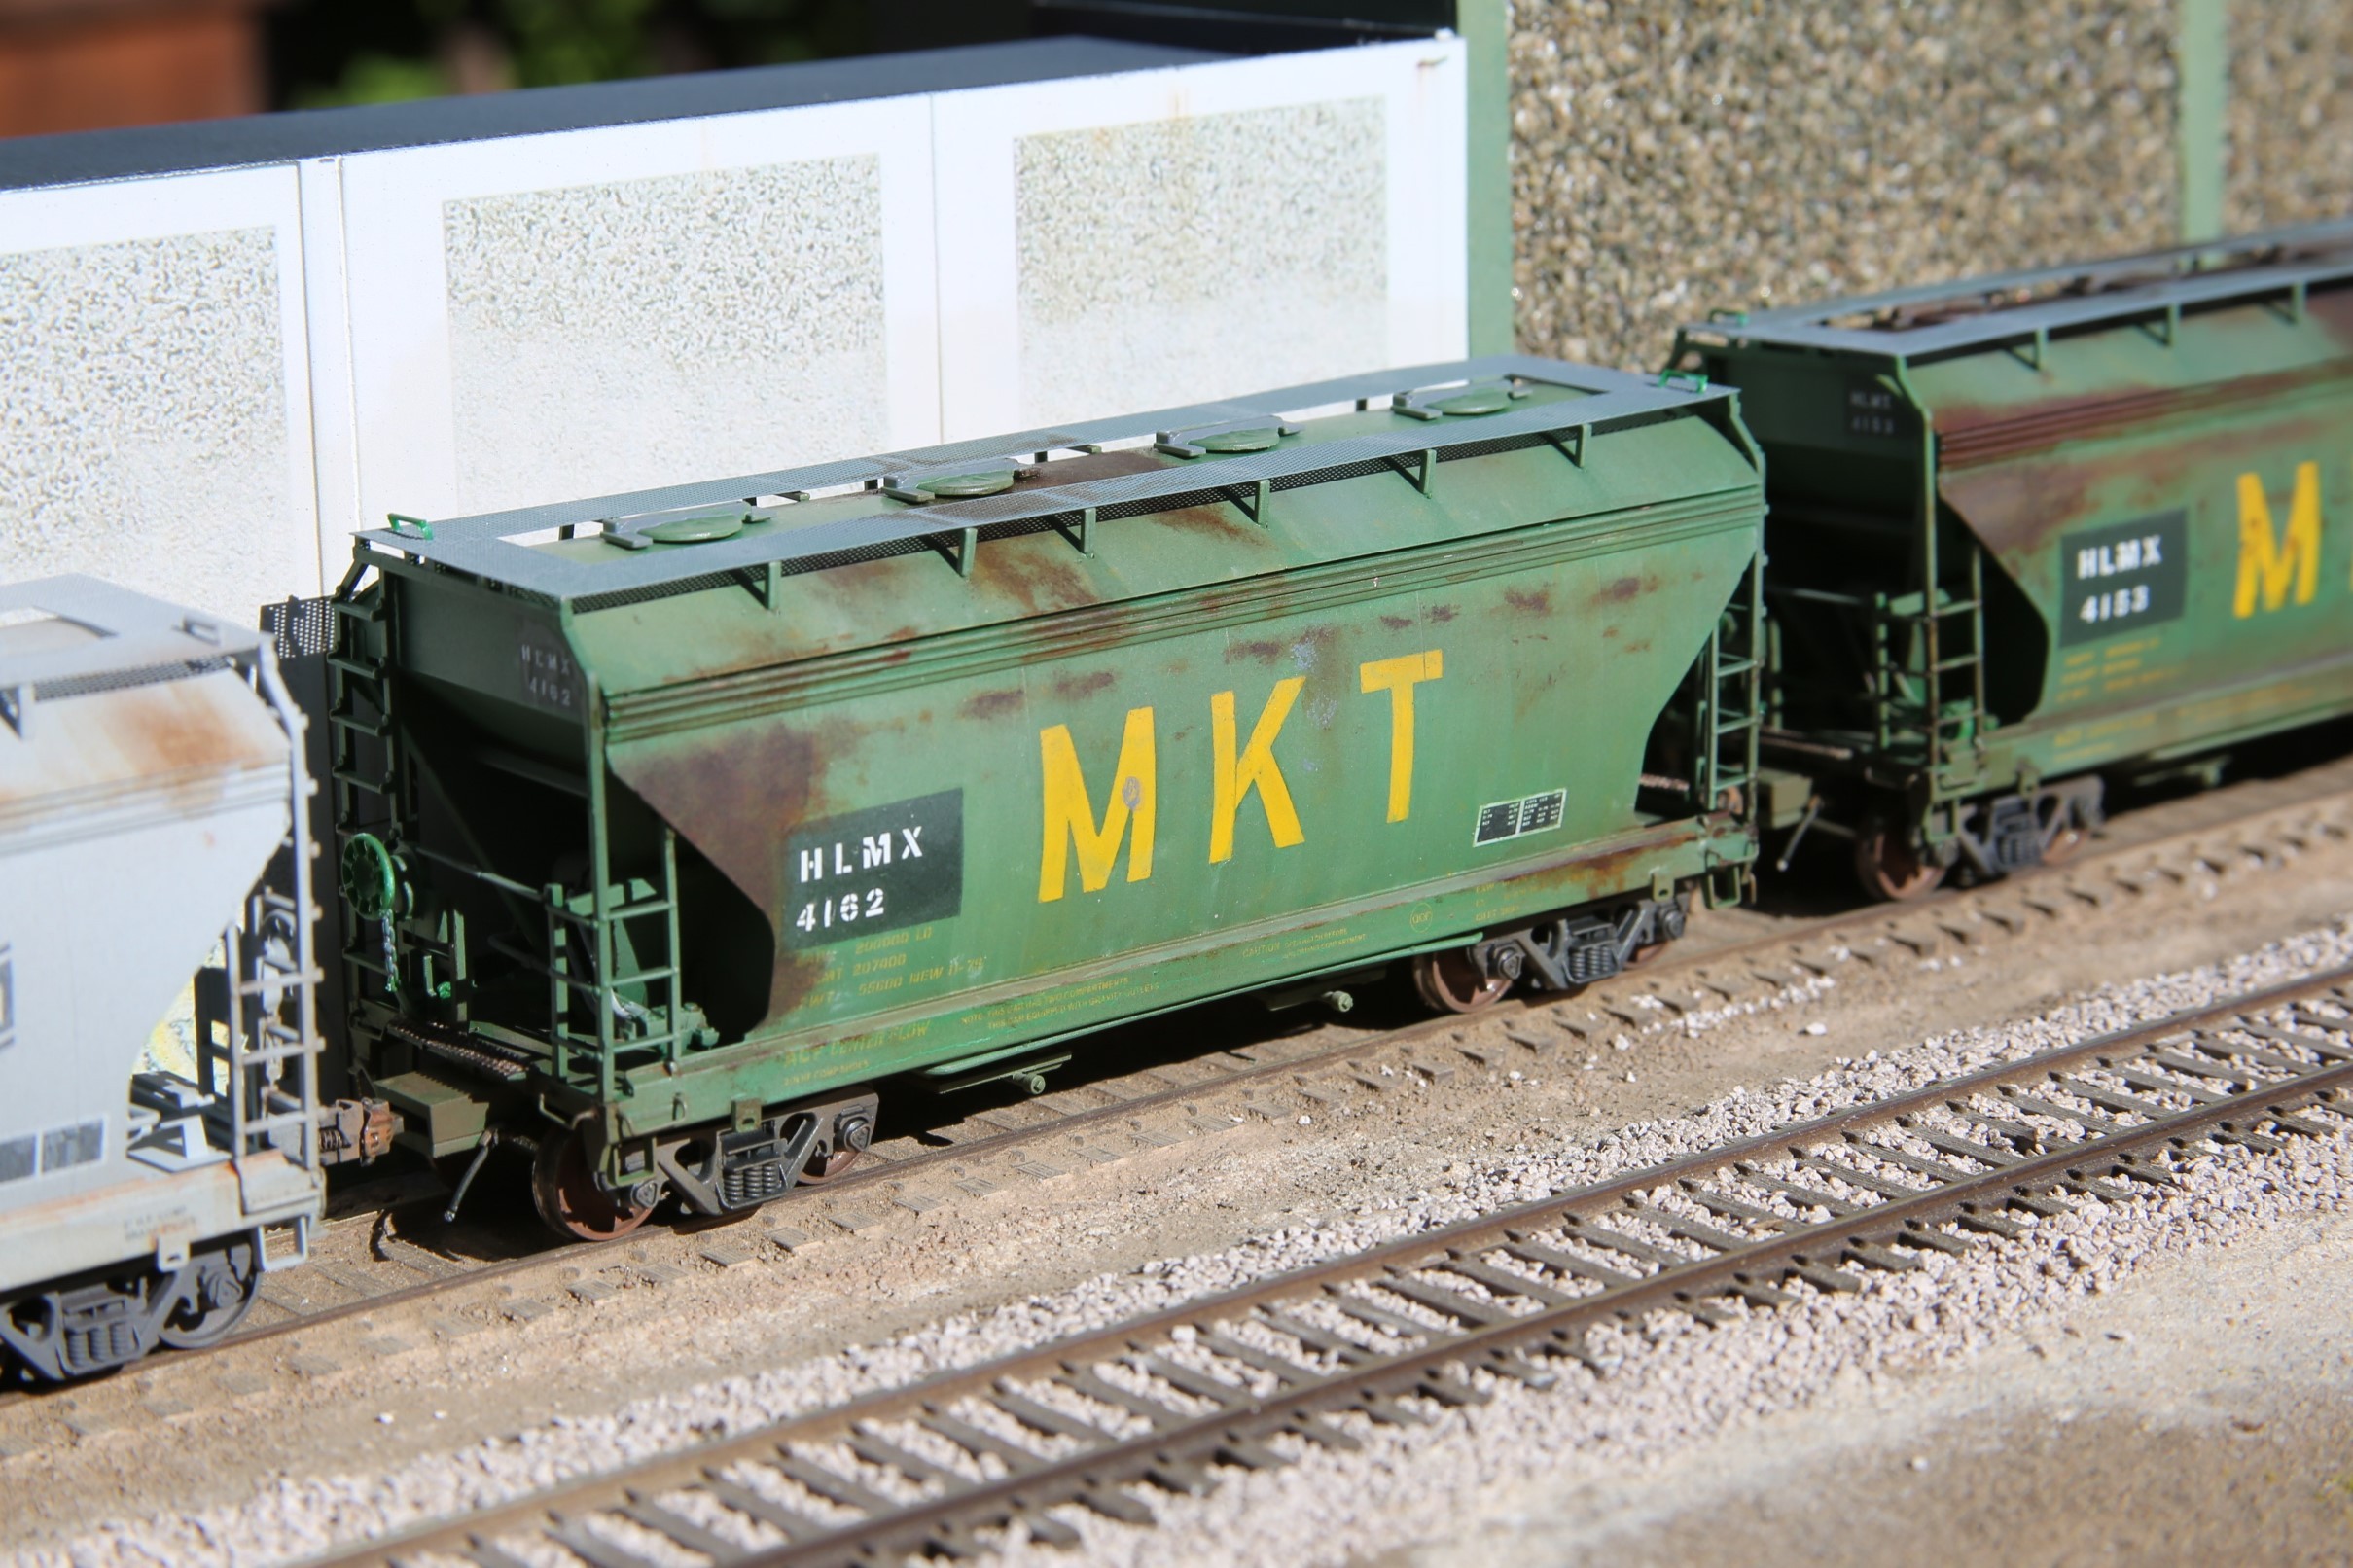
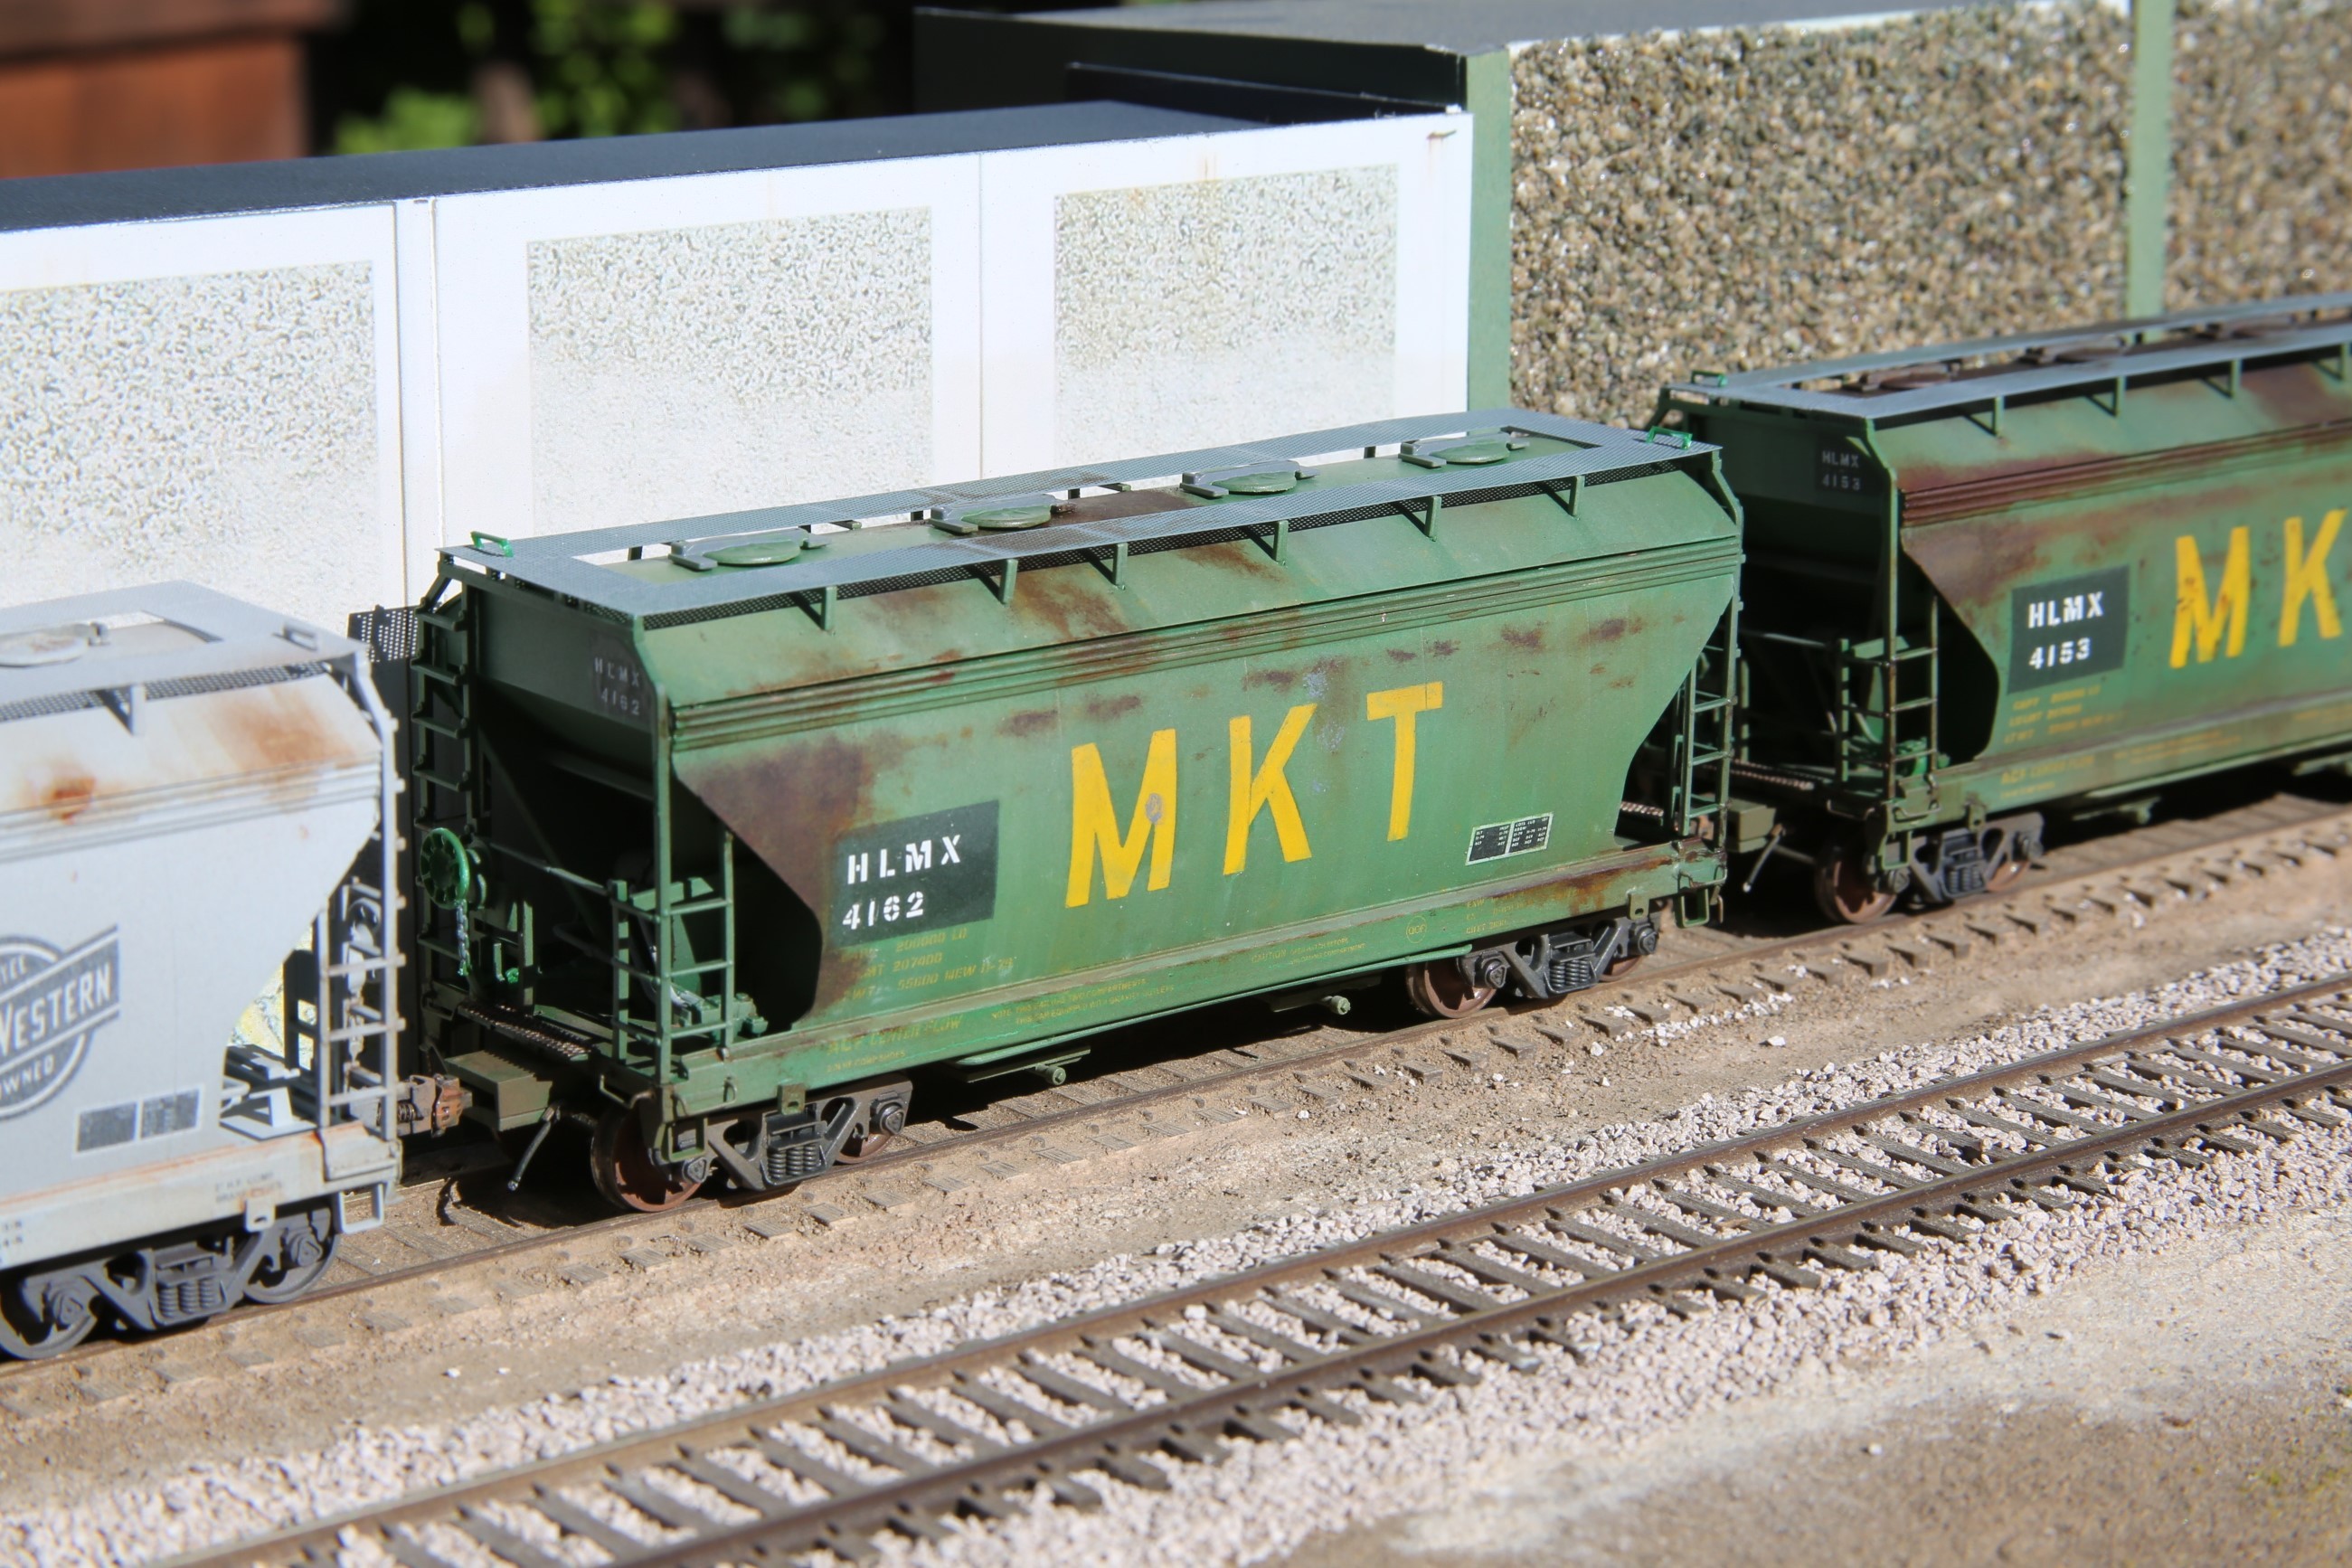
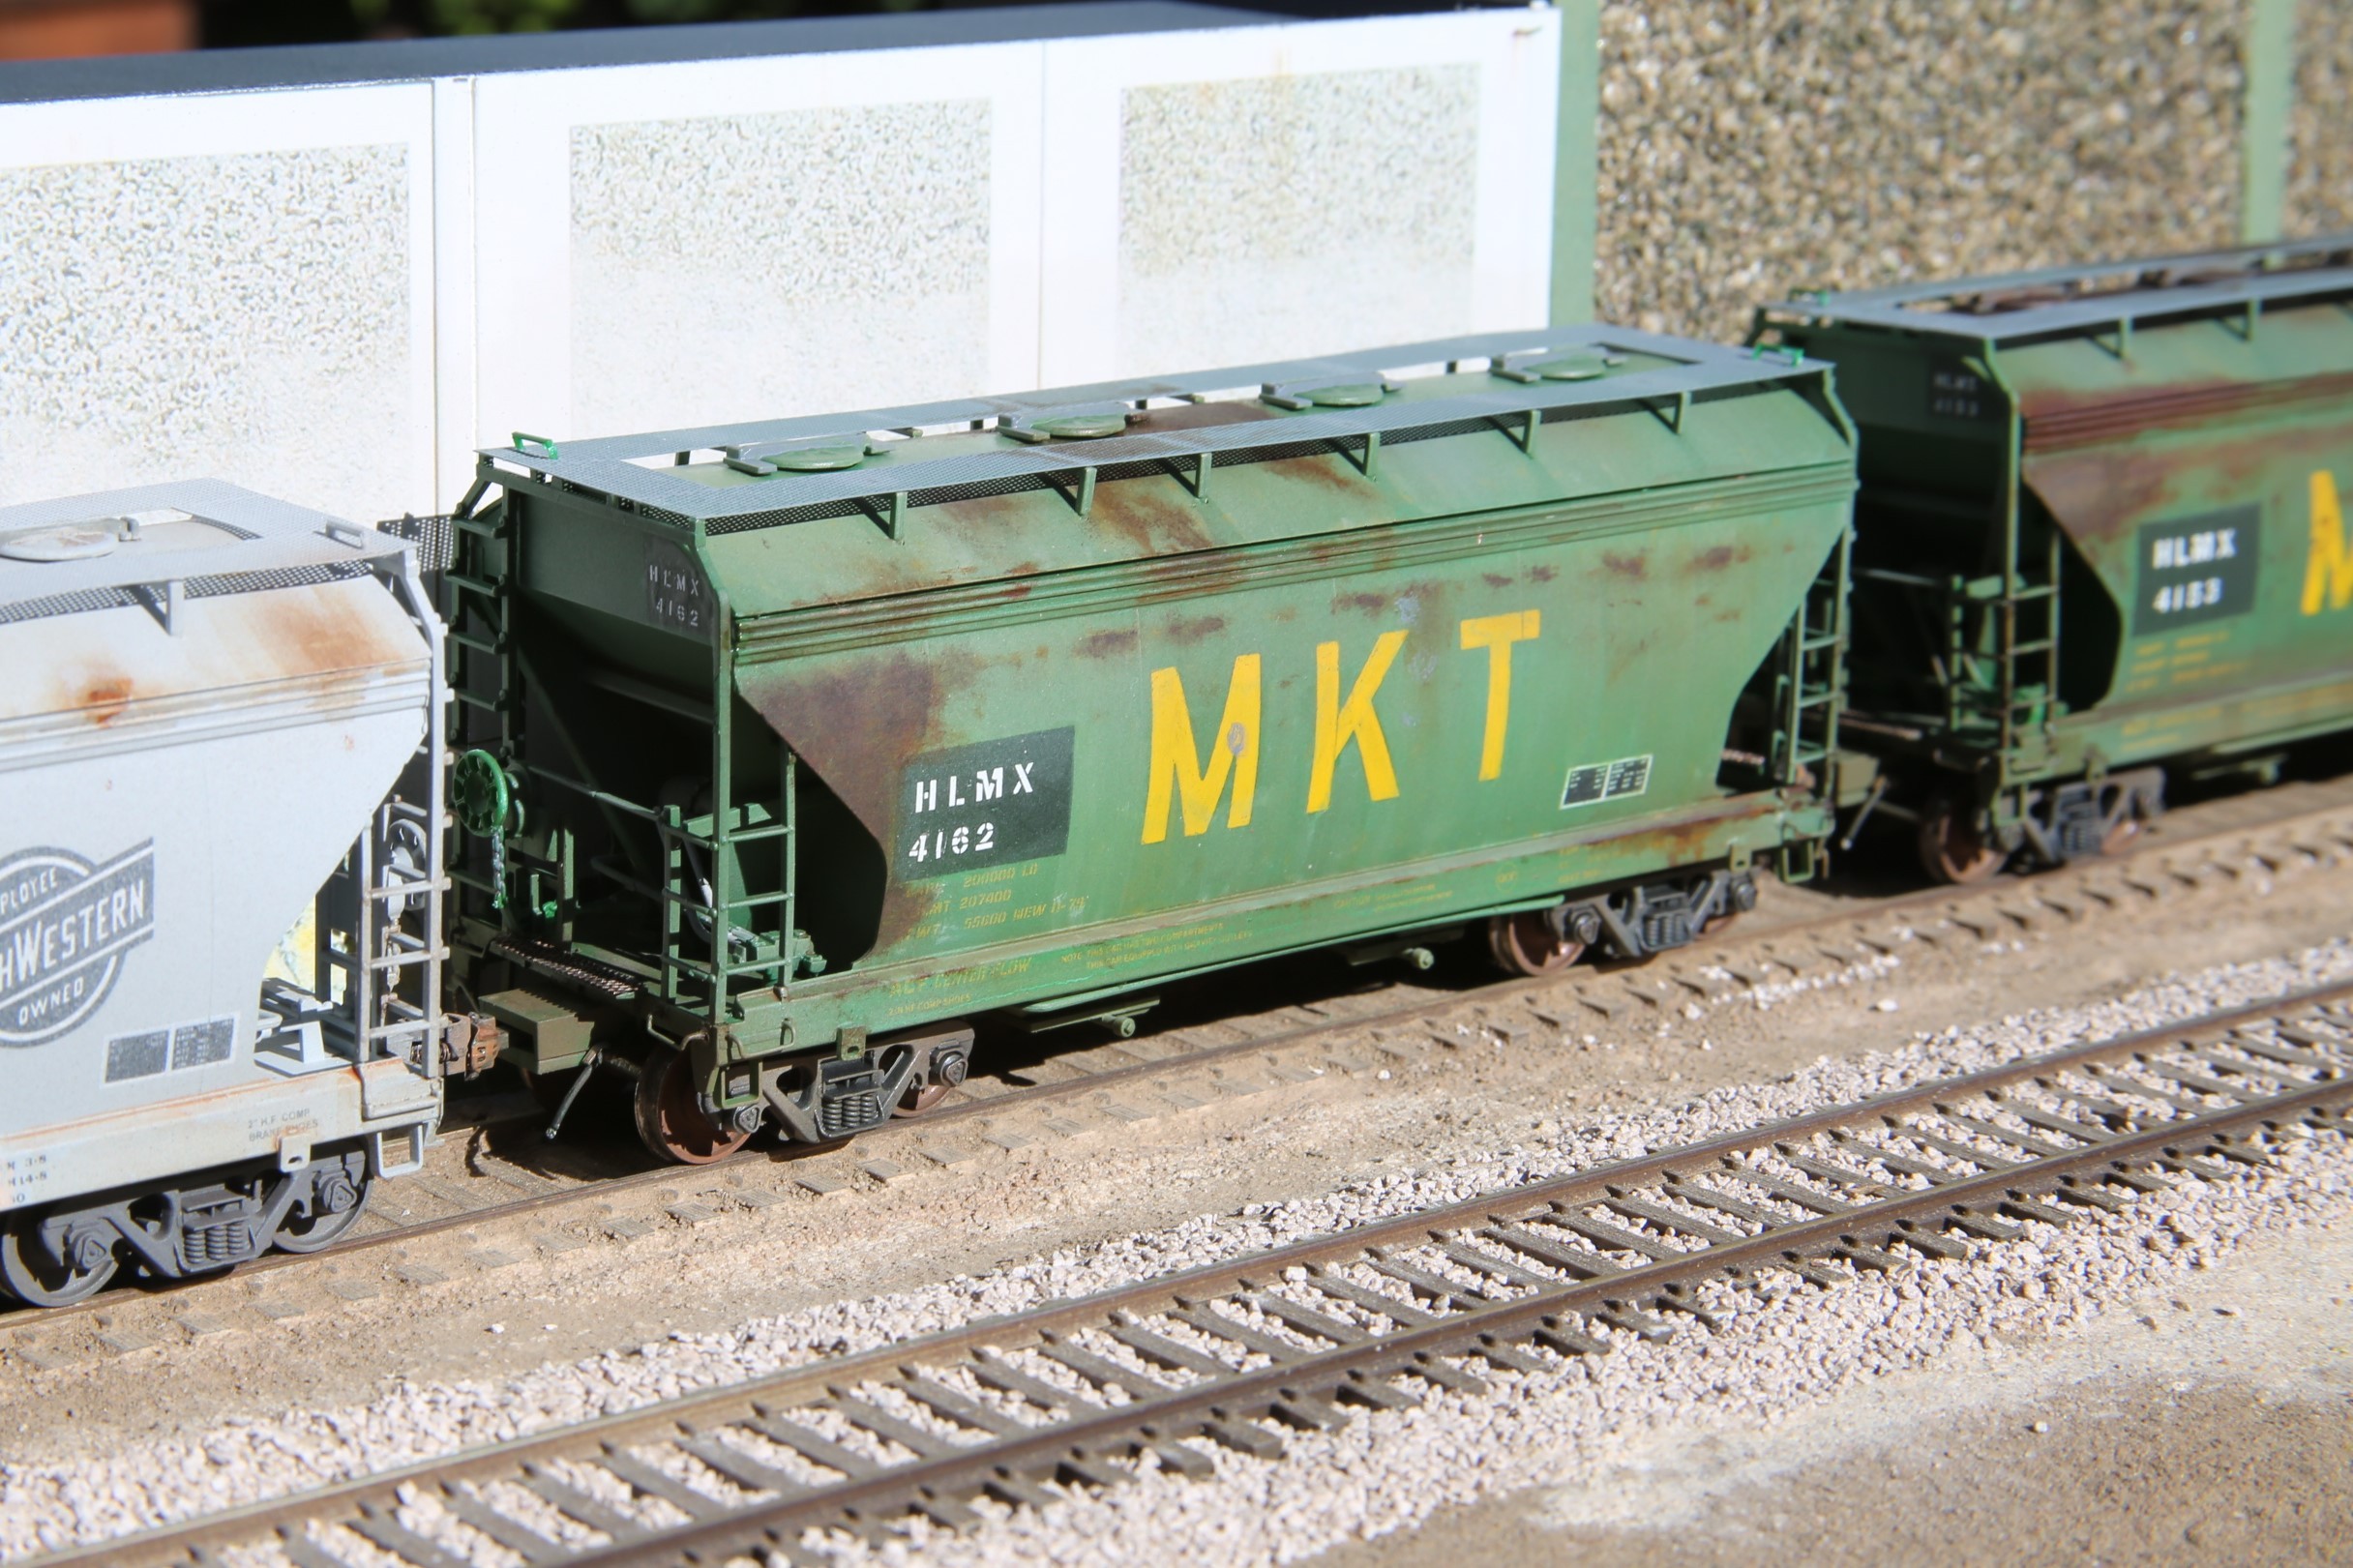
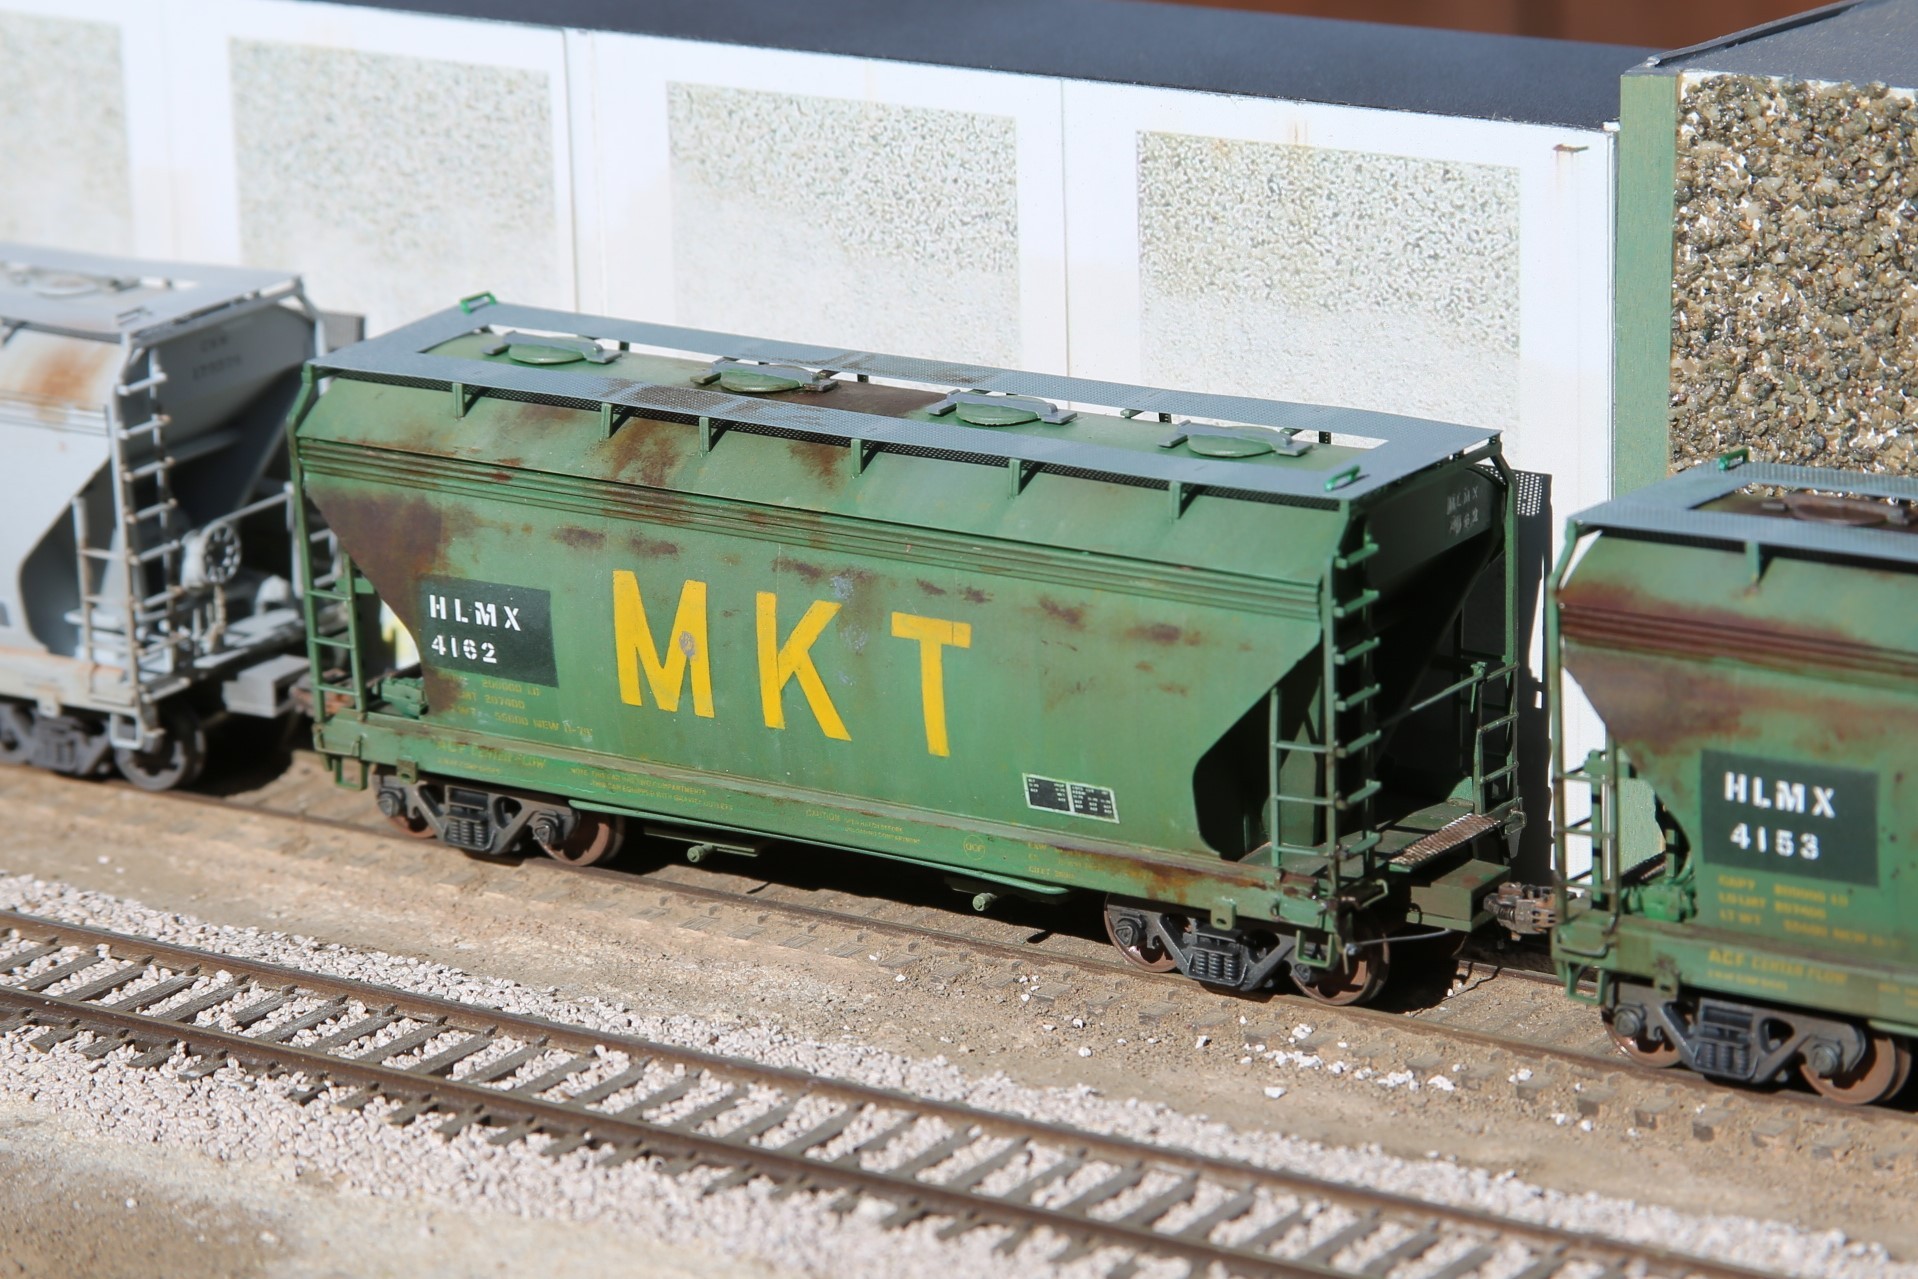
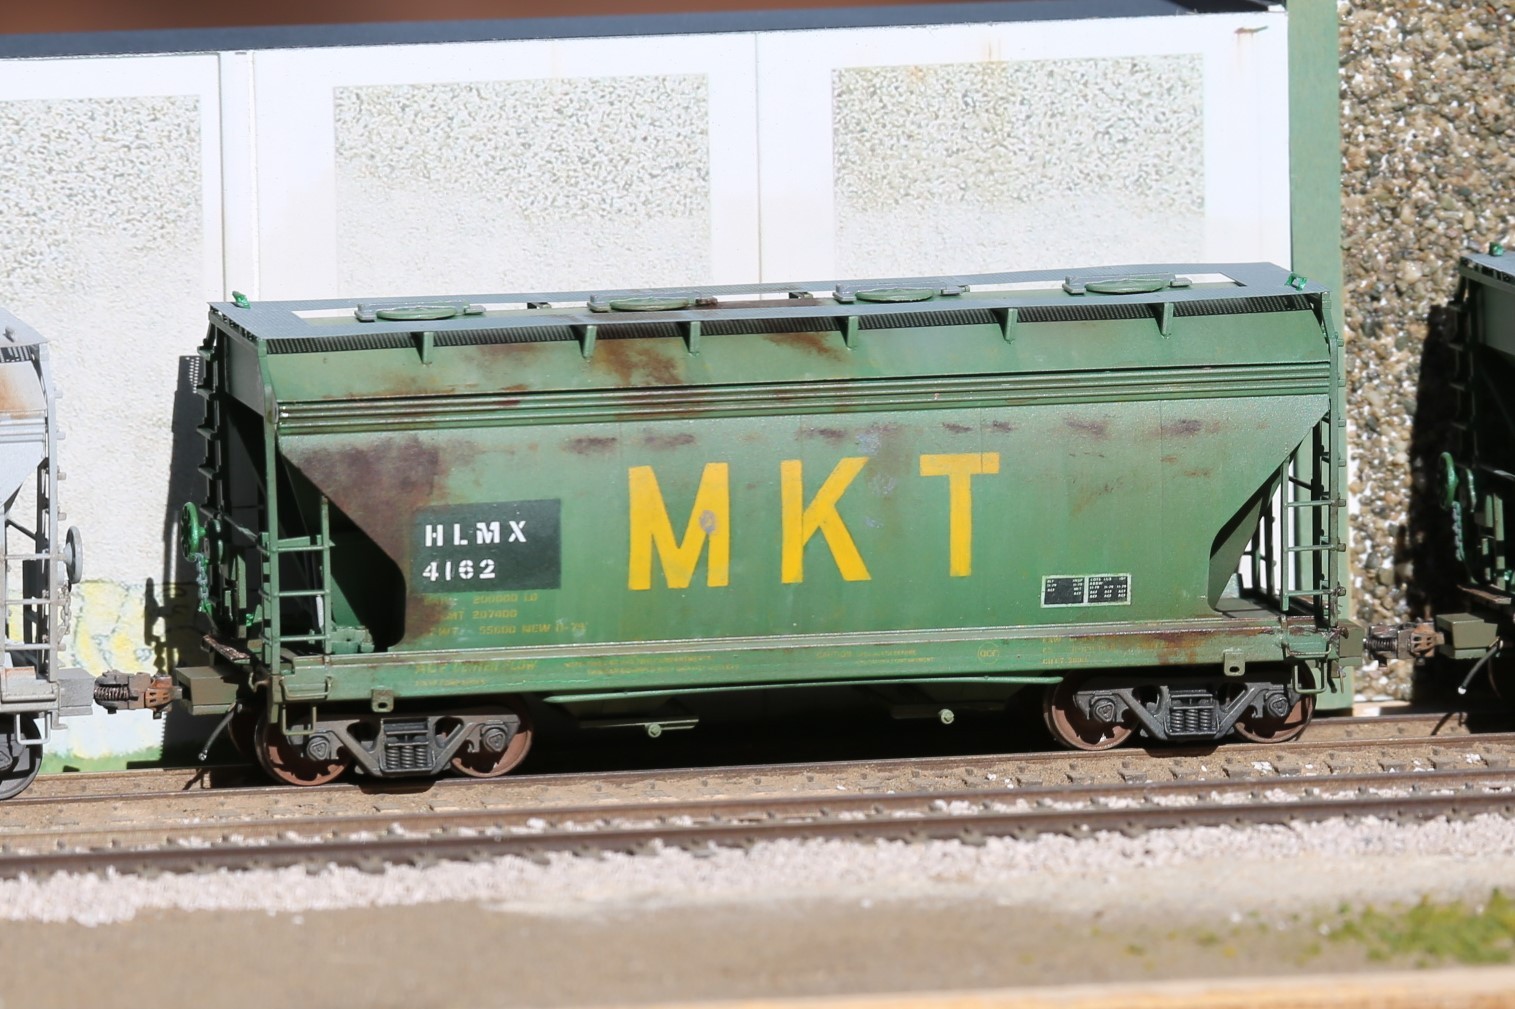
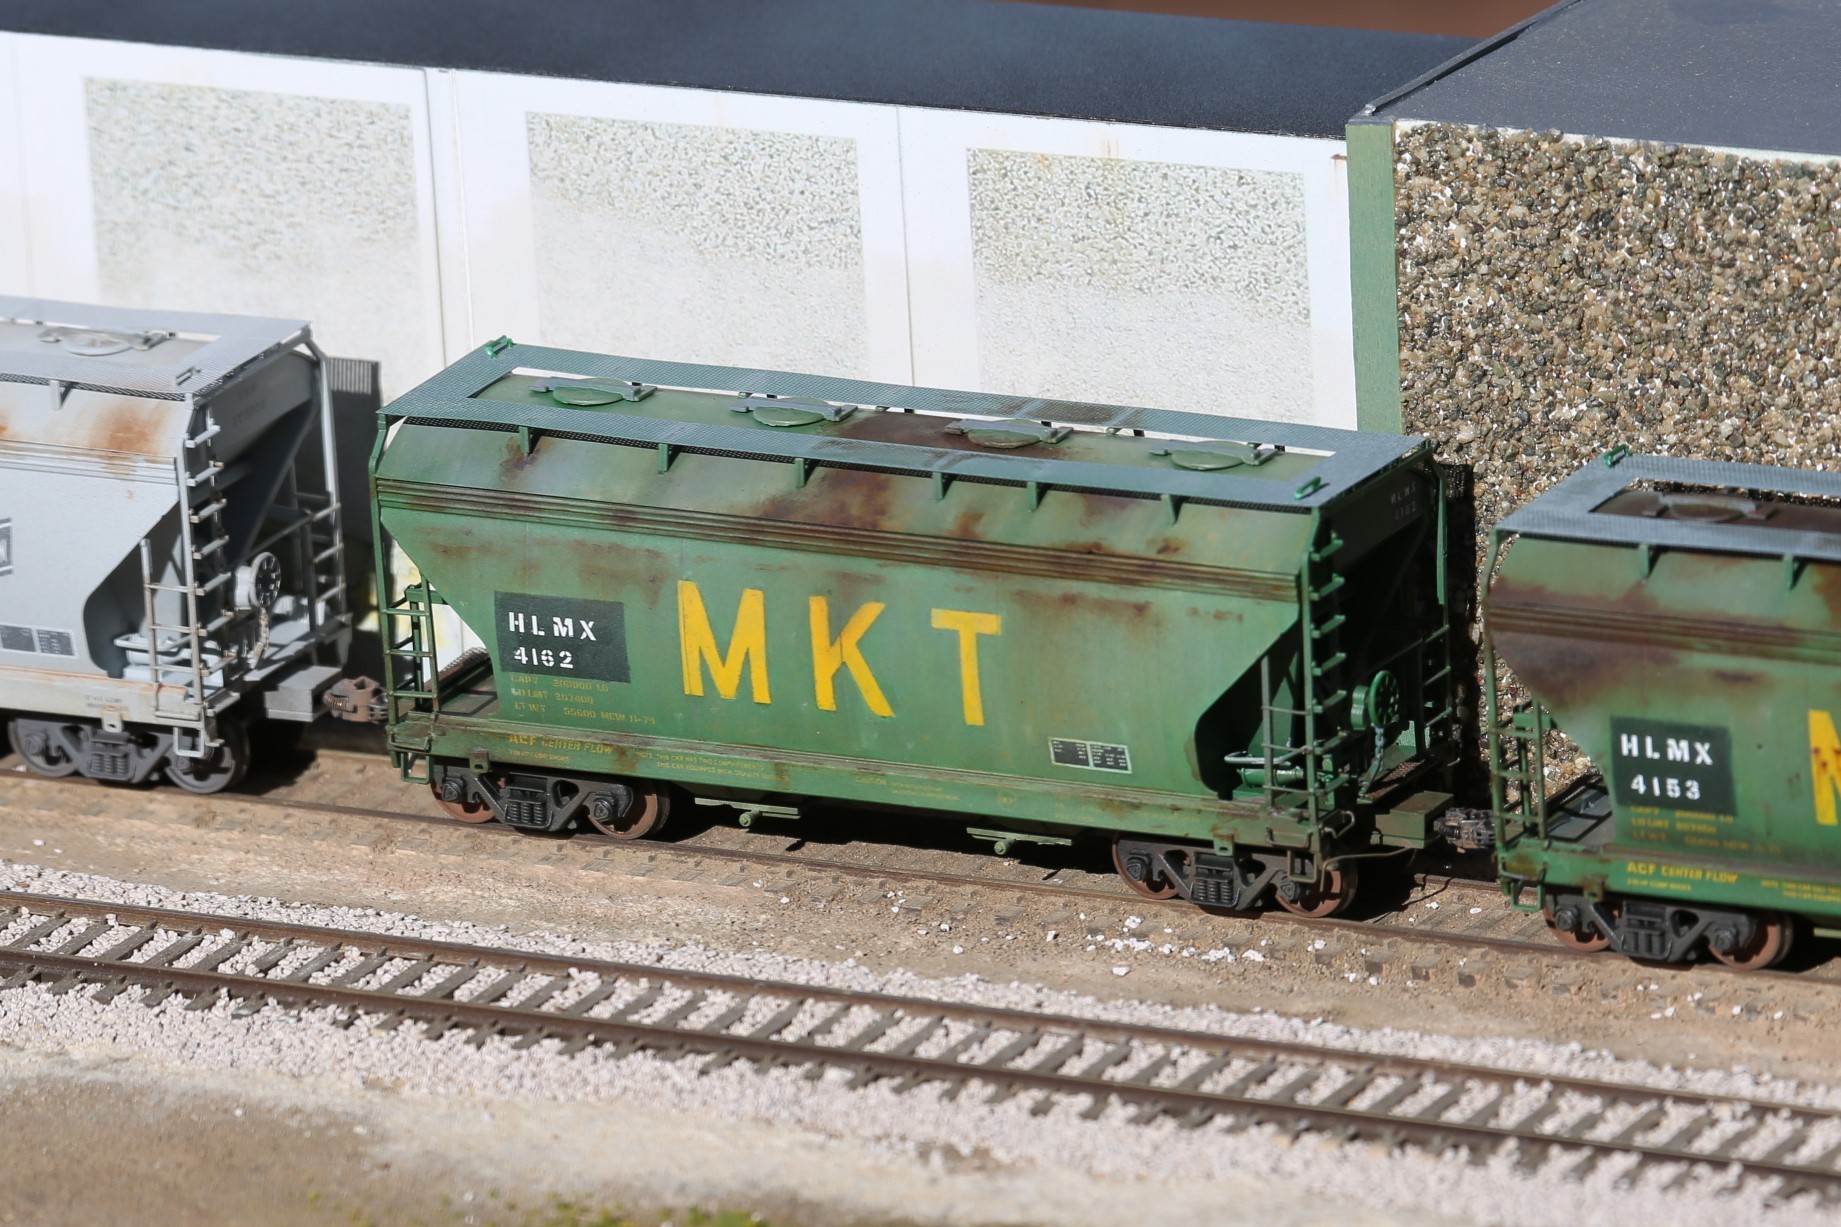
HLMX 4162
 |
 |
 |
 |
 |
 |
 |
 |
 |
|
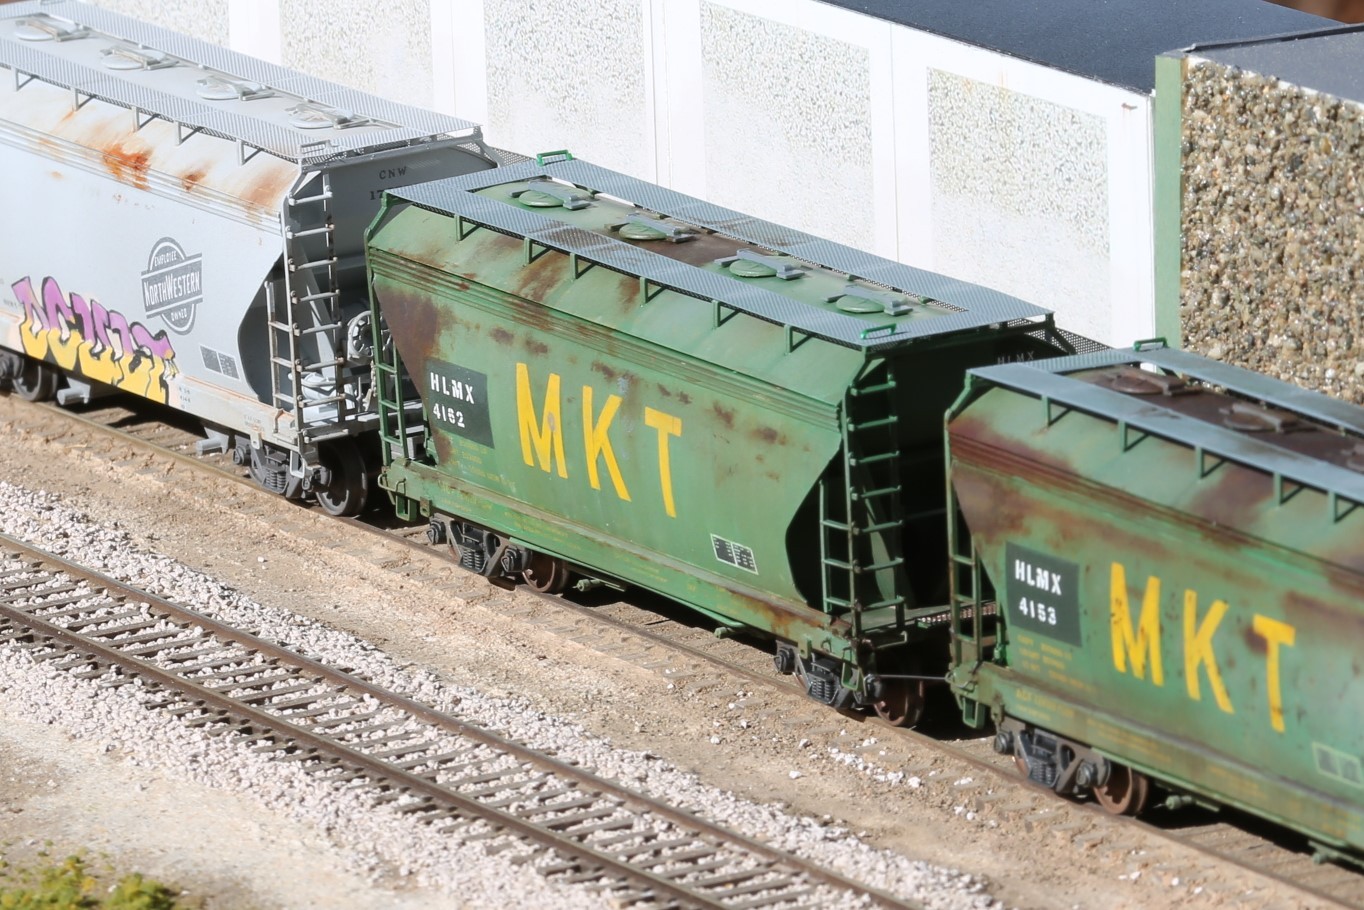
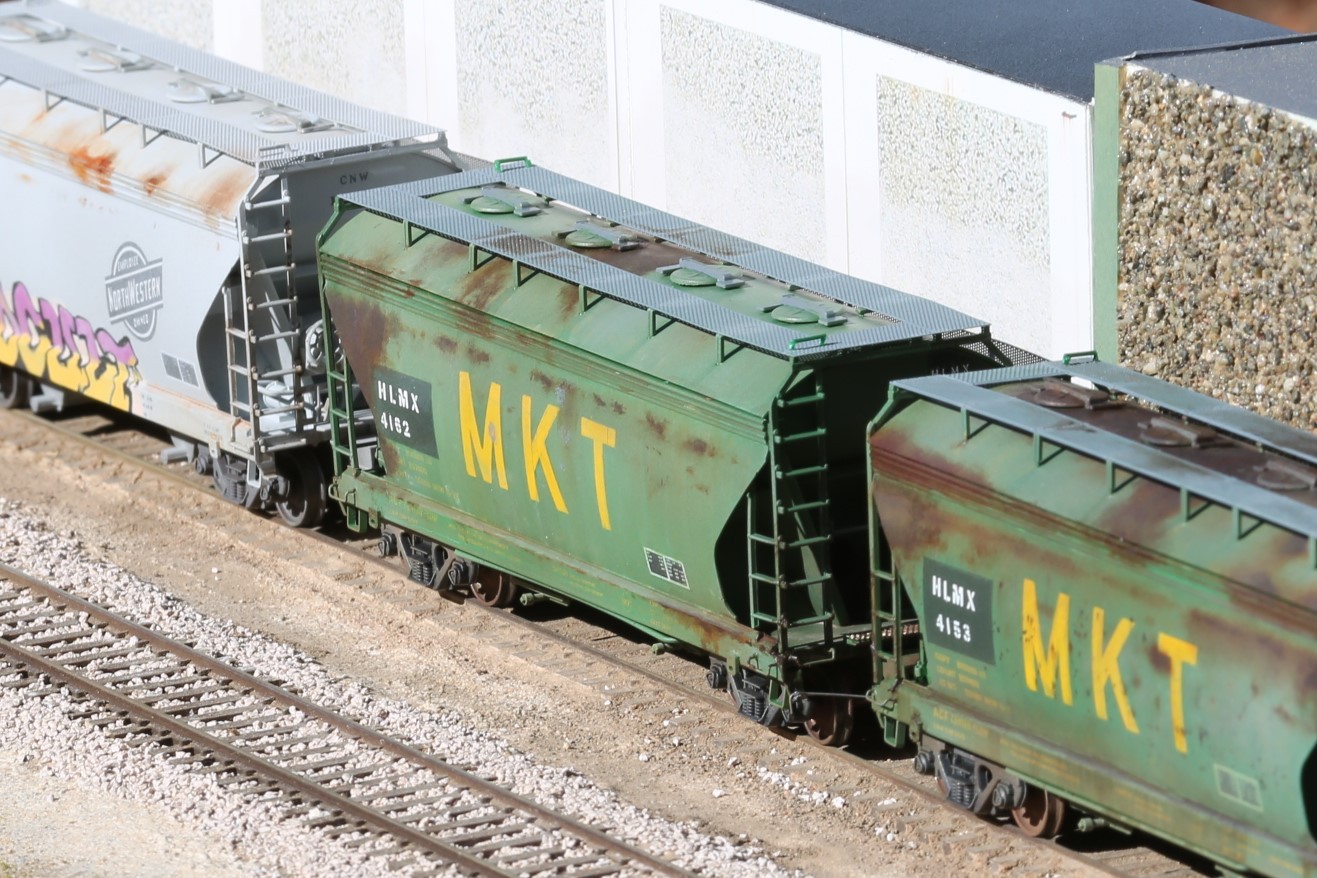
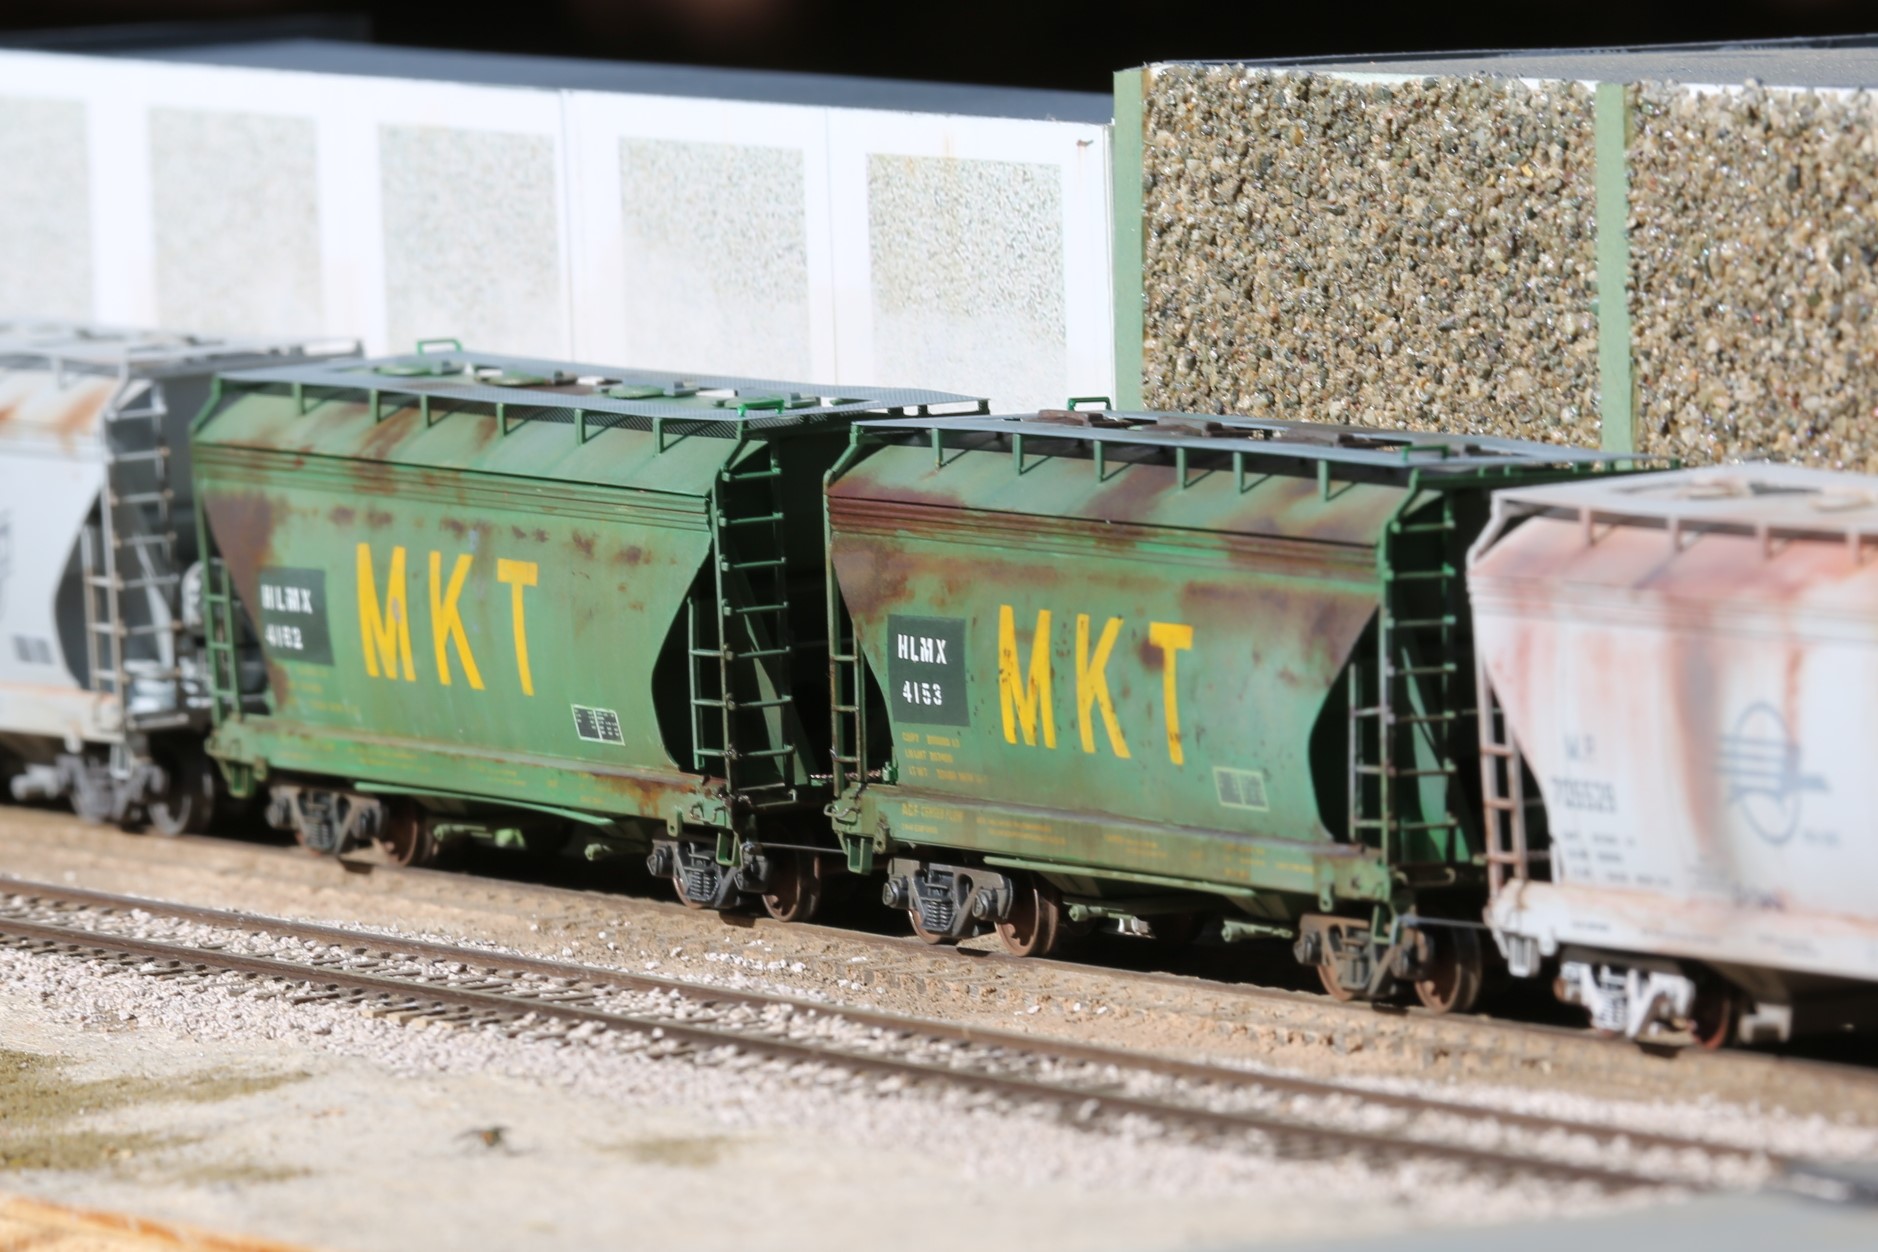
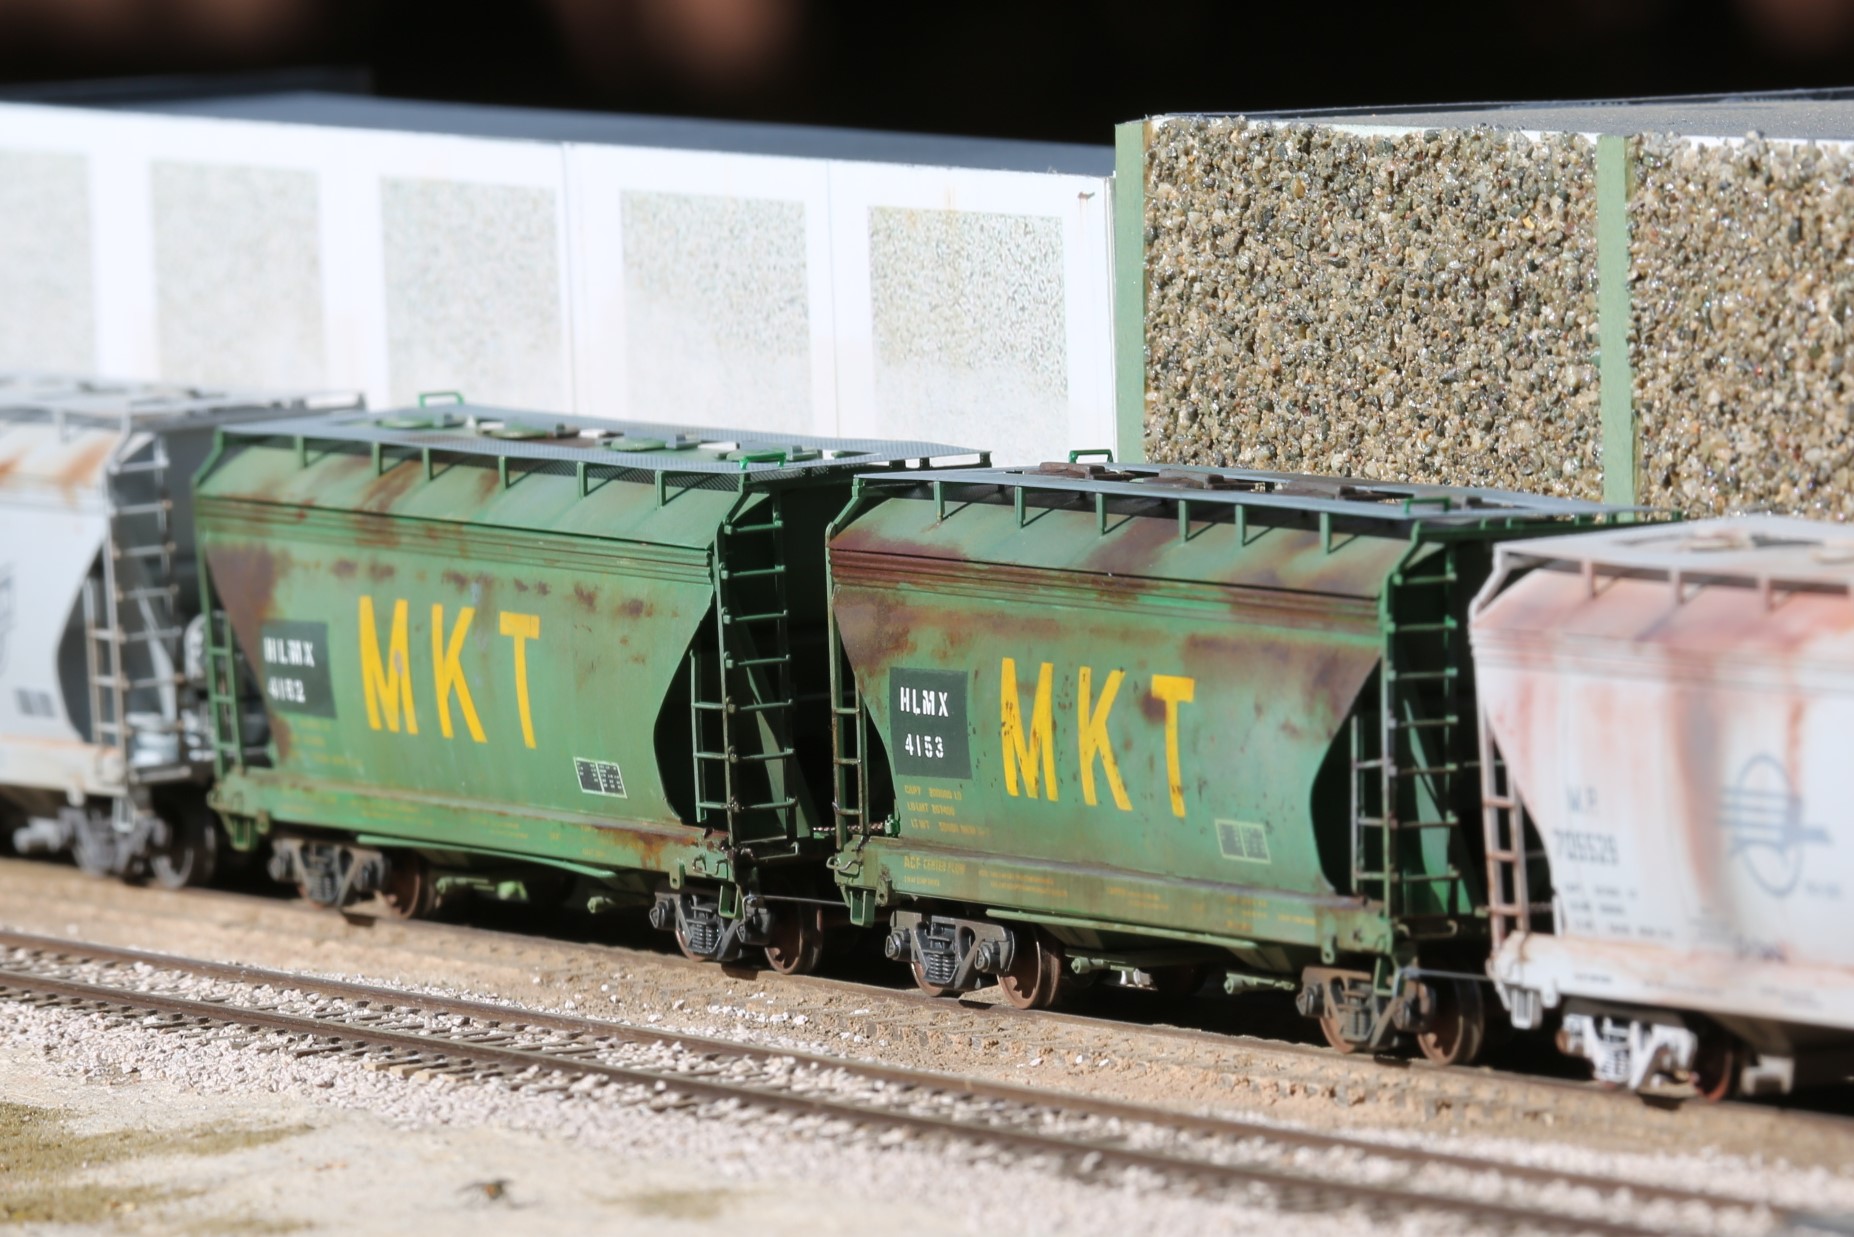
Pair
 |
 |
| Summary |
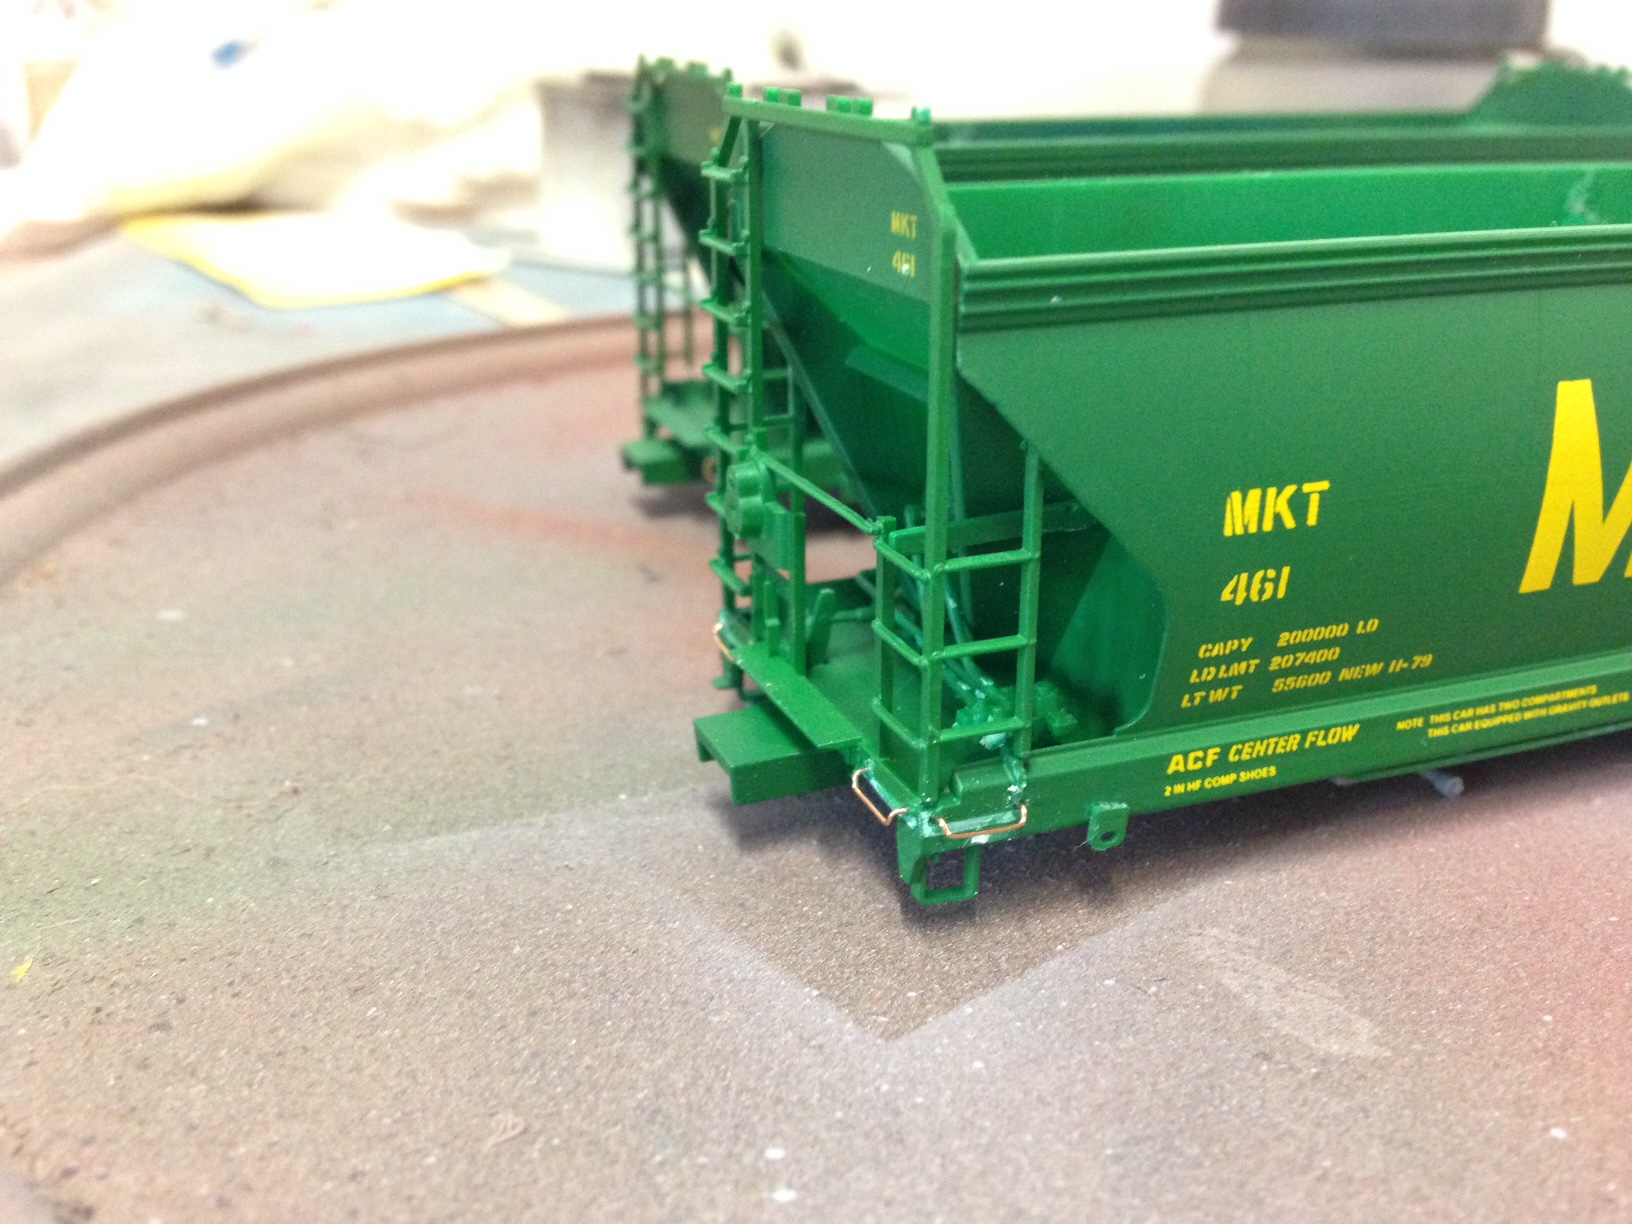
In the end, I am pretty thrilled. As you can see, I made two, with the intention of selling one; however, I'm so excited with the result I can't part with them, and they look pretty good together on a train, or in a yard waiting for their next run.
| Resources |
Intermountain 2970 2 bay hopper- MKT (kit version)
Detail Associates 6229 - Covered Hopper Gravity Discharge Outlet
Kadee #58 couplers and Intermountain 36" wheels
Bits of 28 gauge wire and a couple small rectangles of mesh (can use tulle as well, I suppose, or just do it right unlike me and replace with Plano products)