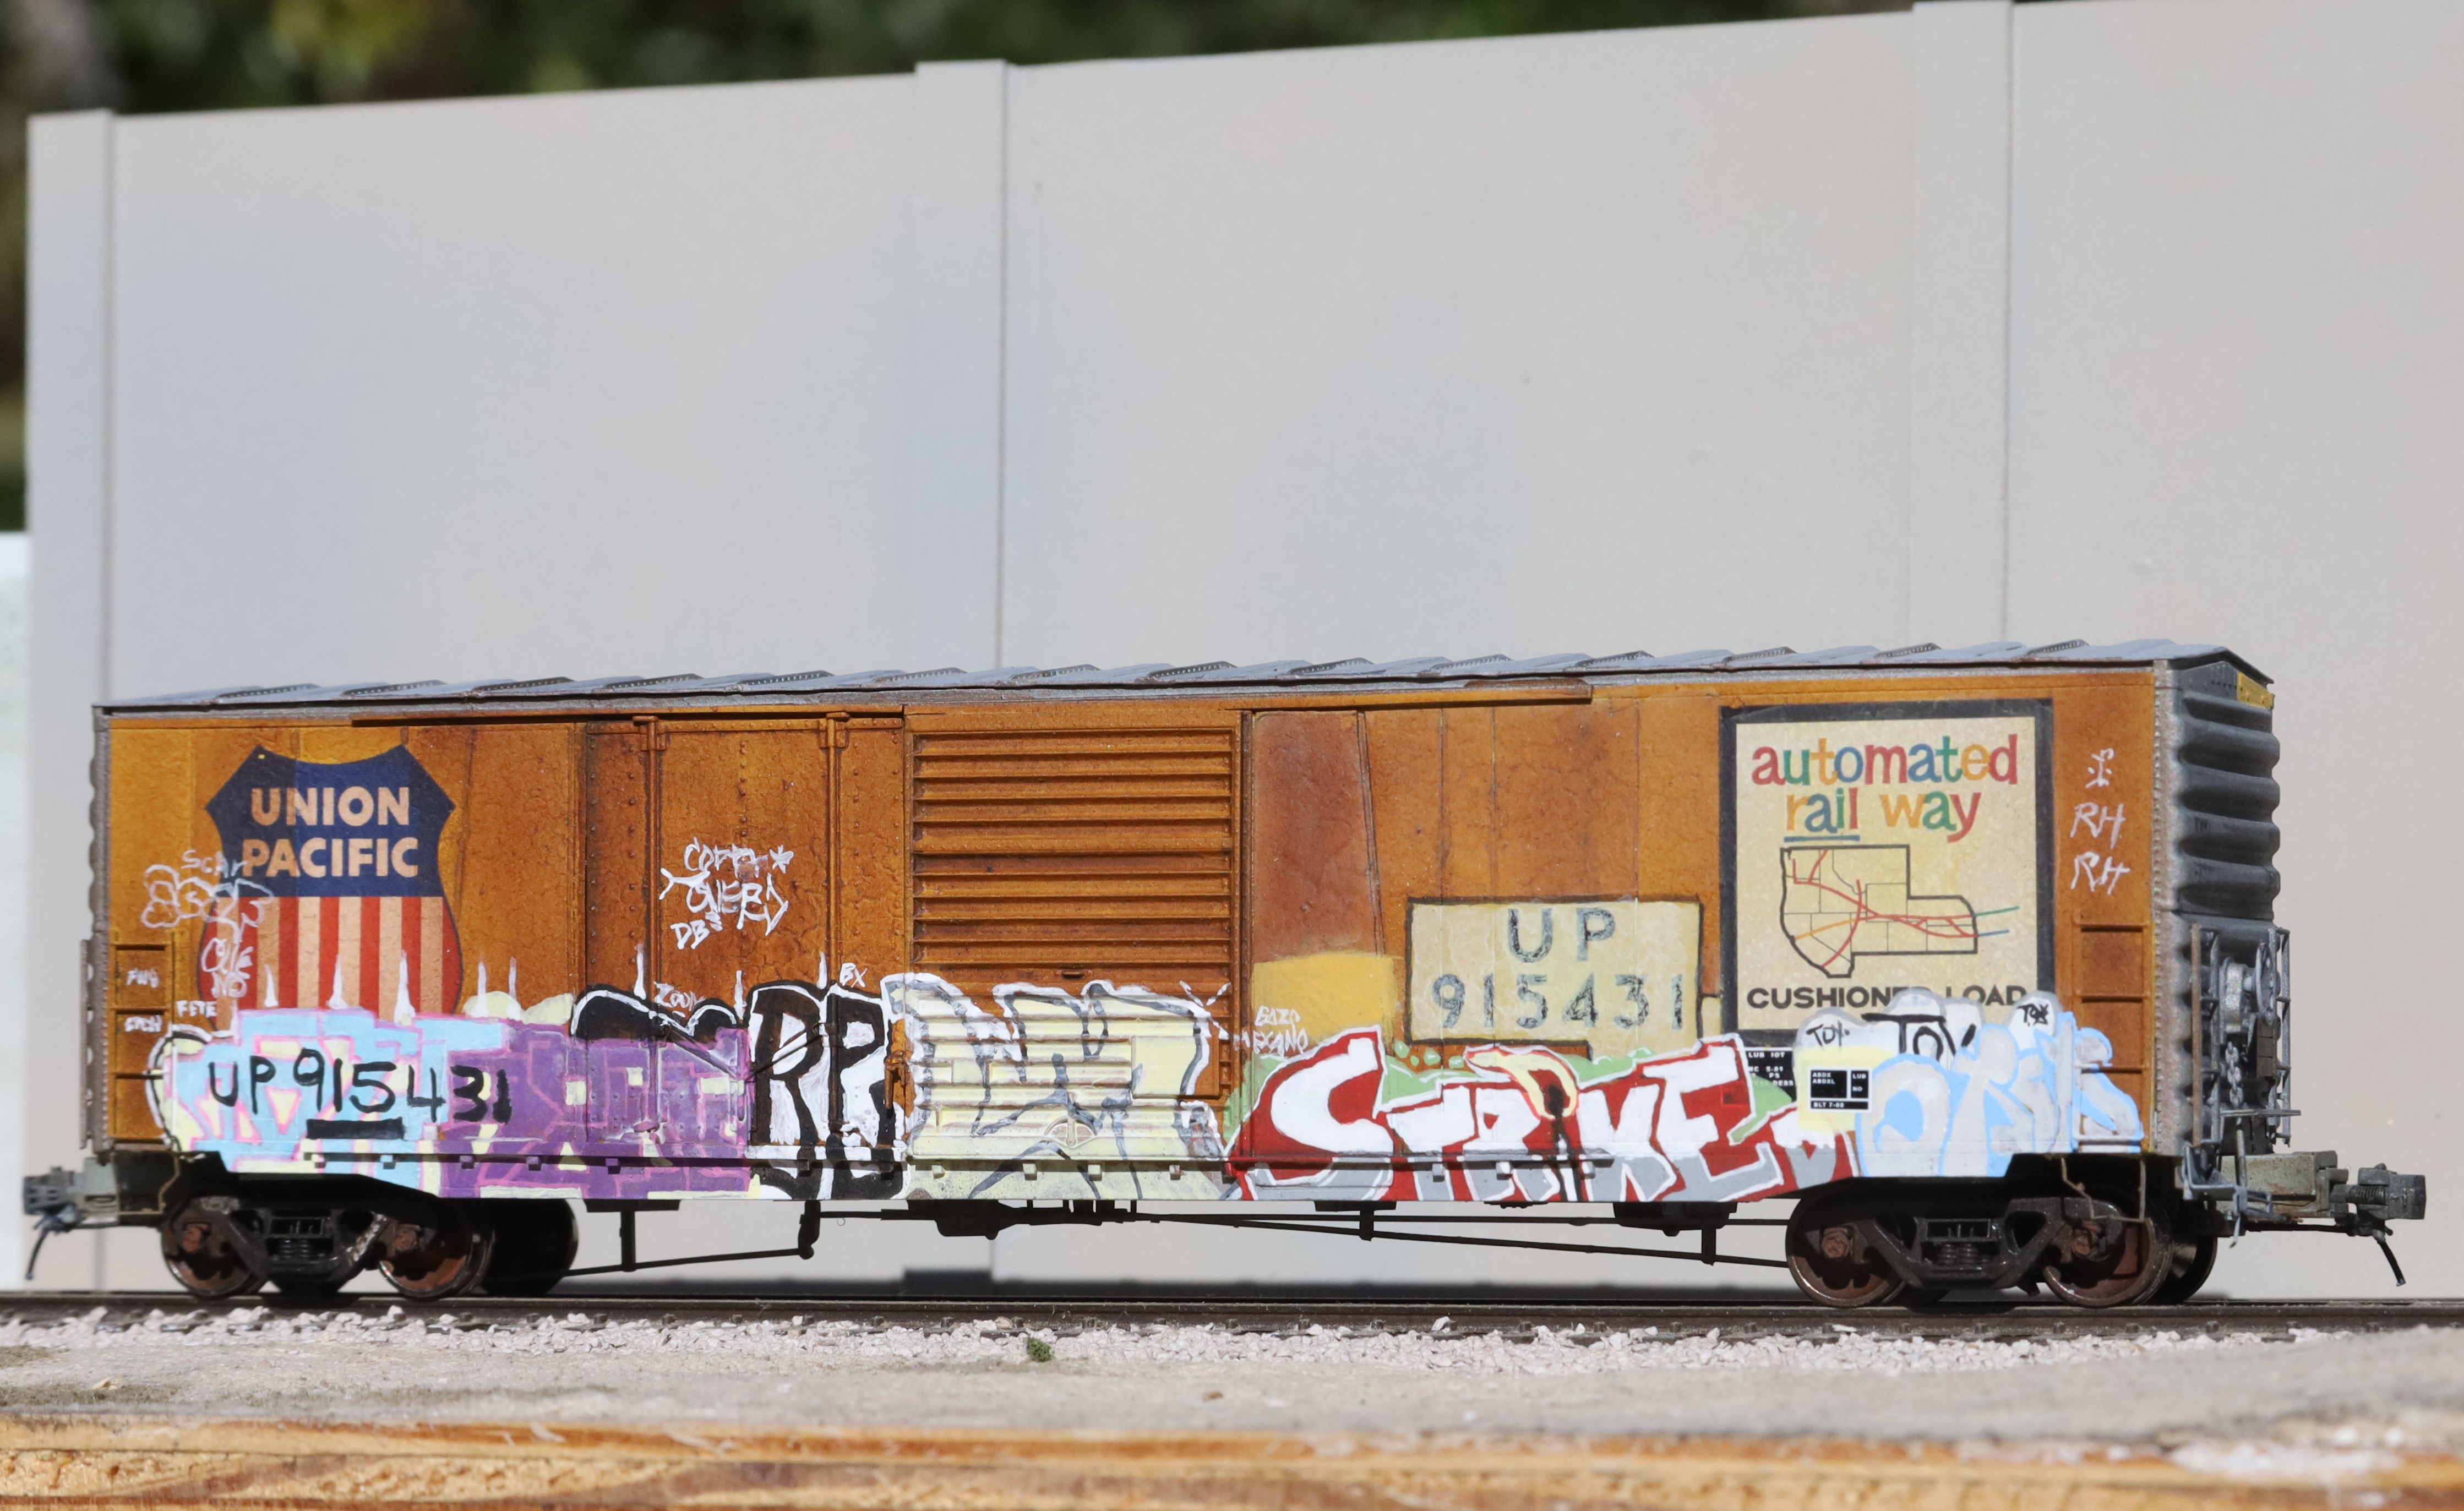
UP 915431 PS Combination Door Boxcar
Cannon and Company kit
| Project Background |
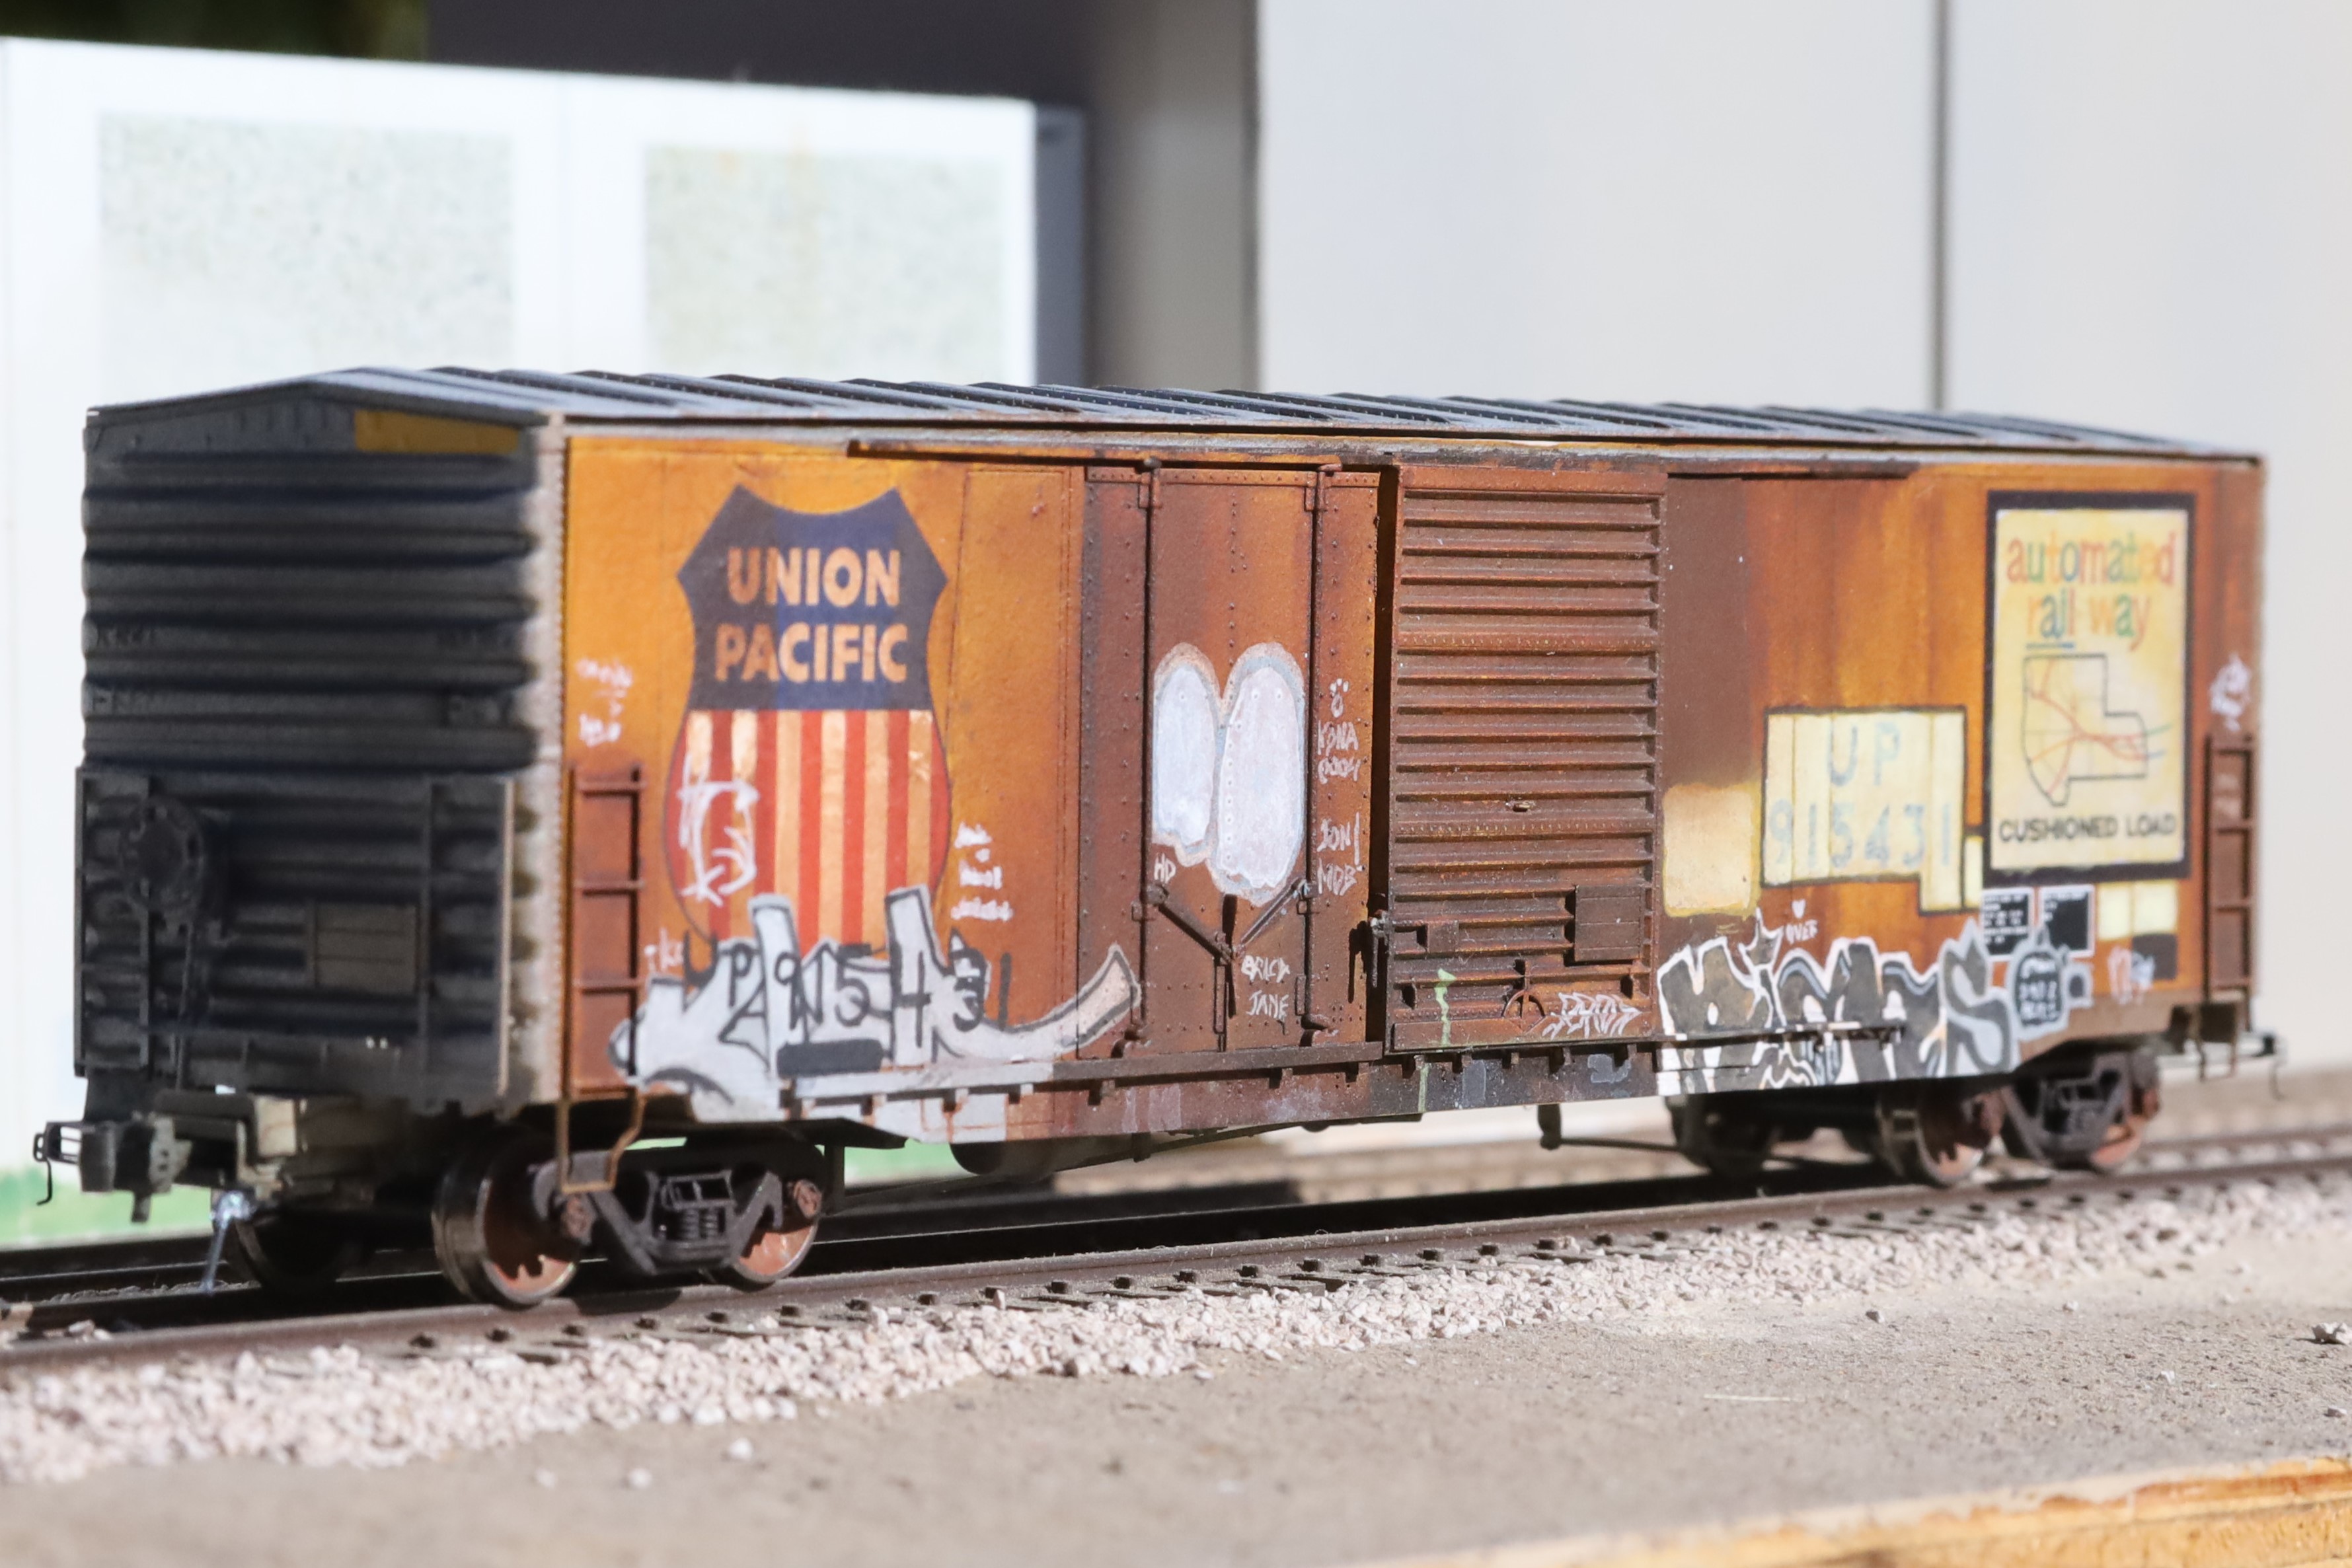
In June 2014 on a road trip to Wyoming from the SF Bay area we were passing by Fernley NV. North of Hwy 80 is a facility for Nevada Cement visible from the highway, and they sometimes have rolling stock parked on a spur out front. Convincing the family to pull over, I shot a few flicks of some crusty old UP boxcars, including this one.
 |
I filed the photo away, and didn't think about it for a while.
A few years later at a local Bay Area Prototype Modelers event, I picked up a kit from Cannon and Co (Dave Hussey's a frequent attendee). I may have associated the older picture with the kit (I am guilty of buying things sometimes for which I don't have a prototype in mind) but after a little research I found my photo to be a match for this kit.
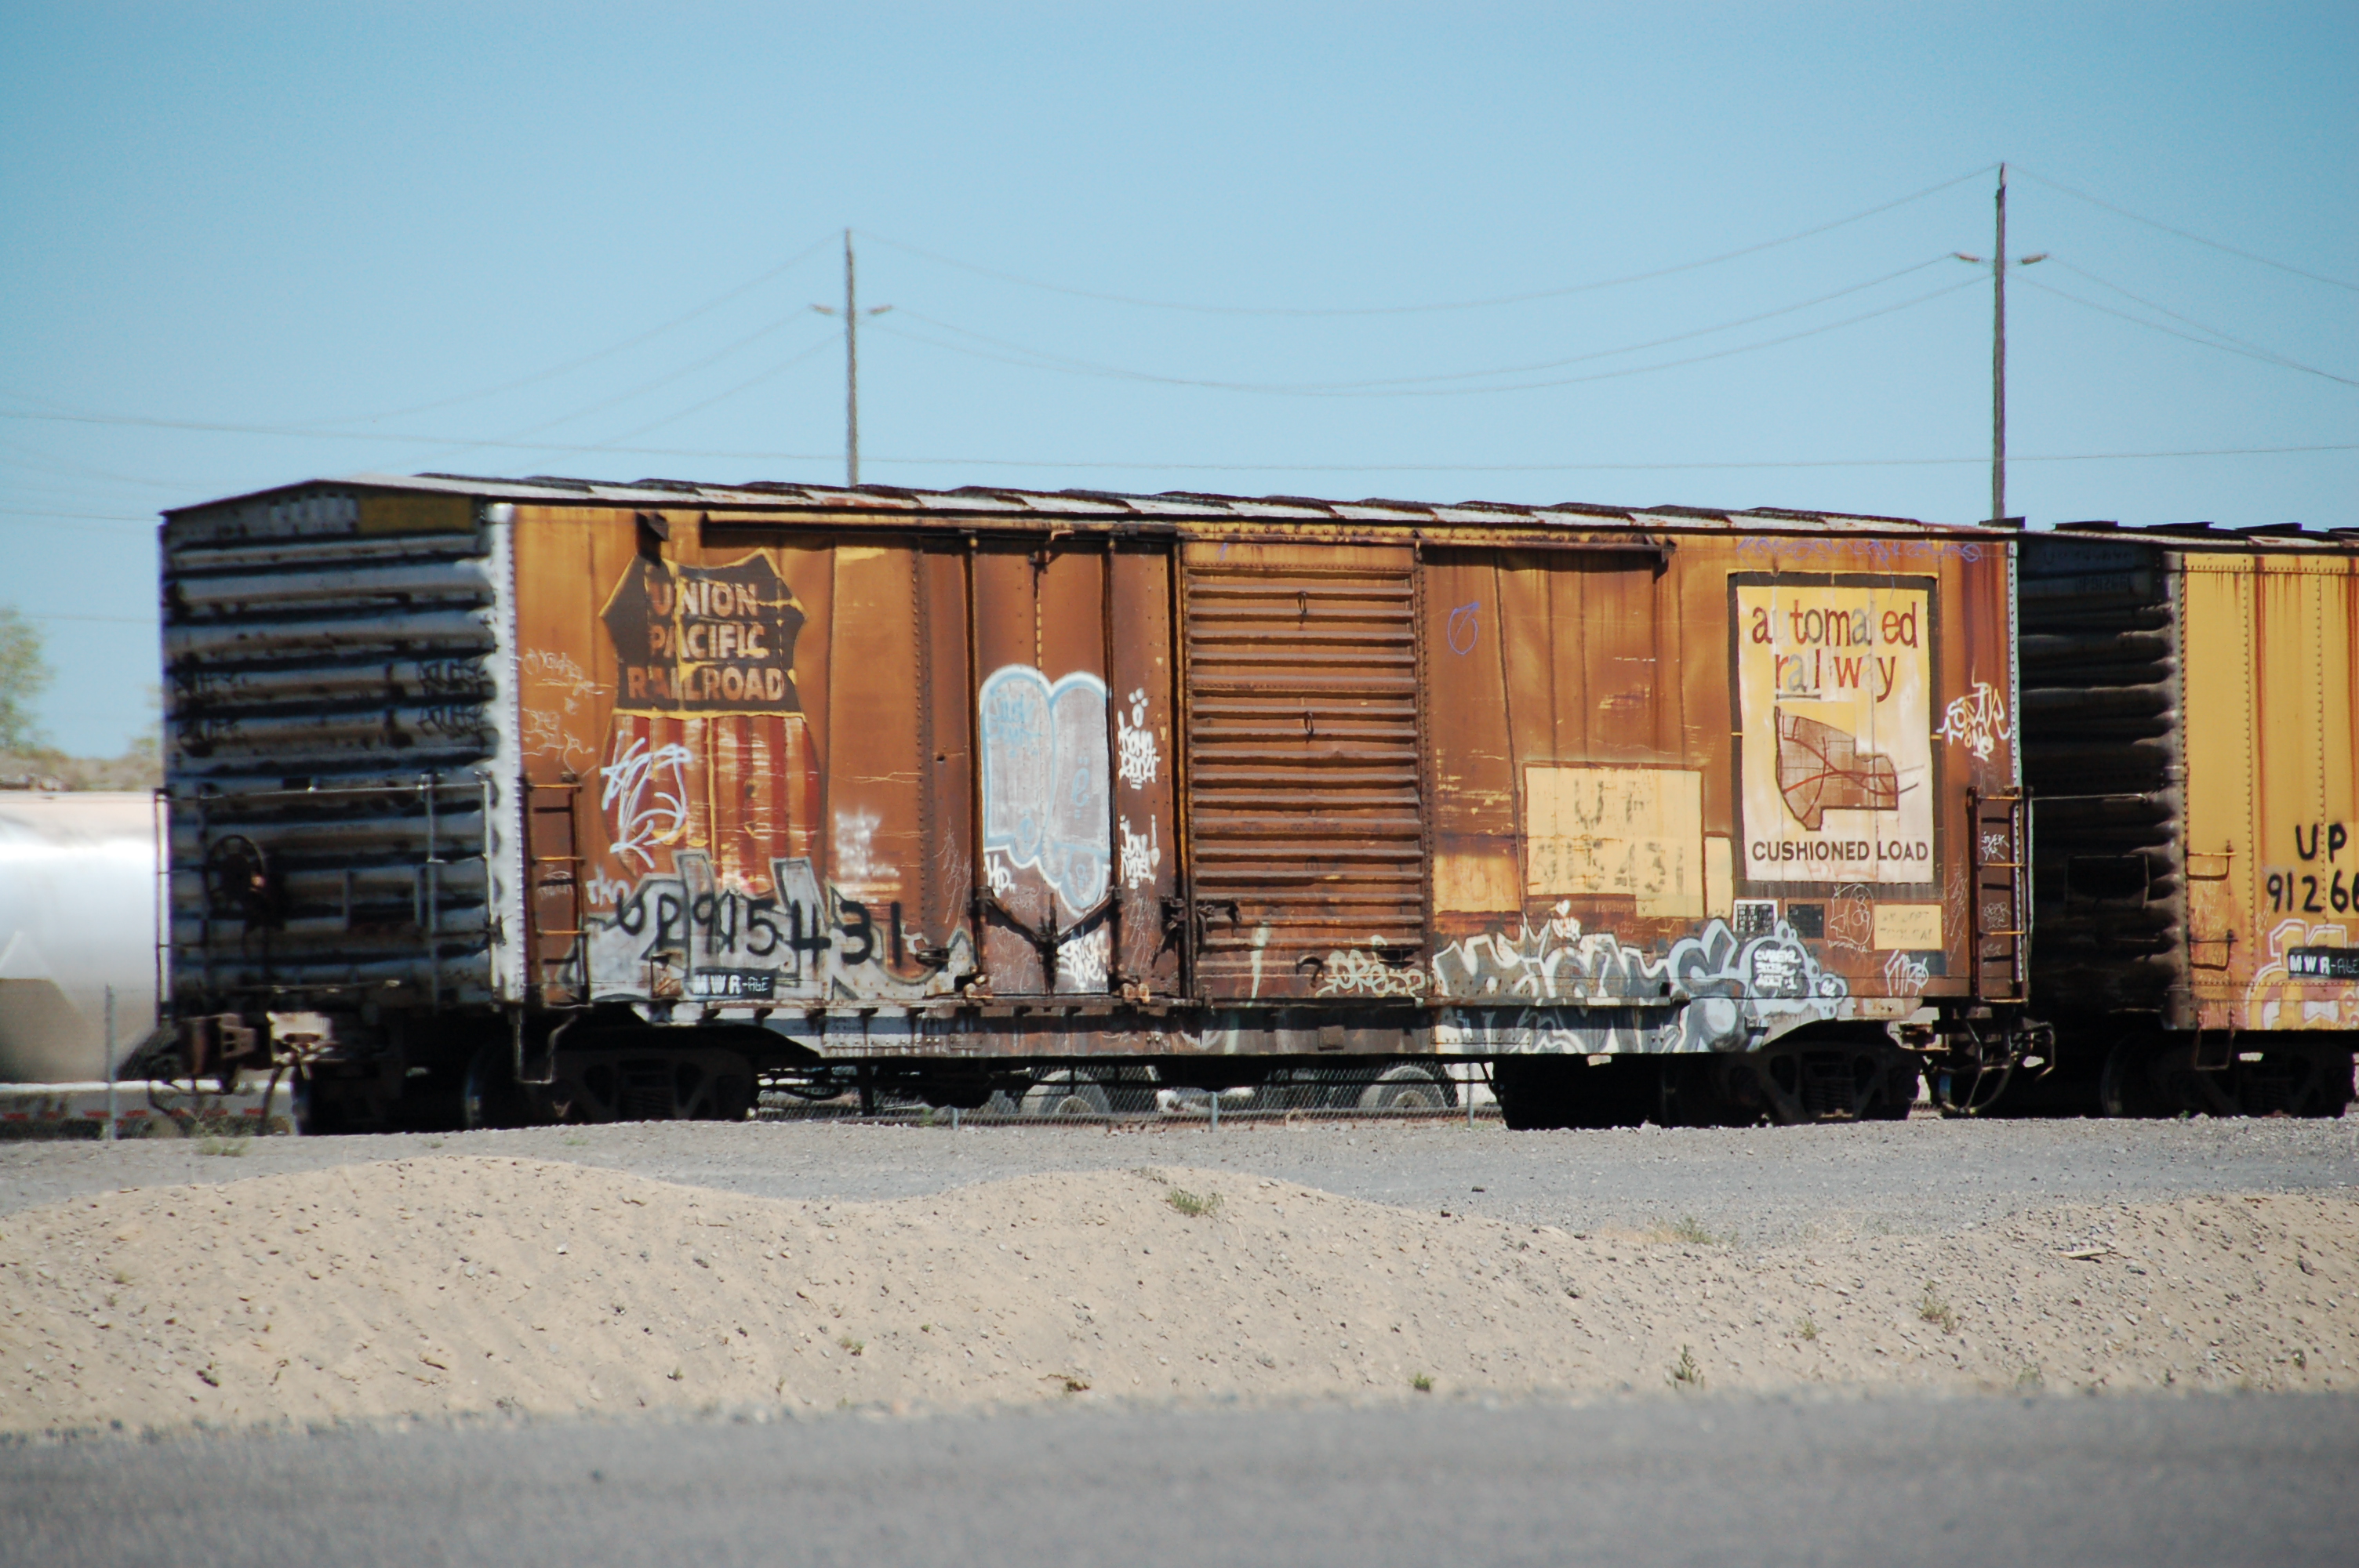
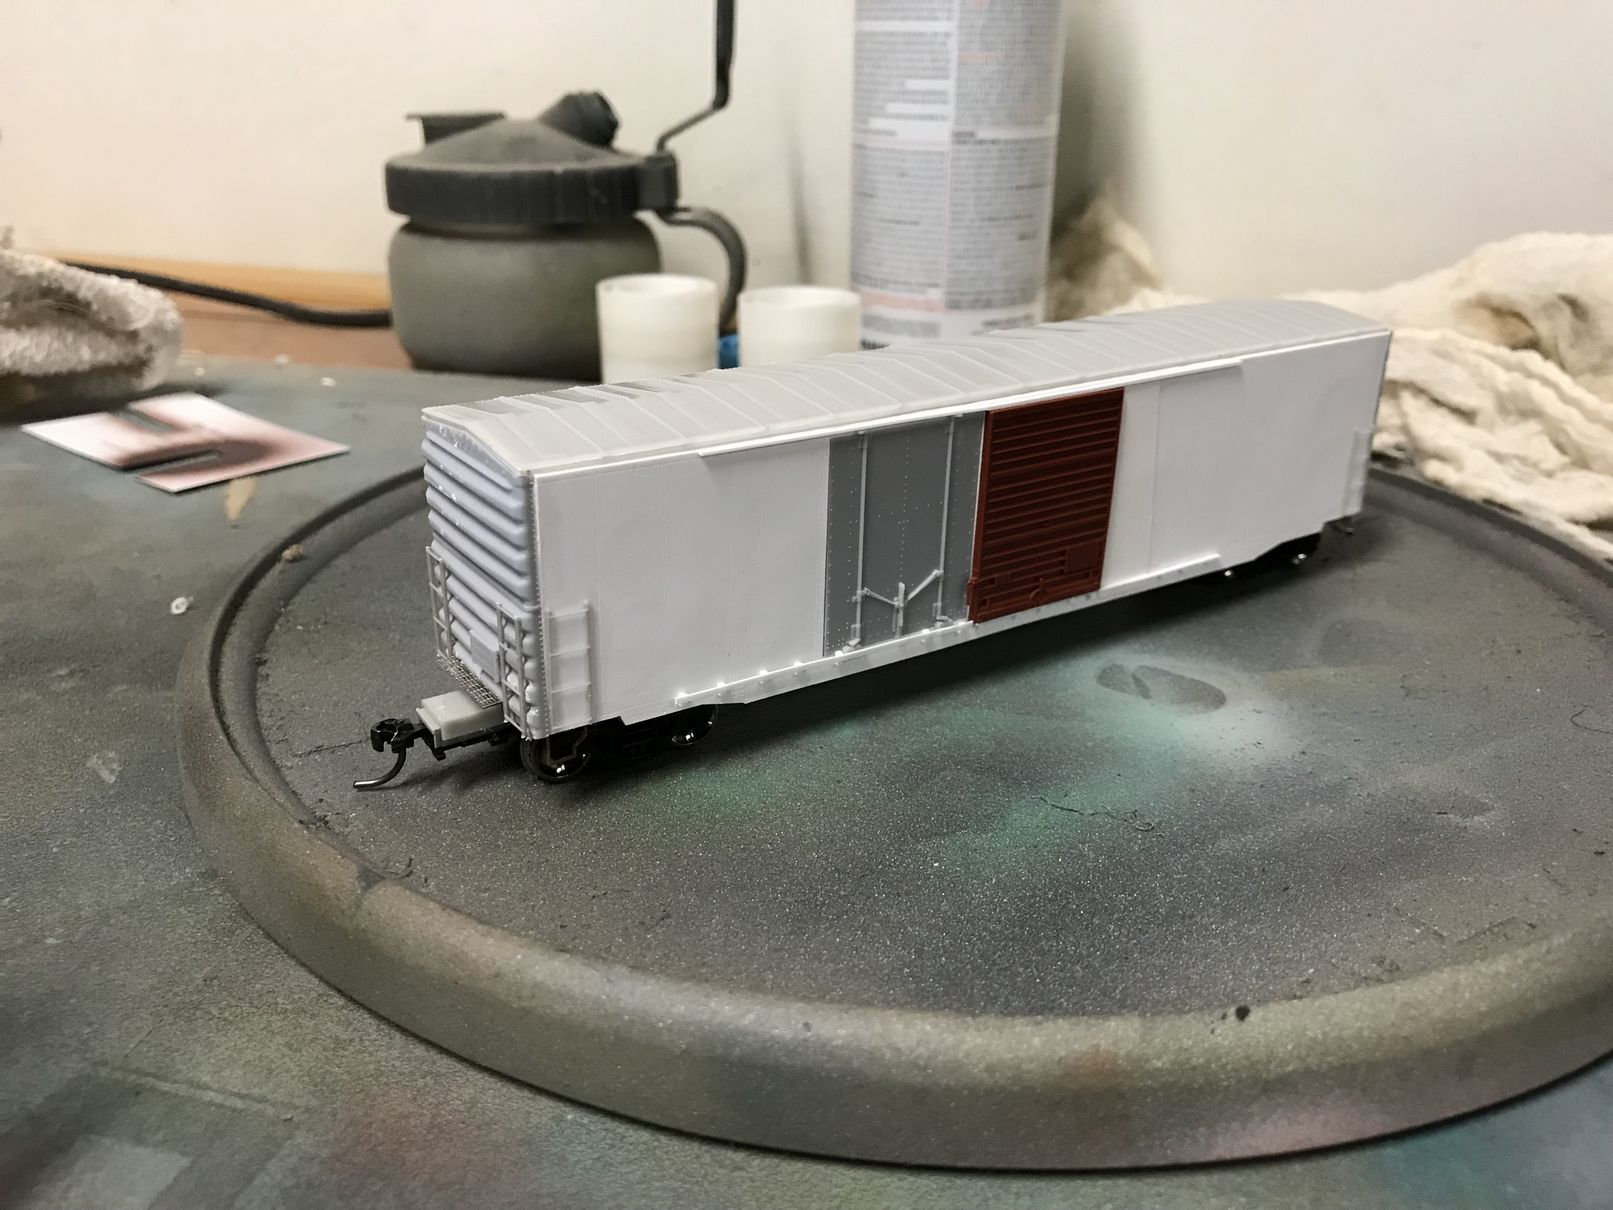
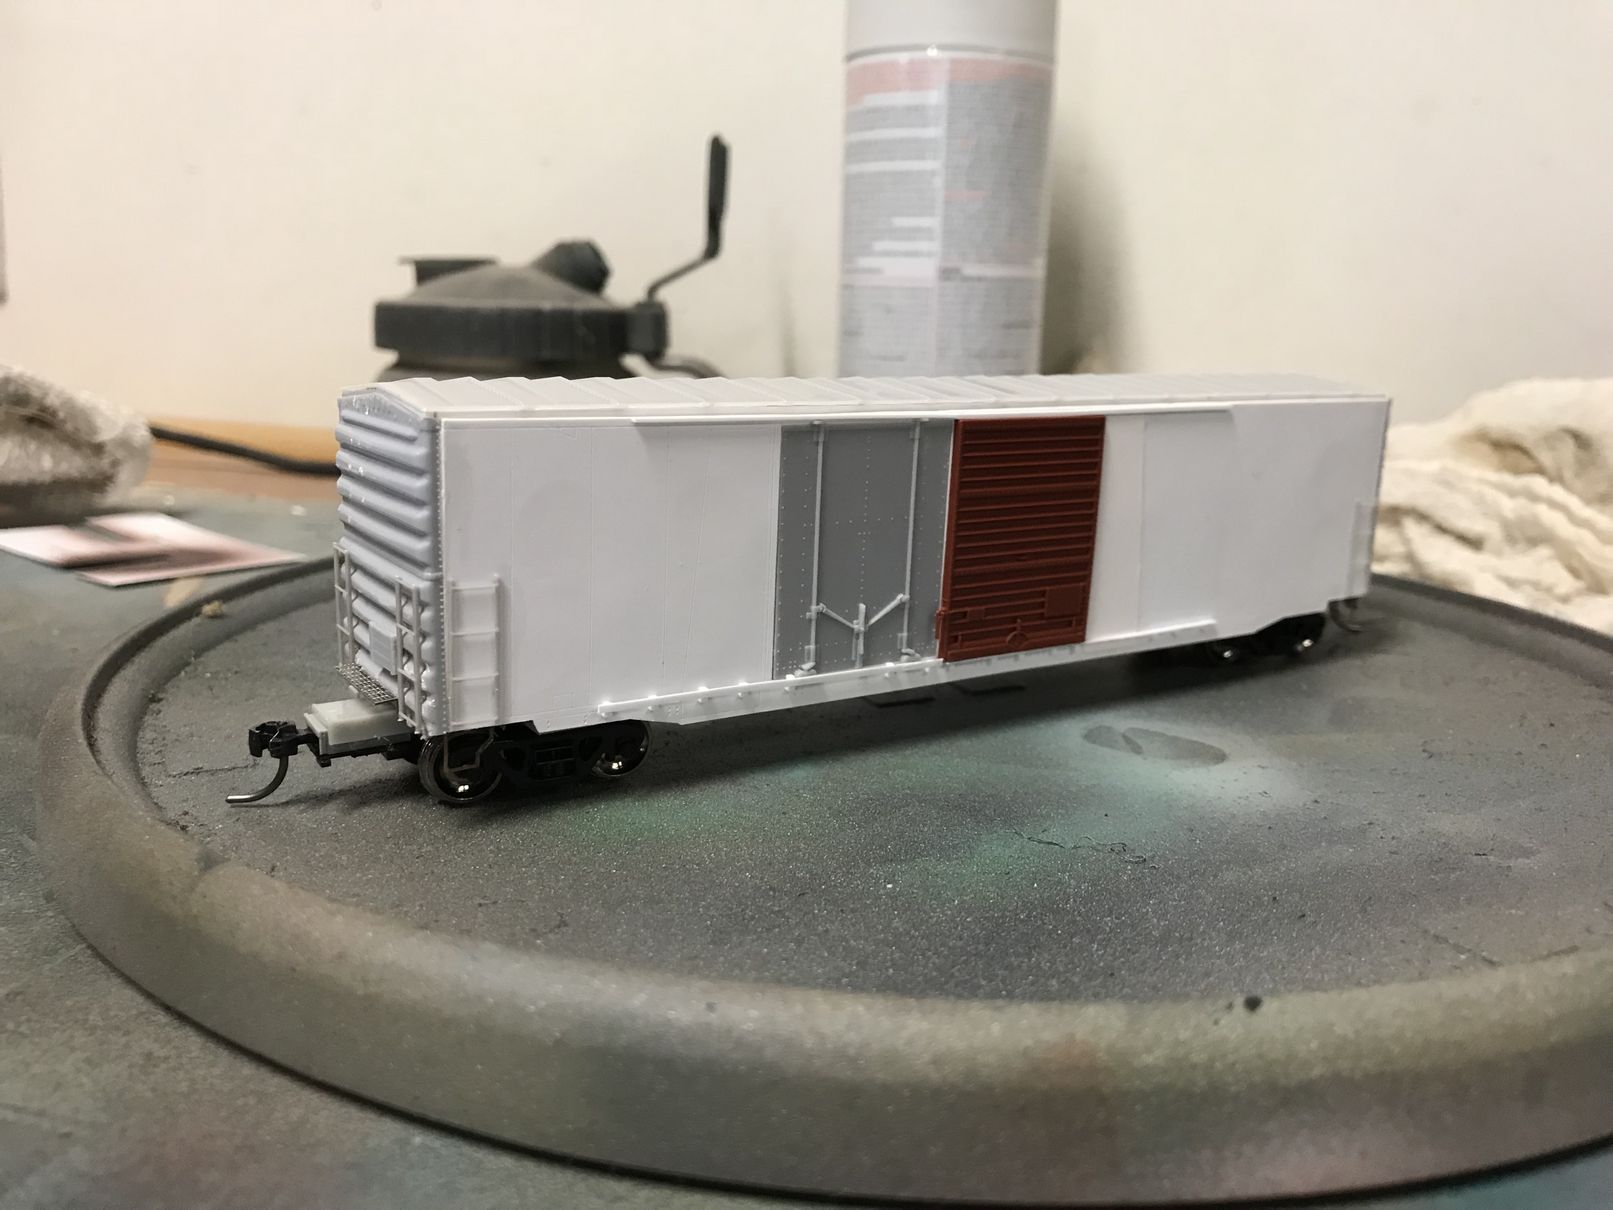
| The Build |
Cannon and Company kits are familiar to me, having worked a long time ago on some of the Modelers Choice kits. I'm not a great builder- for each project, it seems I commit an error, like not including sufficient bracing inside the flat-kit walls; using too much/little liquid cement in spots, etc. I mean I'm fine, not a ham-handed catastrophe, but I am definitely not a museum quality builder. But this build was pretty much on par with others I've been happy with, so a good starting point.
 |
 |
 |
 |
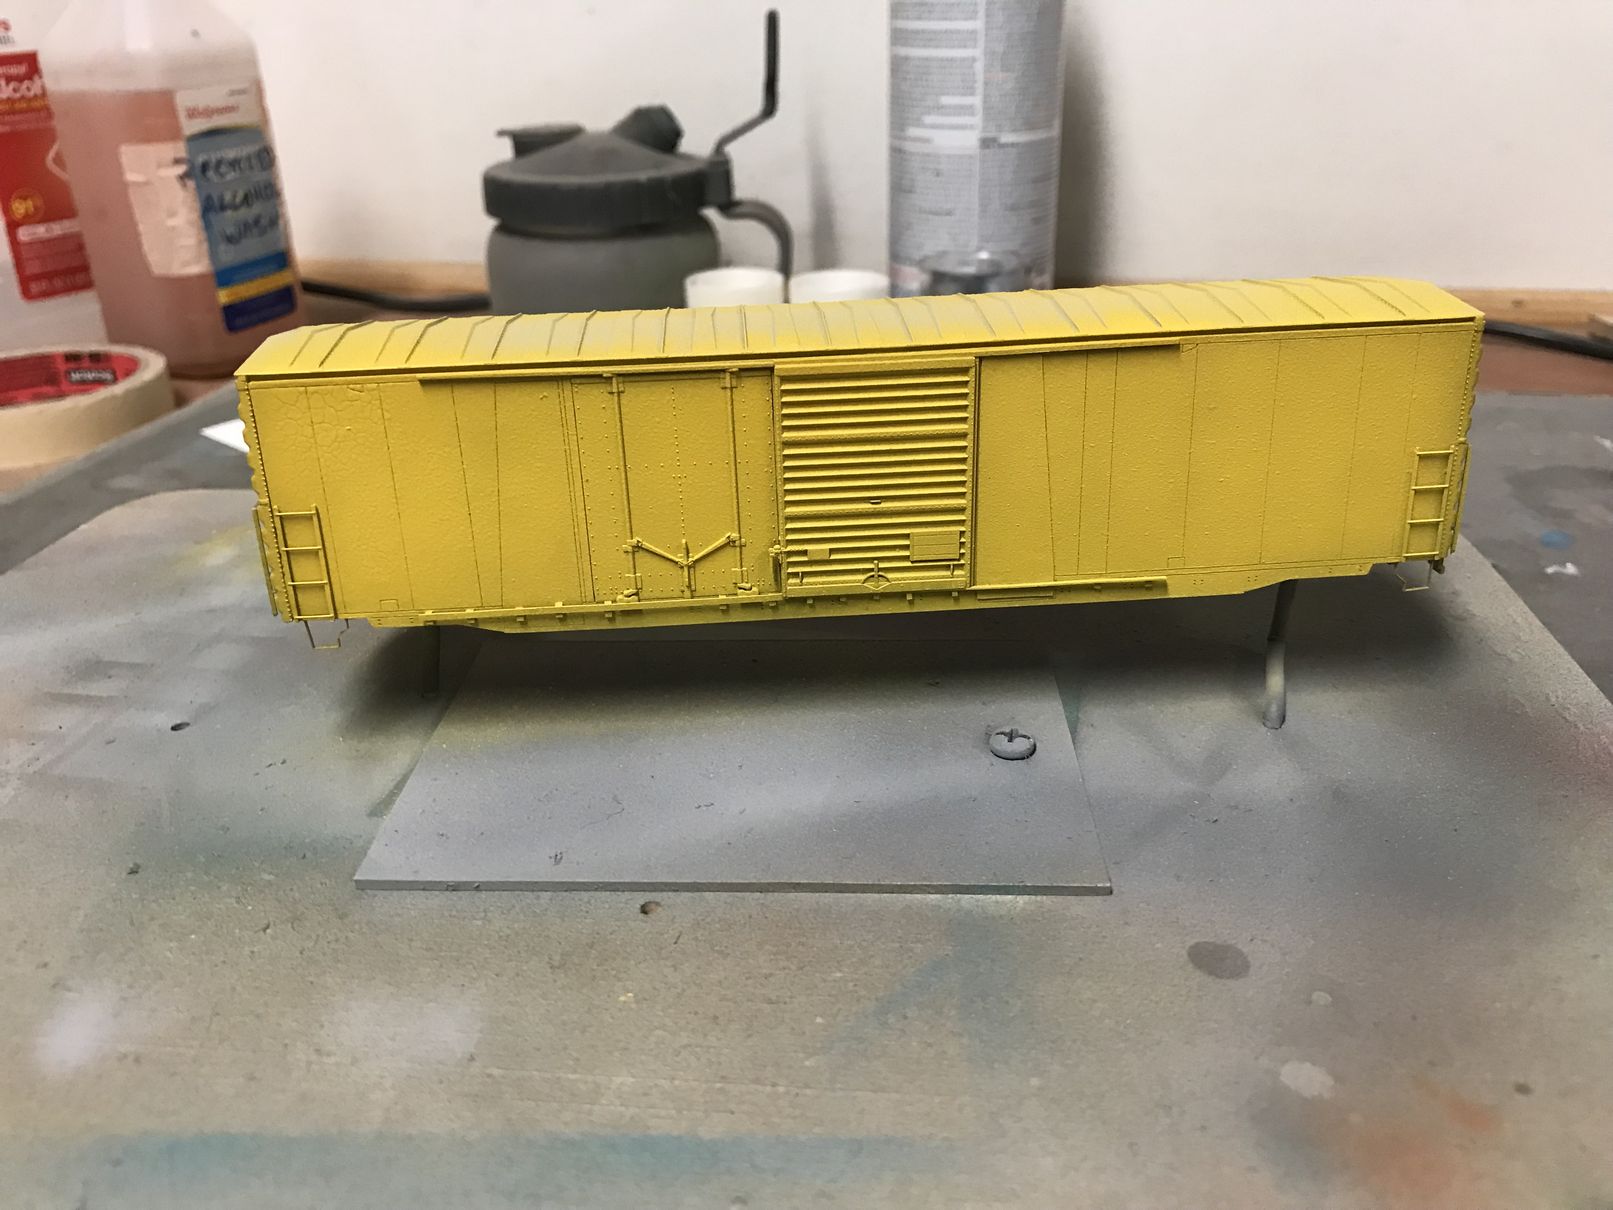
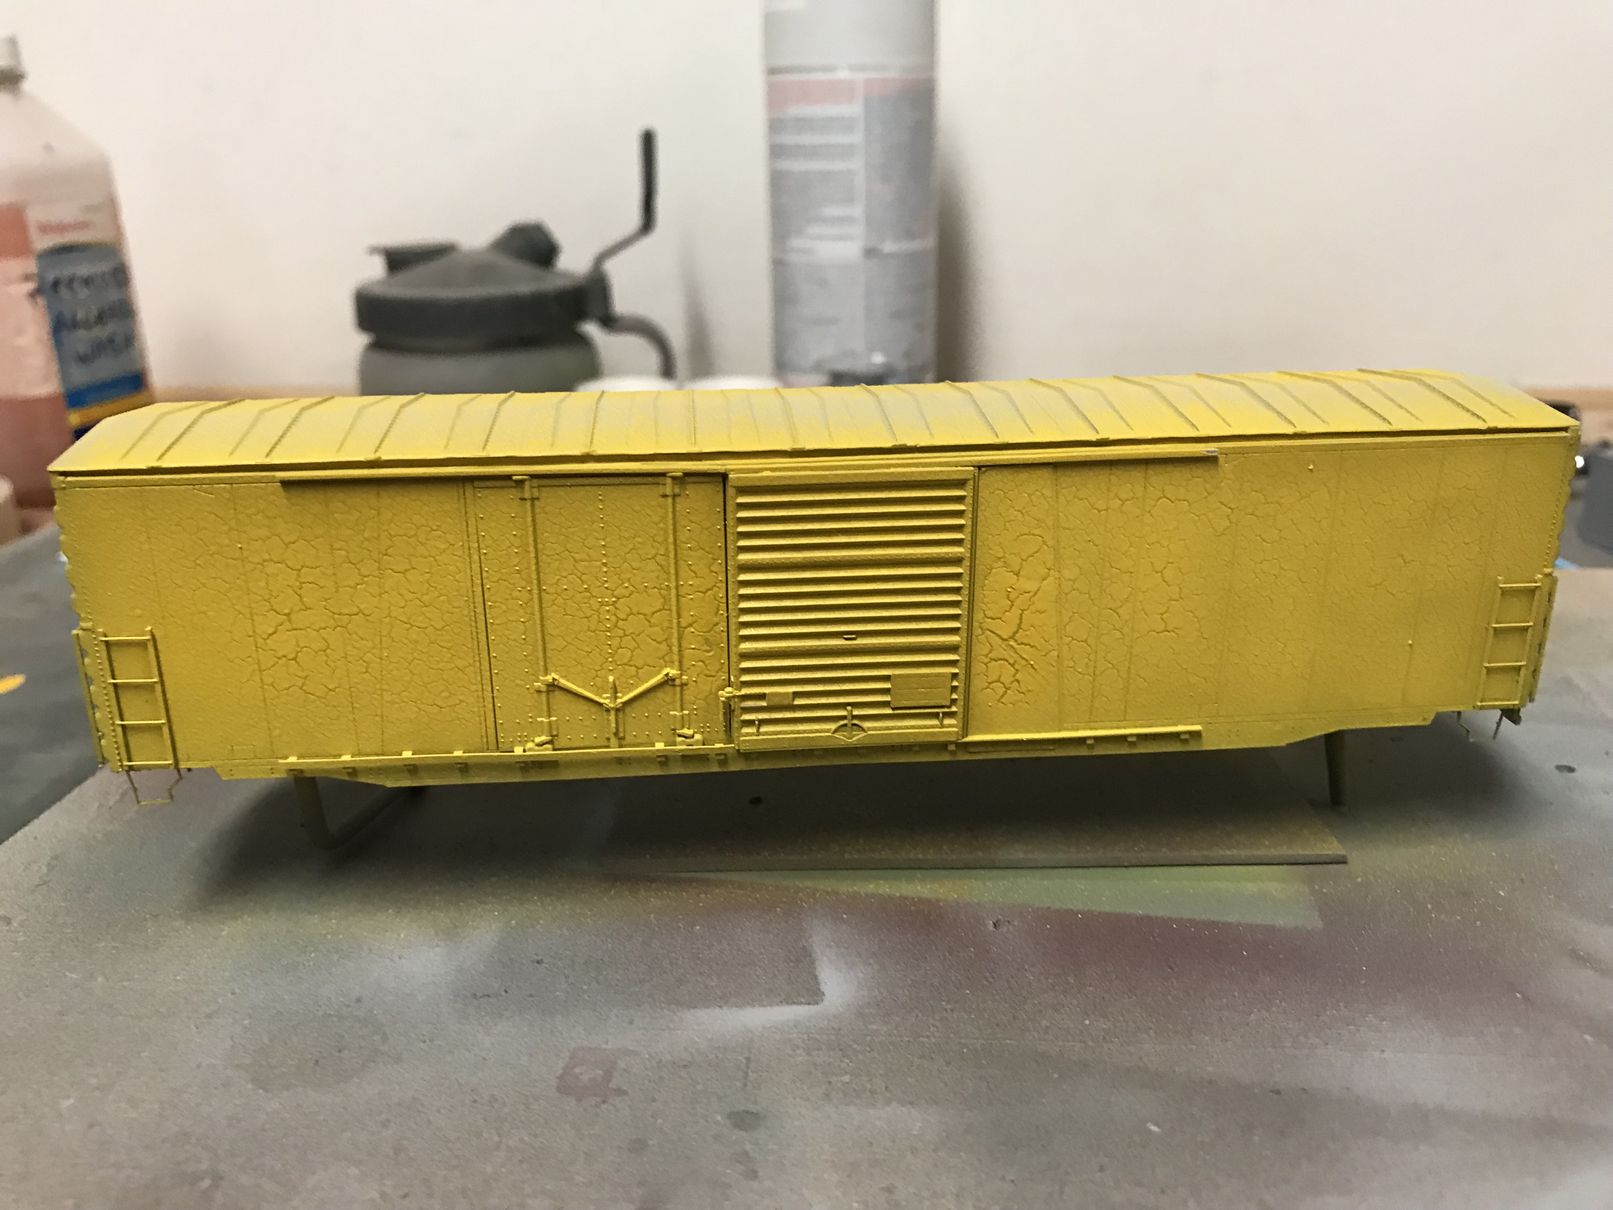
| Painting & Weathering |
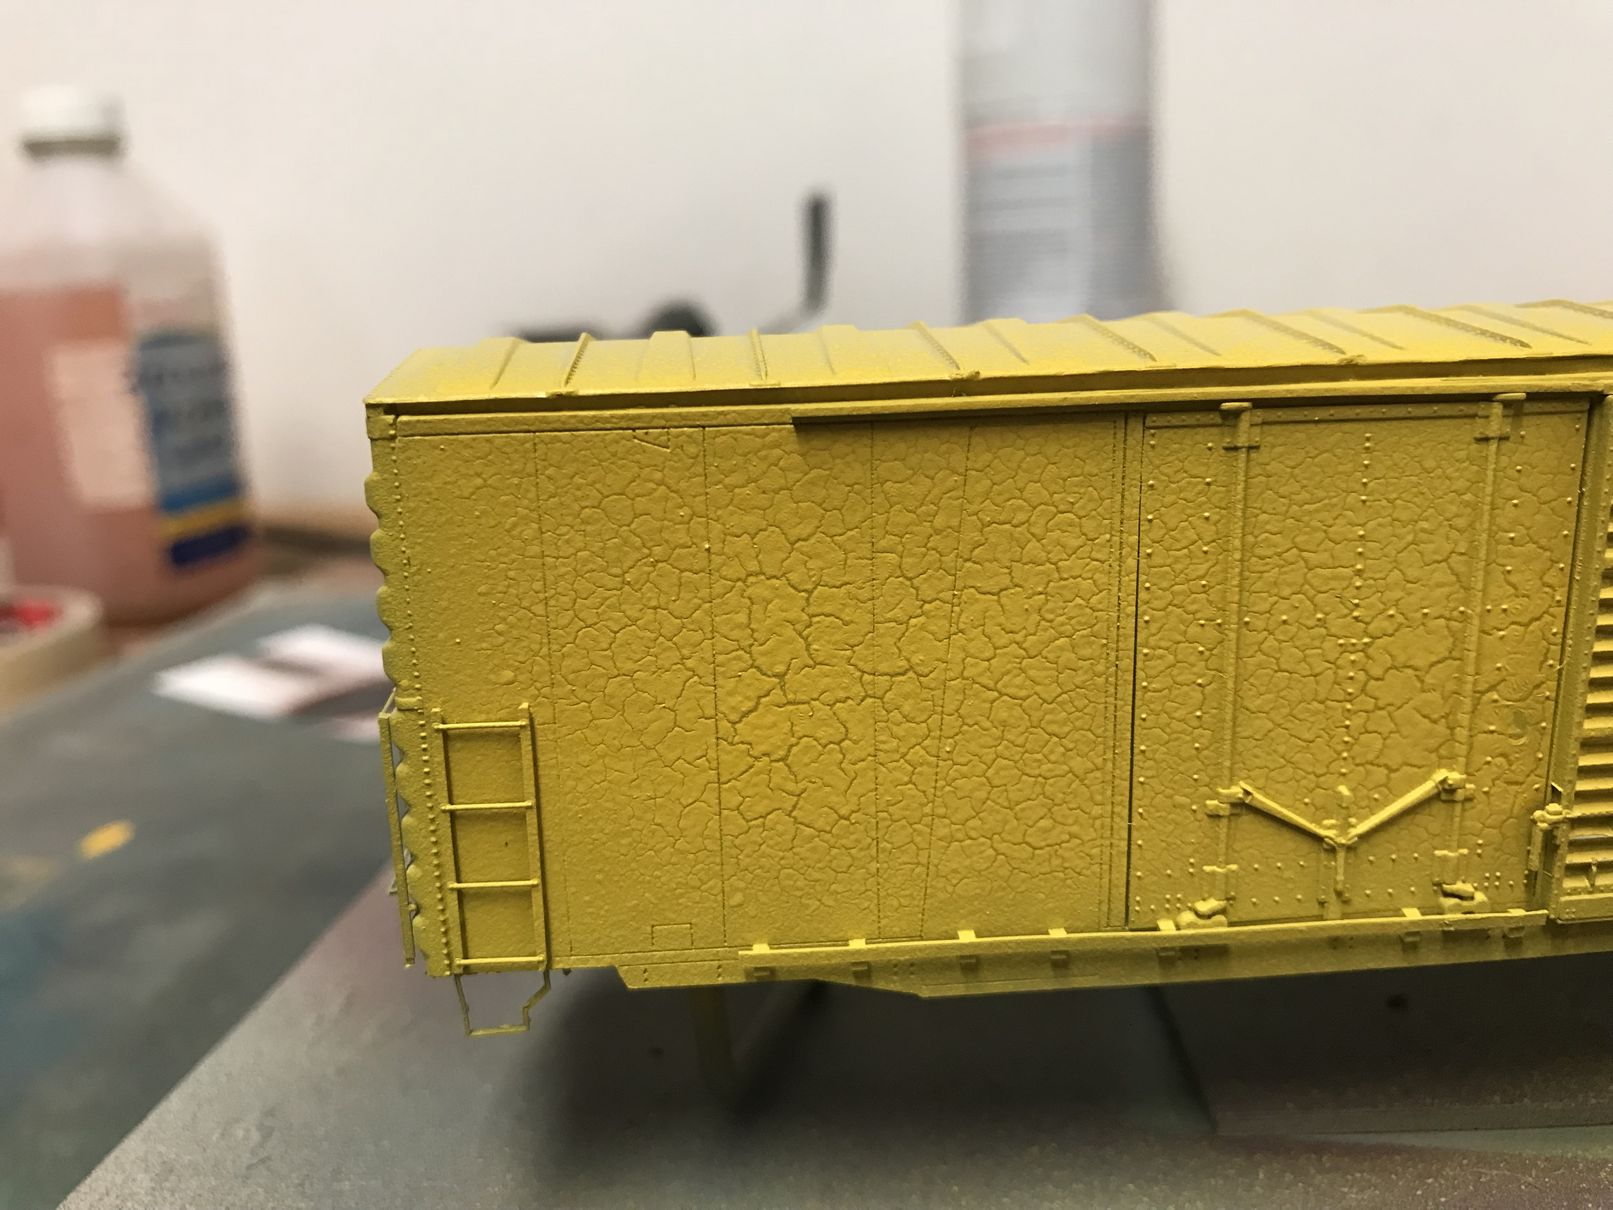
OK, so this got challenging.
First came some yellow. Too bright, and some orange peel too (though I didn't mind that, honestly- looked cool!). I think it was the paint- I have had issues with yellow paint in the past- something about the pigments? Consult a chemist.
 |
 |
 |
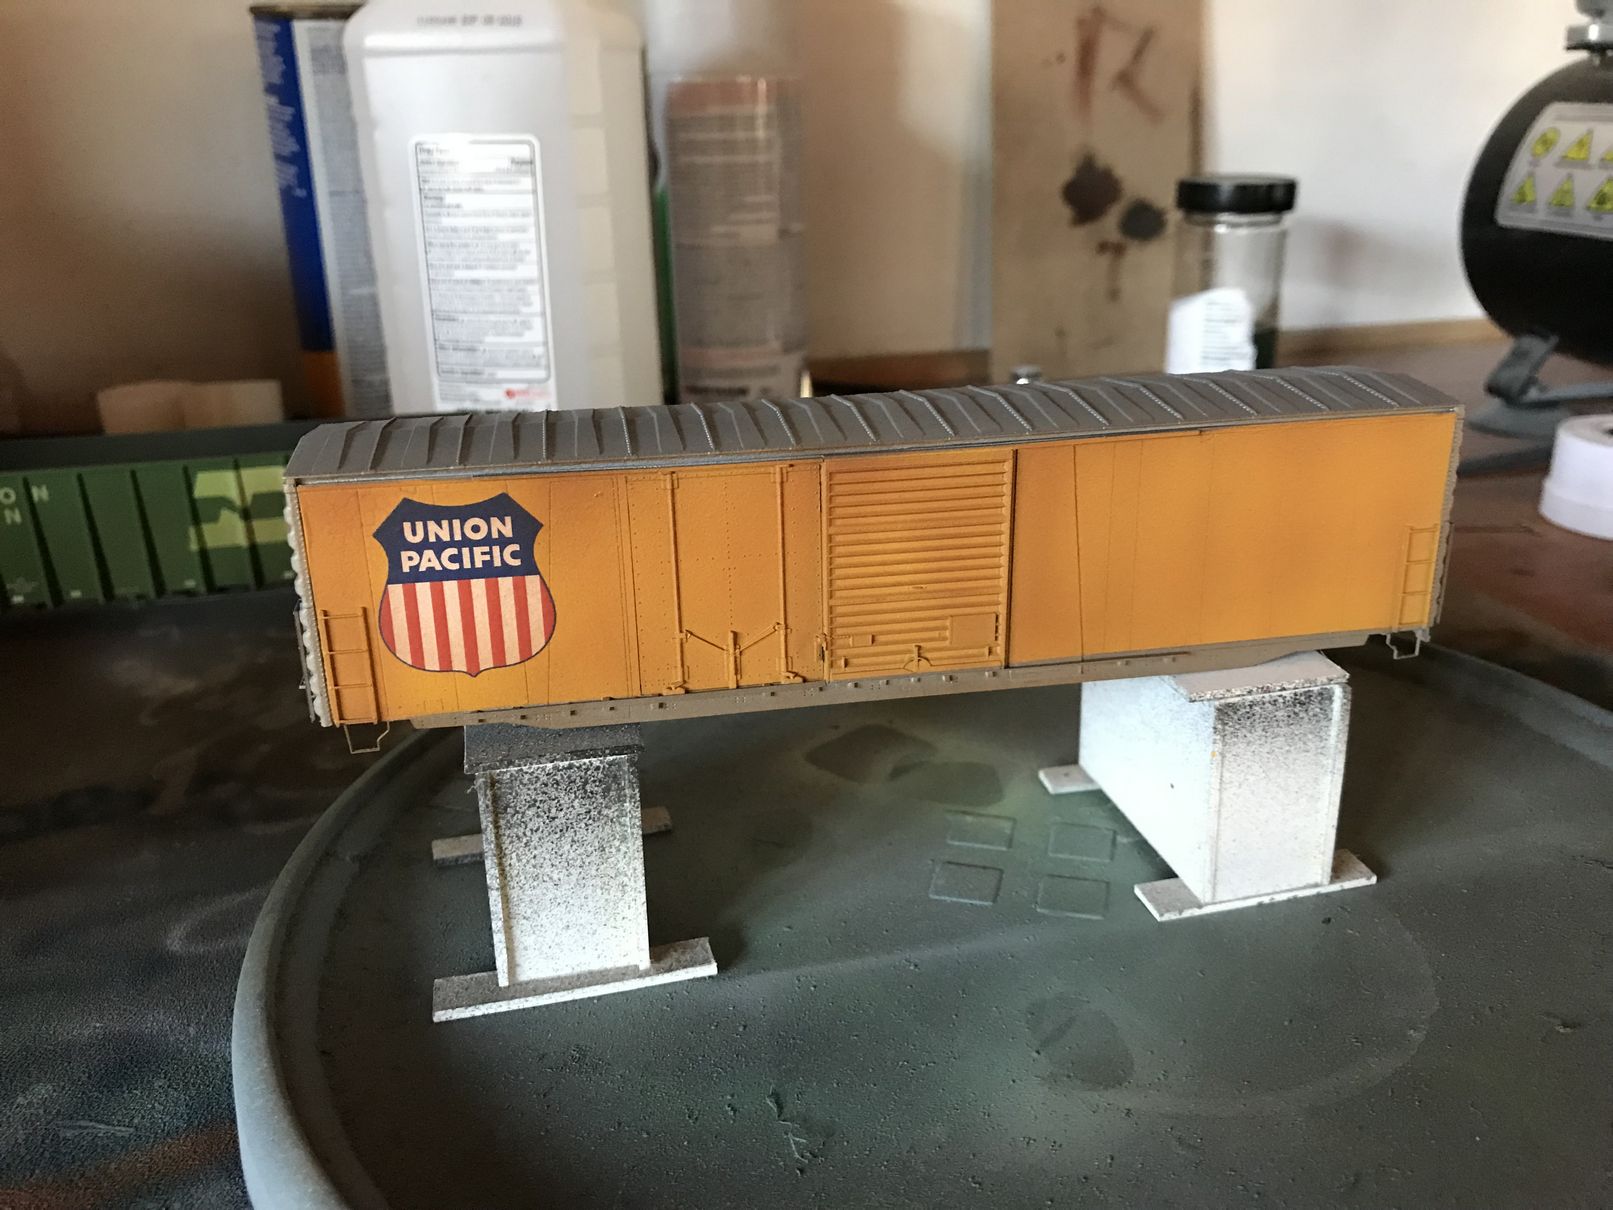
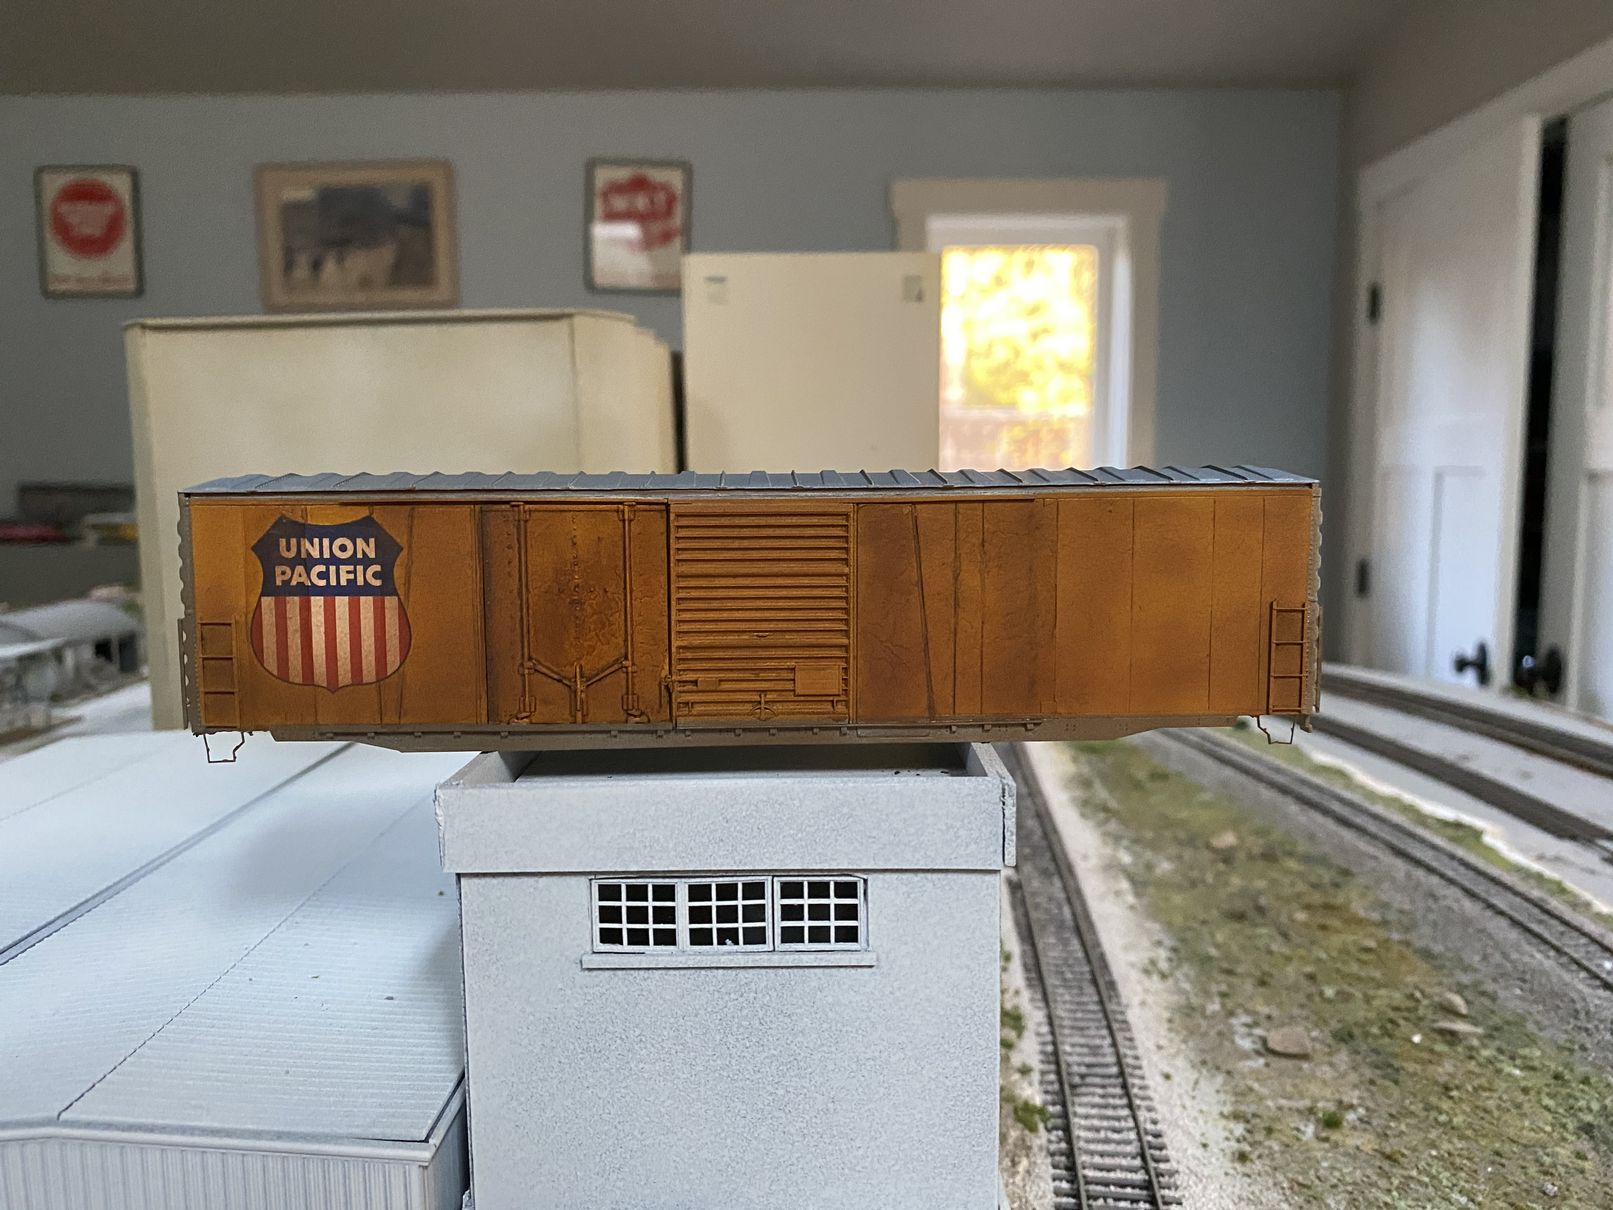
Welp, time to add some orange/brown, and the large UP heralds (from Mask Island decals).
 |
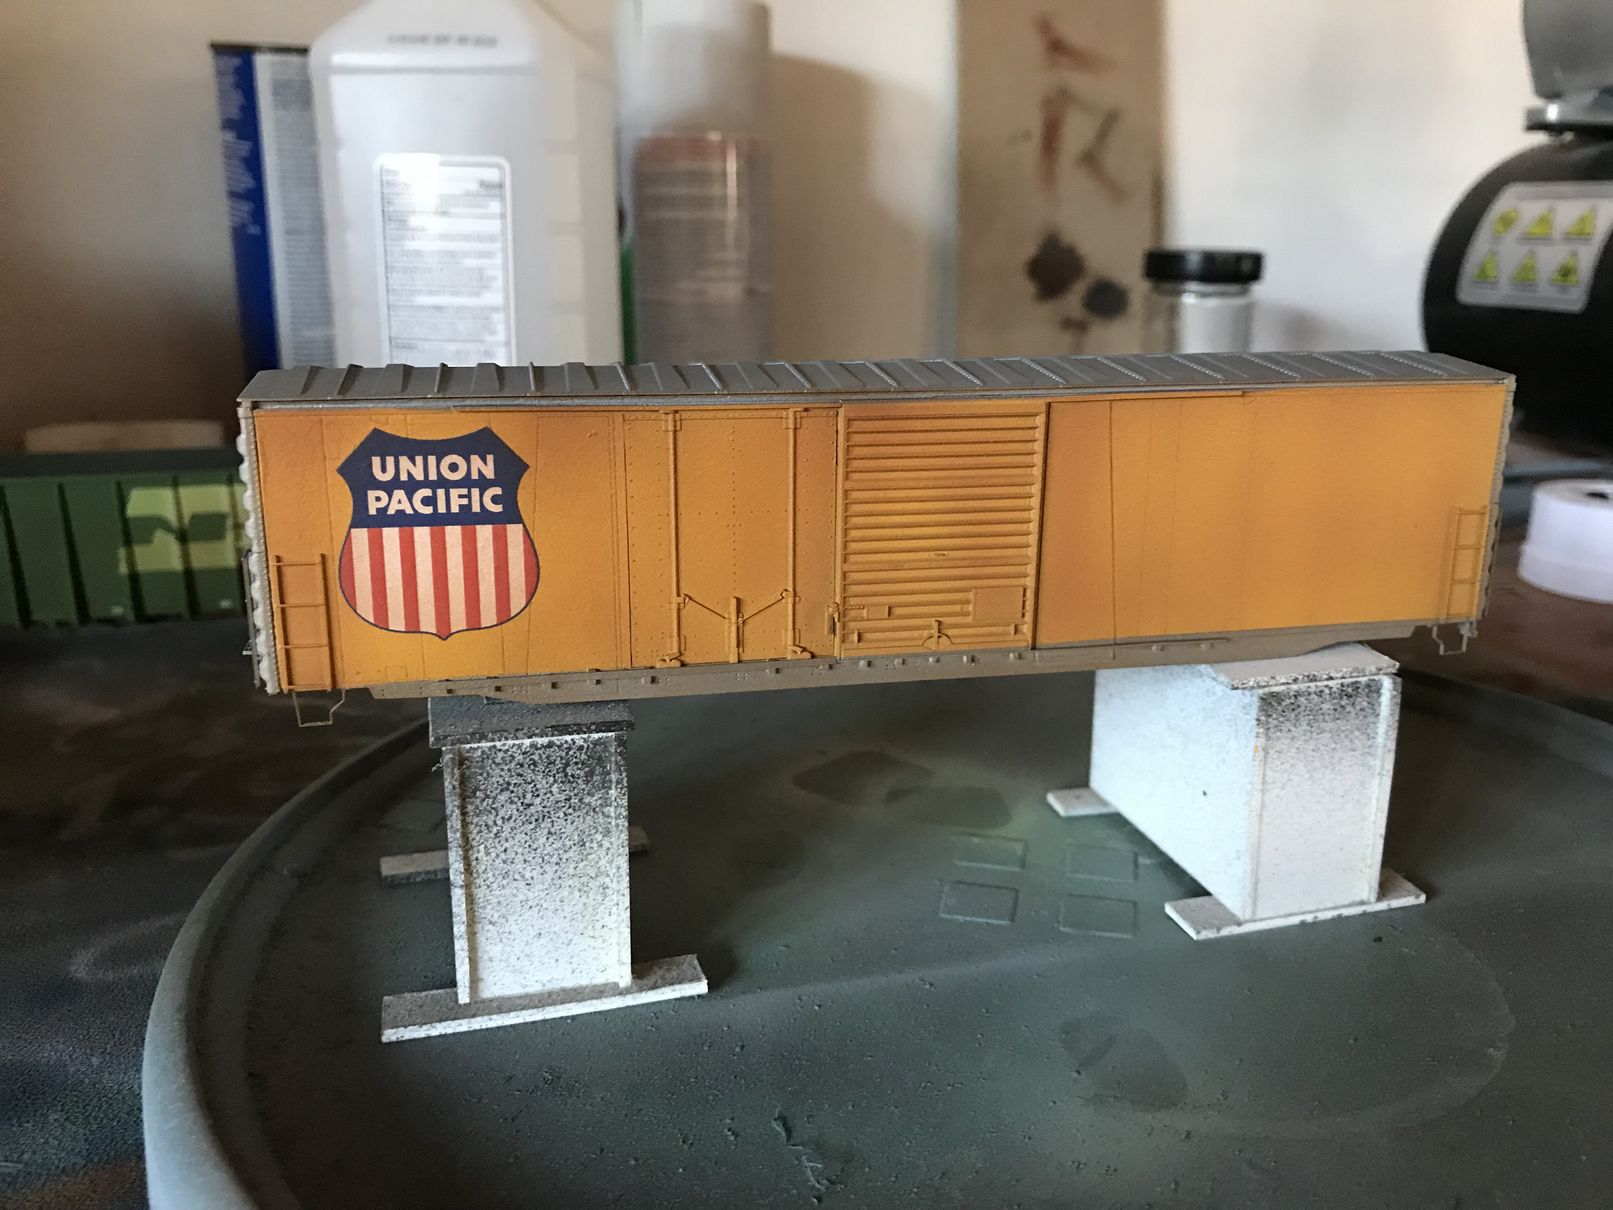 |
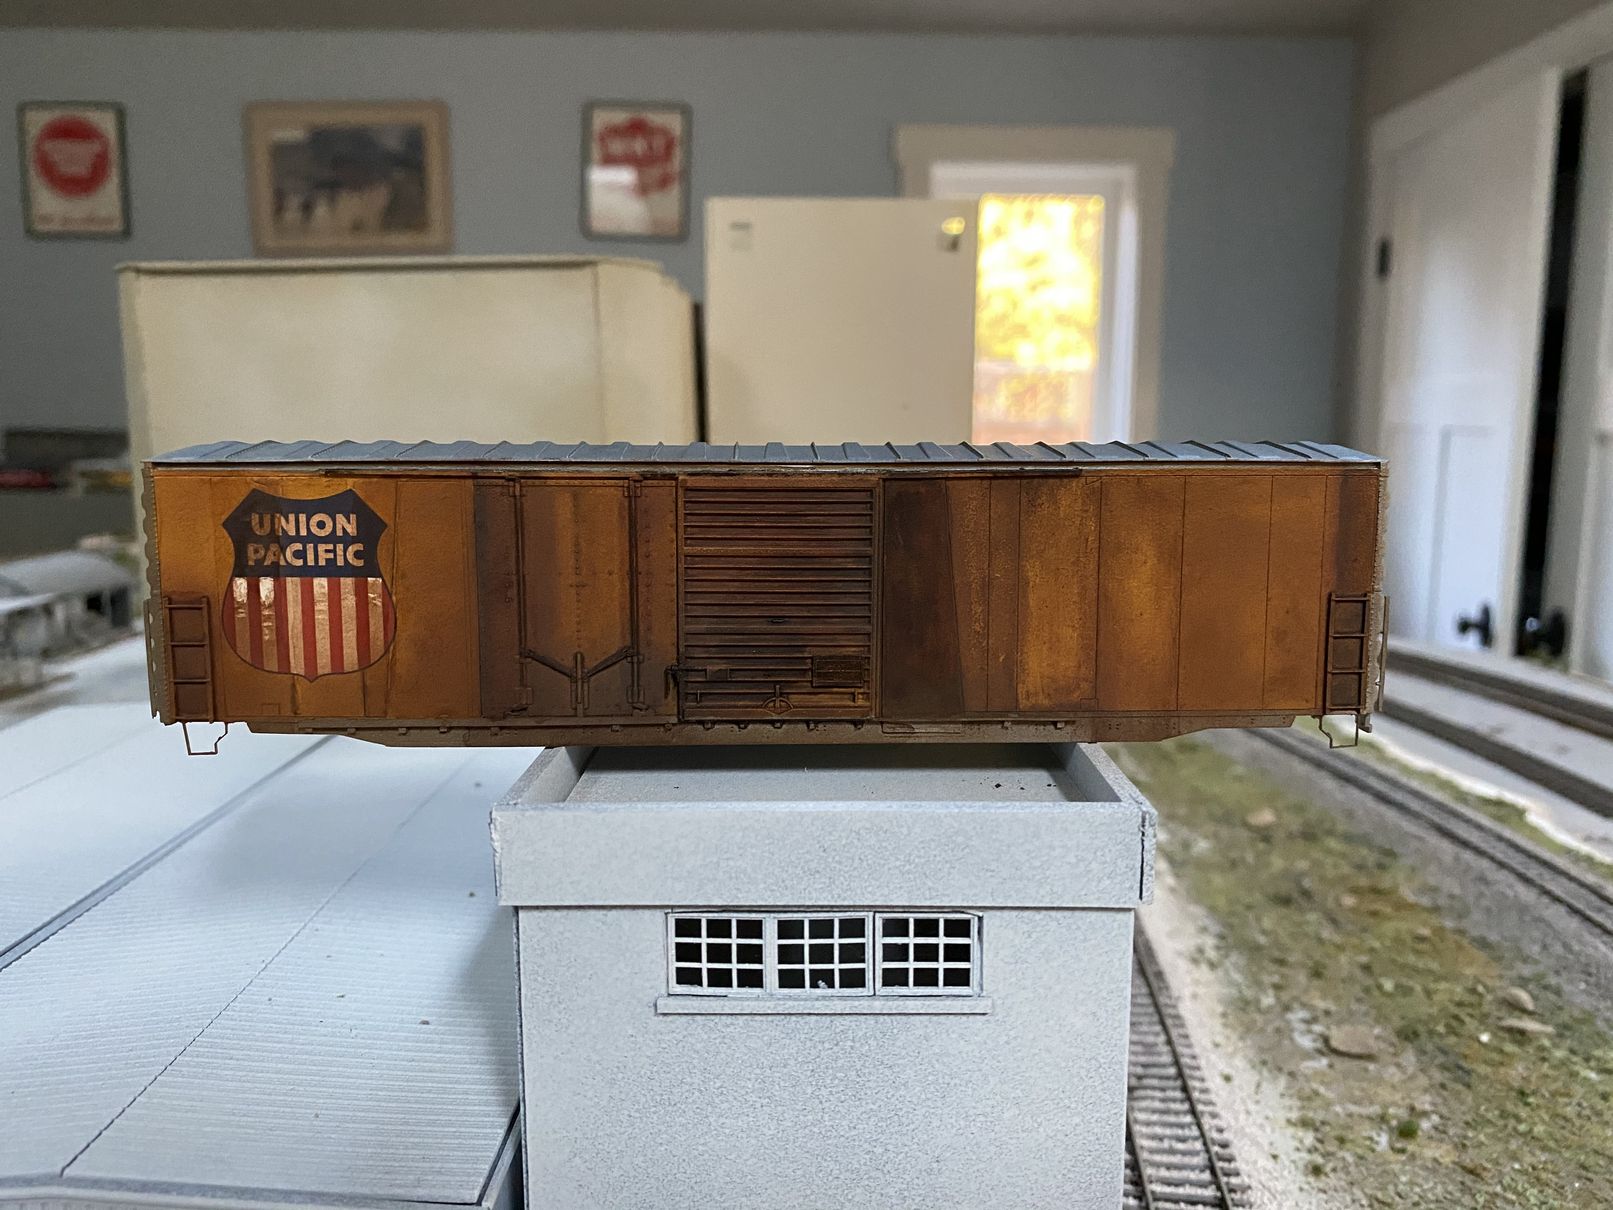
Looking better. Then came some weathering/darkening.
 |
 |
 |
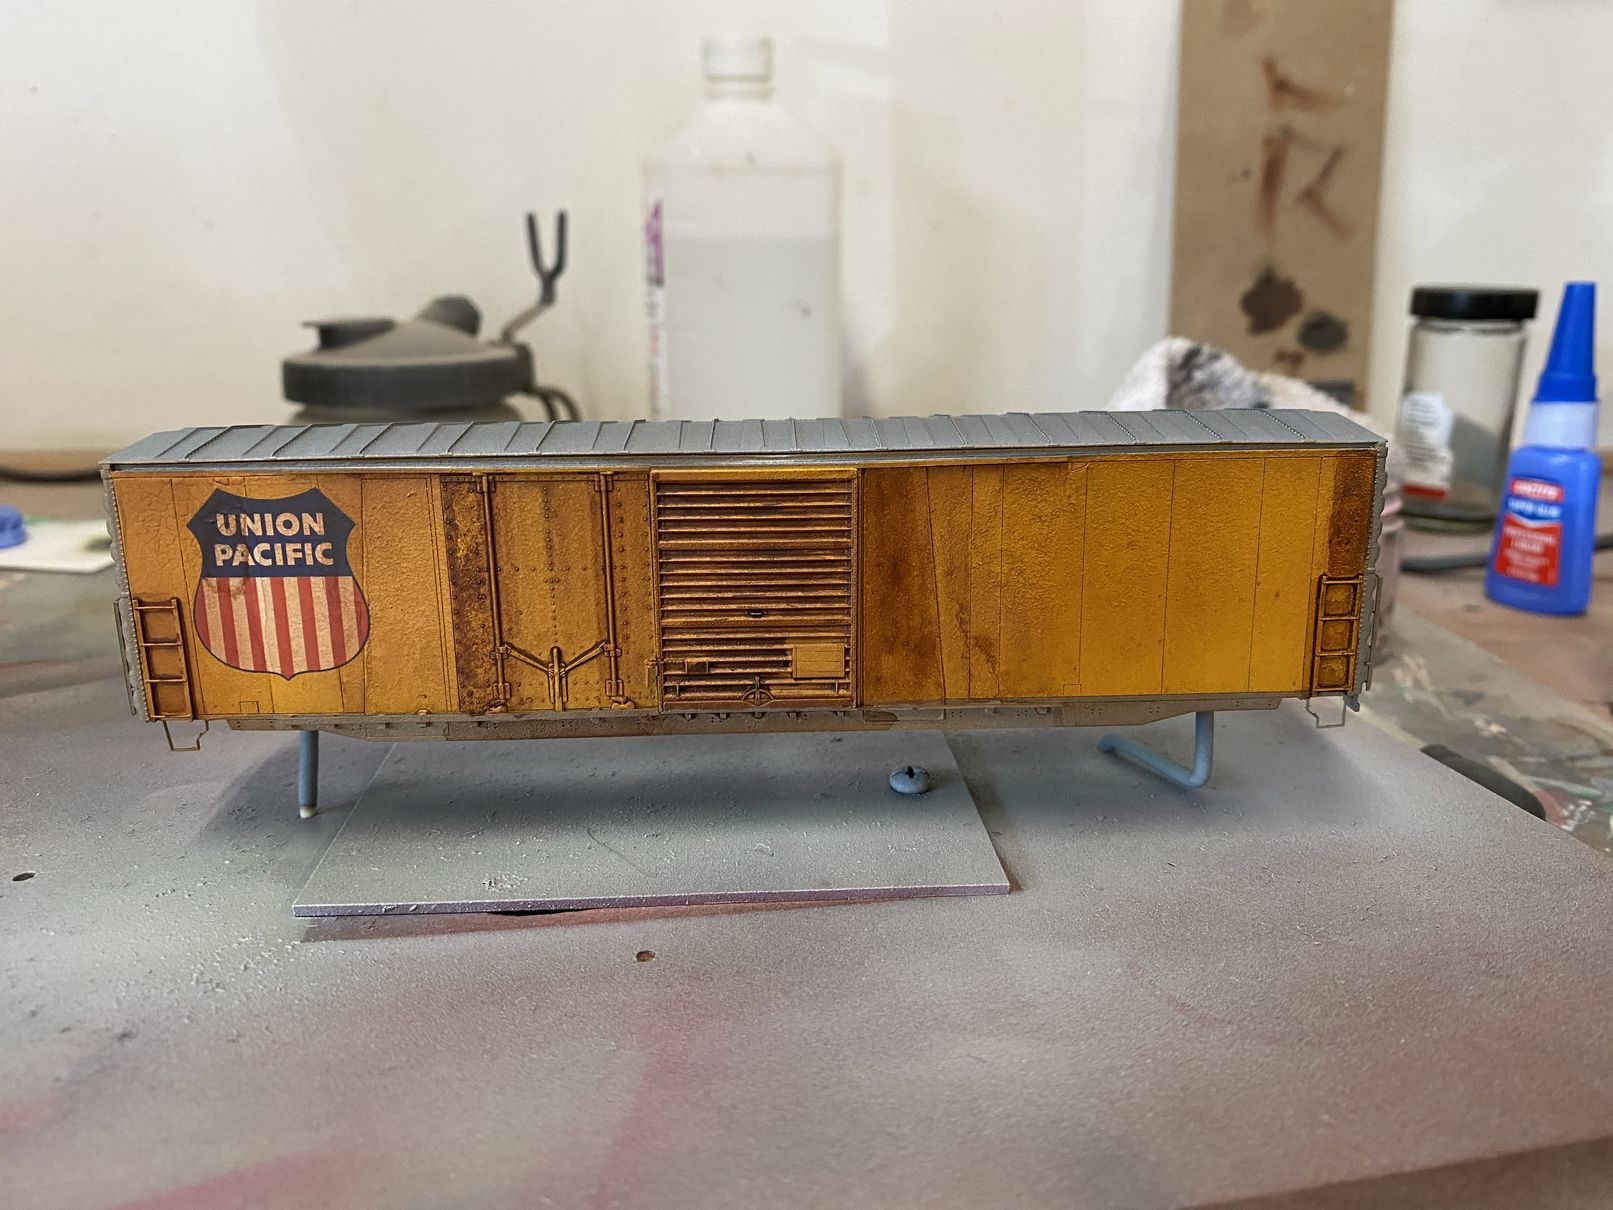
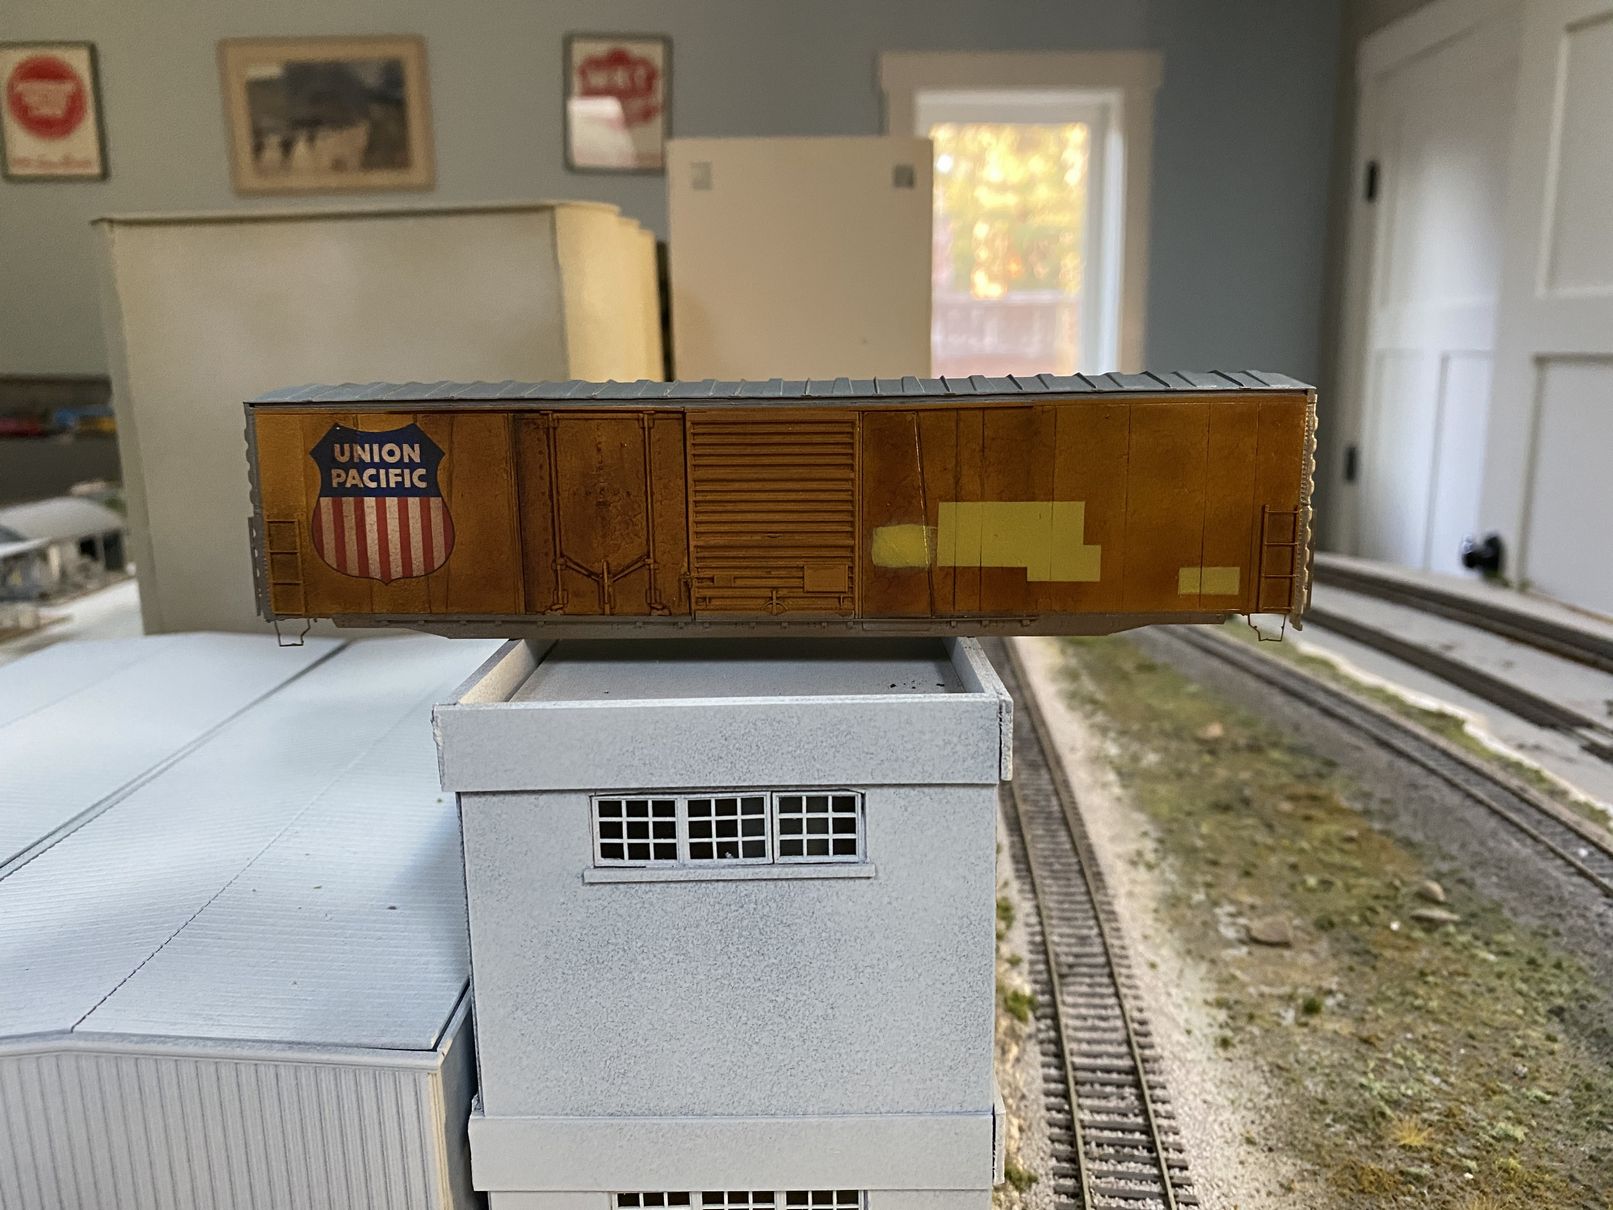
Then some patchouts.
 |
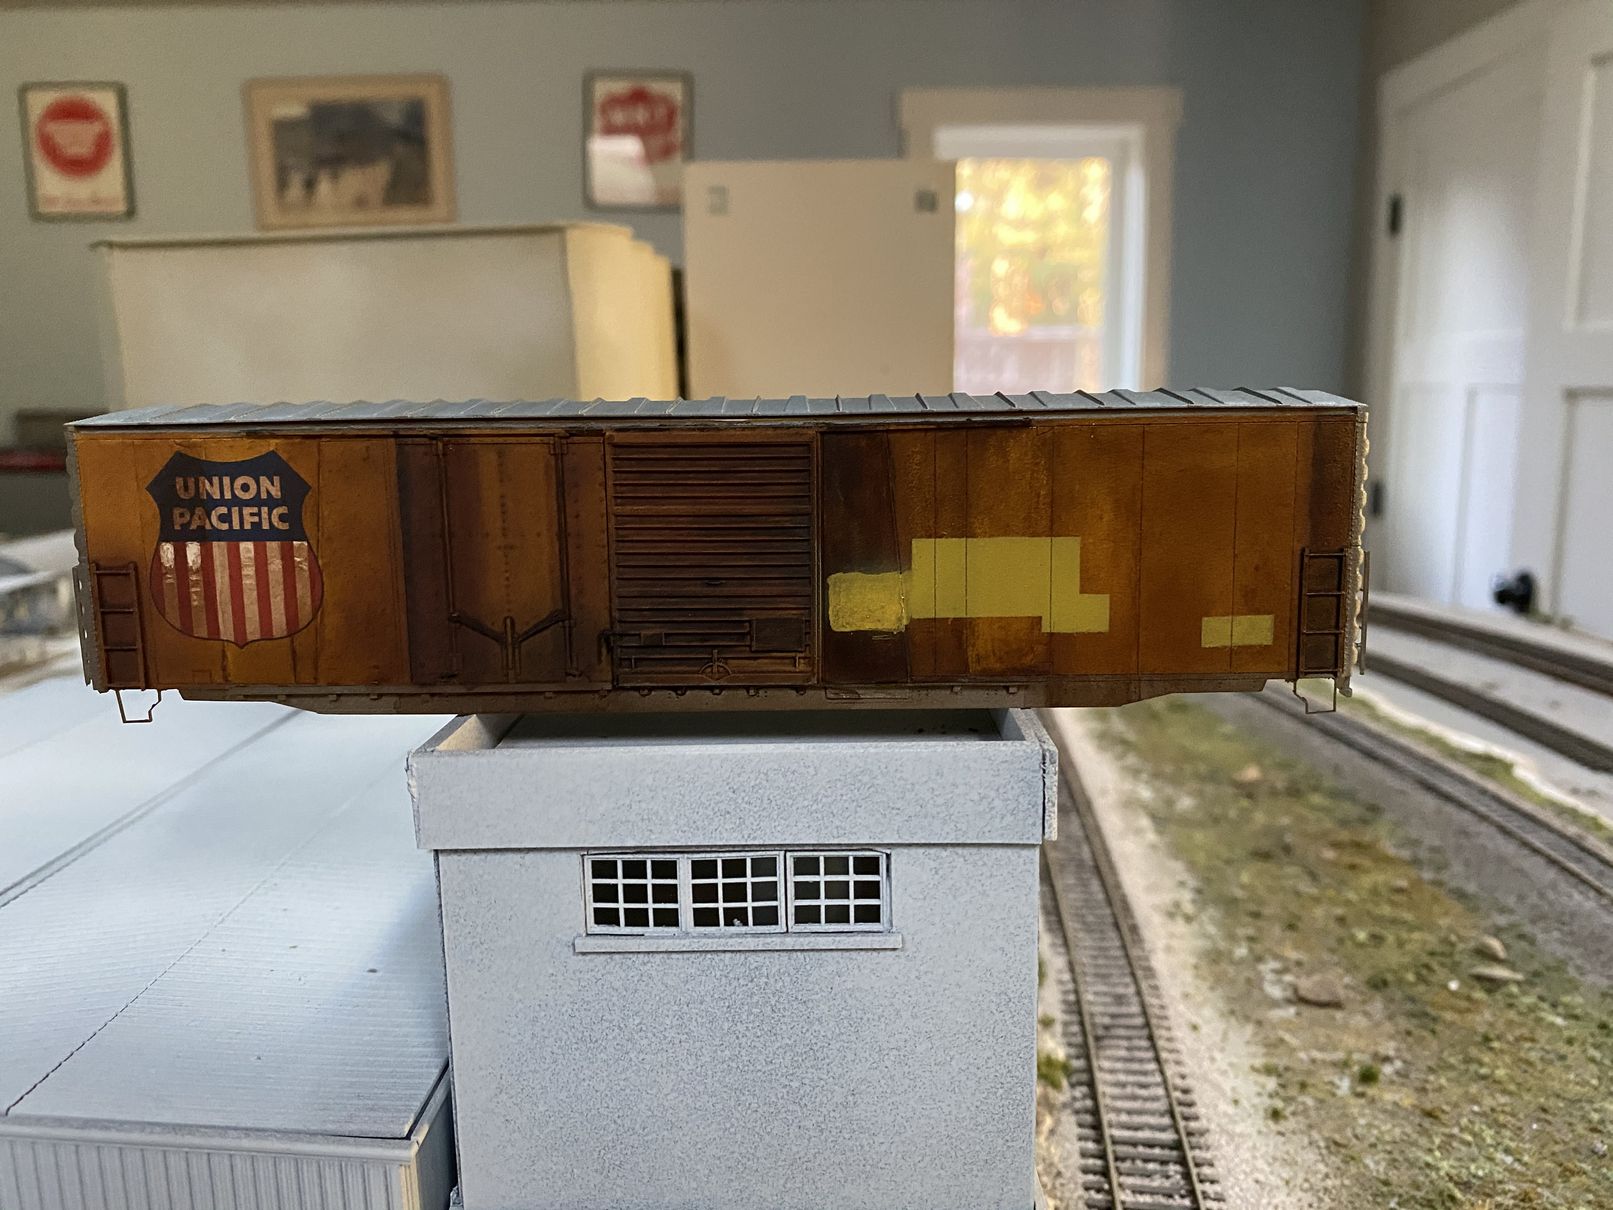 |
The roofs in the pictures looked surprisingly untouched- no big pools of rusty corrosion. So a thin wash, and some touches on the edges to add some color.
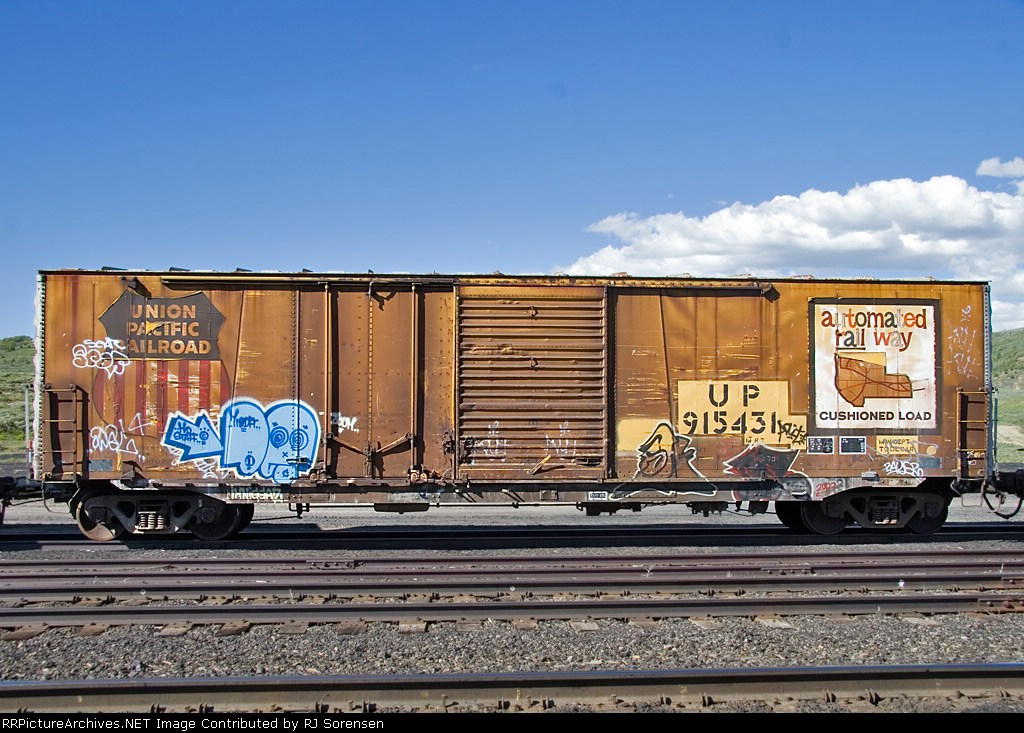
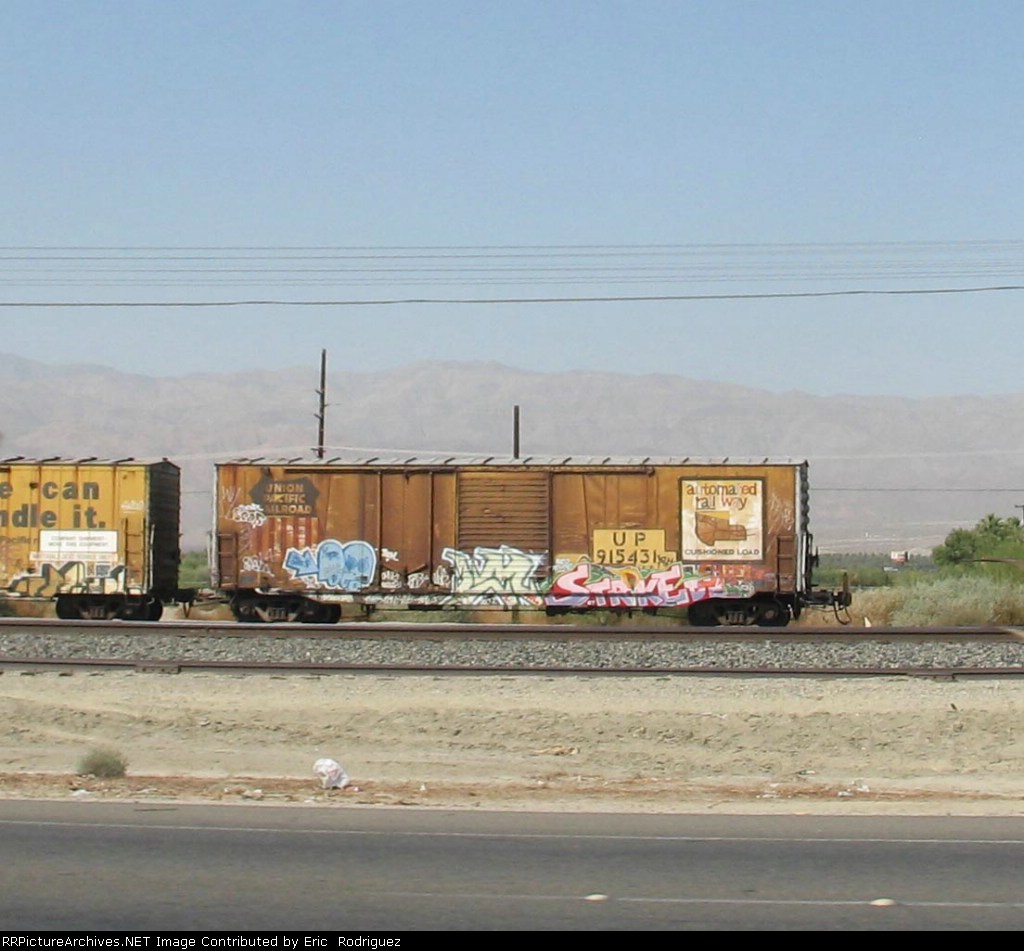
Then it was time to start hitting the graffiti. Looked like a tall mountain to climb, especially after I found a few pictures of the other side (photos property of respective owners). The dates on the pictures (and the pictures themselves) show the layers of tagging that the car has endured.
 |
 |
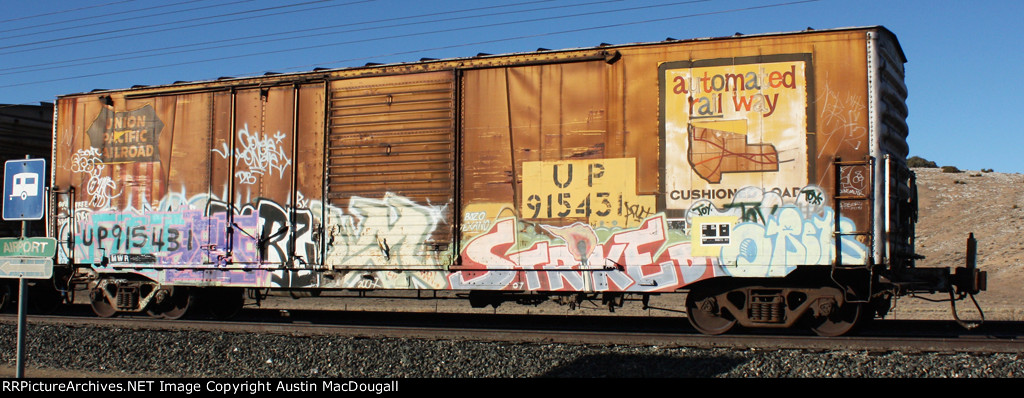 |
Being a little crazy, I opted for the third image, which was taken around the same time as my picture.
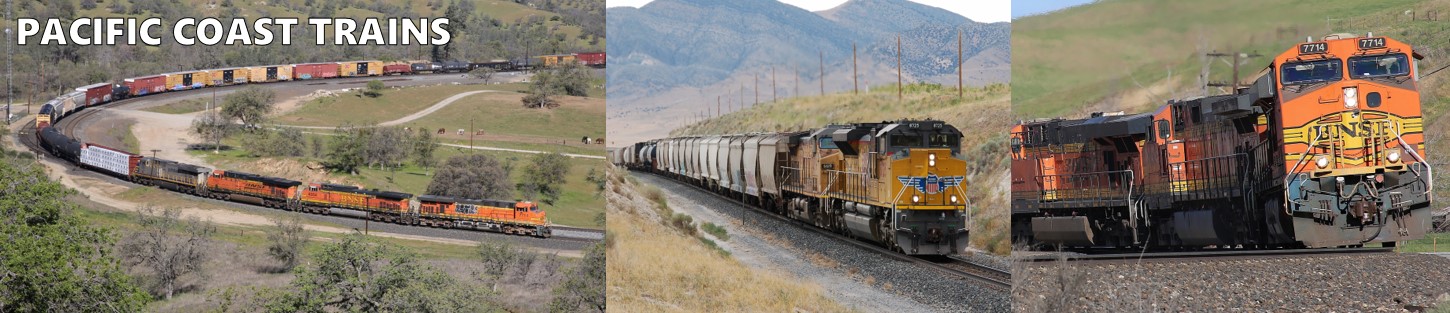
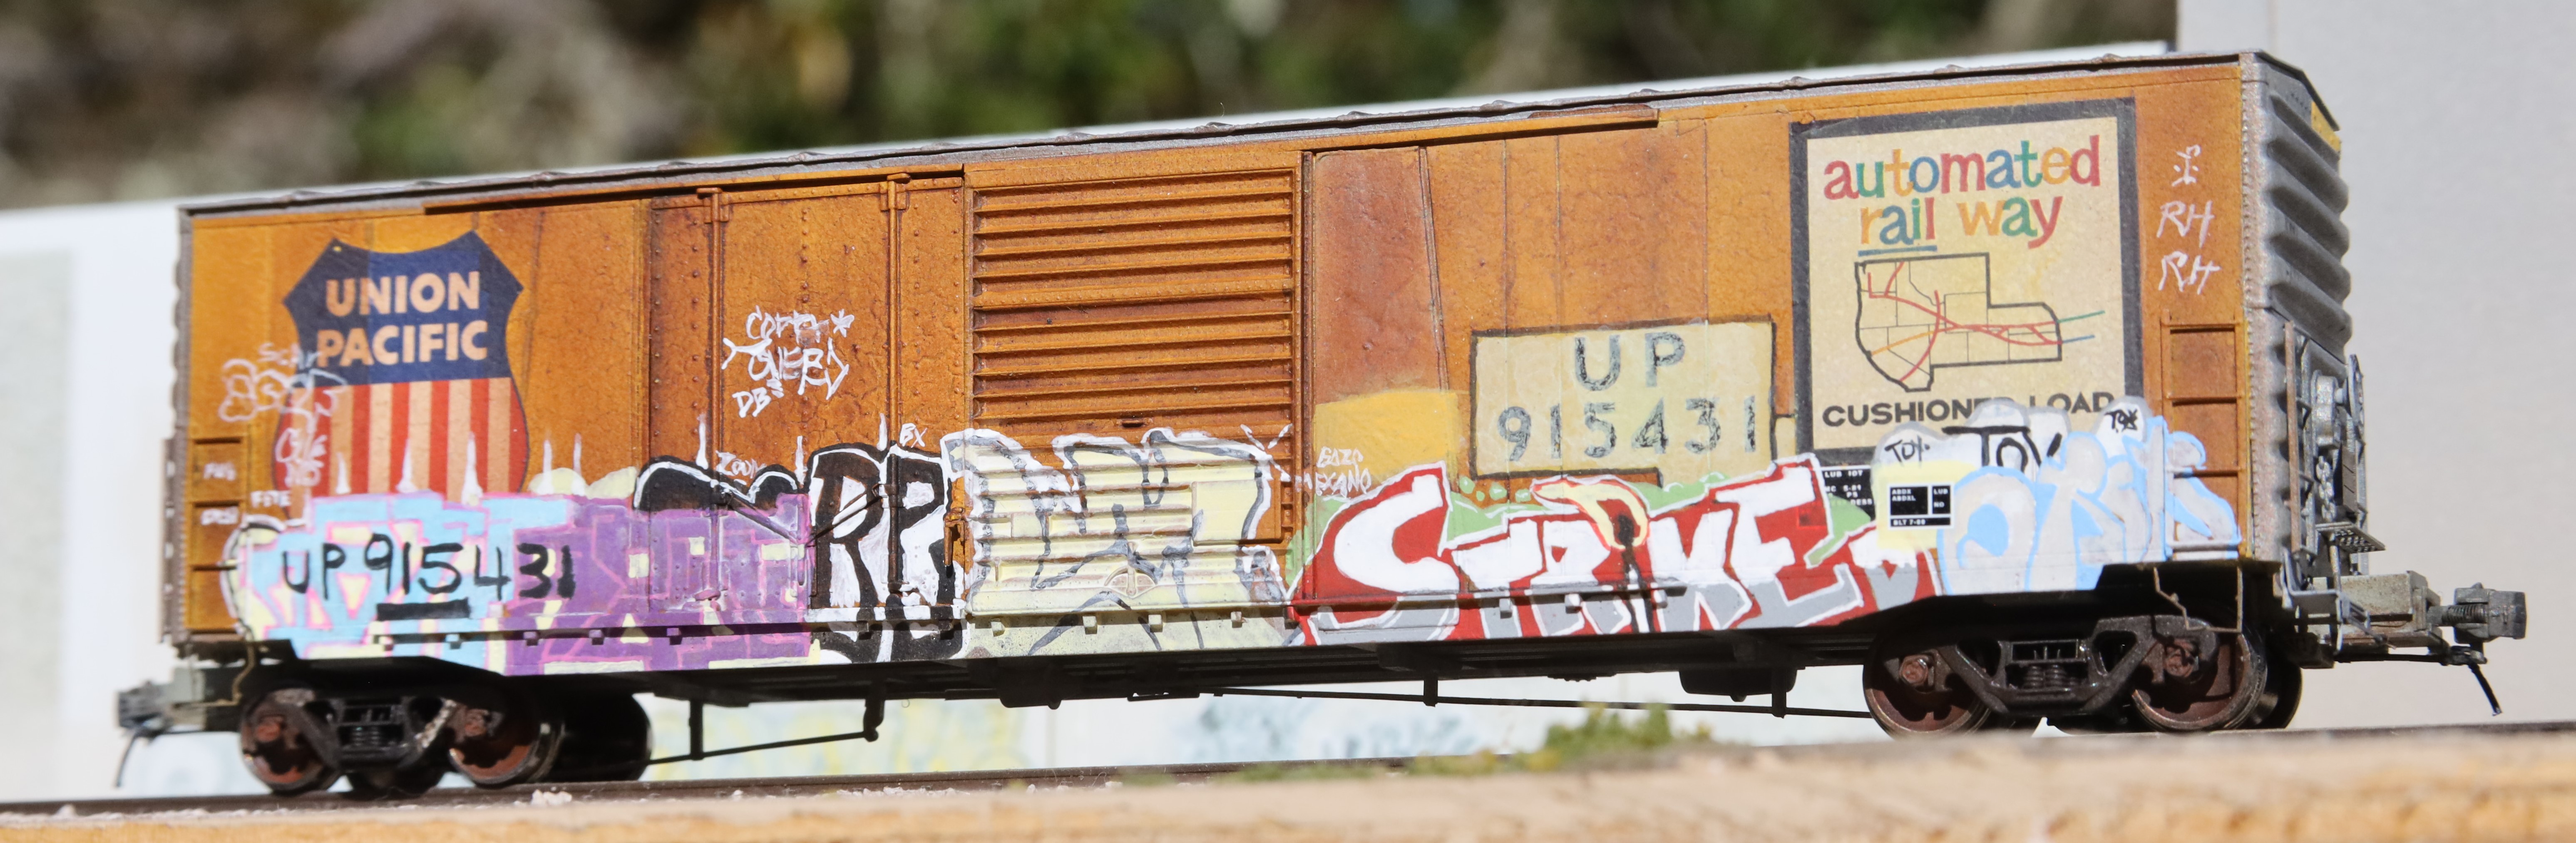
I don't have blow by blow of the graffiti- normal techniques, nothing unusual. Lots of craft paints I still had in inventory (paints have been REALLY hard to find the last six months). Anyway, here's the final result, after adding Plano cut levers (oops! forgot those).
 | |
 |
 |
| Summary |
I felt so good getting this over the line- it was really a labor of love.
| Resources |
Cannon and Company kit (roster here), with Mask Island decals. A few photos from rrpicturearchives.net, and of course my own that started this.
Huge shout out goes to Dan Arnold, who I don't know but I've consumed a lot of his work on YouTube. I've gotten a lot of energy by watching his projects and his Railbox tutorial was the inspiration for this car.