
| KIT: | Italeri 1/72 C-130 |
| KIT #: | UNK |
| DECALS: | Caracal Blue Angels Fat Albert CD72052 |
| Prototype Background |
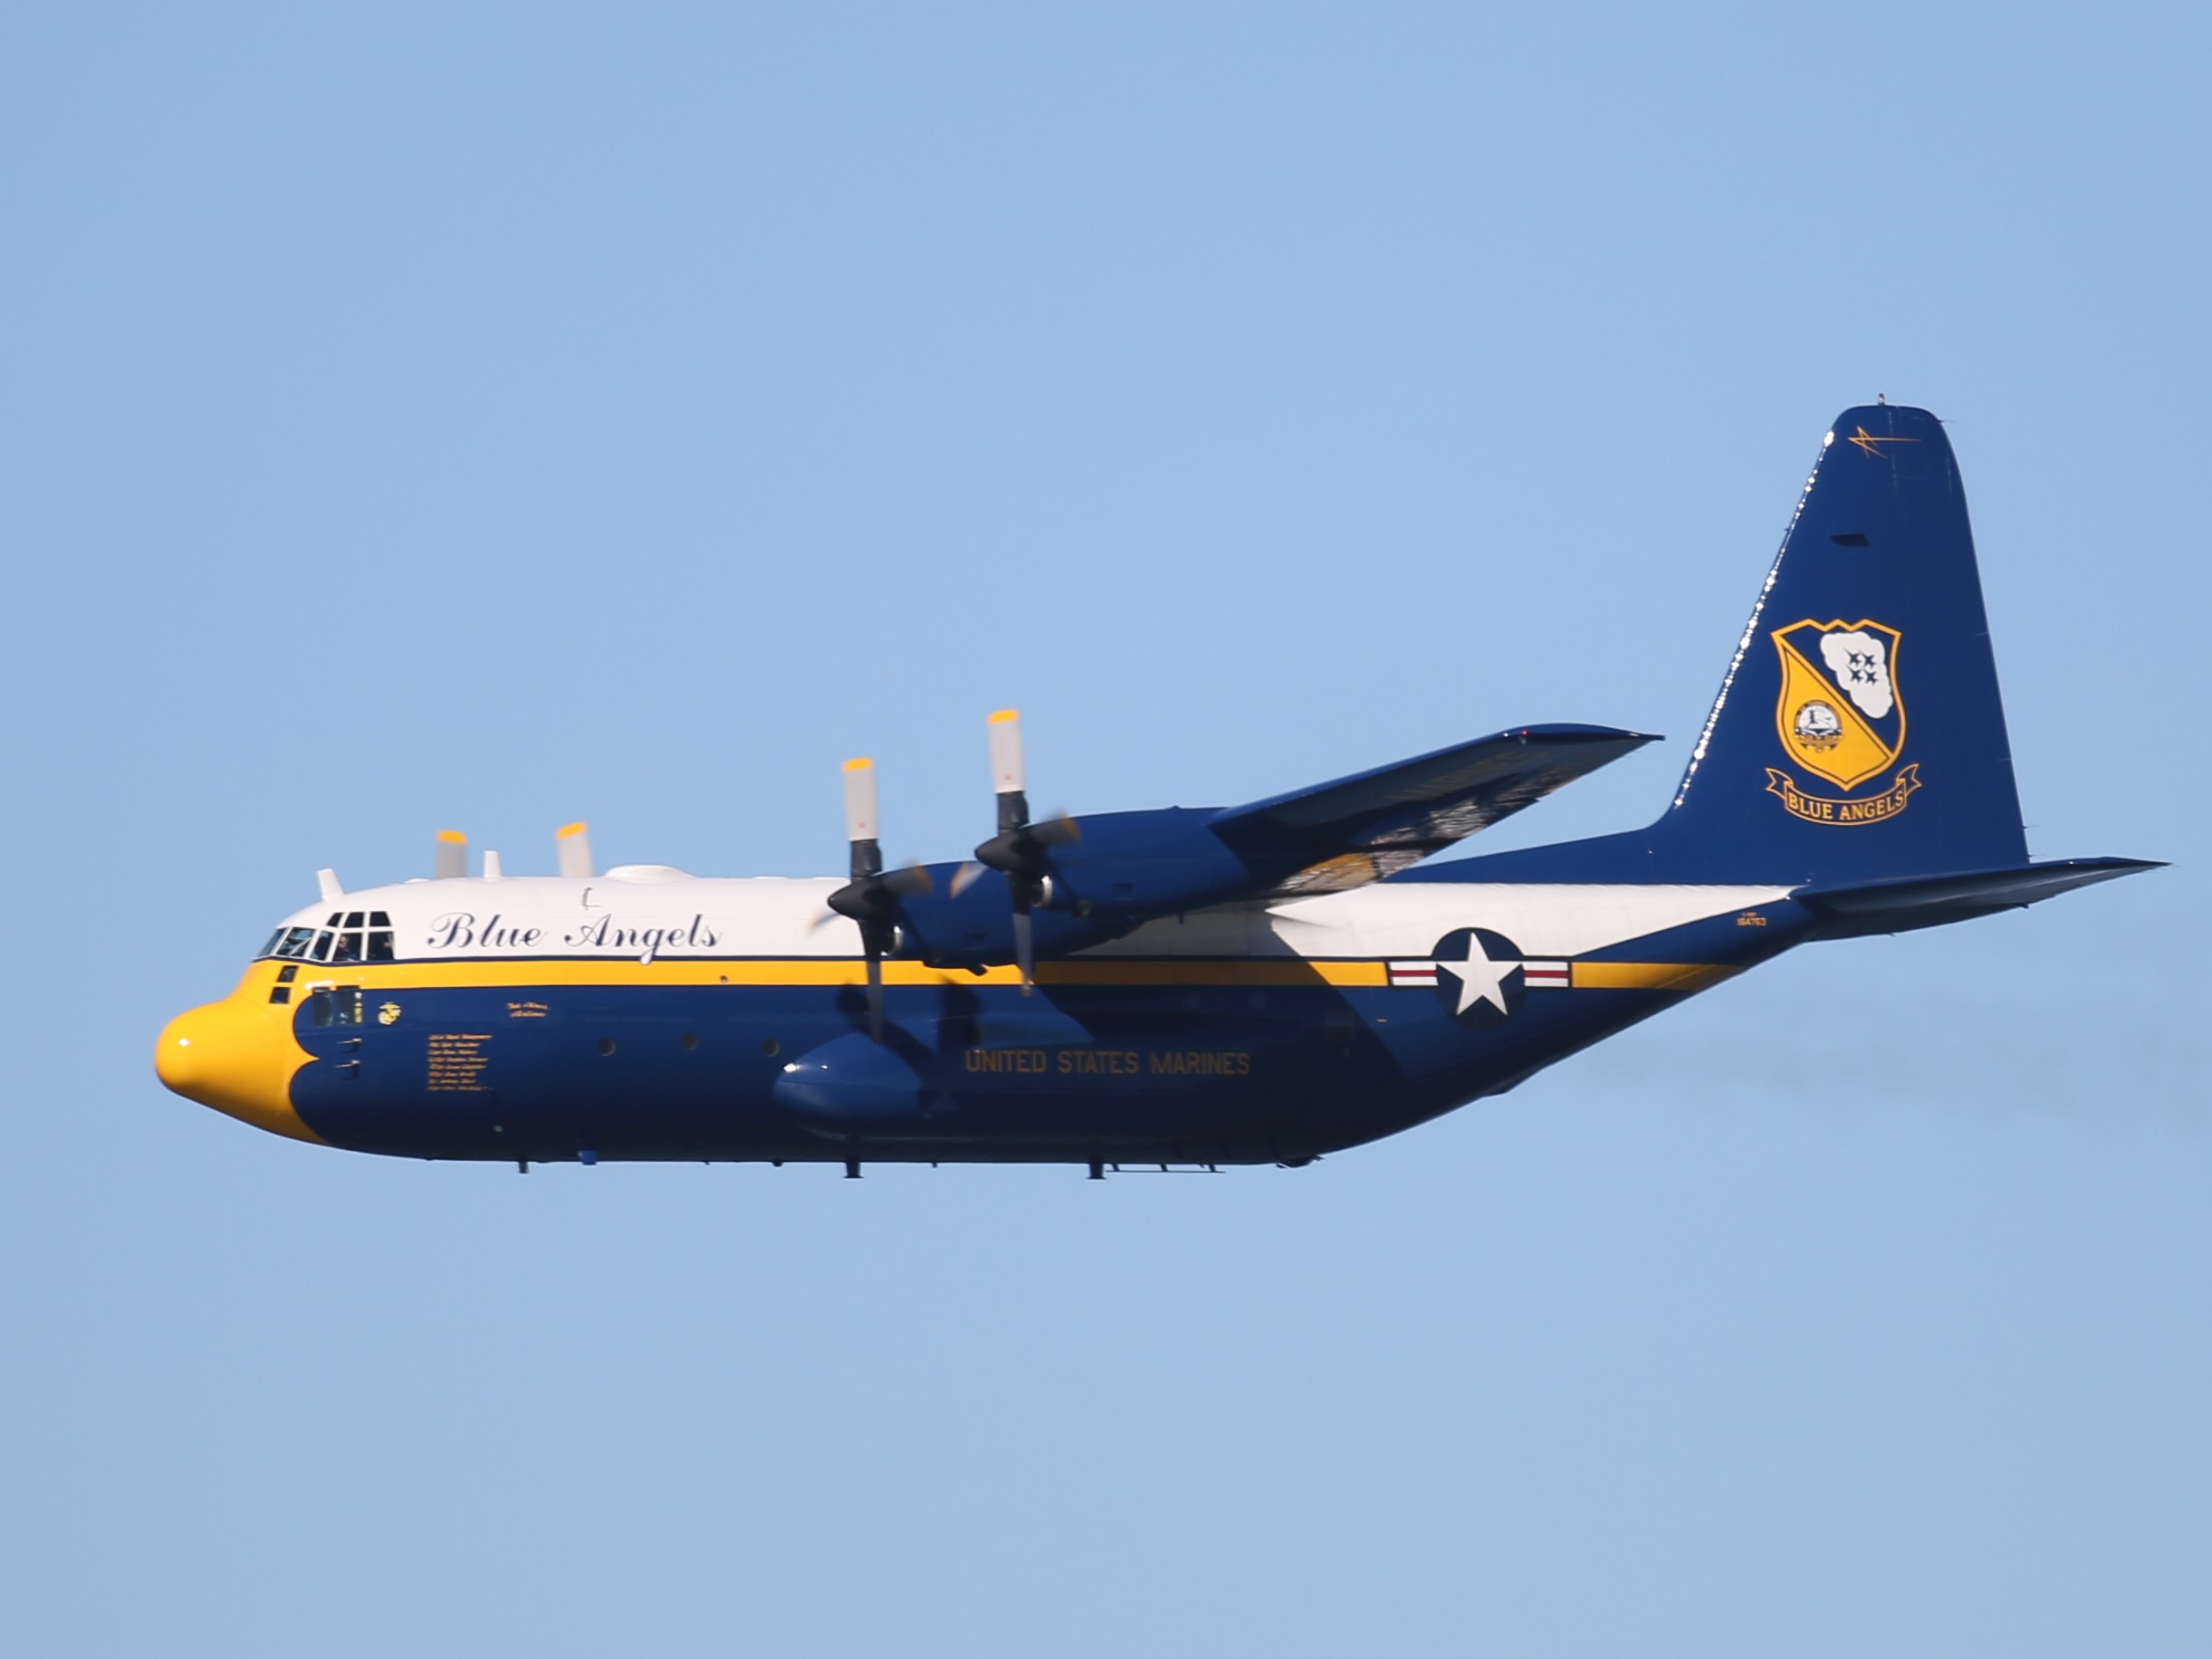
In the summer of 2018, I was invited by a vendor to attend their tent at the San Francisco Fleet Week airshow, at Crissy Field in San Francisco. It was awesome. I'd never been to one, so took my wife and son (daughter was away at NECIR) and were treated to a great show in style. I got some great photos (including the one above) and some inspiration to do some modeling.
| Inside the Box |
 I didn't actually get a box; I bought a kit on eBay, and the item didn't include decals, instructions or a box. I had another C-130 though, so had instructions to work from. The kit itself is big; for those of us used to working in HO scale, 1/72 is noticeably larger. Combine that with a big prototype, and you get a BIG model (at least big to me- where do 1/48 and 1/32 modelers store things?). All the needed parts were there though, so it worked out fine. This edition was molded in white plastic, kind of unusual.
| The Build |
For as large as the model is, there really aren't that many parts. You start inside and work out, so the cockpit goes first. I actually built both my cockpits at the same time for my two Hercs.
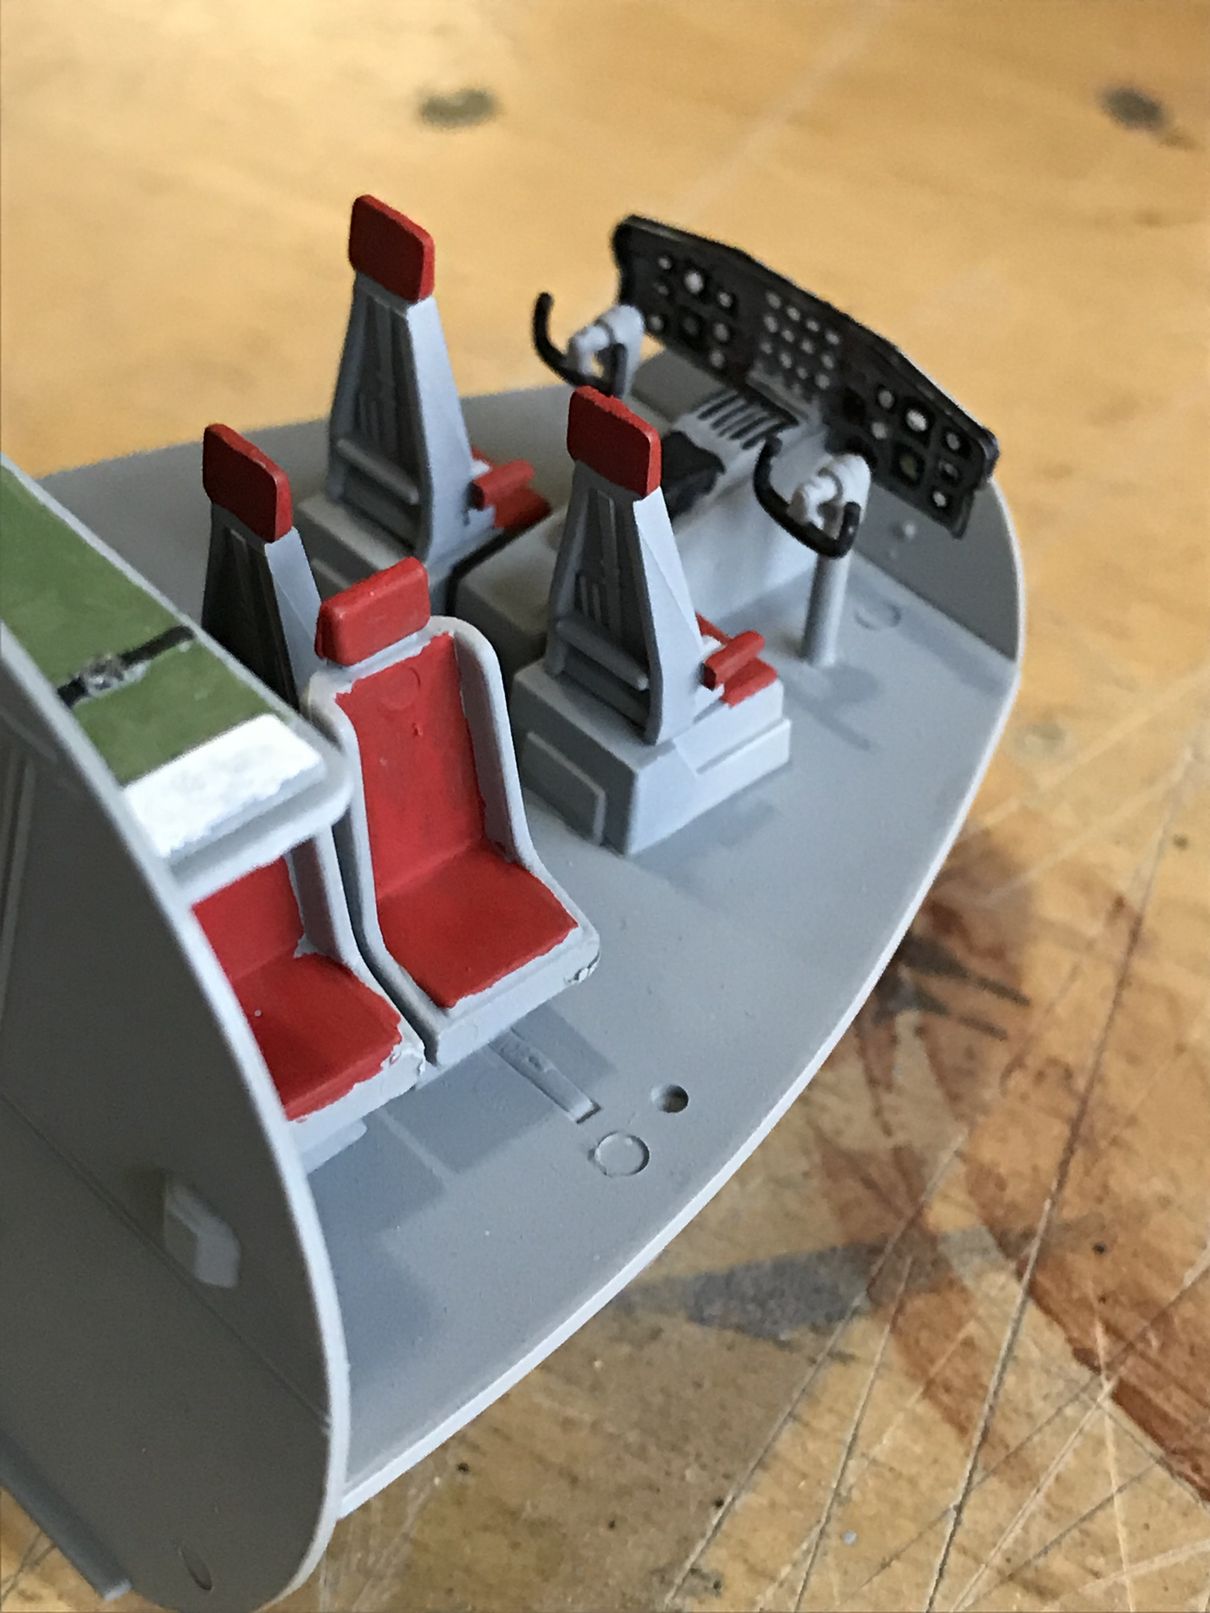
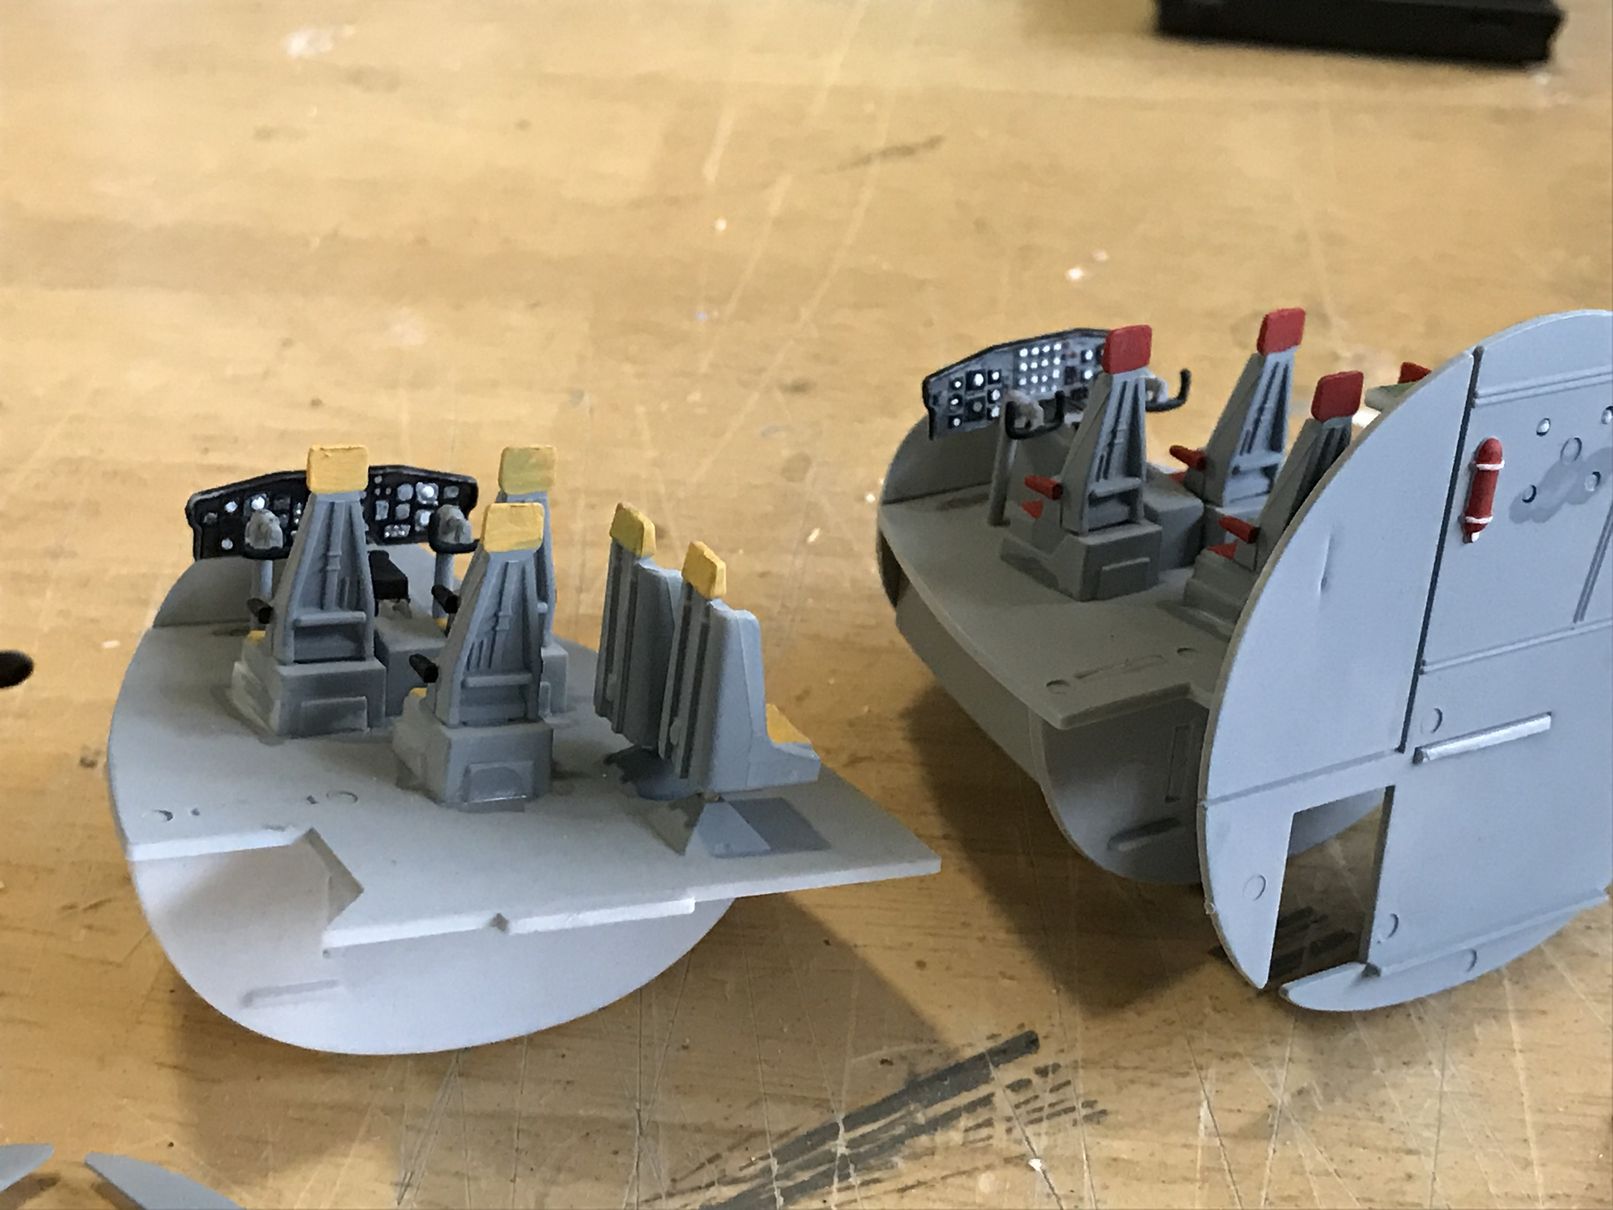 Because you really can't see much of the interior from the outside once completed, I didn't spend a lot of time on this. I put together the bulkheads, painted the seats and sticks, instrument panel (not sure I'll ever see that again, but it was fun), and details. The yellow seats will go into the Fat Albert, and you can see the headrests through the cockpit glass, so there's that.
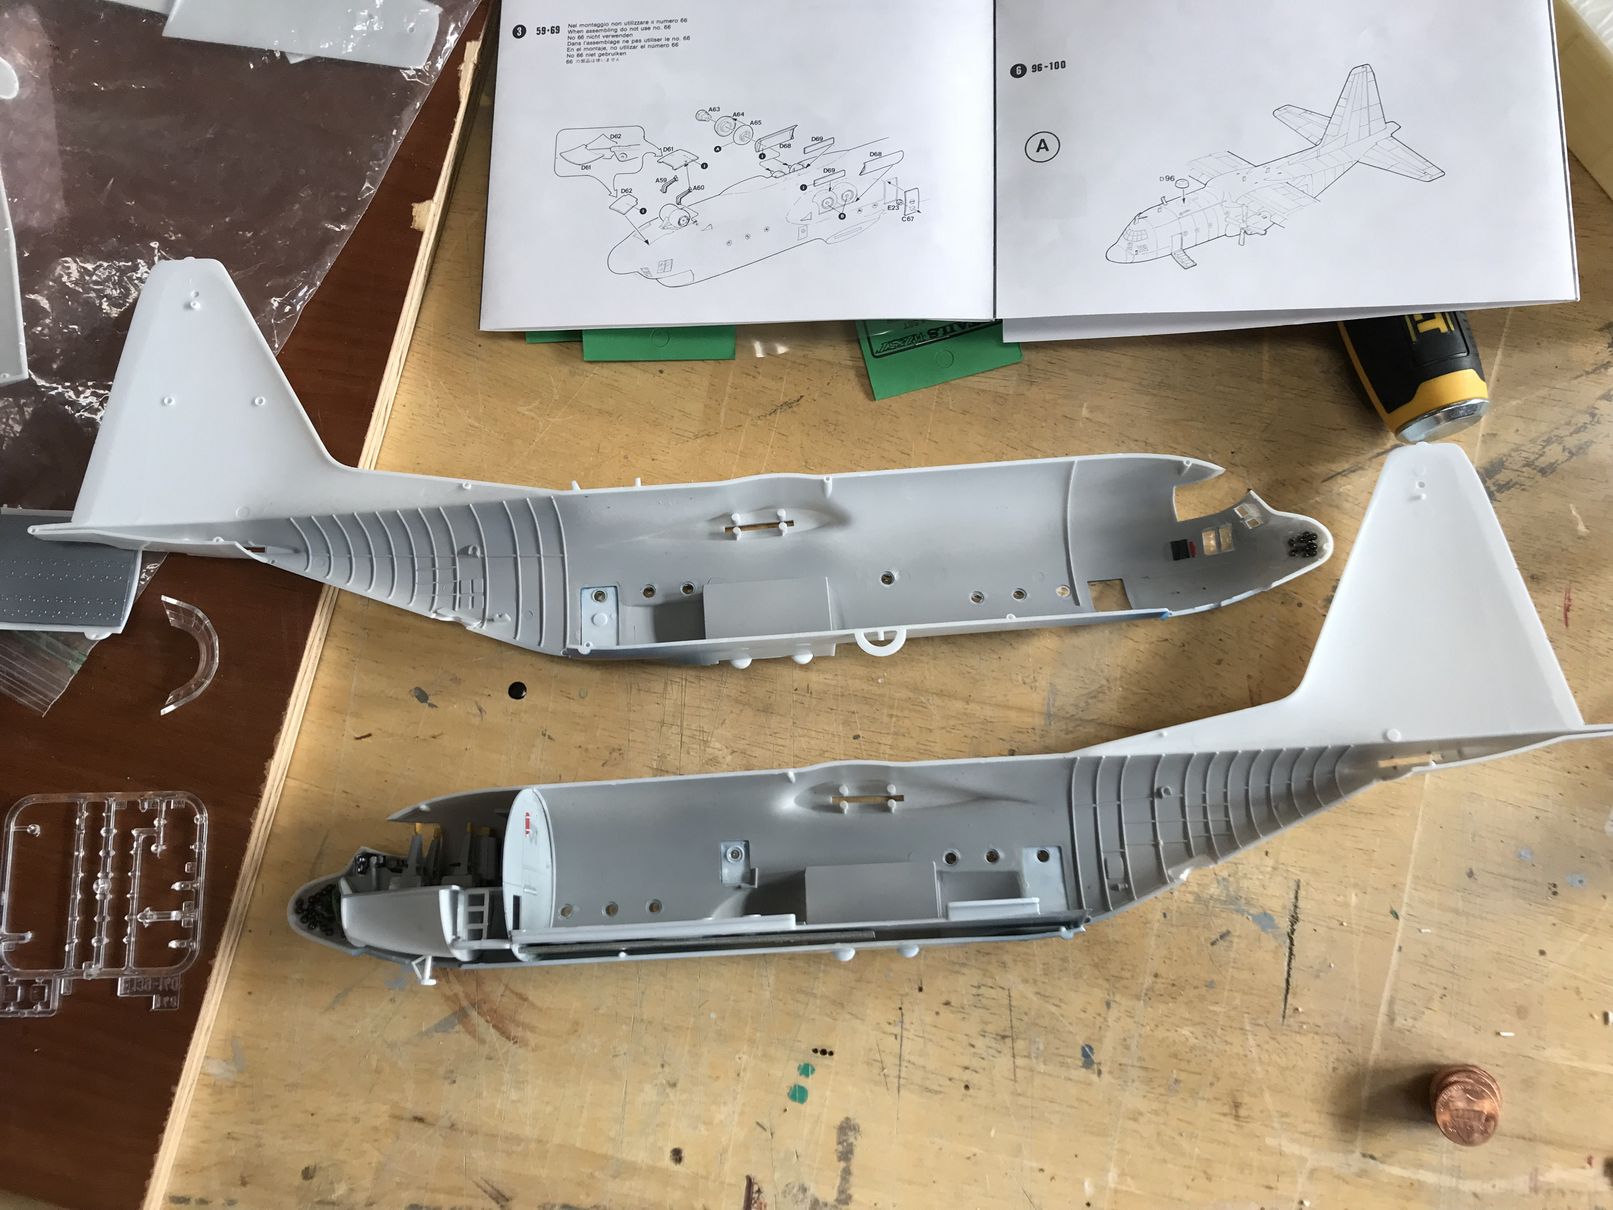
 The cockpit, floor were installed (don't forget some weight up front), and then I started test-fitting the doors. I knew I wanted them closed on this model, and the juggling required to line up the doors while closing the two halves took some practice. I wasn't confident enough to cement in the rear doors and then try to close it; maybe next time? Probably would have worked.
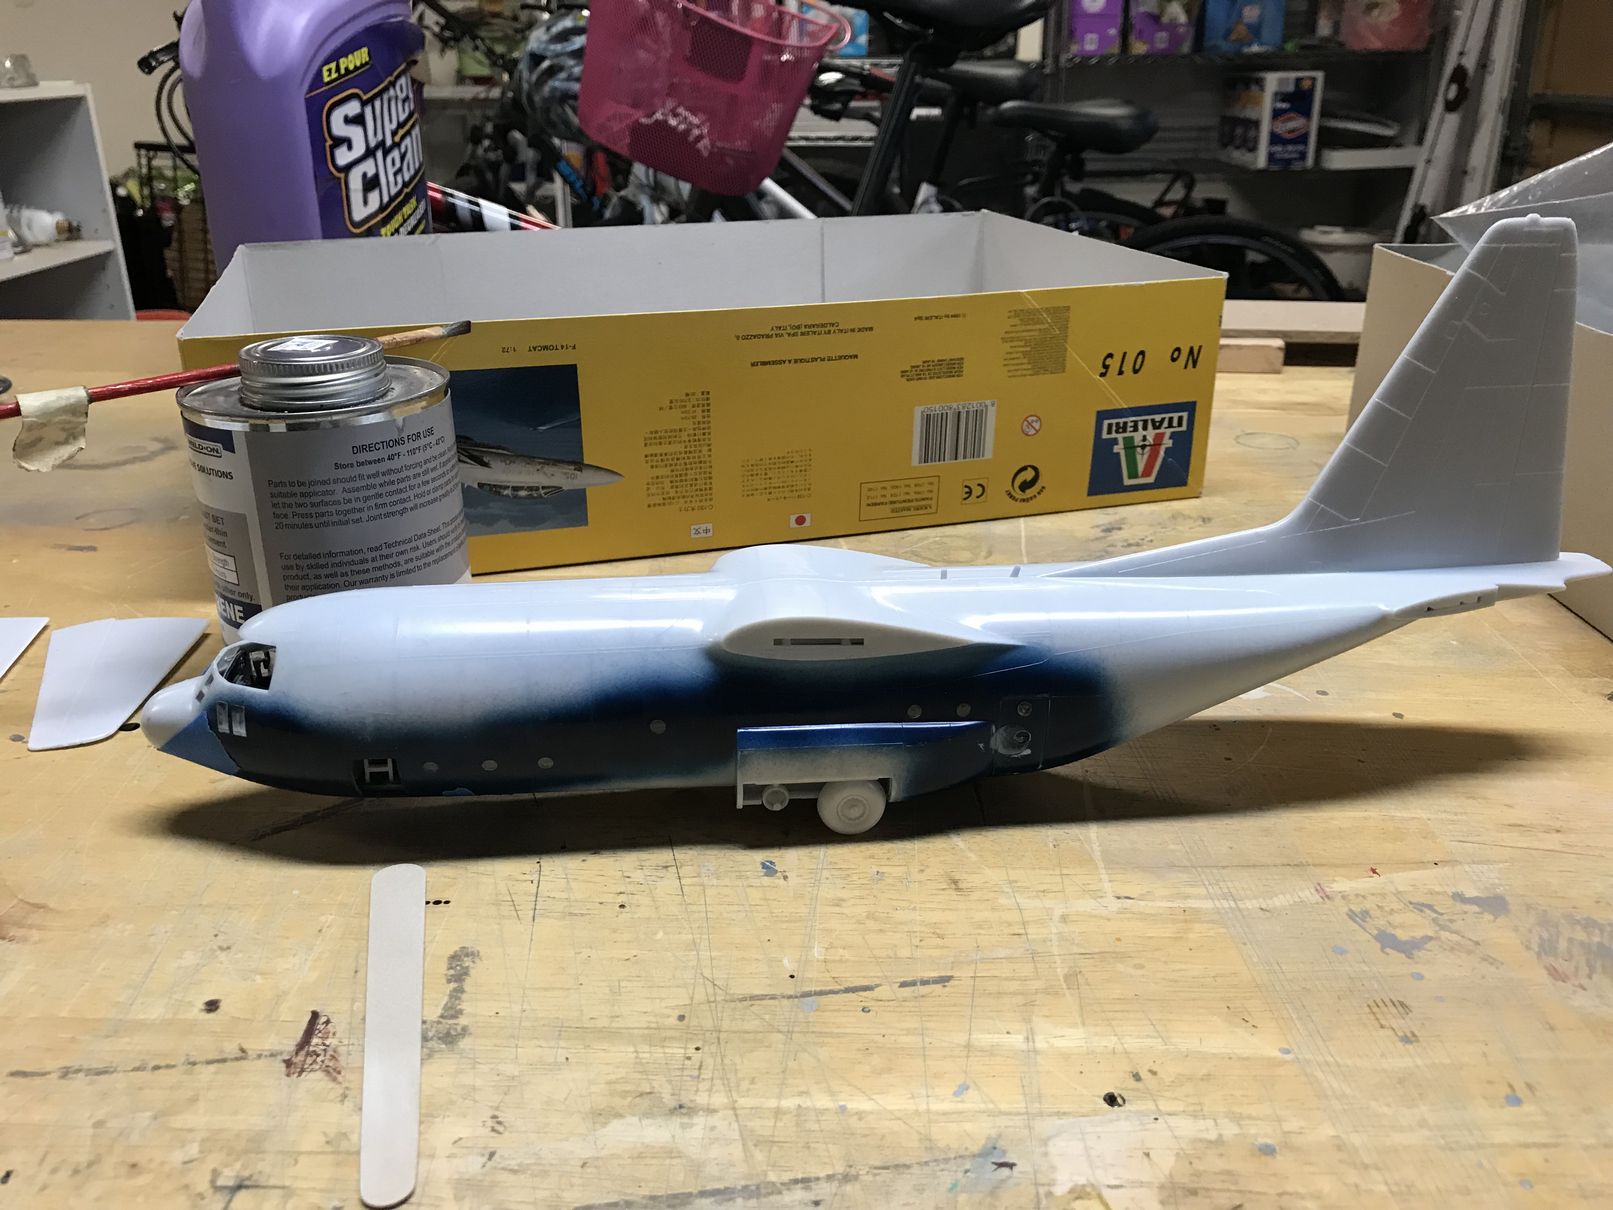
I also did something before sealing the fuselage I consider in retrospect somewhat clever. I was dreading masking all those little circular windows, wondering how I'd get masking tape the right size/shape. So I decided to paint the outside around the windows the blue I'd use before installing the windows. This meant I could use bigger pieces of tape when I did the main side, knowing I already had blue up to the window edge. This probably saved me a little time in the end, although I also learned to use Blue-tac for masking the windows later on in a few spots.
I primed the fuselage with Tamiya Sky Grey. I didn't see anywhere that I needed to fill, though my standards could be a little off. The top seemed like it would line up nicely once done. Leave the wings off- ignore your instincts to put it together- it's SO much easier to paint with the wings off!!!
| Paint and Markings |
Painting this thing was the real challenge. For someone like me who isn't a great masker, getting somewhat straight lines took a lot of time and some rework.
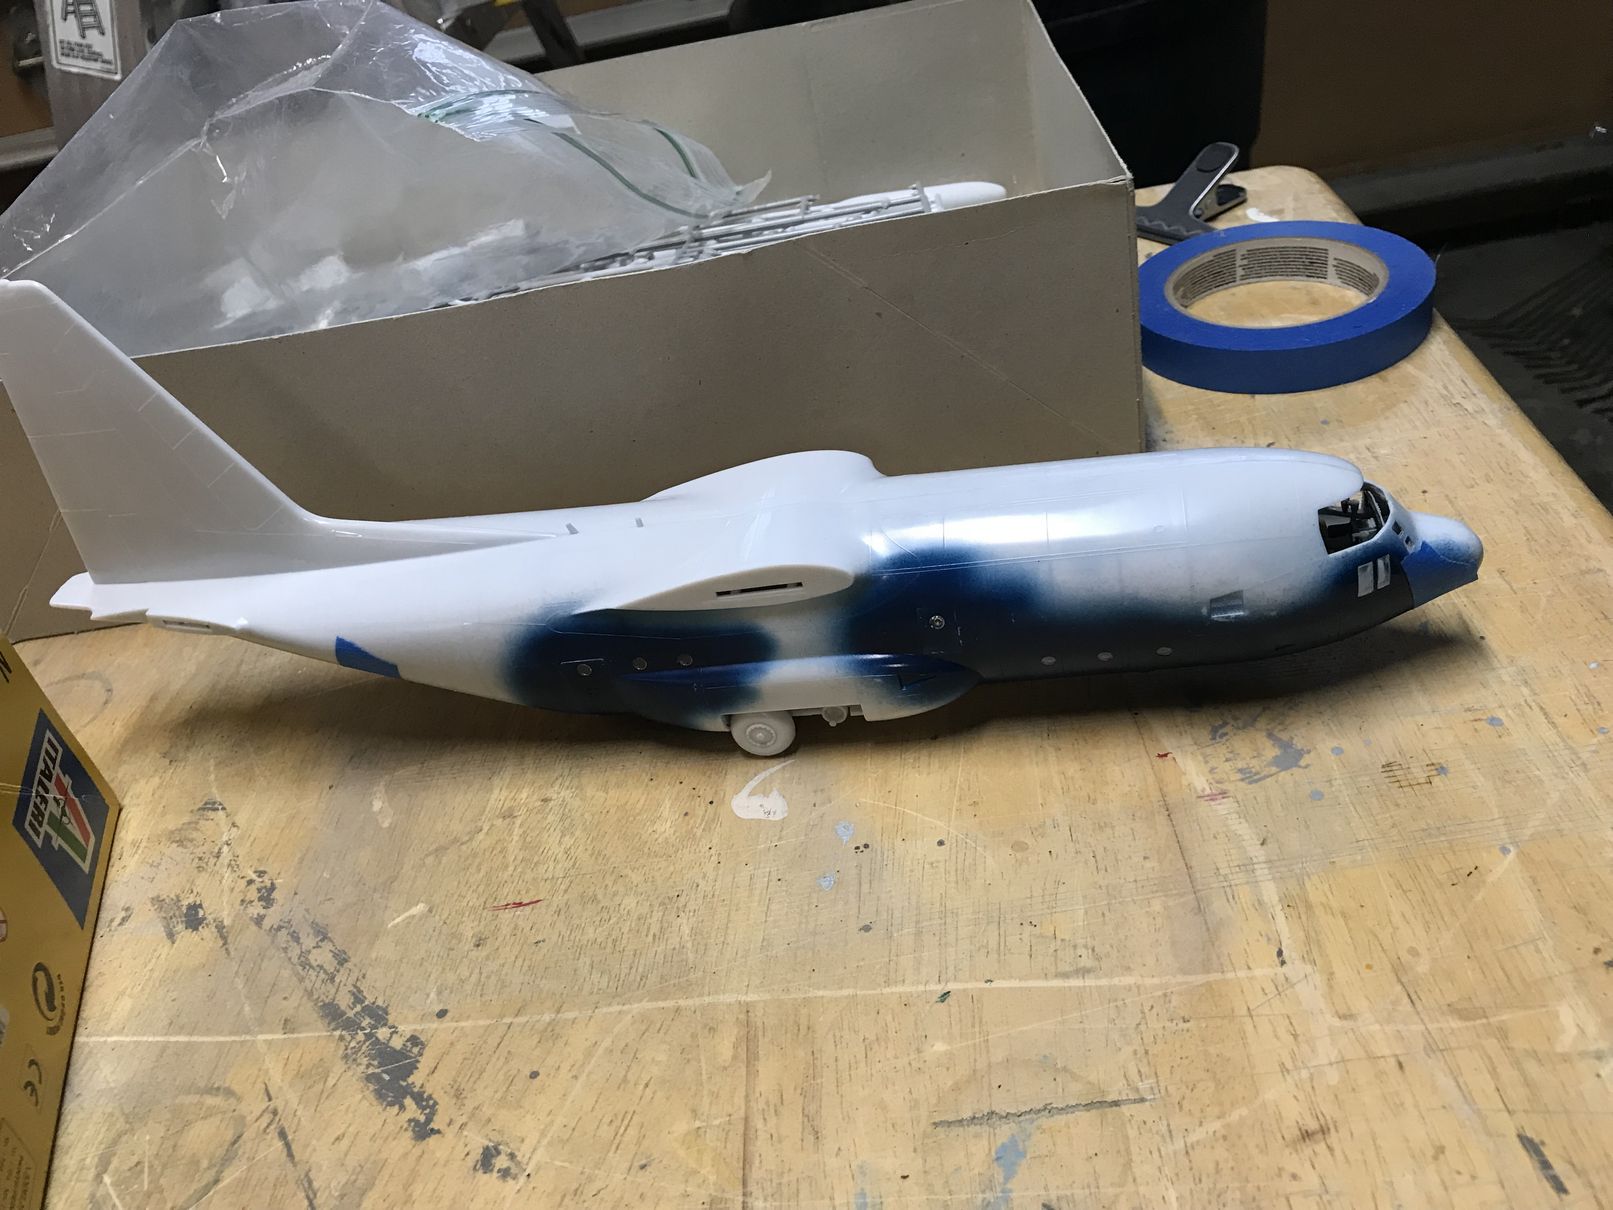
 I had already done the areas around the windows, so that was a help. Knowing that Blue Angels blue would cover white, I masked around the windows and hit the top with white. Then I masked the white, and hit it with Model Master Blue Angels Blue.
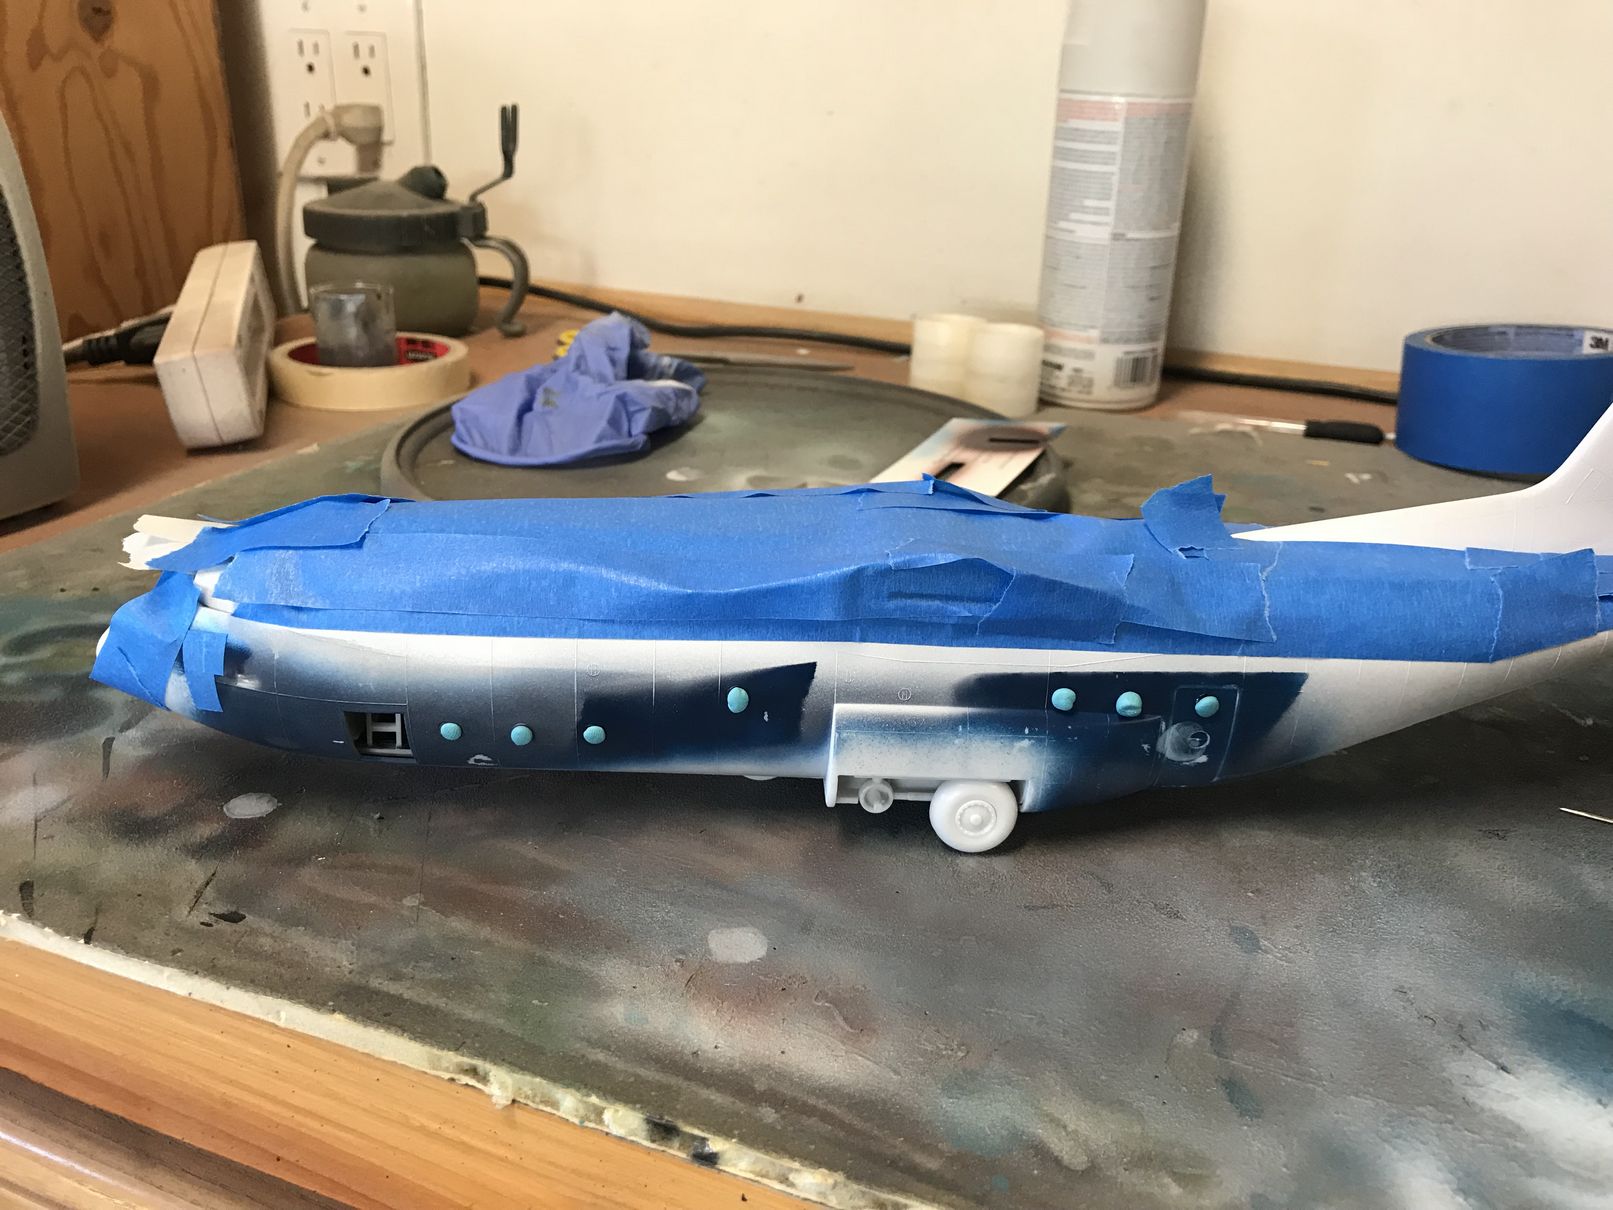
So far so good. The big challenge though was the yellow stripe, and the clamshell nose yellow. Woof!
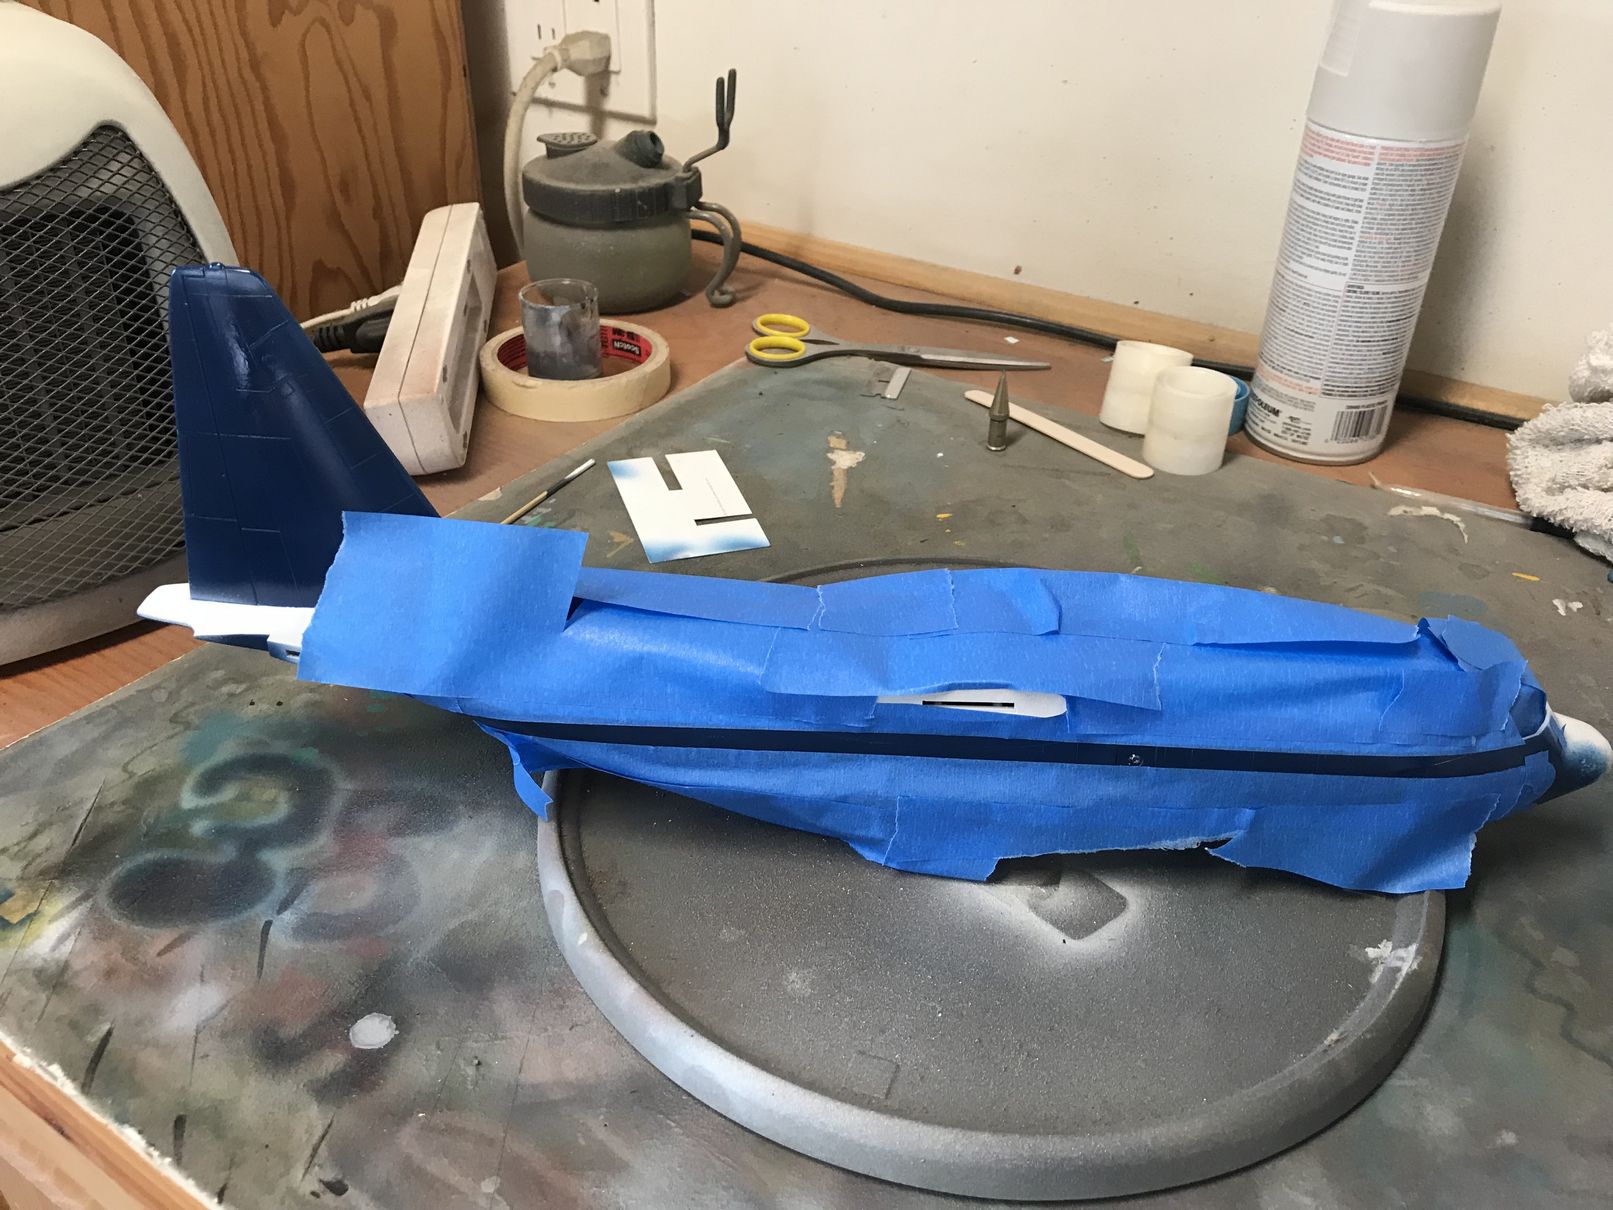
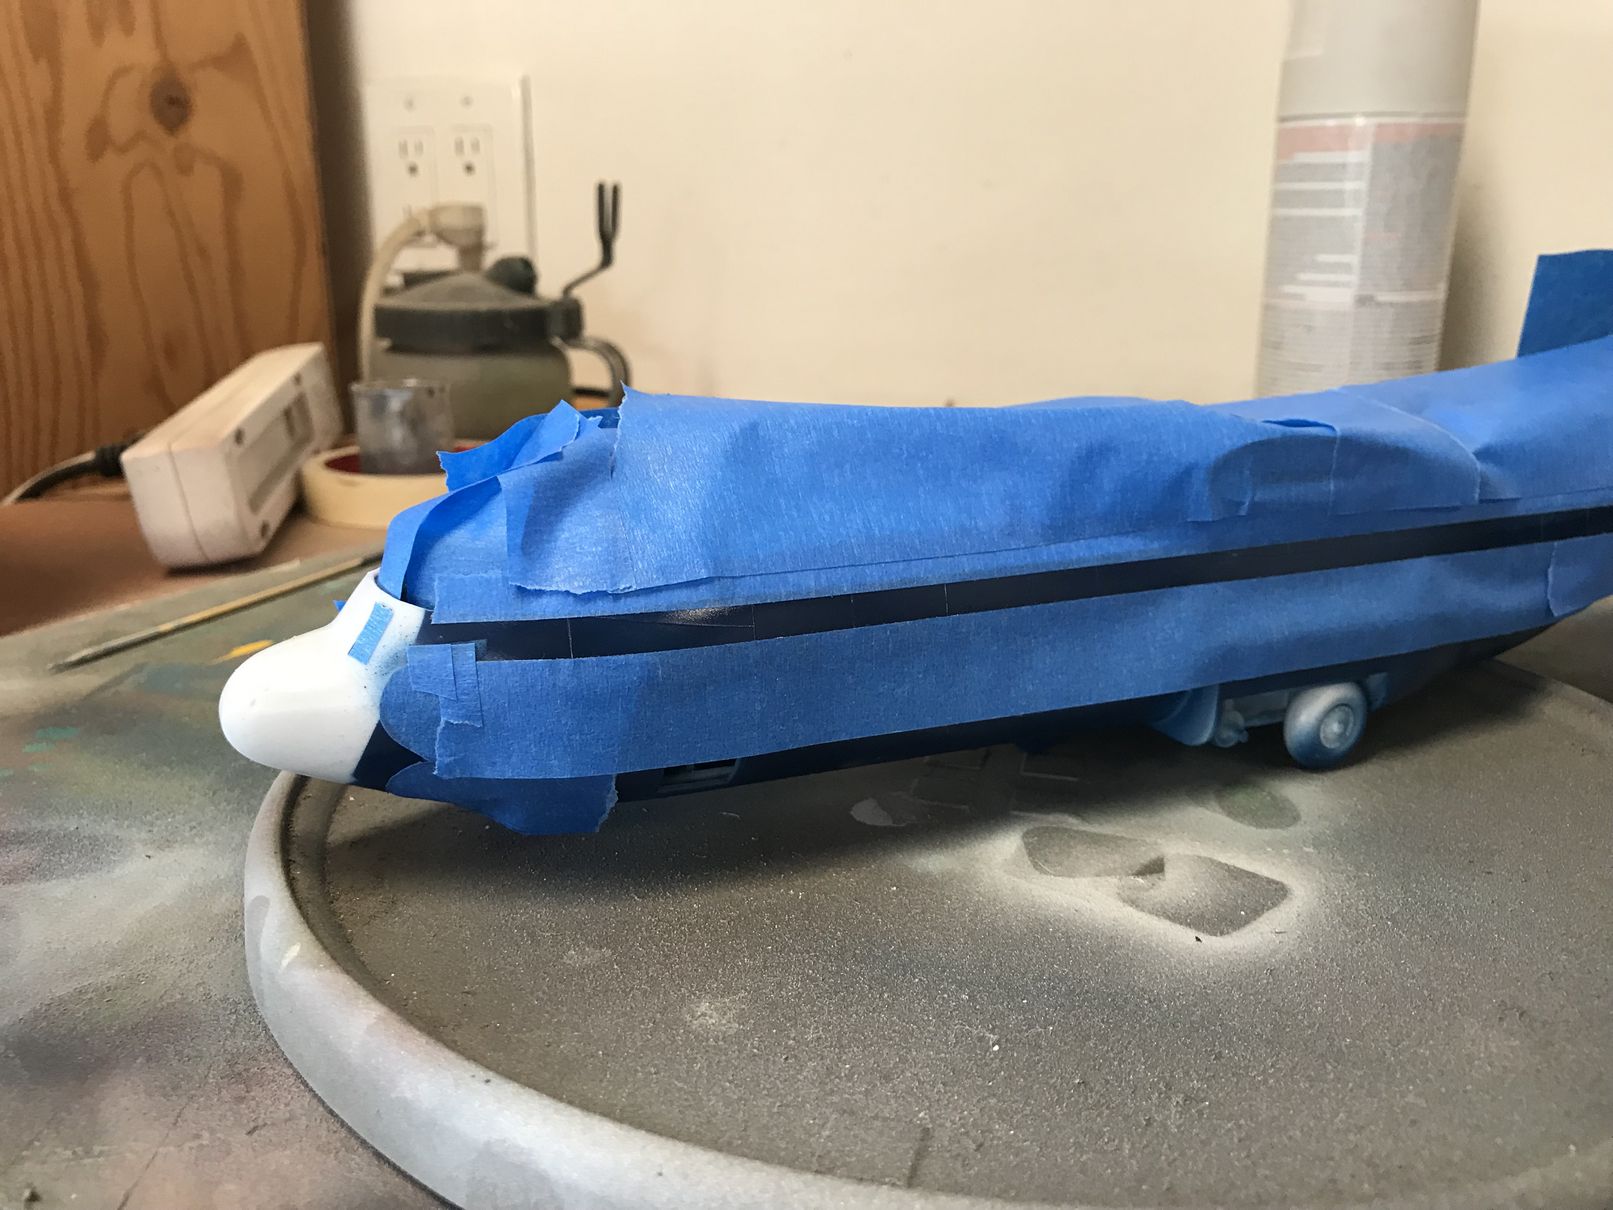
This was really challenging. I used a lot of tape as you can see, and managed to get the lines somewhat straight. I had special masking (drew first, then cut out of wide tape) for the nose curves.
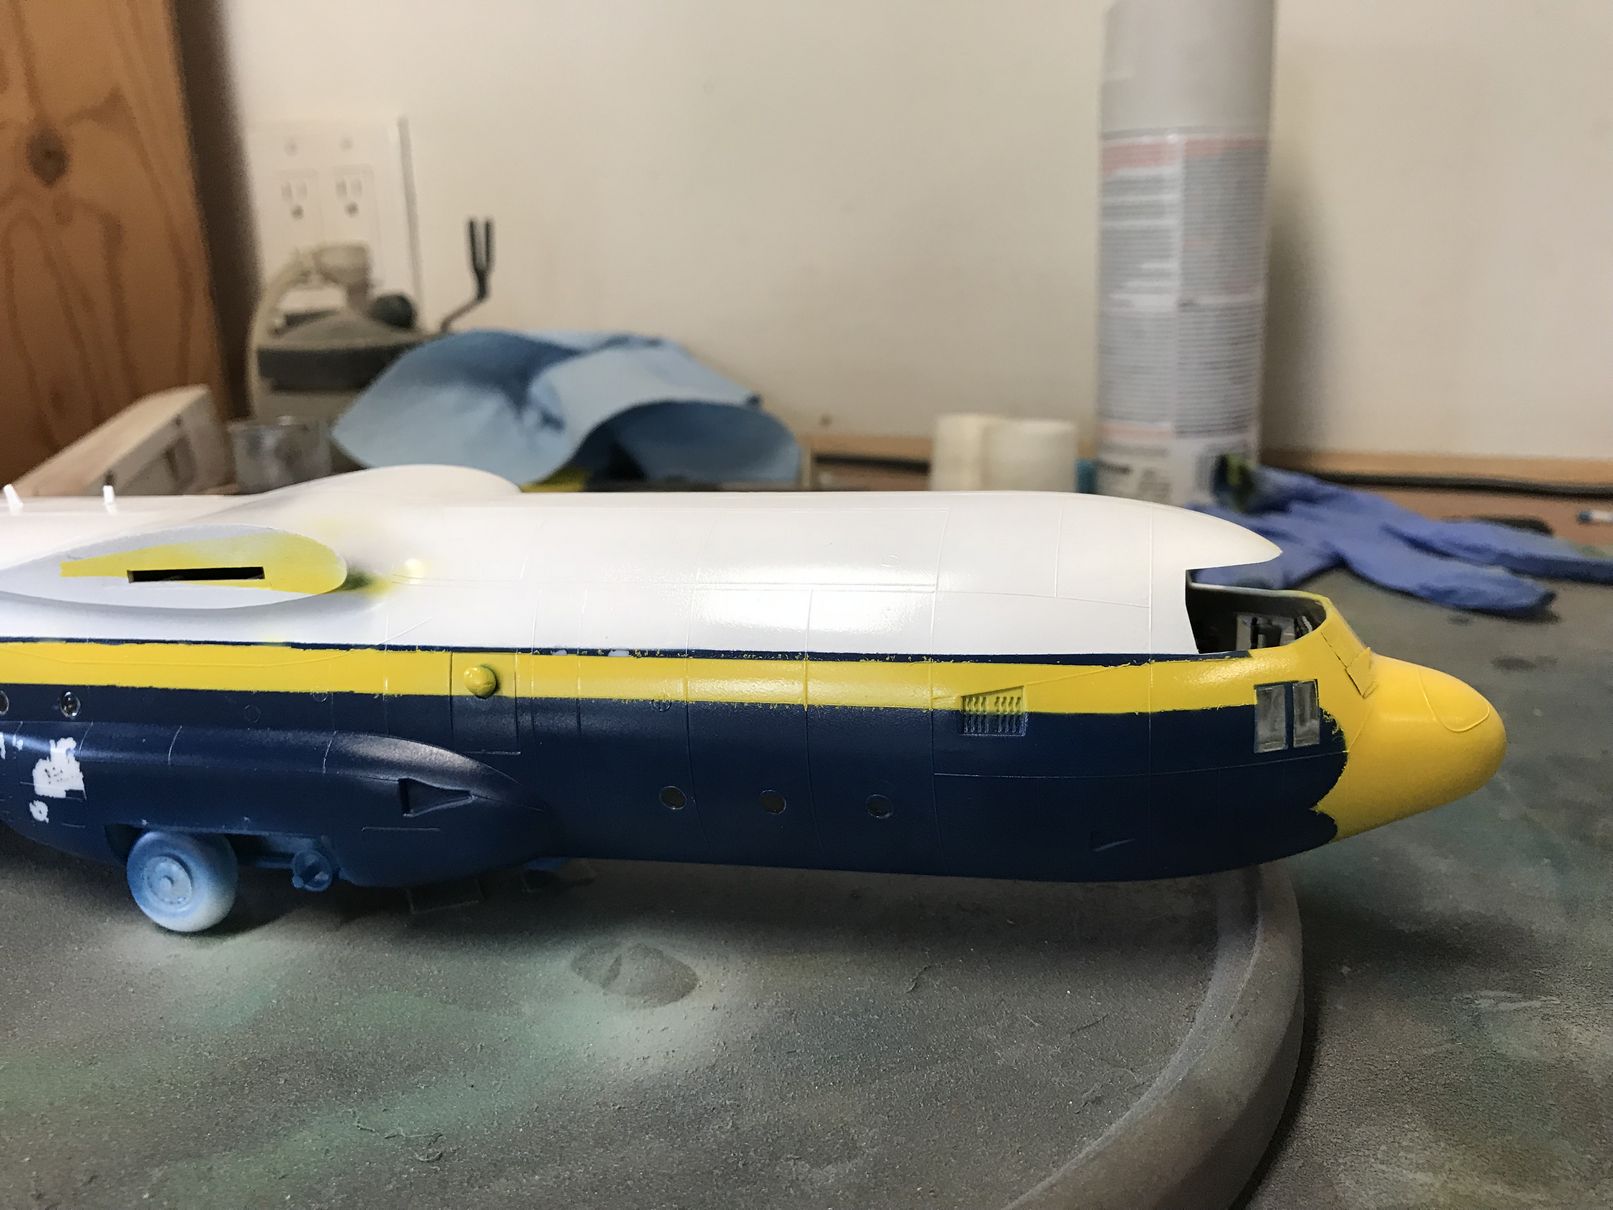
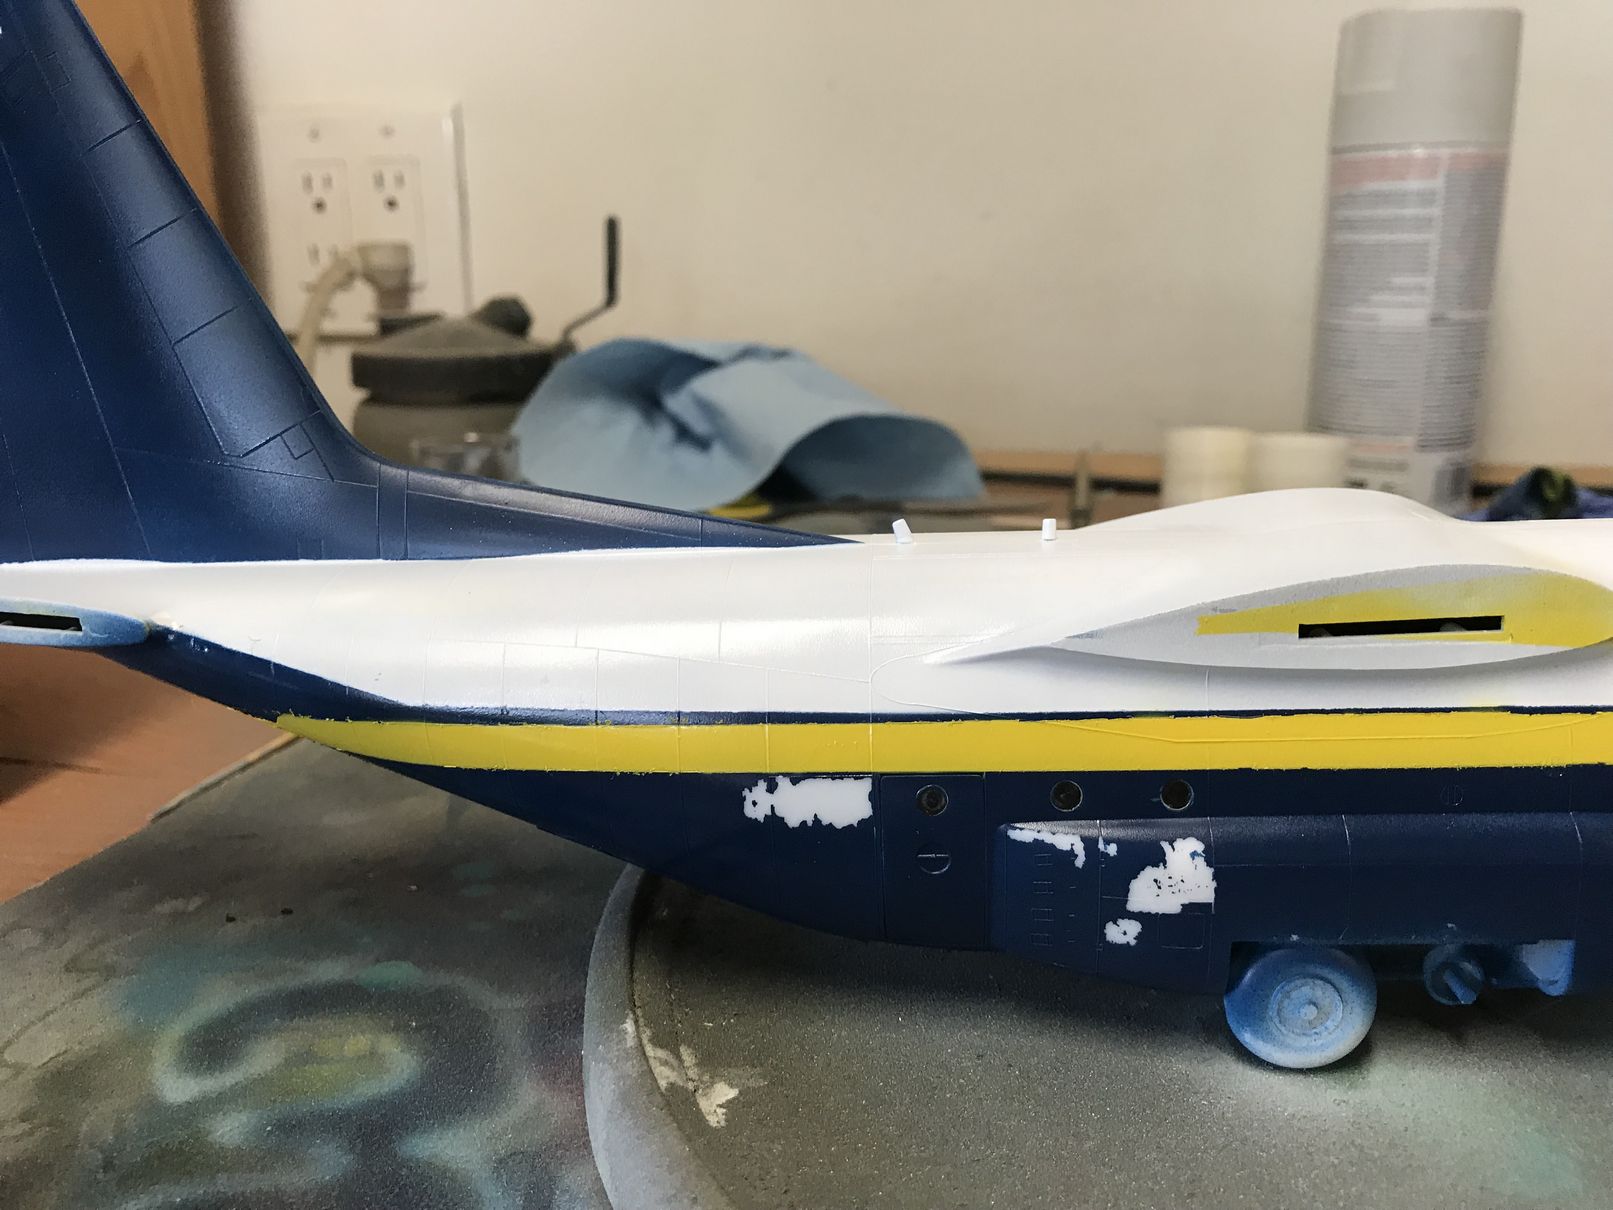 There was a little seepage under the tape, and some of the colors got pulled off in the unmasking. I was able to clean up the lines quite a lot by holding an index card against the plane in spots and then shooting against that. I also took a different card and cut a slot in it, so I could clean up the thin blue line between the yellow and the white. I also cleaned up the curves by hand-painting some areas.
The parts that pulled up were easily fixed with the index card masking areas I didn't want to hit with the airbrush.
Last, a layer of Future to prep for the decals.
There was a little seepage under the tape, and some of the colors got pulled off in the unmasking. I was able to clean up the lines quite a lot by holding an index card against the plane in spots and then shooting against that. I also took a different card and cut a slot in it, so I could clean up the thin blue line between the yellow and the white. I also cleaned up the curves by hand-painting some areas.
The parts that pulled up were easily fixed with the index card masking areas I didn't want to hit with the airbrush.
Last, a layer of Future to prep for the decals.
 The Caracal decals are simply wonderful- precise, clean artwork that looks really good on the plane. I didn't realize until late in the process that they include the thin blue striping. Even though my lines looked ok, I added the decals to clean up the edges a bit. Happy with how it turned out. Then a covering of Future so I can handle the model (plus the prototype is pretty clean and glossy-looking).
| Final Assembly |
Once I was satisifed with the decals on the main fuselage, I started adding a bit of detail, including the front wheel covers, the rear wheel covers, and I fixed the forward landing gear in the down position. At this point I realized that the cockpit wasn't 100% square to the sides, as the landing gear lean a little if looked at from straight on.
Next came adding the rear wheels which was tricky: there's not a lot of space there, so I would first put on the wheel inner half, then attach the outer half with some cement (wheel still floating around axle), and then finally the hub (which was glued on) to secure the wheel in place. All would be sanded down a bit later, to achieve a good "sit".
Paint and fit windscreen.
Staircase and attachment rods.
Put wings on and tail planes.
| Summary |
I enjoyed this kit. However, some fiddling needed to be done, especially around the cockpit area. I'm not a great builder, so for me this was a little bit of a challenge. That said, it went together pretty well overall, and was fun to detail.
| Resources |
Instruction Sheet here Caracal Models Decal link here