| Prototype Background |
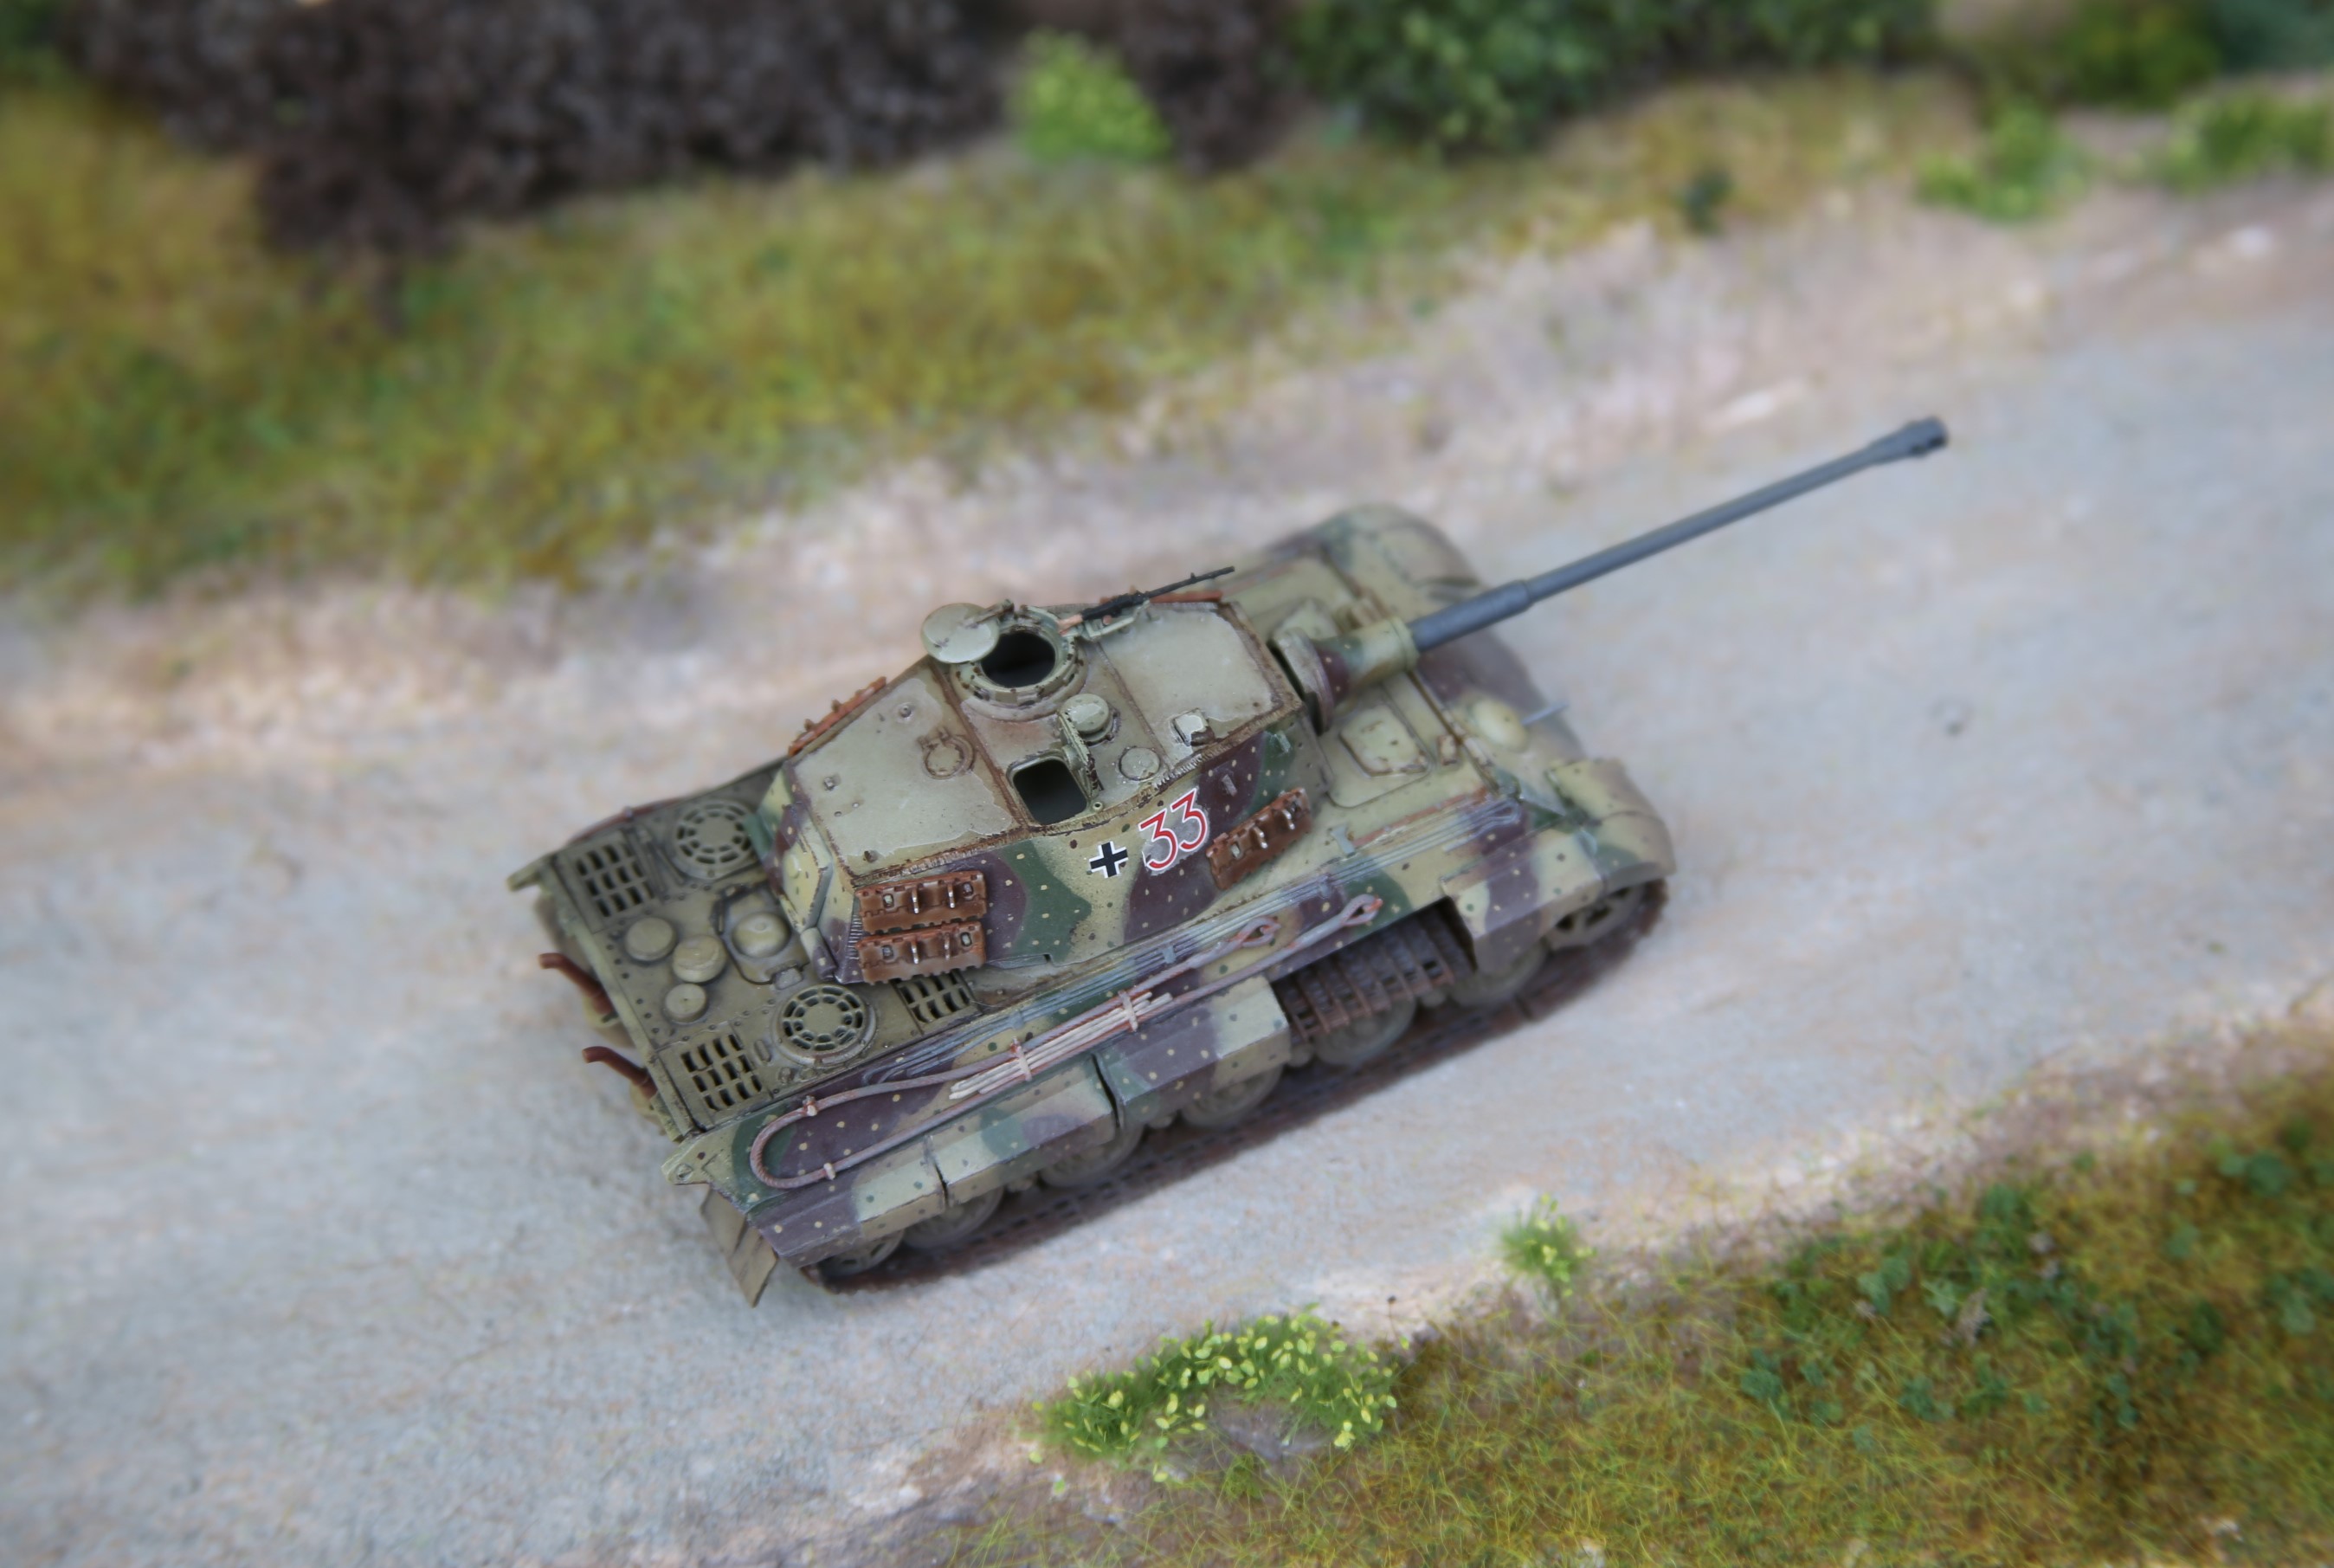
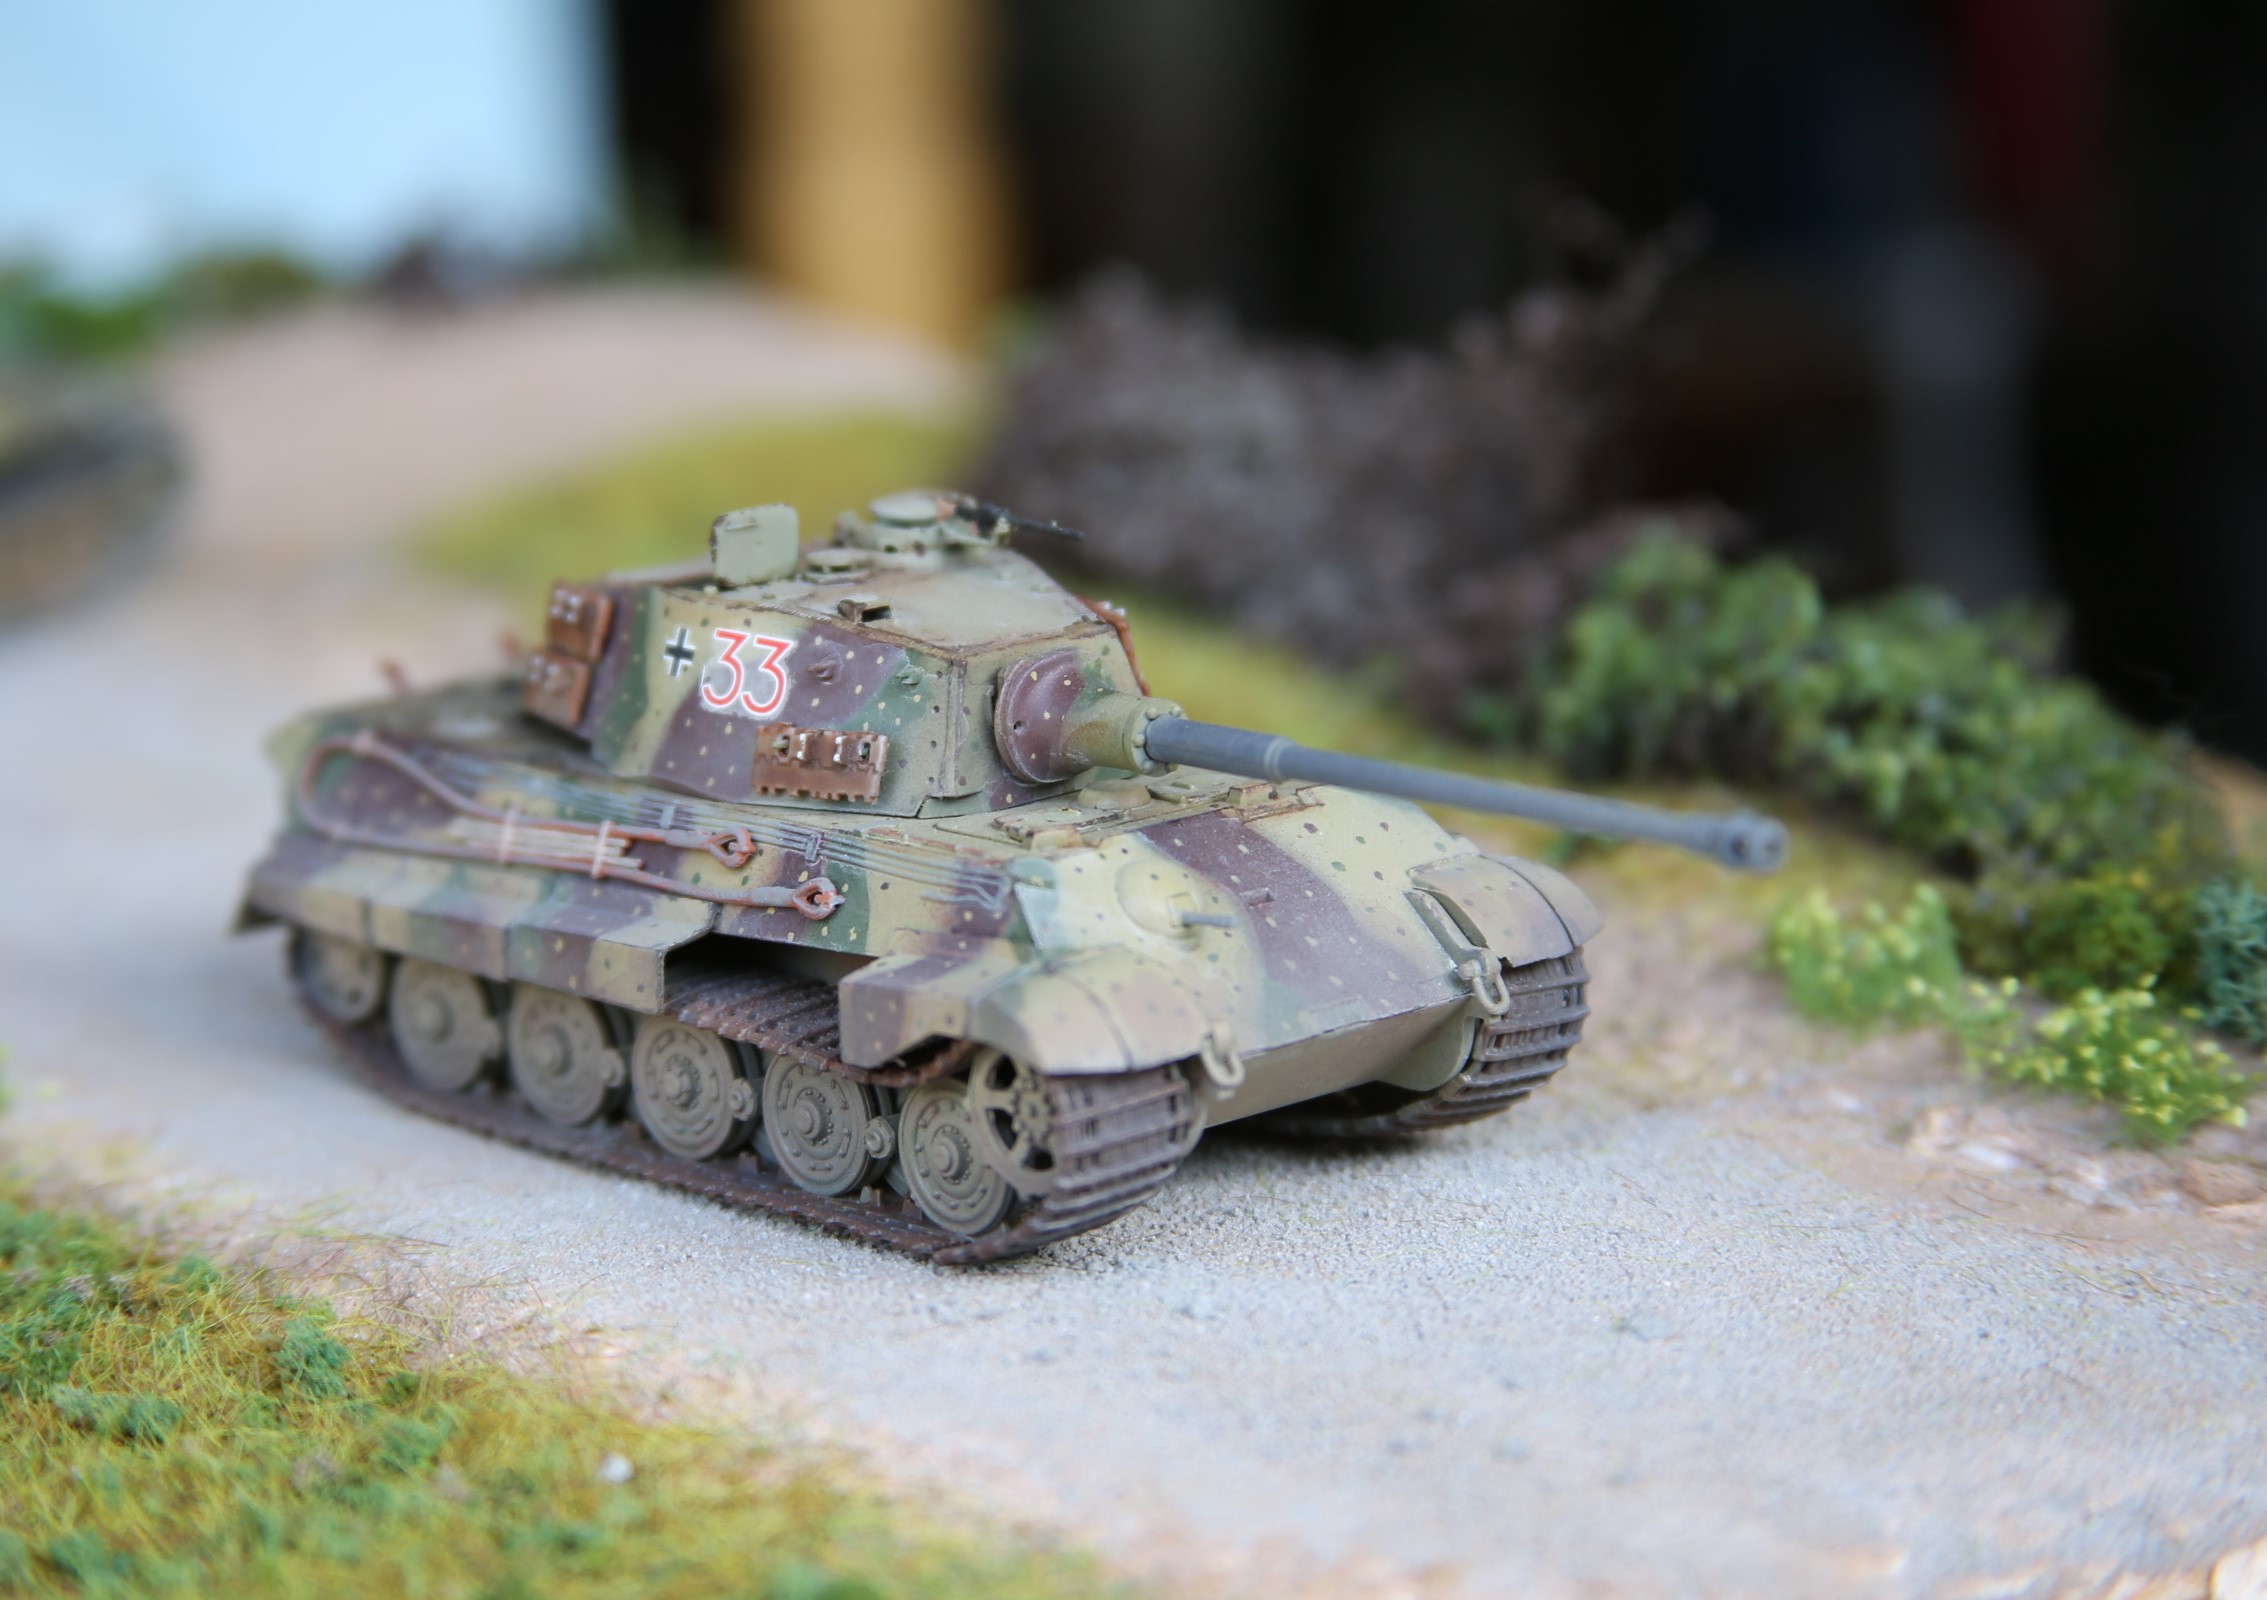
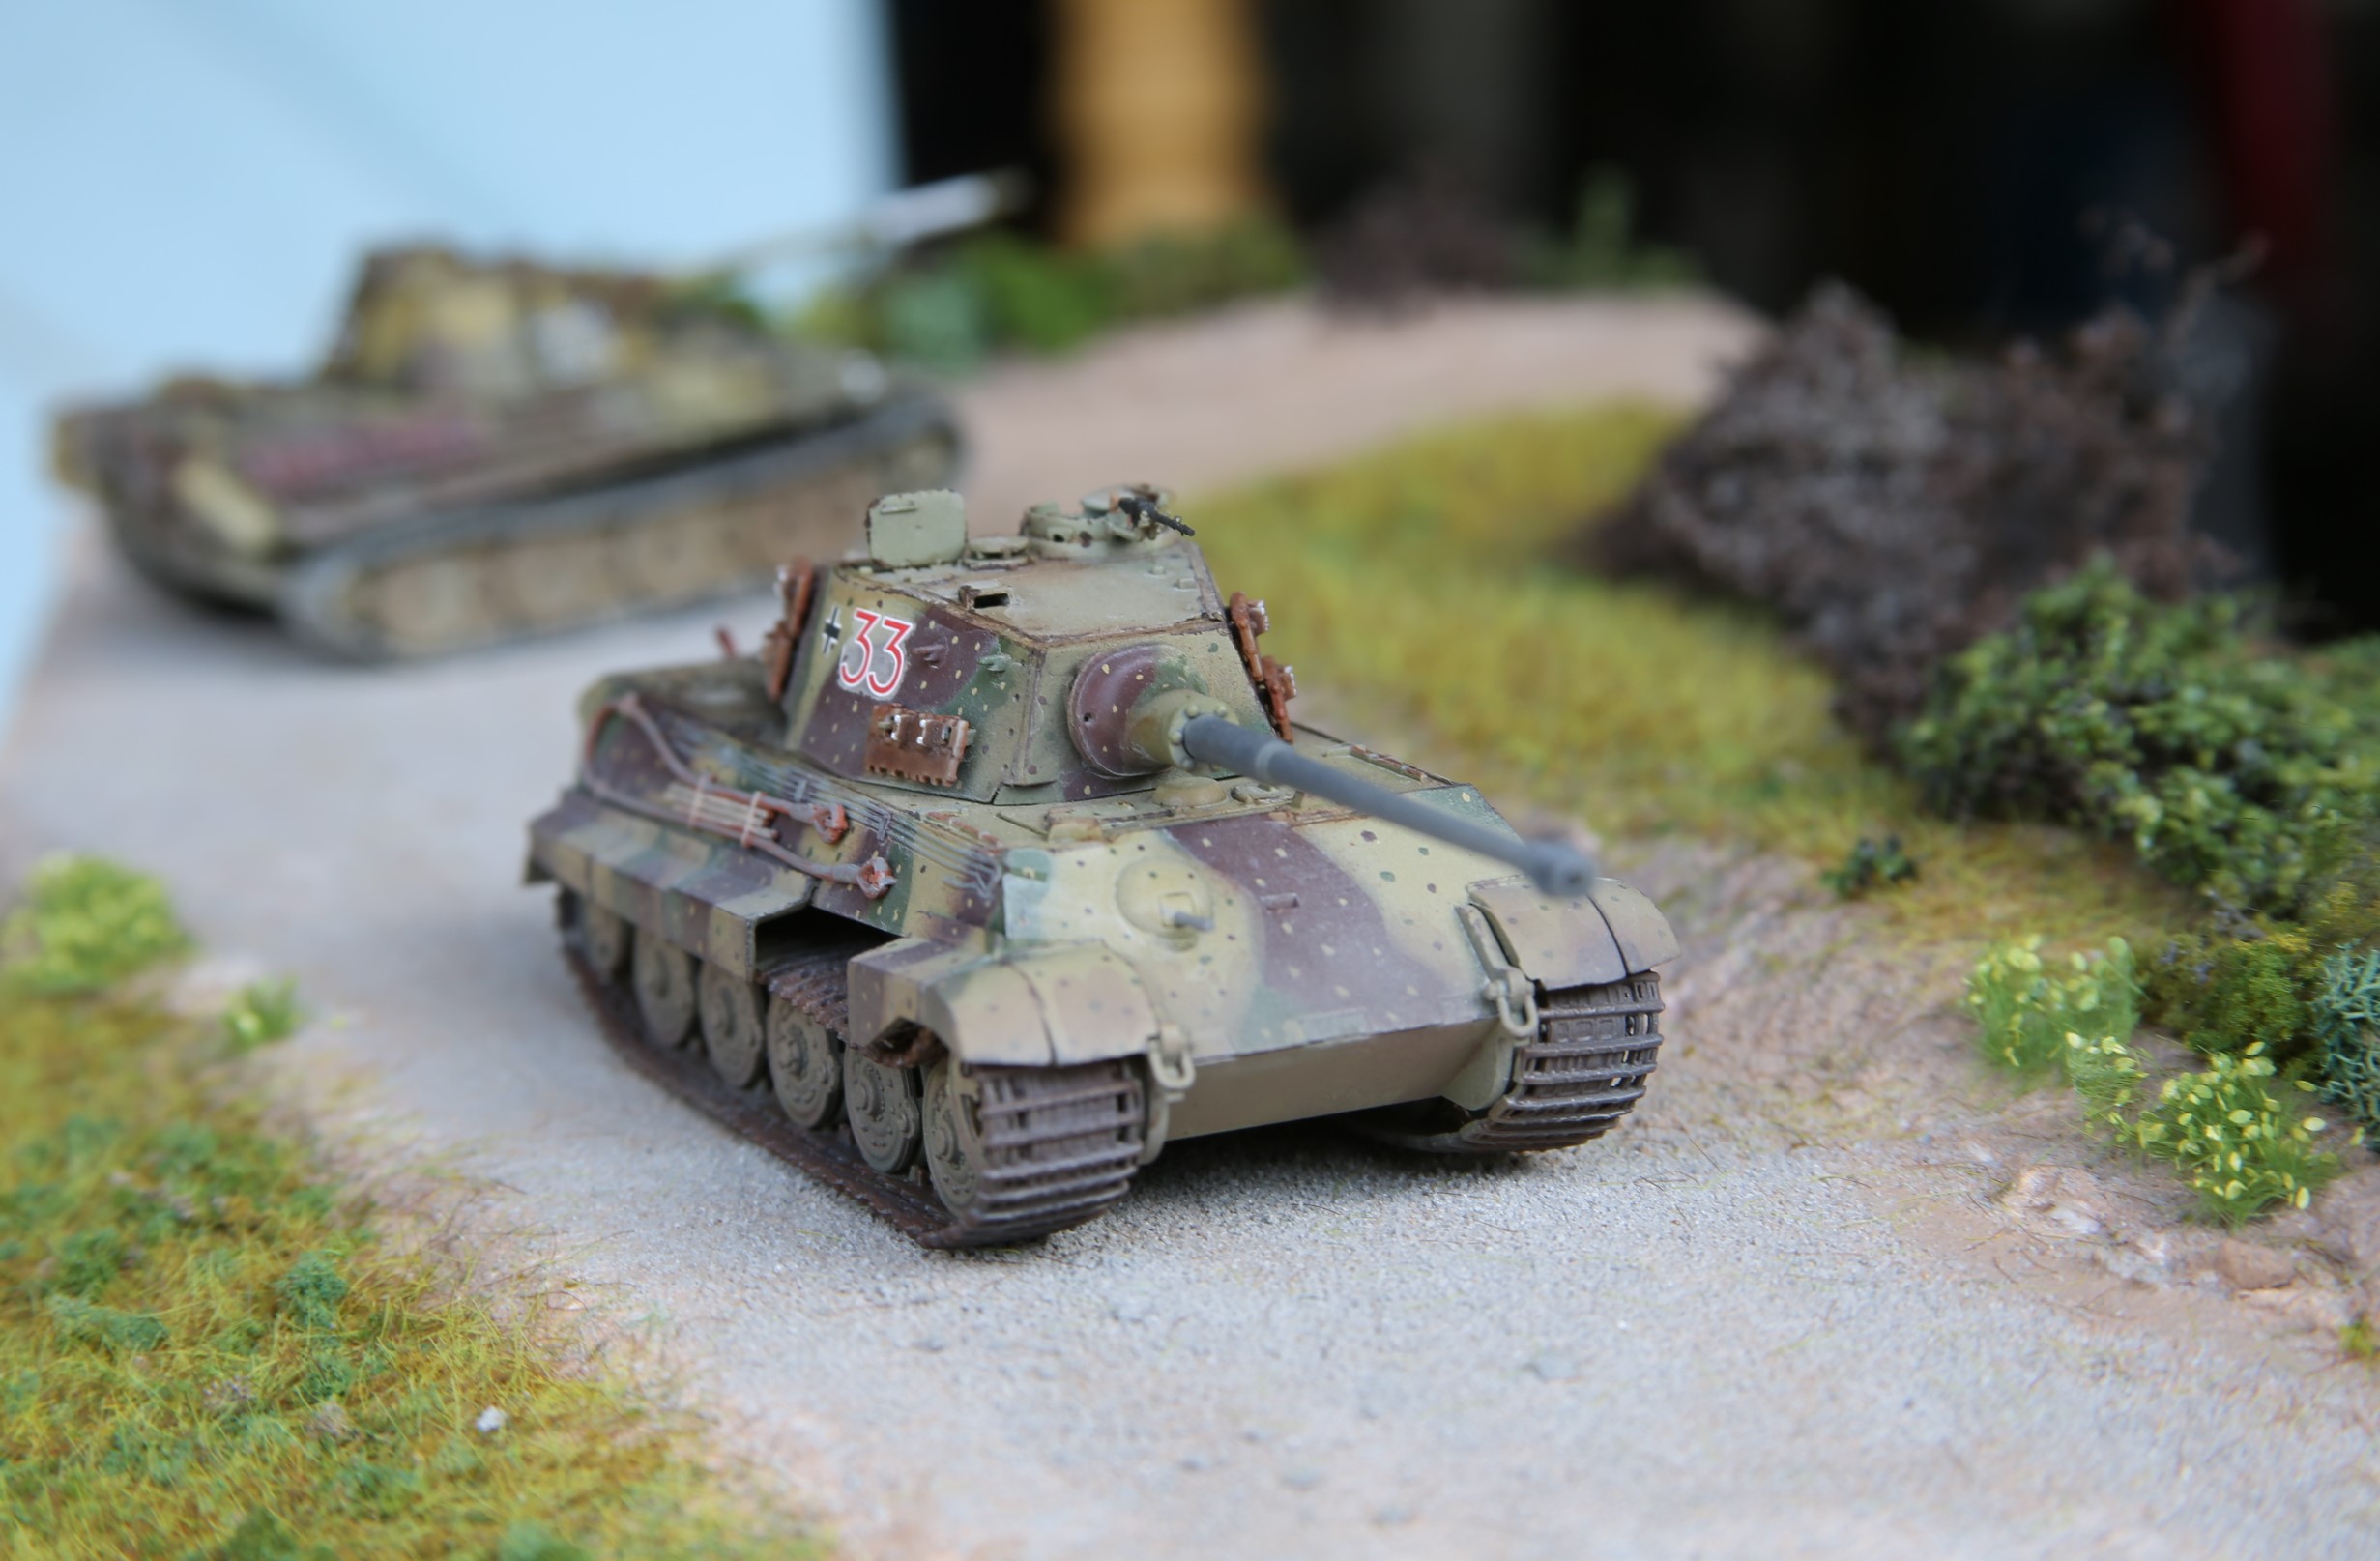
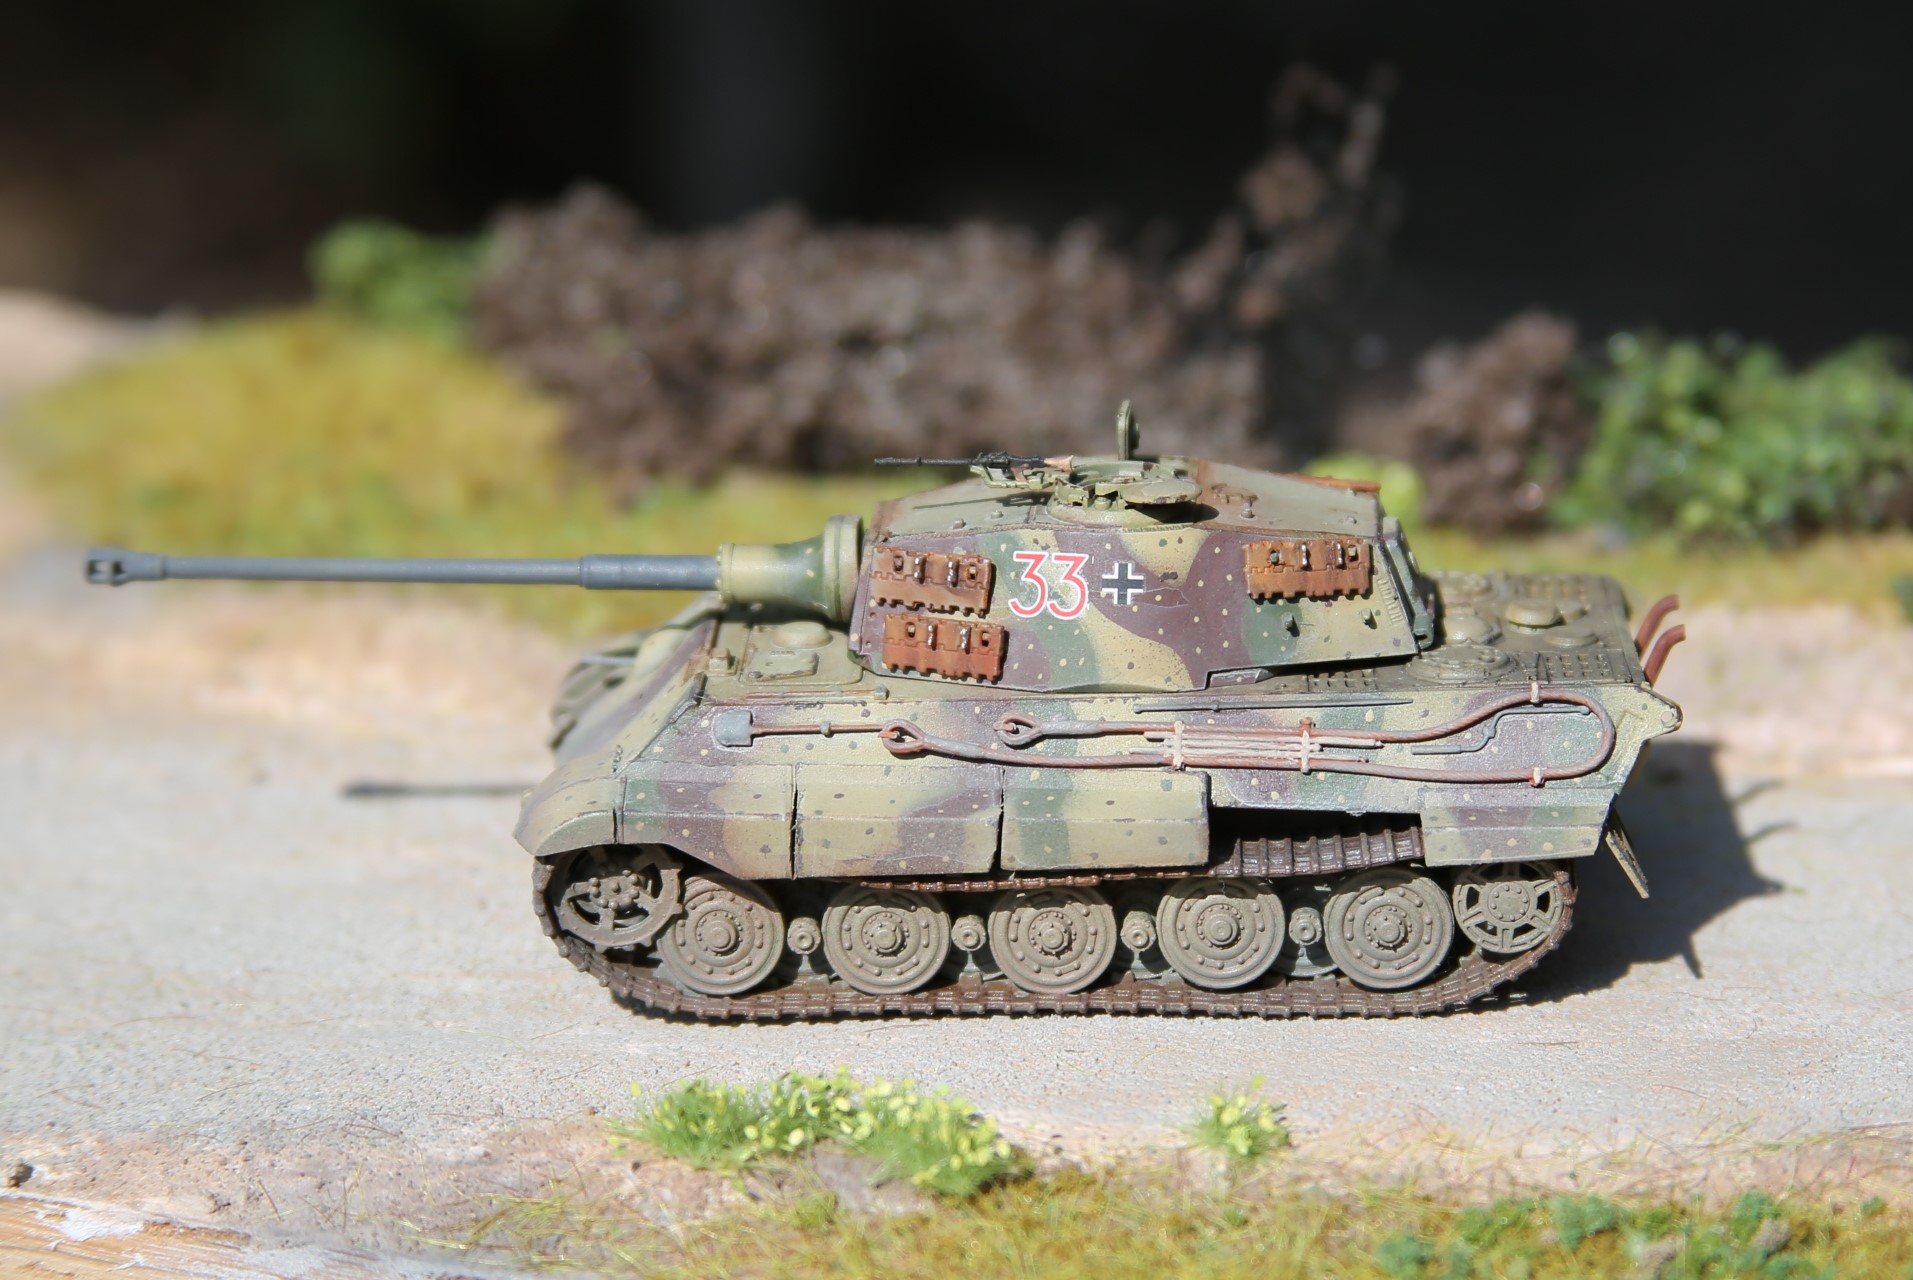
The King Tiger was something of a slightly mobile pillbox. Its huge size and weight made it difficult to transport, expensive to run and maintain, and it was relatively underpowered. That said, you didn't want to see one heading your way, as the armor thickness and firepower made it a fearsome opponent.
| The Kit and Build |
In mid-2016 I was doing some scanning on Amazon for help in painting some of my 1/72 scale military models. I ran across the book "How to Paint 1:72 Military Vehicles" by Miguel (“Mig”) Jimenez, a Spanish modeler who I’d not heard of at the time. Sometimes in North America we are a bit sheltered from the rest of the world. I was captivated by this book- a range of projects in my scale that showed incredible detail and care, and delivered outstanding results. I was mesmerized, and still love to just page through this book, poring over the details and the photos, trying to internalize the techniques.
My first project inspired by the book was this King Tiger tank. The camouflage scheme in the book was a bit fanciful (taking a little license, Leonid Postnoy created a vehicle as if the war had continued into 1946). What a great result though from a terrific model.
While I author used the Model-Collect version of the King Tiger, I found a relatively inexpensive version from a brand I'd not heard of, CyberHobby (which it seems is Dragon Models' value brand, though I don't see the distinction). See a review here. I thought the kit was fabulous, absolutely stunning. Lots of bits of detail, went together well, and produced a great shell for me to work with.
| Paint and Markings |
Painting- I generally followed the path of the book, with a reddish-brown base followed by Model Master Dunkelgelb. I used Elmer's blue picture hanging putty for masking, which worked well.
The decals were stock from the kit.
| Weathering |
Details were added with a small brush, including chipping, dirt and dust washes, and vertical streaking.
| Summary |
I had a great time doing this. Fun if complex build that left a sense of accomplishment at the conclusion. Painting that also was more involved than I would normally do. I also leaned into the weathering a bit more than I would normally, just to see the results.
| Resources |
Back to the Military Models
Back to home.