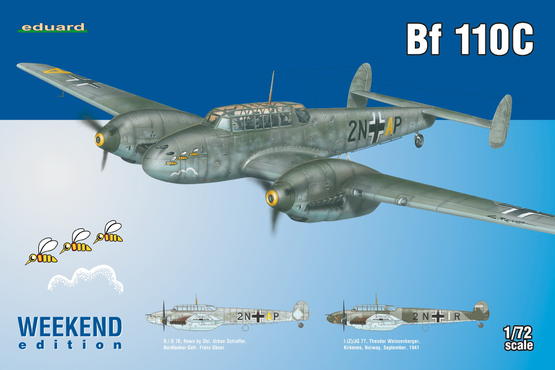
| KIT: | Eduard 1/72 Bf-110 |
| KIT #: | 7426 |
| DECALS: | Two options |
| Prototype Background |
Our summer 2017 family trip to Europe (Germany, Poland, Slovakia, Czech Republic and then Iceland) gave me the chance to see a number of manufacturers' wares I hadn't seen locally. One of those was Eduard, which I've subsequently come to find has an excellent reputation. With lots of high quality offerings, I decided to take a chance on one that did find its way into my LHS, Ace Hardware in Berkeley CA.
| Inside the Box |
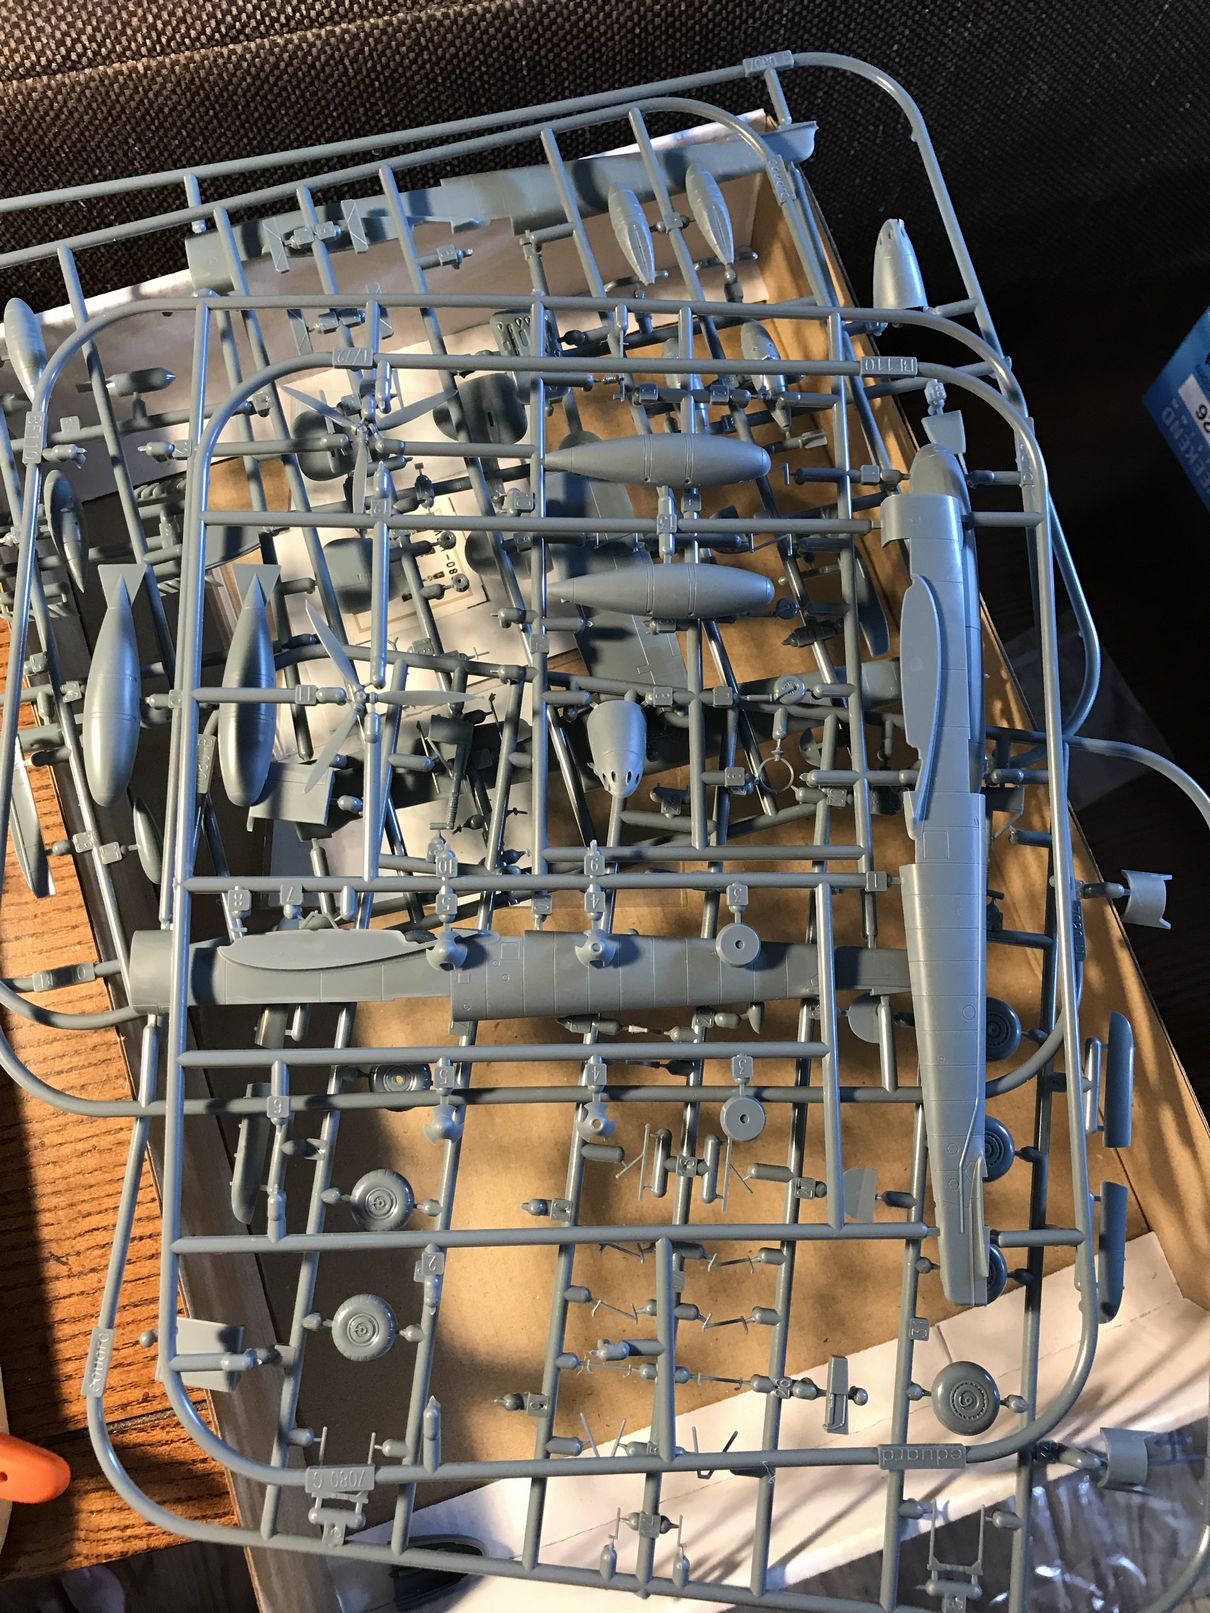 Sprues are straightforward with a separate one for the clear parts. Lots of build options to work through which is great. Plenty of extras for the kitbashing box too!
| The Build |
So, how does the kit build? Eduard is known for high-quality kits, and this is no exception. Lots of options, the parts fit snugly together. Well engineered all around.
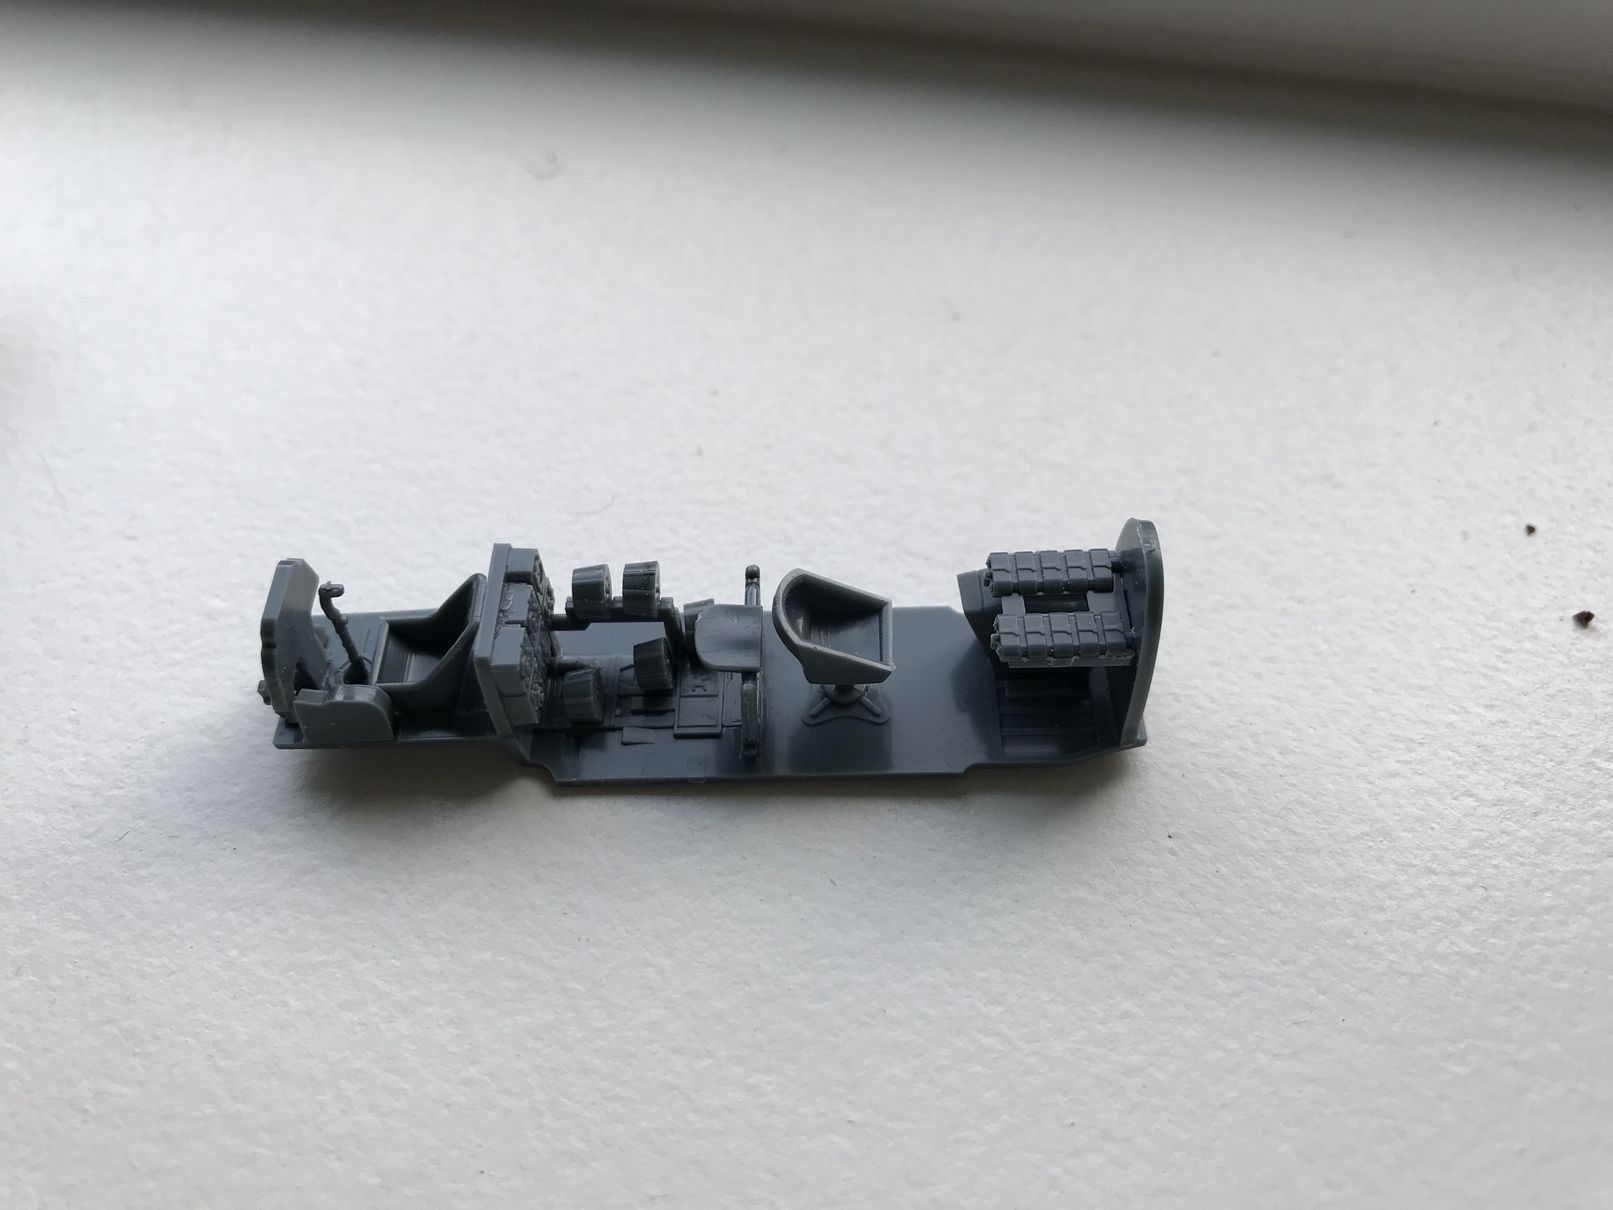
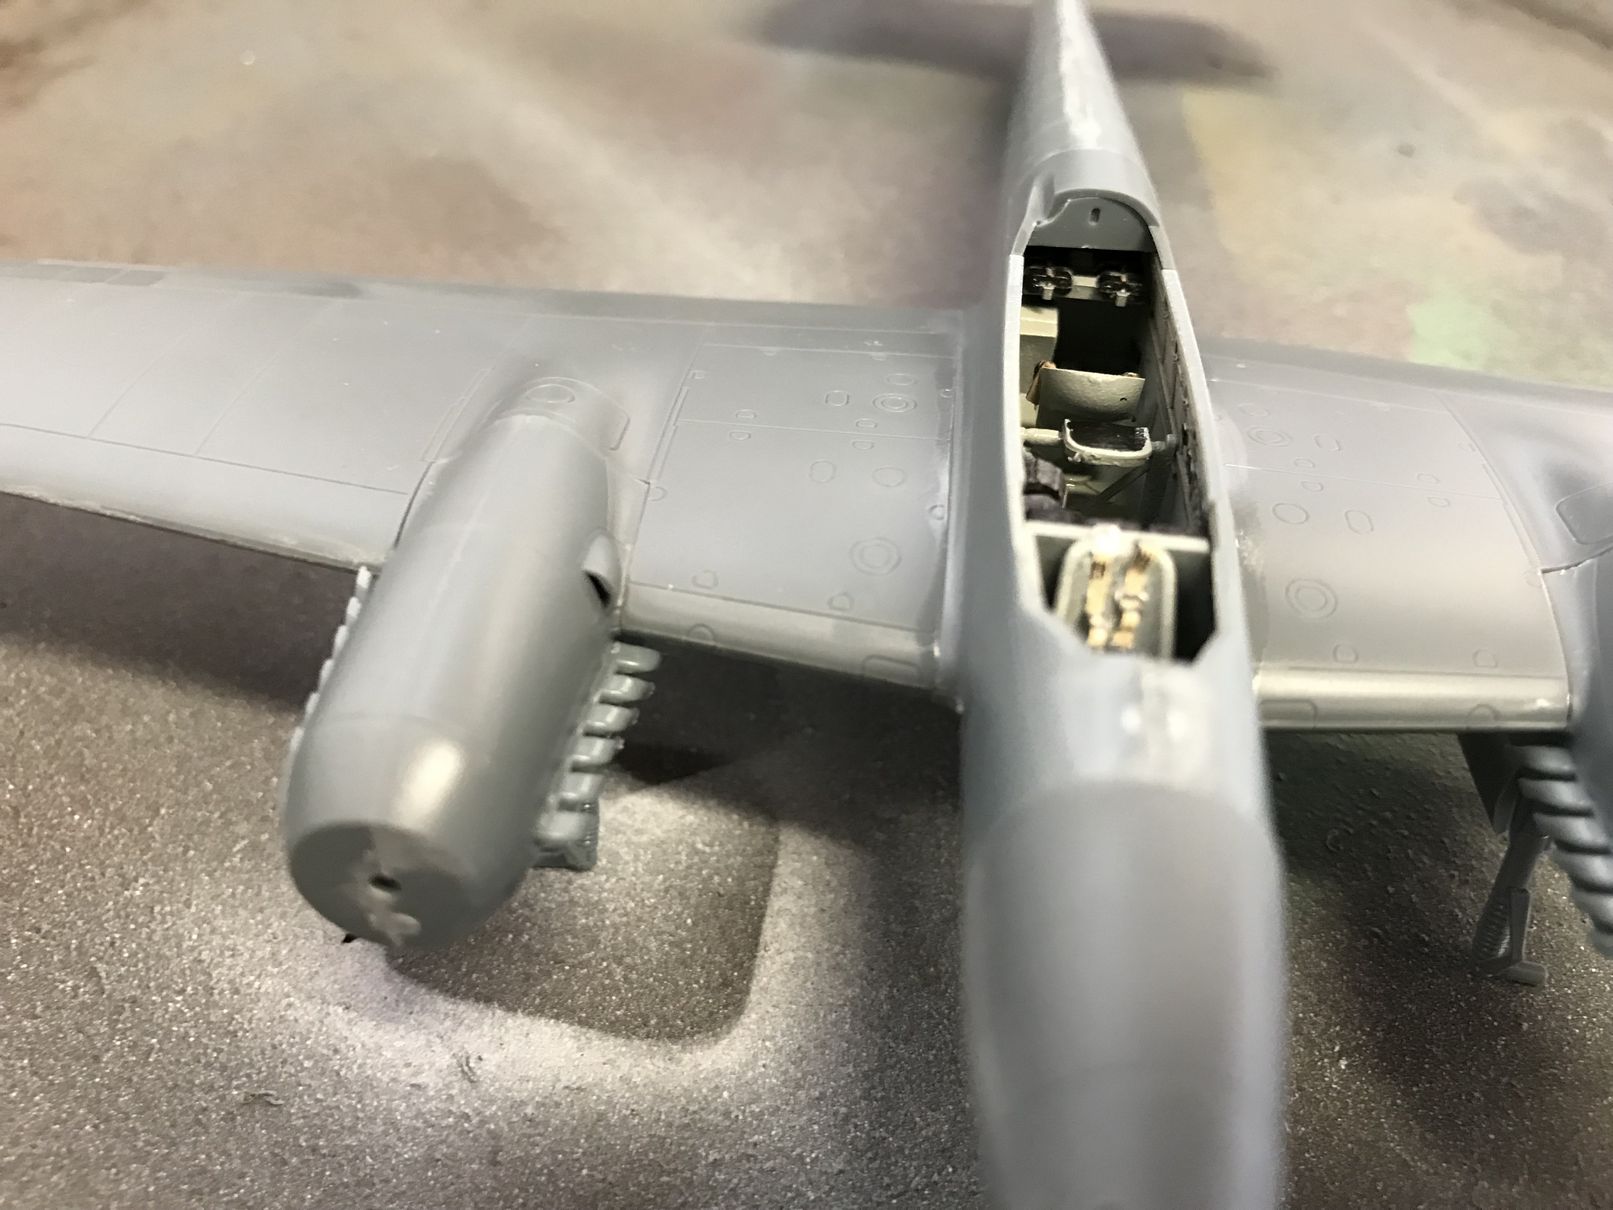
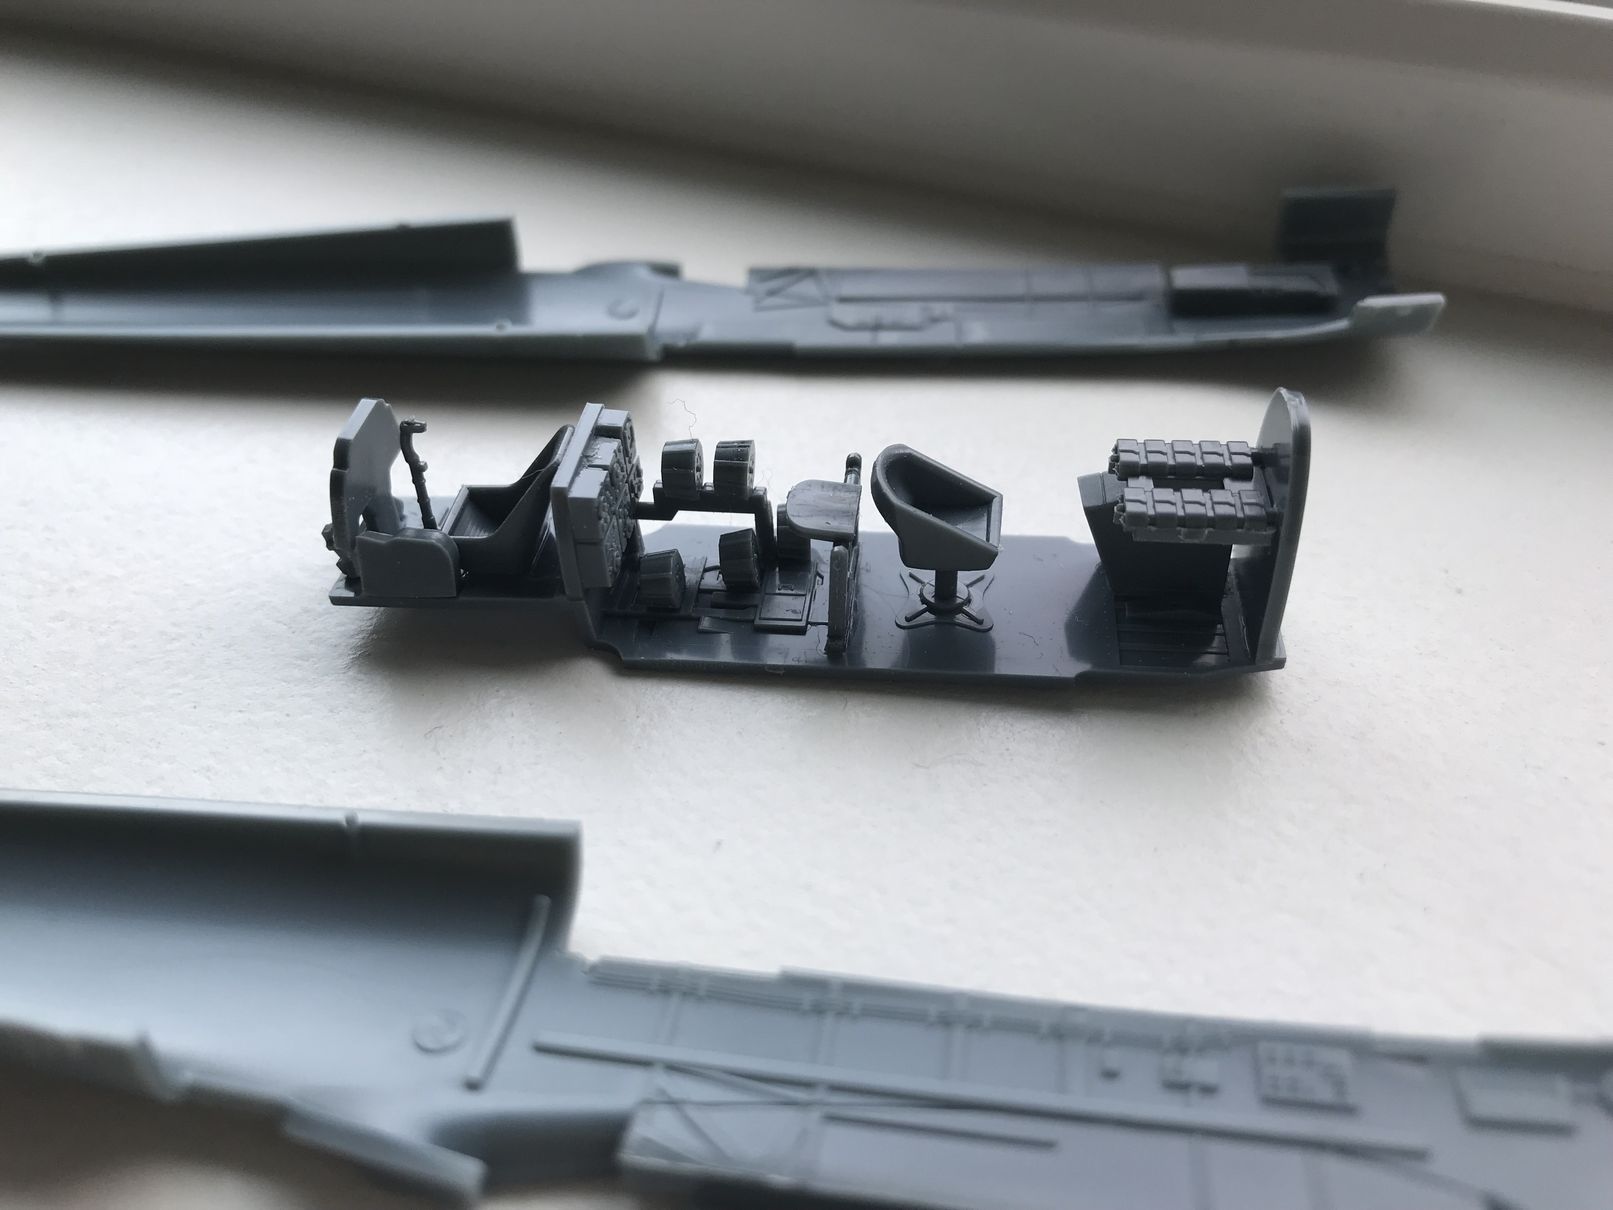 Starting with the cockpit, you start to see all the options provided. Clearly Eduard has built this with the idea that the same sprues could make multiple versions of the same plane, with little if any swapping.
The detail in the cockpit is terrific, especially for this scale. Building the cockpit itself, with seats, instruments, ammo drums, etc. was a small model on its own.
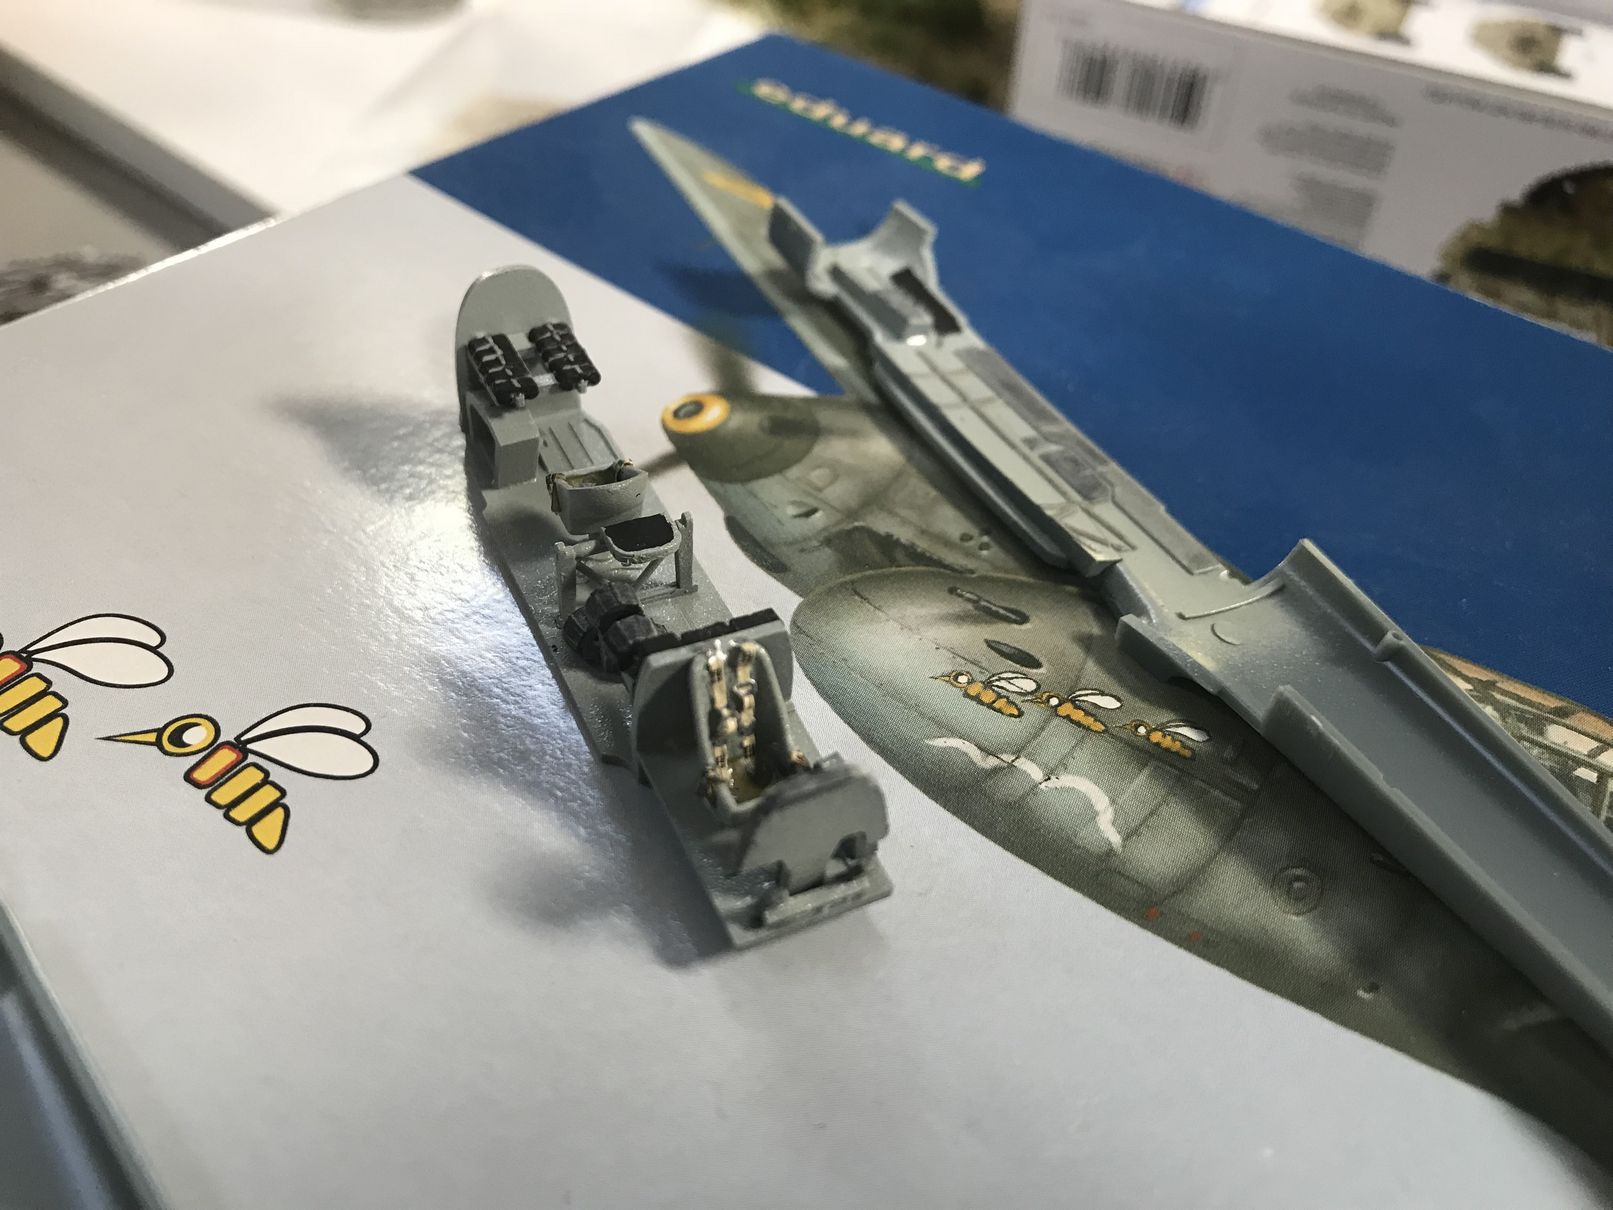
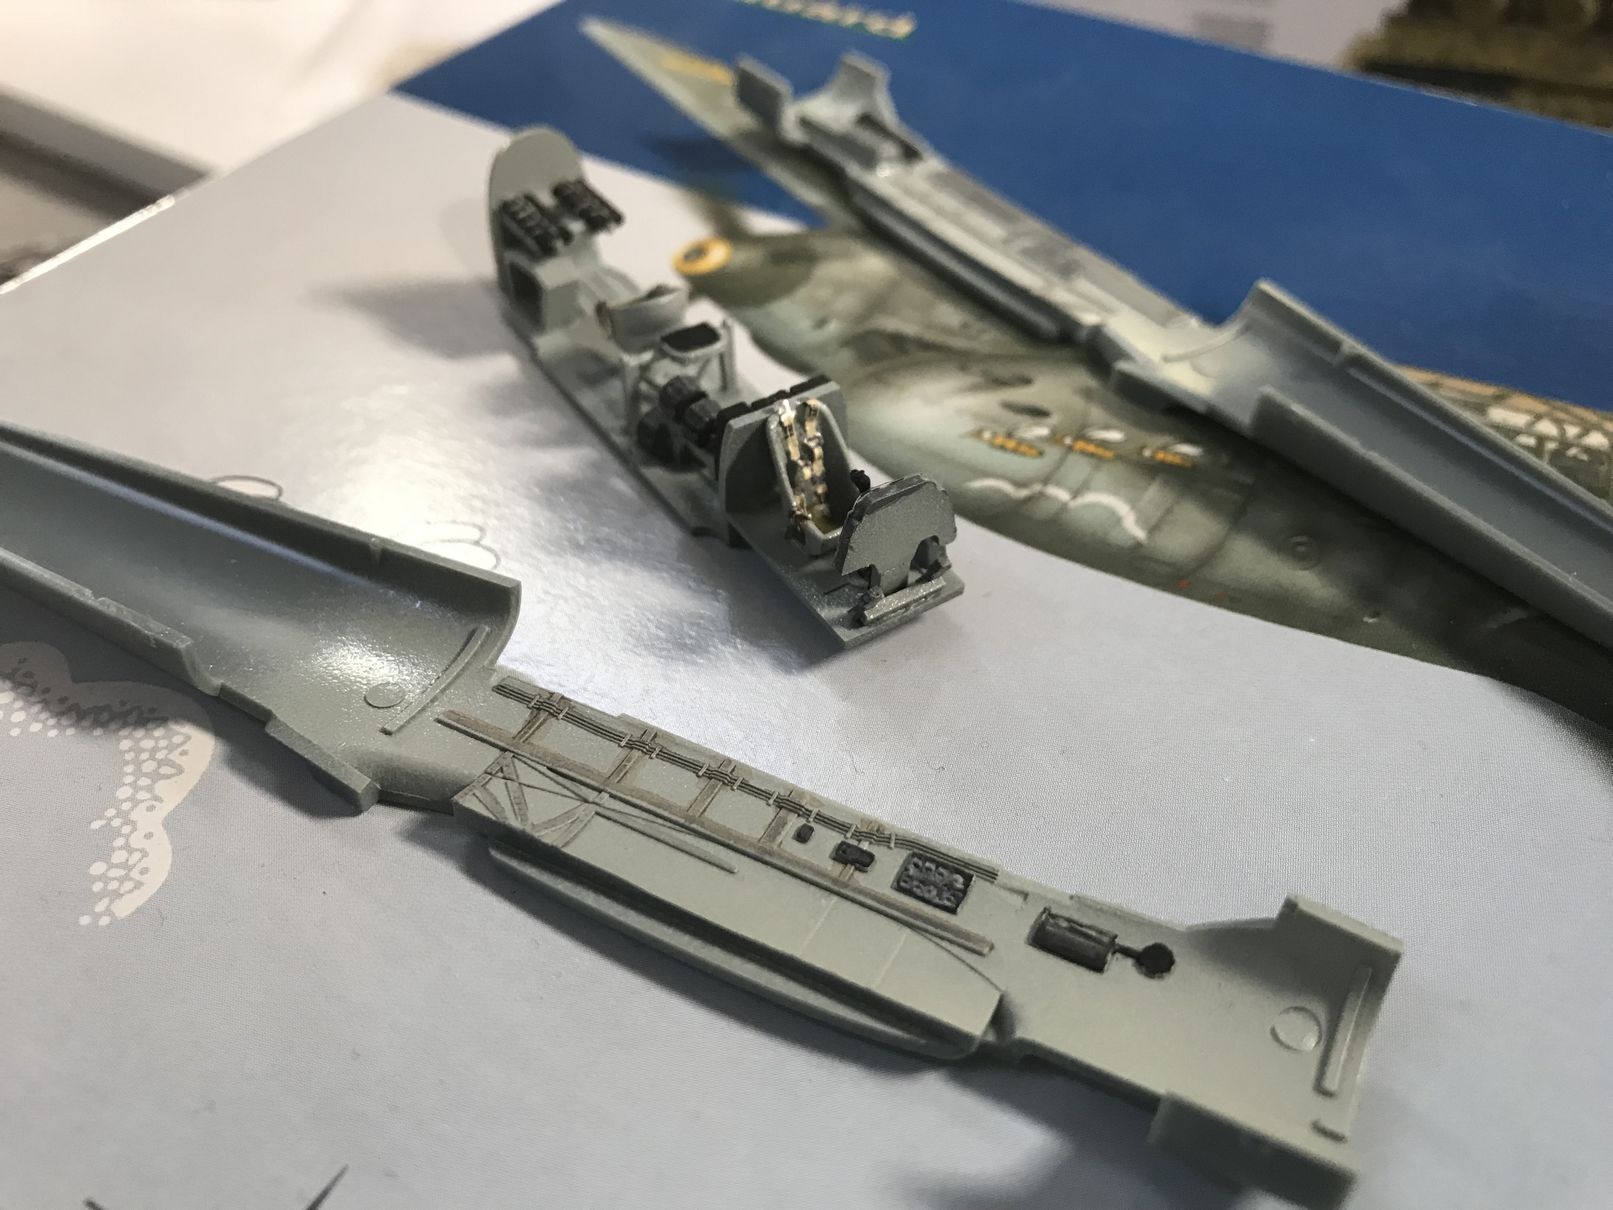 I then spent a bit of time painting and detailing the cockpit. Eduard provides seat belt decals, and I painted the interior halves before sealing up the fuselage.

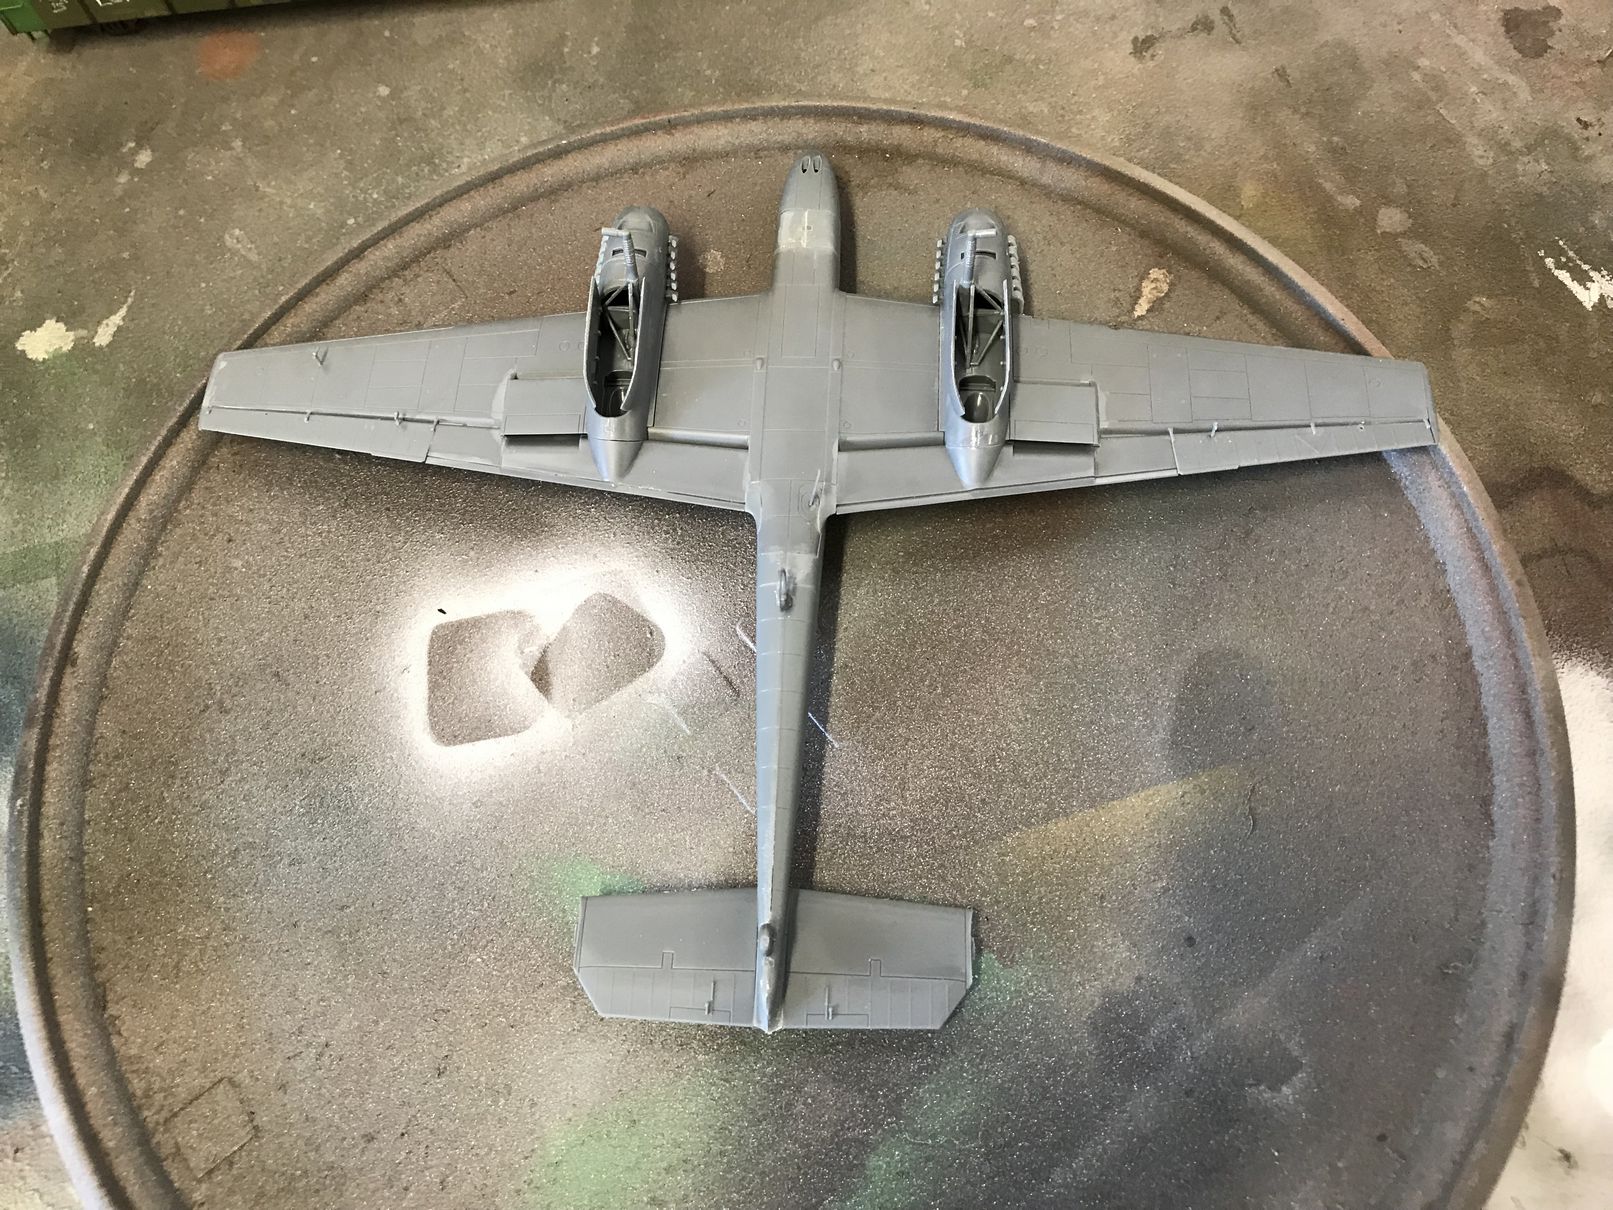 The rest of the assembly was pretty straightforward, although I goofed and didn't drill holes for the bombs. I clearly haven't done enough of these models, but the locator dimples are on the inside of the wings (which is perfectly sensible and the right thing to do- I just didn't get it).
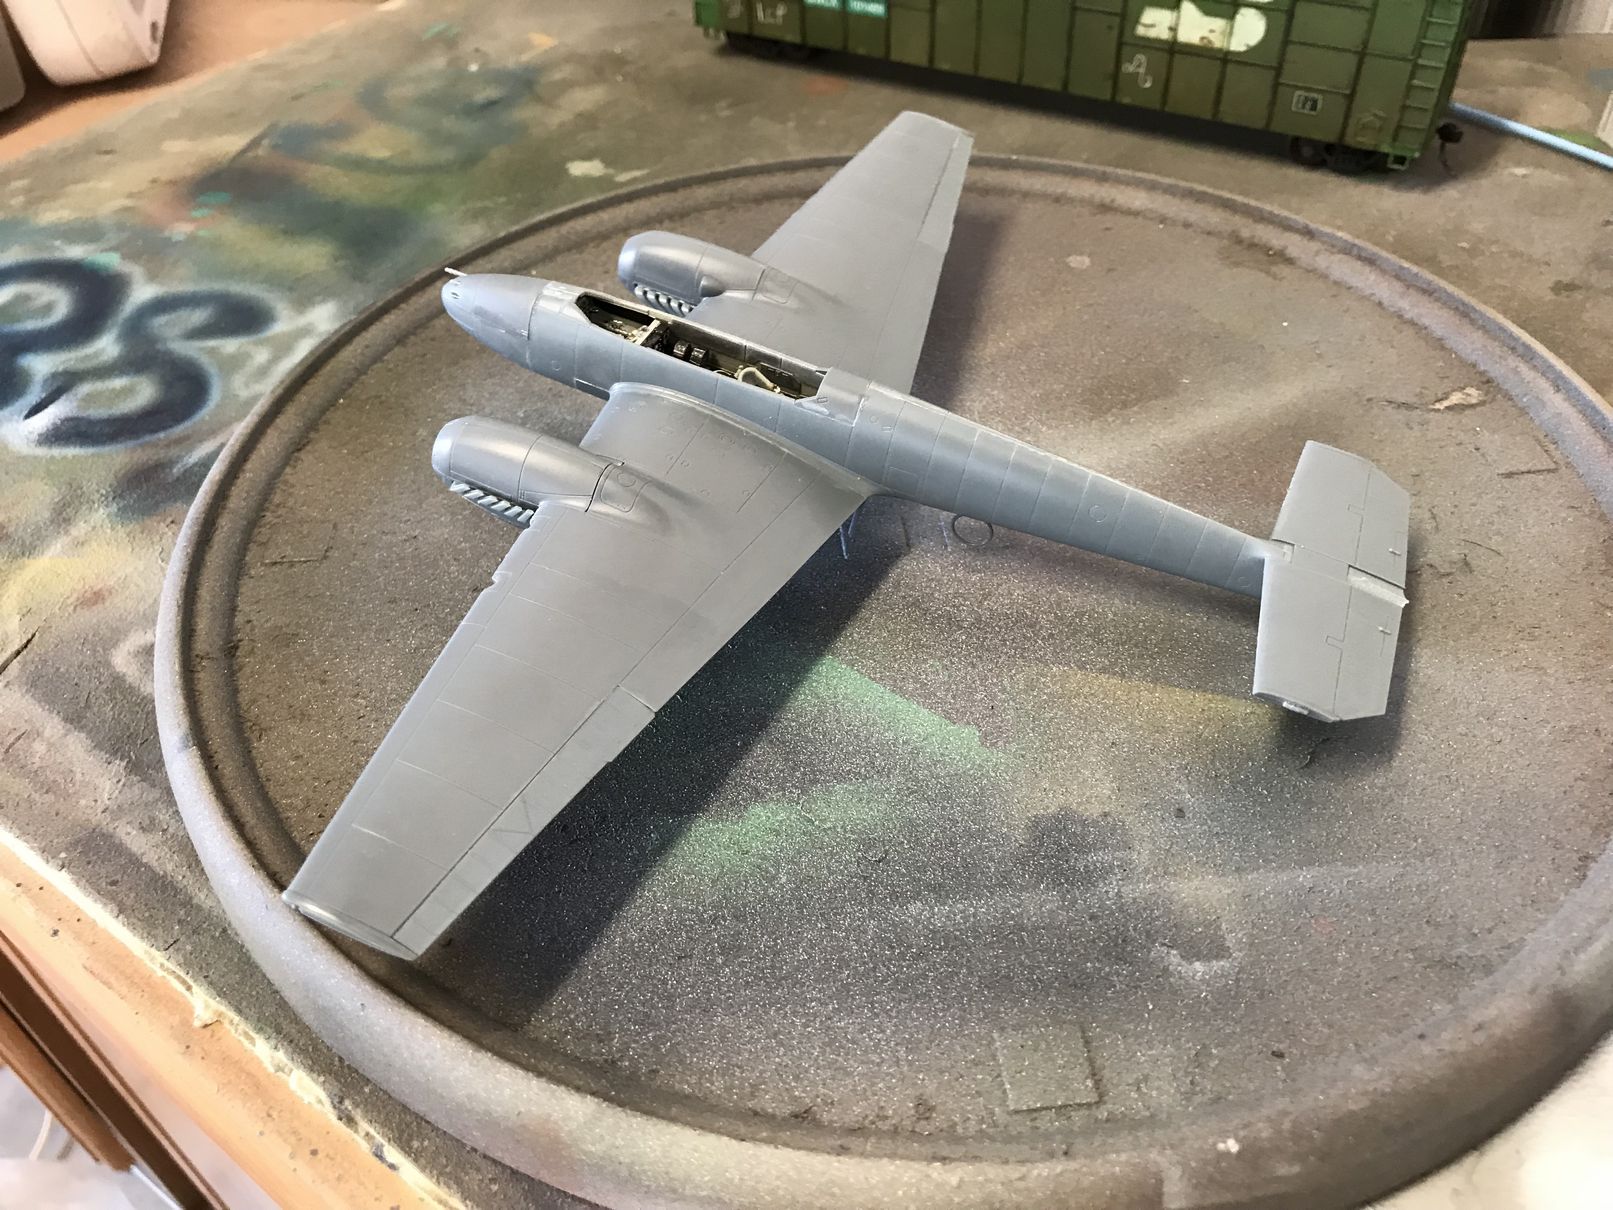
Lovely fit overall, though a little gapping around where the engines join the wings. I also probably should have left the exhaust pipes off to paint/weather those separately before adding, but didn't. Wasn't a catastrophic decision, but I'd do it differently next time.
| Paint and Markings |

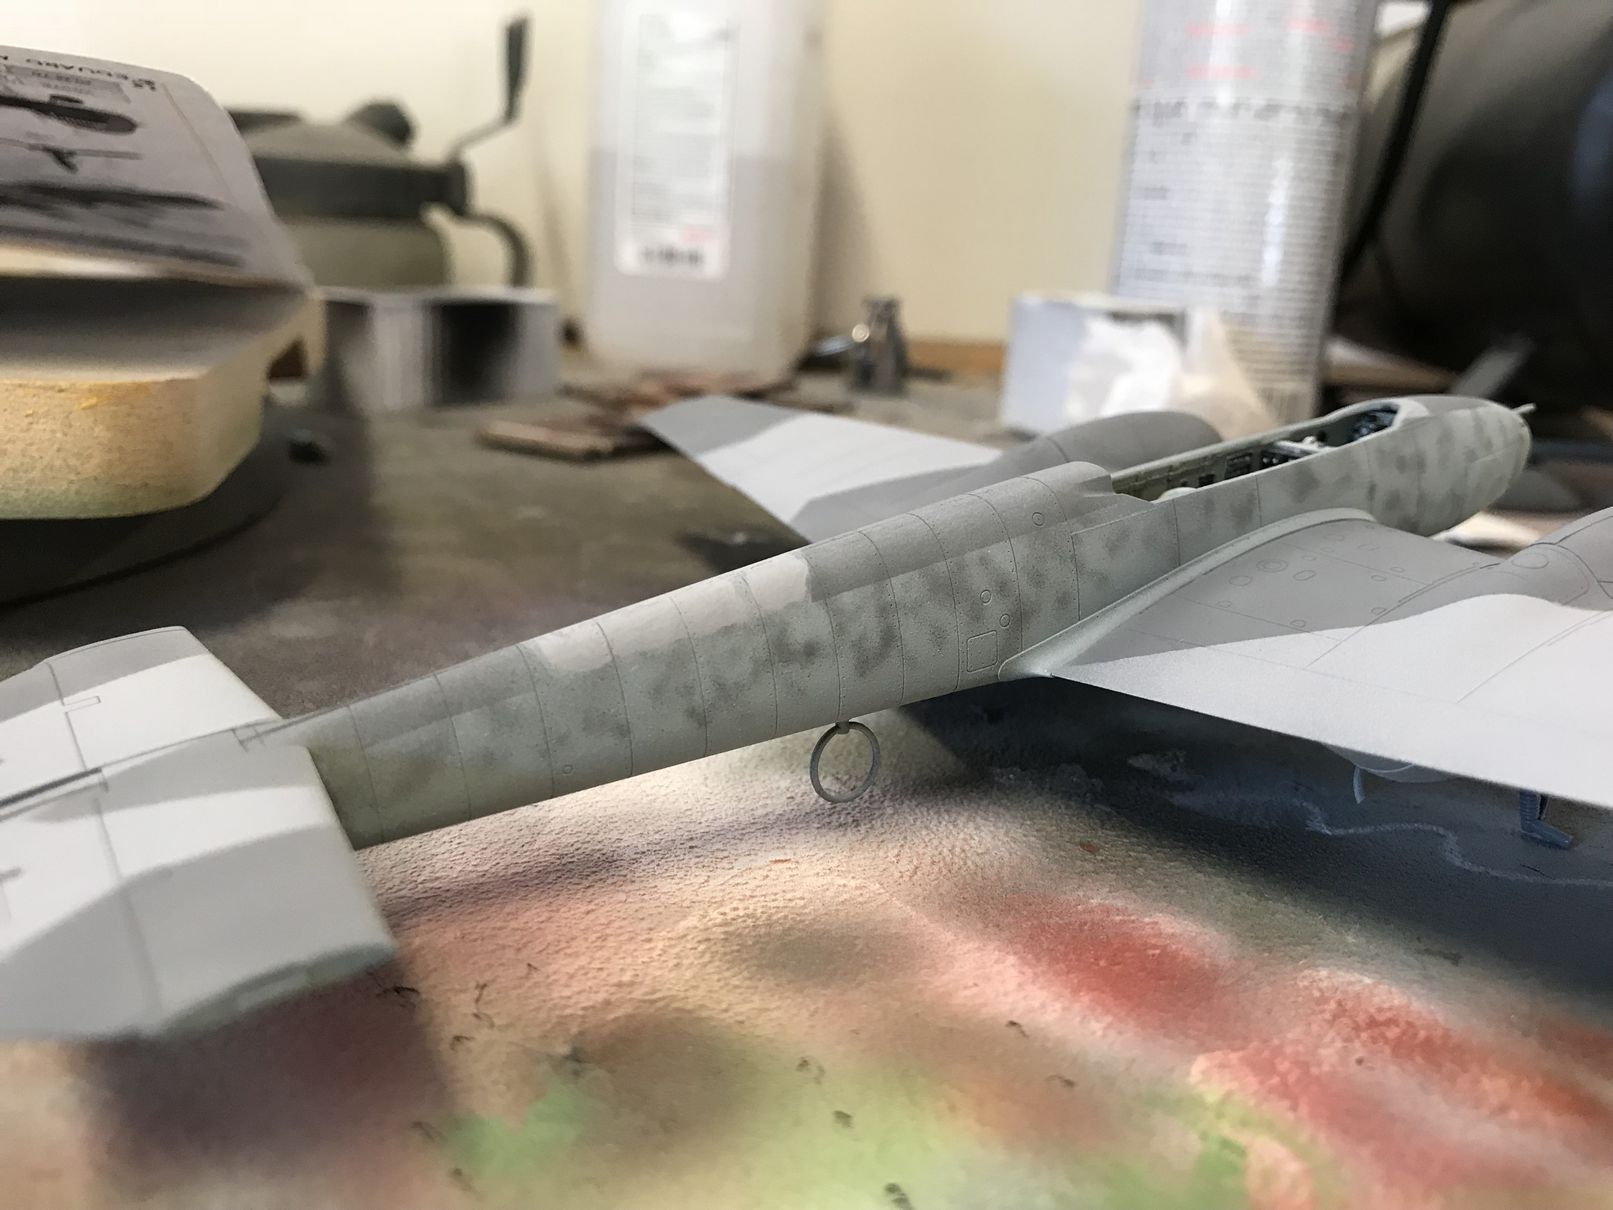
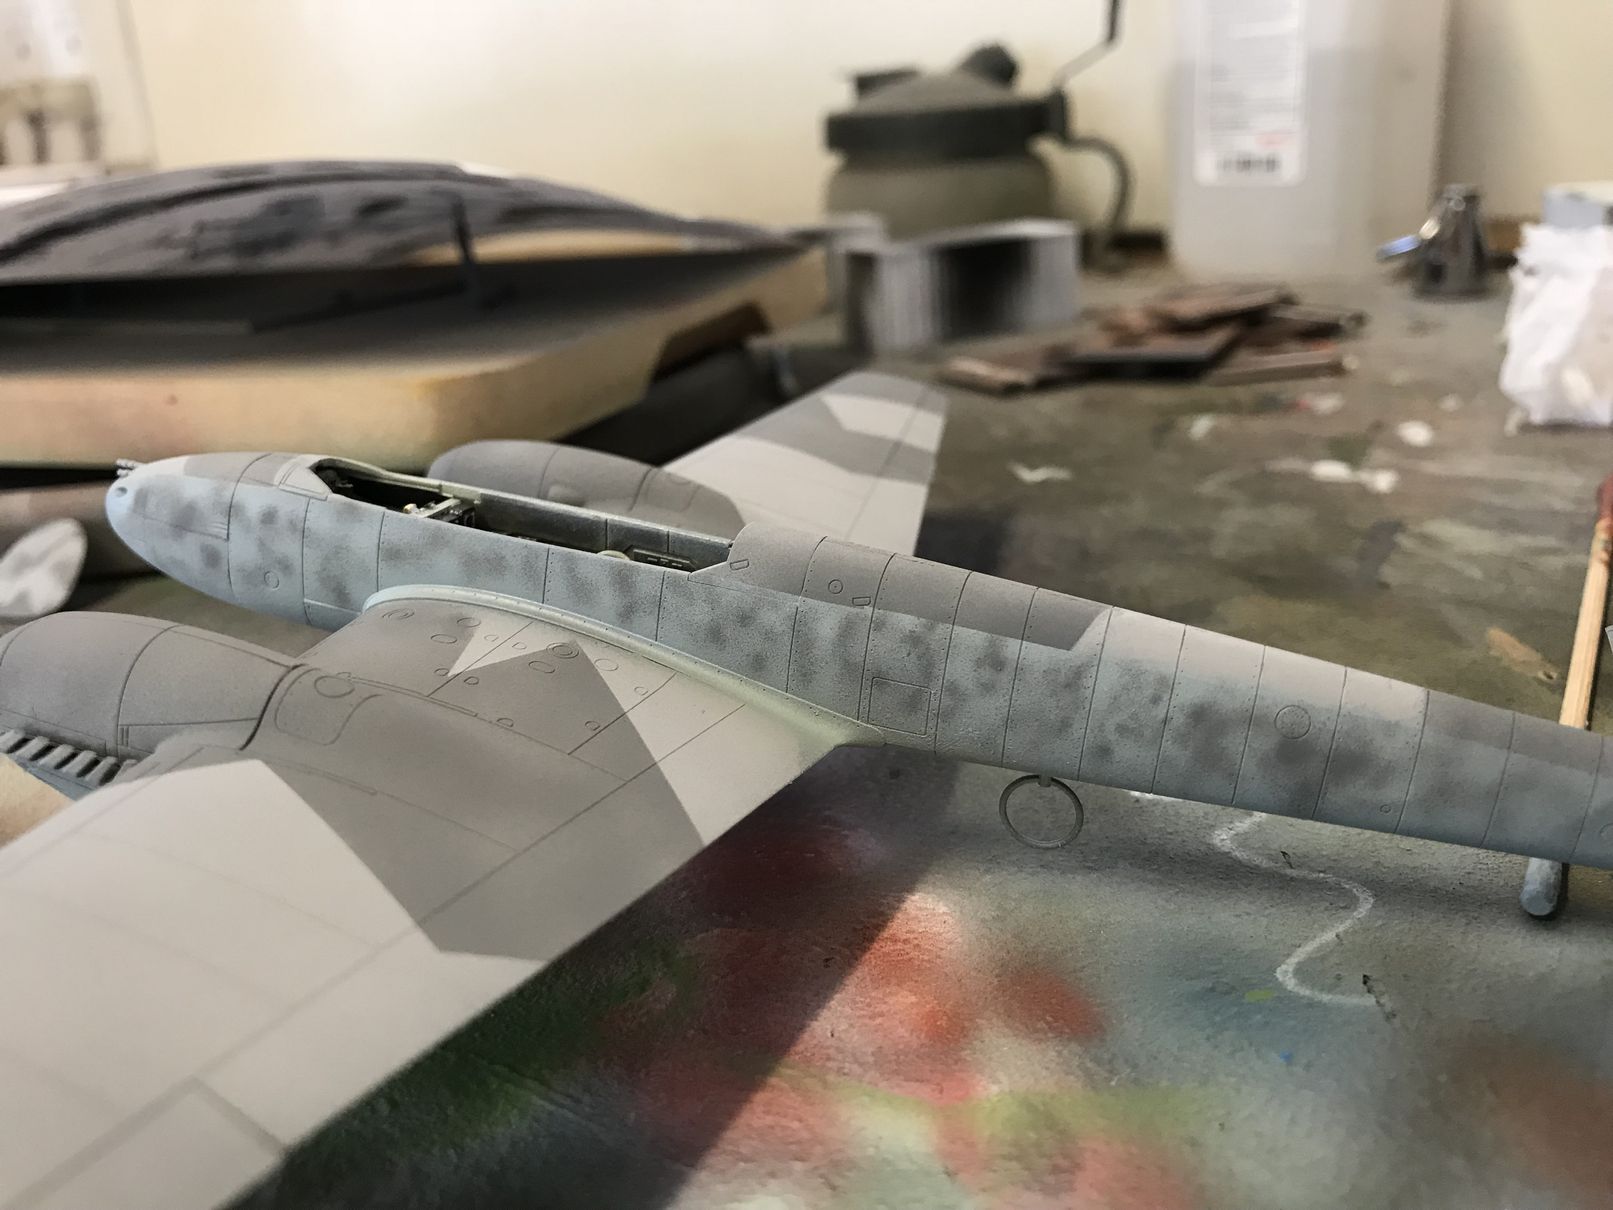 Eduard provides for a couple of scheme options: ; 2N AP from 9./G76 flown by Obl. Urban Schlaffer and 2N IR from 1.JG77 piloted by Theodor Weissenberger. I chose Schlaffer's place as I wanted to practice the freehand squiggles on the sides, and like the splinter on the upper surfaces.
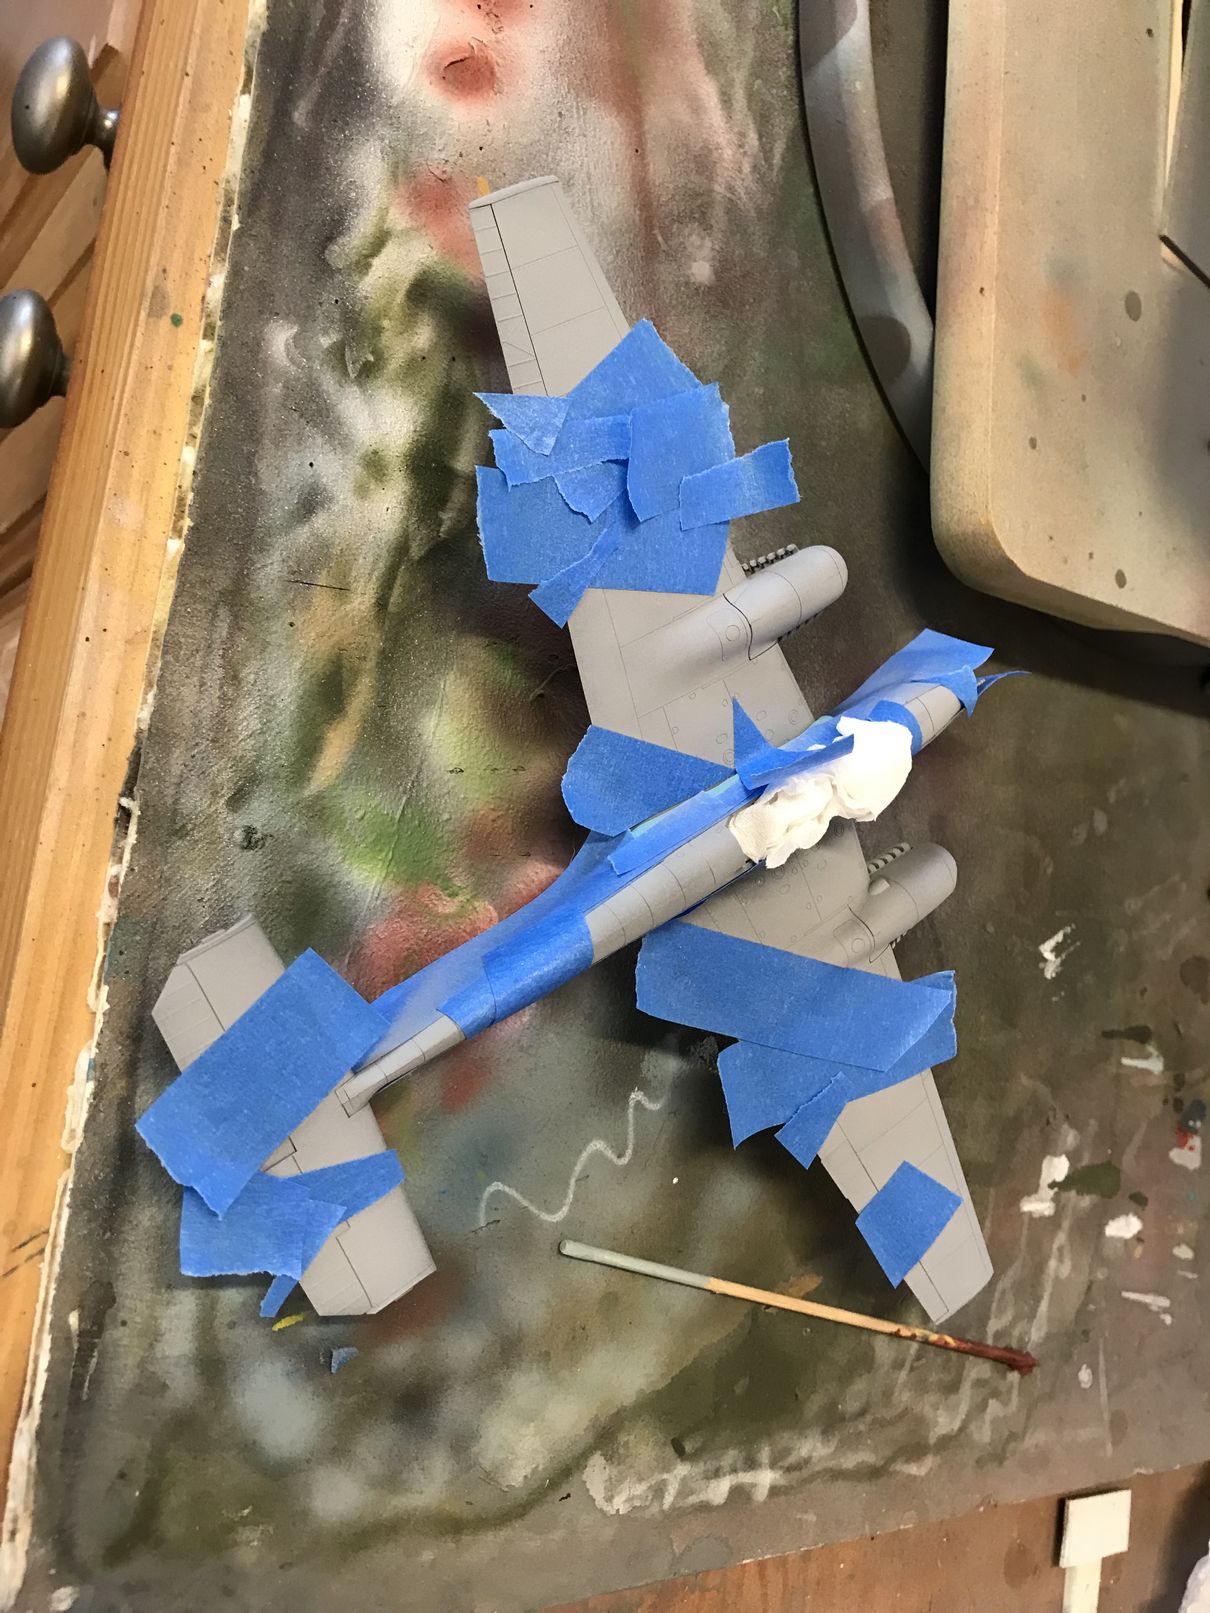
Everything got a primer gray, and then I hit the fuselage with Hellblau from Tamiya. I then masked off the fuselage and worked on the splintering. This was fairly easy, as Eduard provides decent contrast between their grays. I use Tamiya paints, so a combination of various Sea Grays gave me the look I wanted. I used one of those grays to do the freehand squiggly marks on the sides. Then a coat of Future for decaling.
Eduards were crisp and easy to work with.
| Final Assembly |
It was at this point that I decided to fit the rear rudders. These went on easily.
The canopy was a real challenge to paint- again, I freehand most of these with a brush, as I don't have the patience to cut tape to that small an area.
Wheels were painted separately and then added.
.
| Summary |
I enjoyed this kit. It went together well, and left me with a model I feel pretty good about.
| Resources |
Instruction Sheets