| Prototype Background |
The Consolidated B-24 Liberator was an American heavy bomber. The relatively modern design gave the Liberator a high cruise speed, long range and the ability to carry a heavy bomb load. Because of its versatility it was much in demand from purchasing authorities within the military.
The B-24 was used extensively in World War II for a wide variety of roles. It served in every branch of the American armed forces, as well as several Allied air forces and navies, and saw use in every theater of operations. Along with the B-17, the B-24 was the mainstay of the US strategic bombing campaign in the Western European theater. Long range anti-submarine Liberators played an instrumental role in closing the Mid-Atlantic Gap in the Battle of the Atlantic. The C-87 transport derivative served as a longer range, higher capacity counterpart to the Douglas C-47 Skytrain.
The B-24 was produced in large numbers. At nearly 19,000 units, with over 8,000 manufactured by Ford Motor Company, it holds records as the most produced bomber, heavy bomber, multi-engine aircraft, and American military aircraft in history.
At the end of World War II, the Liberator feasibility had been surpassed by more modern types such as the Boeing B-29 Superfortress (which was used extensively in the Pacific theater in the later war years and into the Korean War).
| Inside the Box |
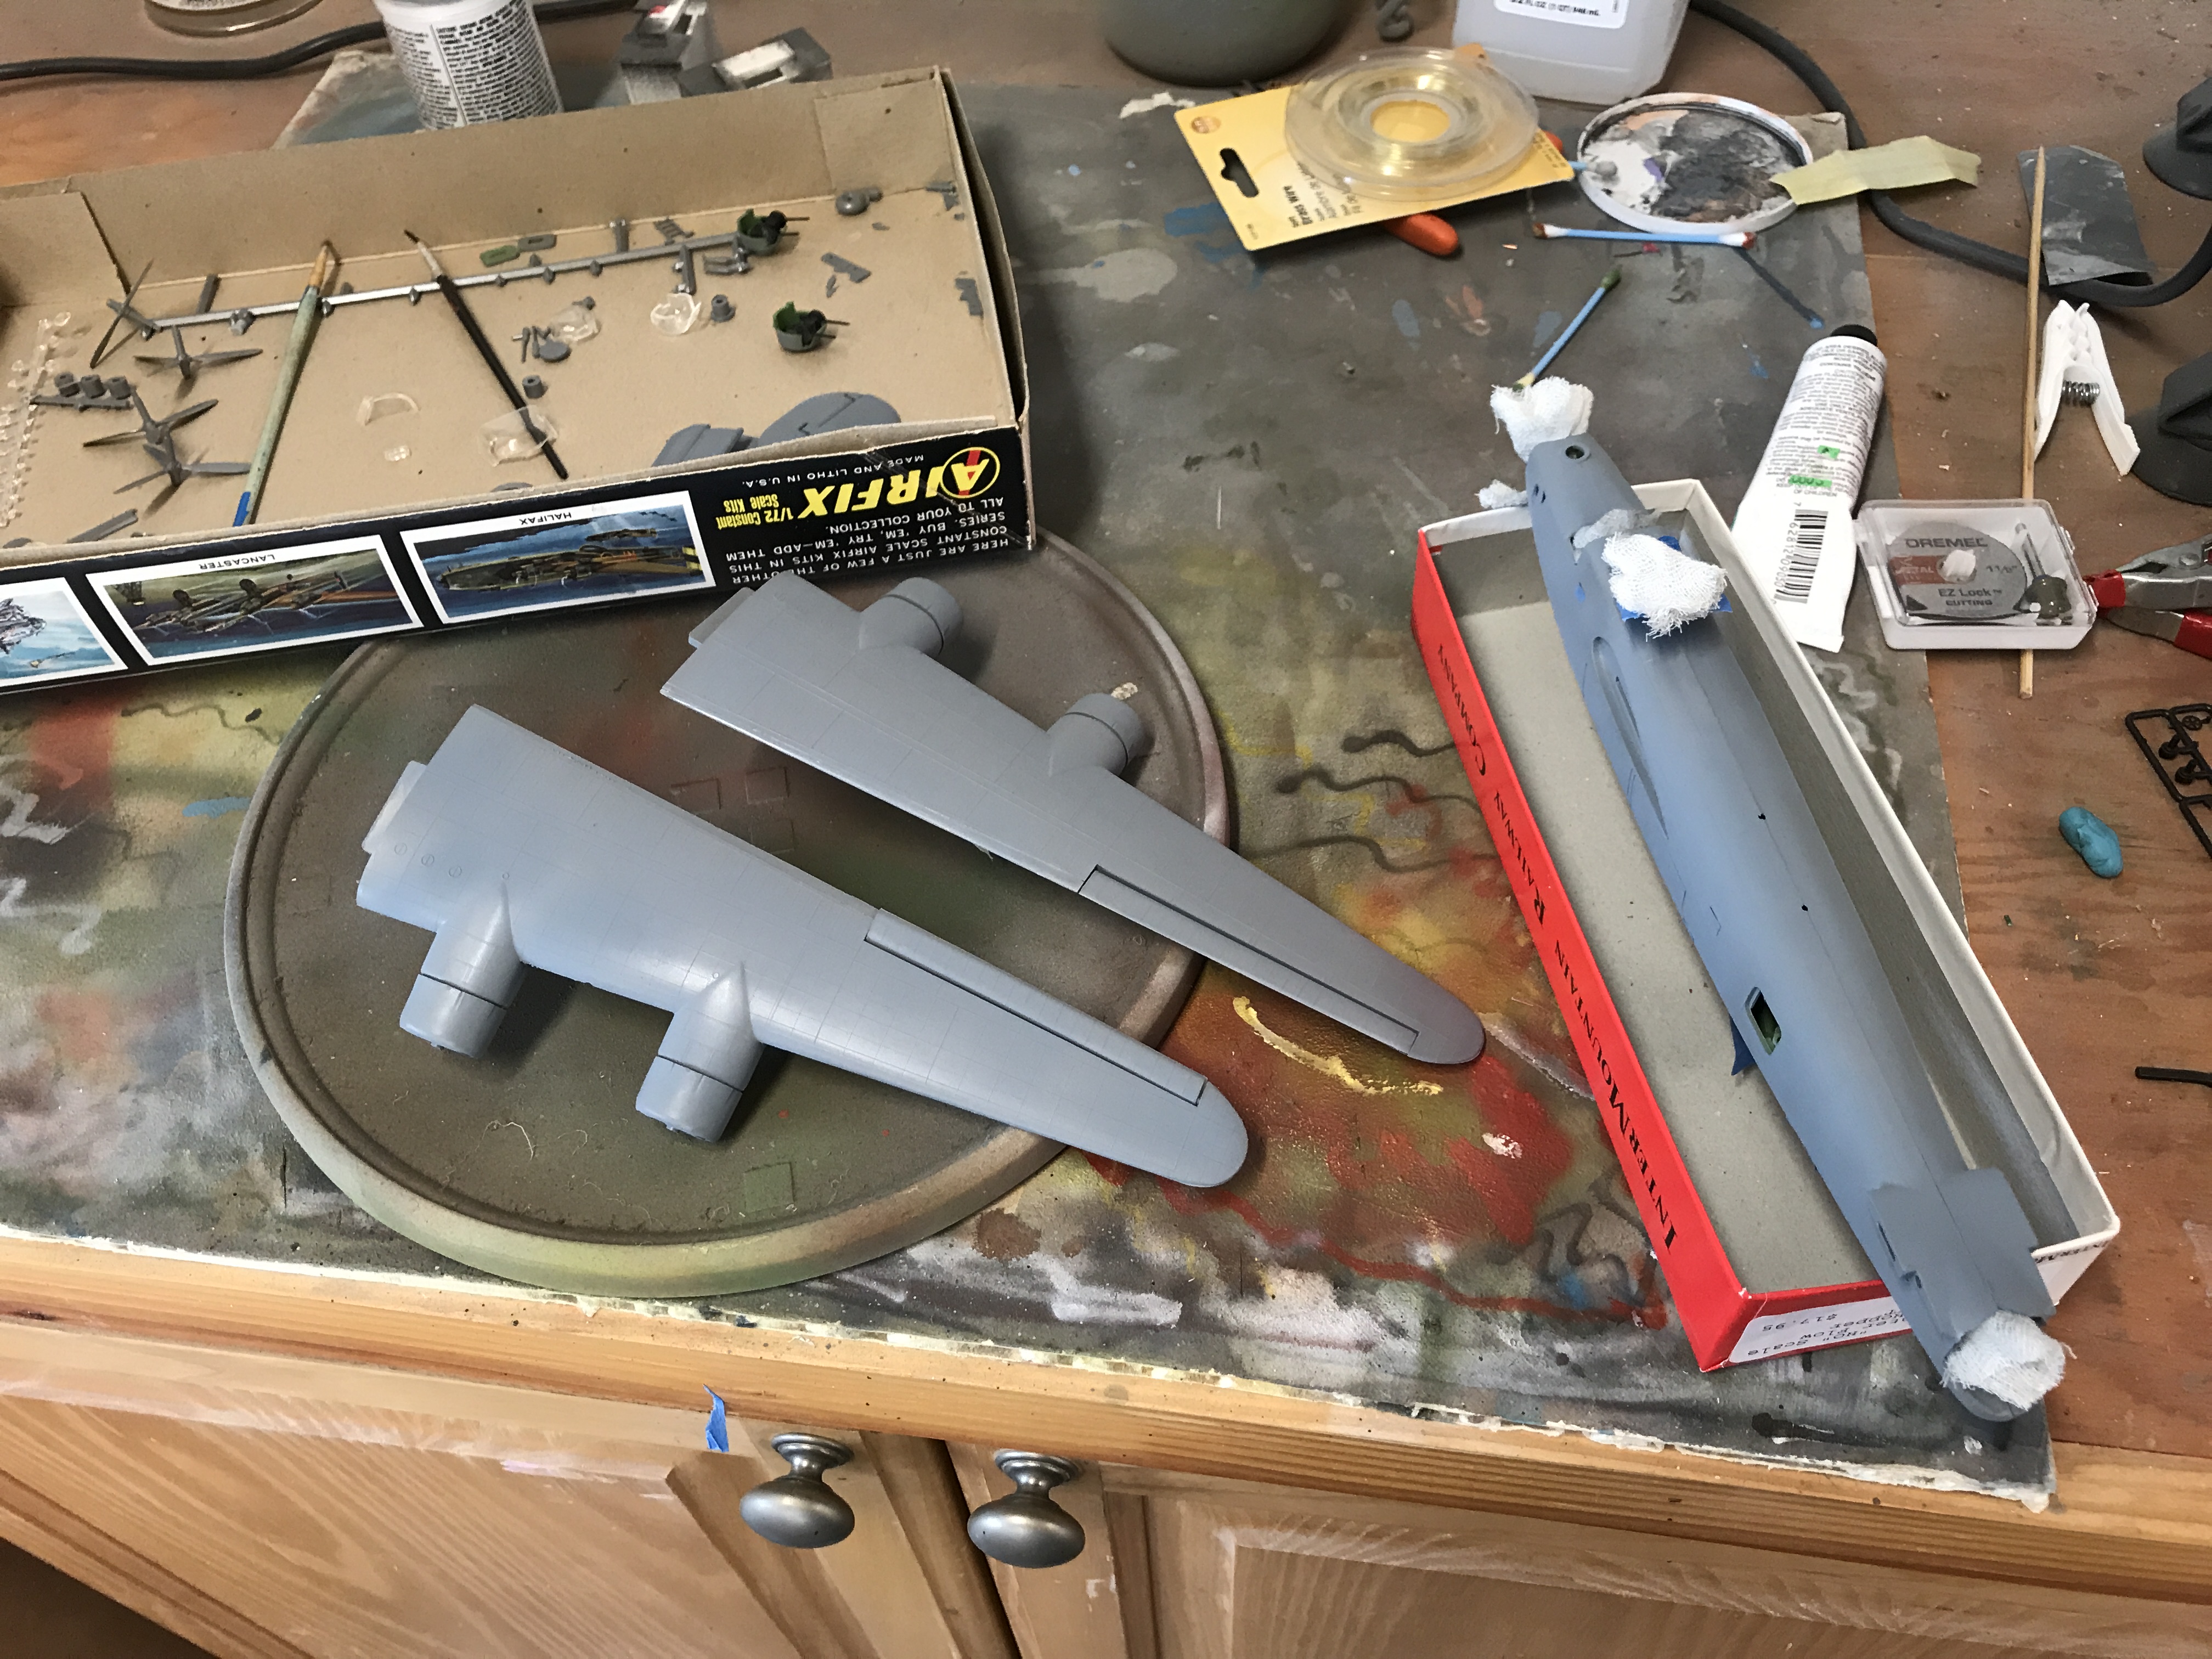
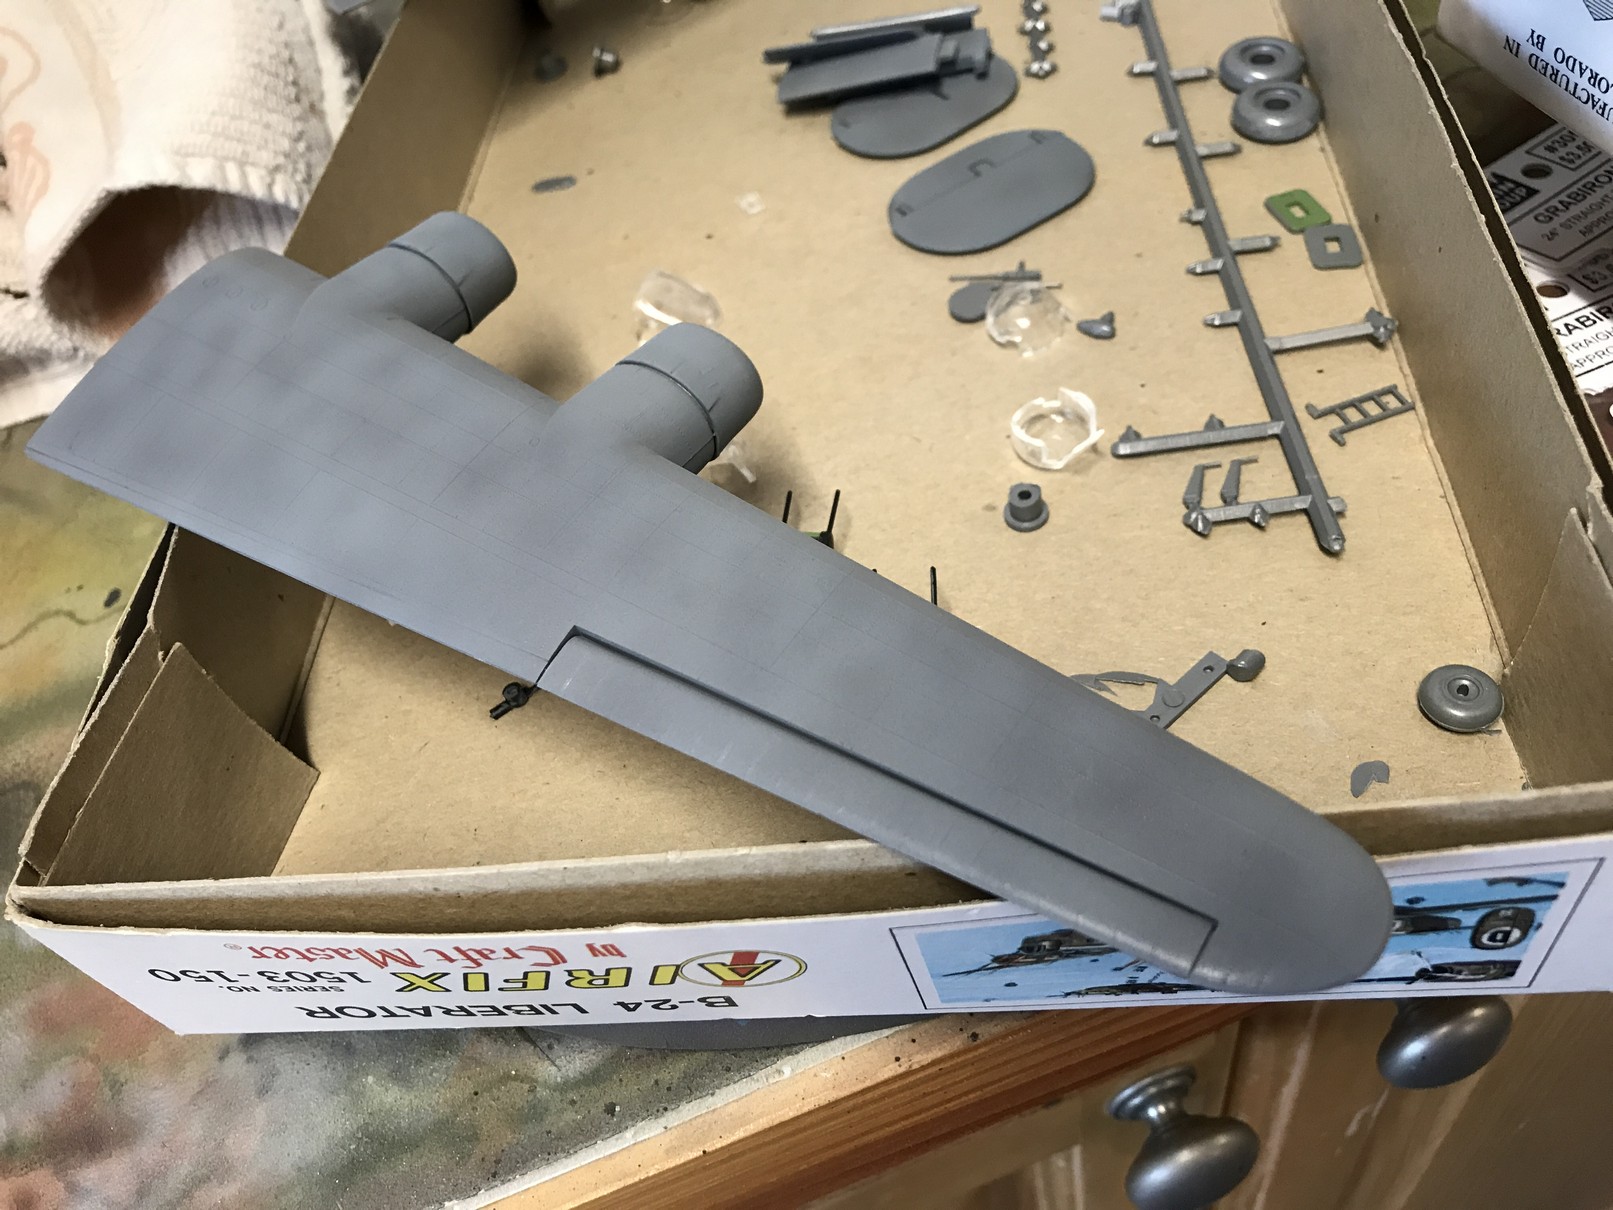
Lots of parts- this is a pretty big model, if you are used to 1/72 kits.
The kit is quite accurate.This is definitely an older kit, complete with raised rivets. However, the overall shape seems pretty accurate according to many commenters, and generally goes together ok. Don't expect a lot of modern details with this one- it was designed decades ago and includes toy-like features (props that can move! Turrets that turn! Wheel well doors that can move! Flaps you can adjust! etc.). There is not a lot of cockpit detail, nor interior detail. That doesn't mean it's not fun or that it doesn't have a place in the lineup.
| The Build |
The instructions in my kit are pretty poor- an exploded view of the parts, with a long list of directions to execute. Sometimes matching the part in the text description with the actual part in the exploded diagram is a challenge, but it's a simple enough kit where intuition can guide.
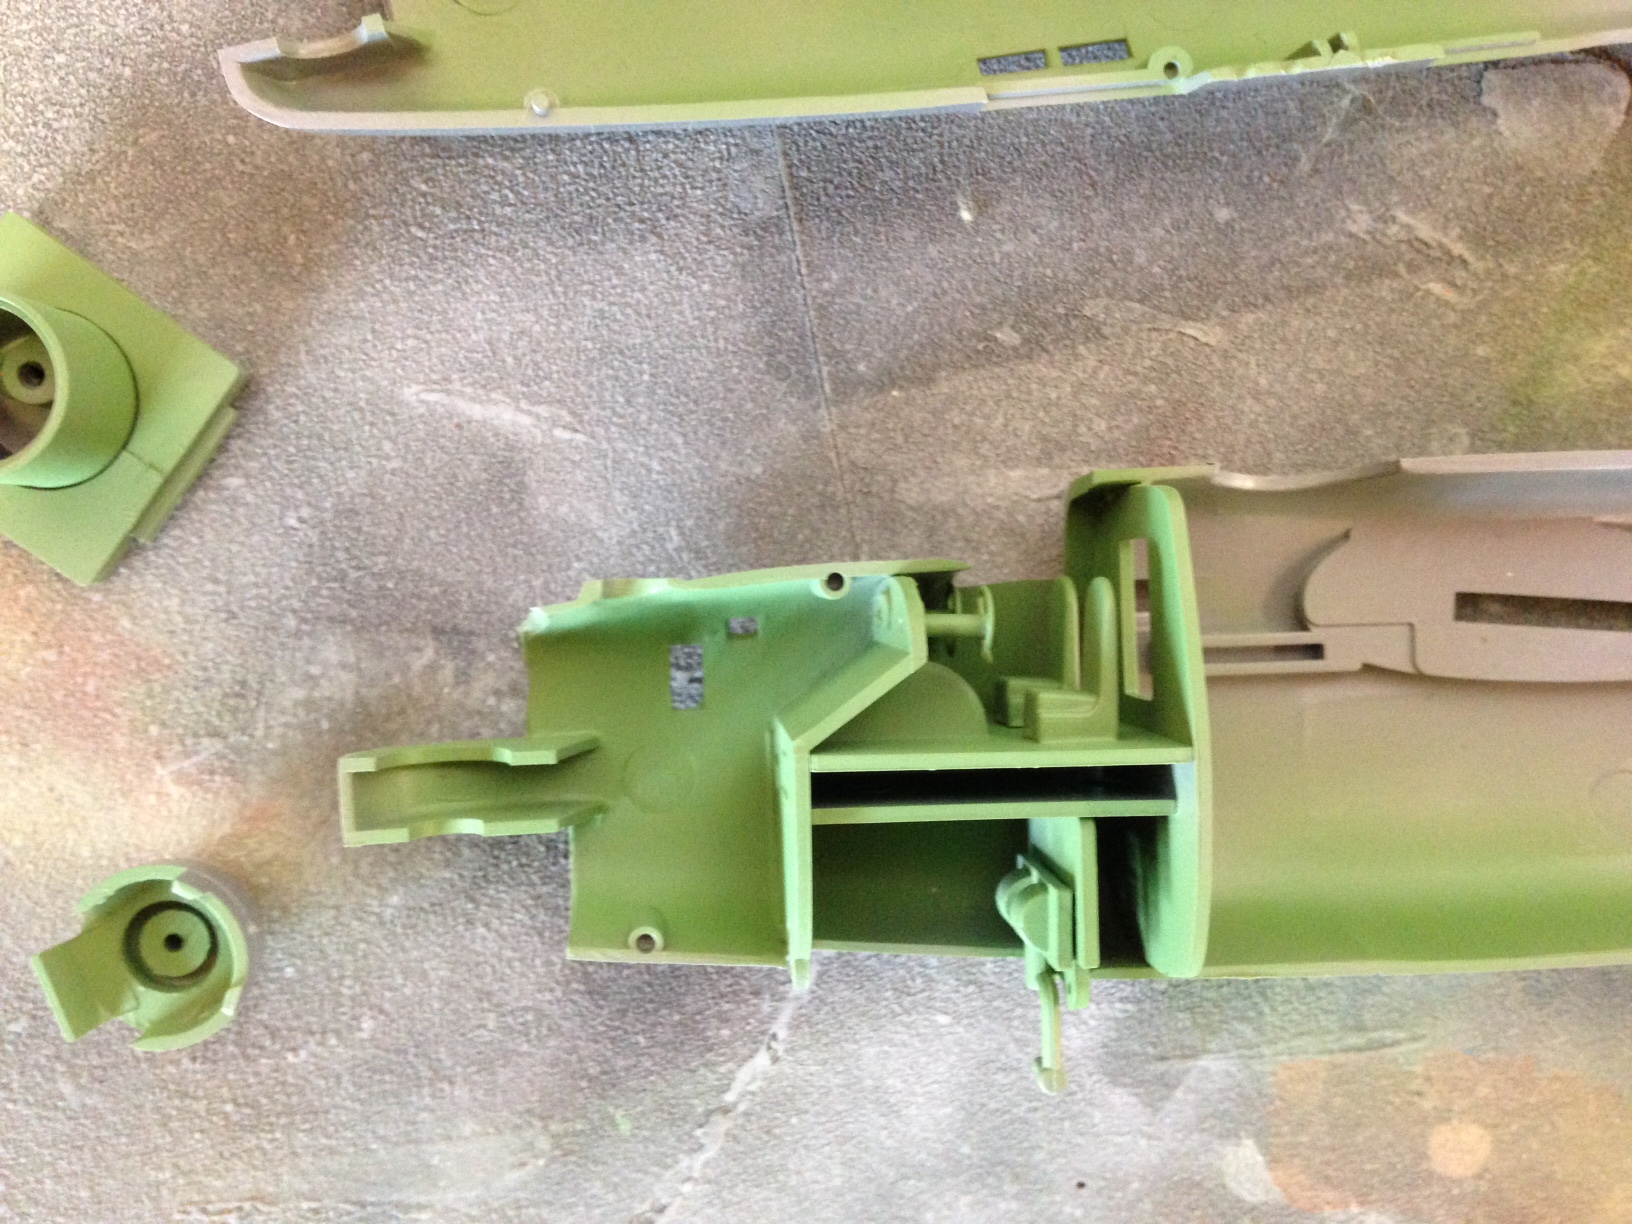 I started with the interior bits, gluing them together inside the starboard fuselage half. Again, not much interior detail, and even though I planned to have the waist windows open, I didn't add much to the inside. I had a lot of trouble finding the waist gun mounts, so I fabricated a couple from bits of sprue. Not remotely authentic, but will serve the purpose I think.
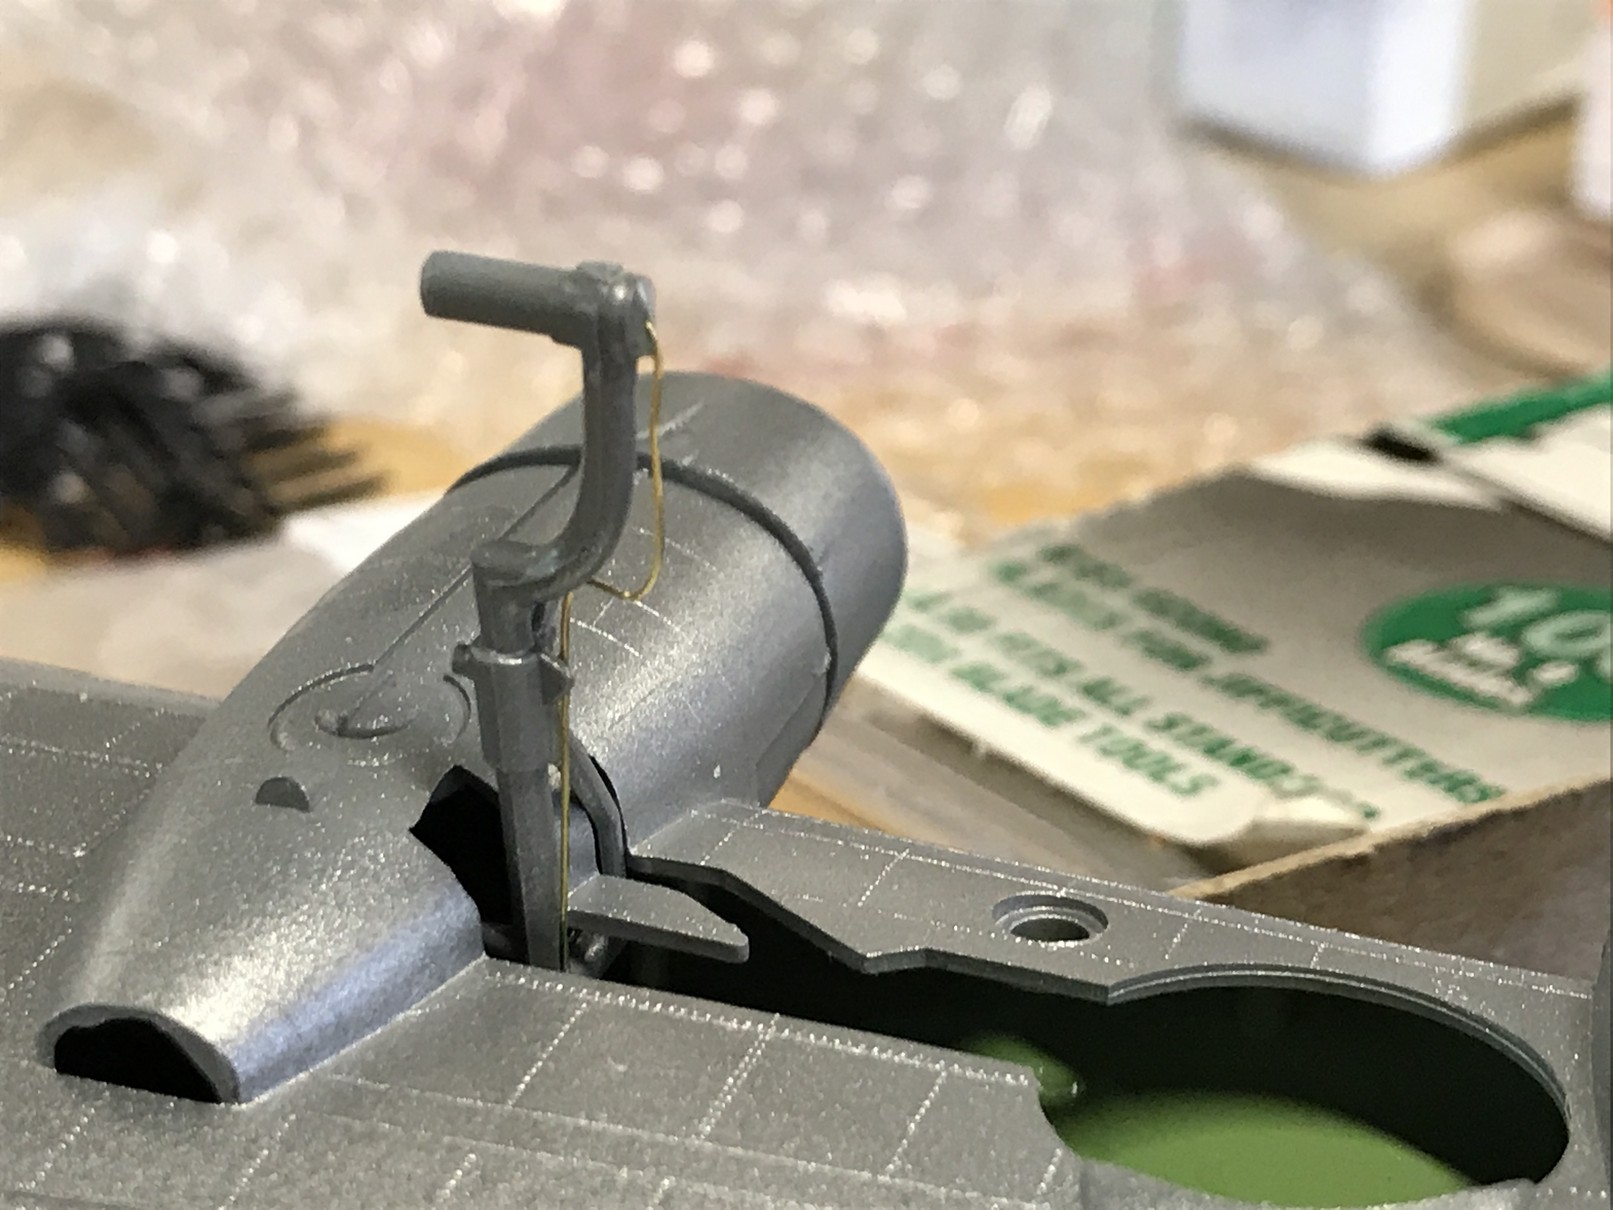
 The rest of the fuselage assembly went reasonably well, though I managed to lose one of the forward wheel well covers. Their thickness and visibility encourage me to just craft new ones from 0.020" plastic card. The cupolas were a challenge to make work- I ended up cutting the torso of the gunners off, shaving the top of the horrific cylinder through which the guns are mounted, and coming up with something that approximated a gun mount. I had some trouble with the lower ball turret, getting it to the right height. The original height had it sticking out nearly entirely, which didn't seem right.
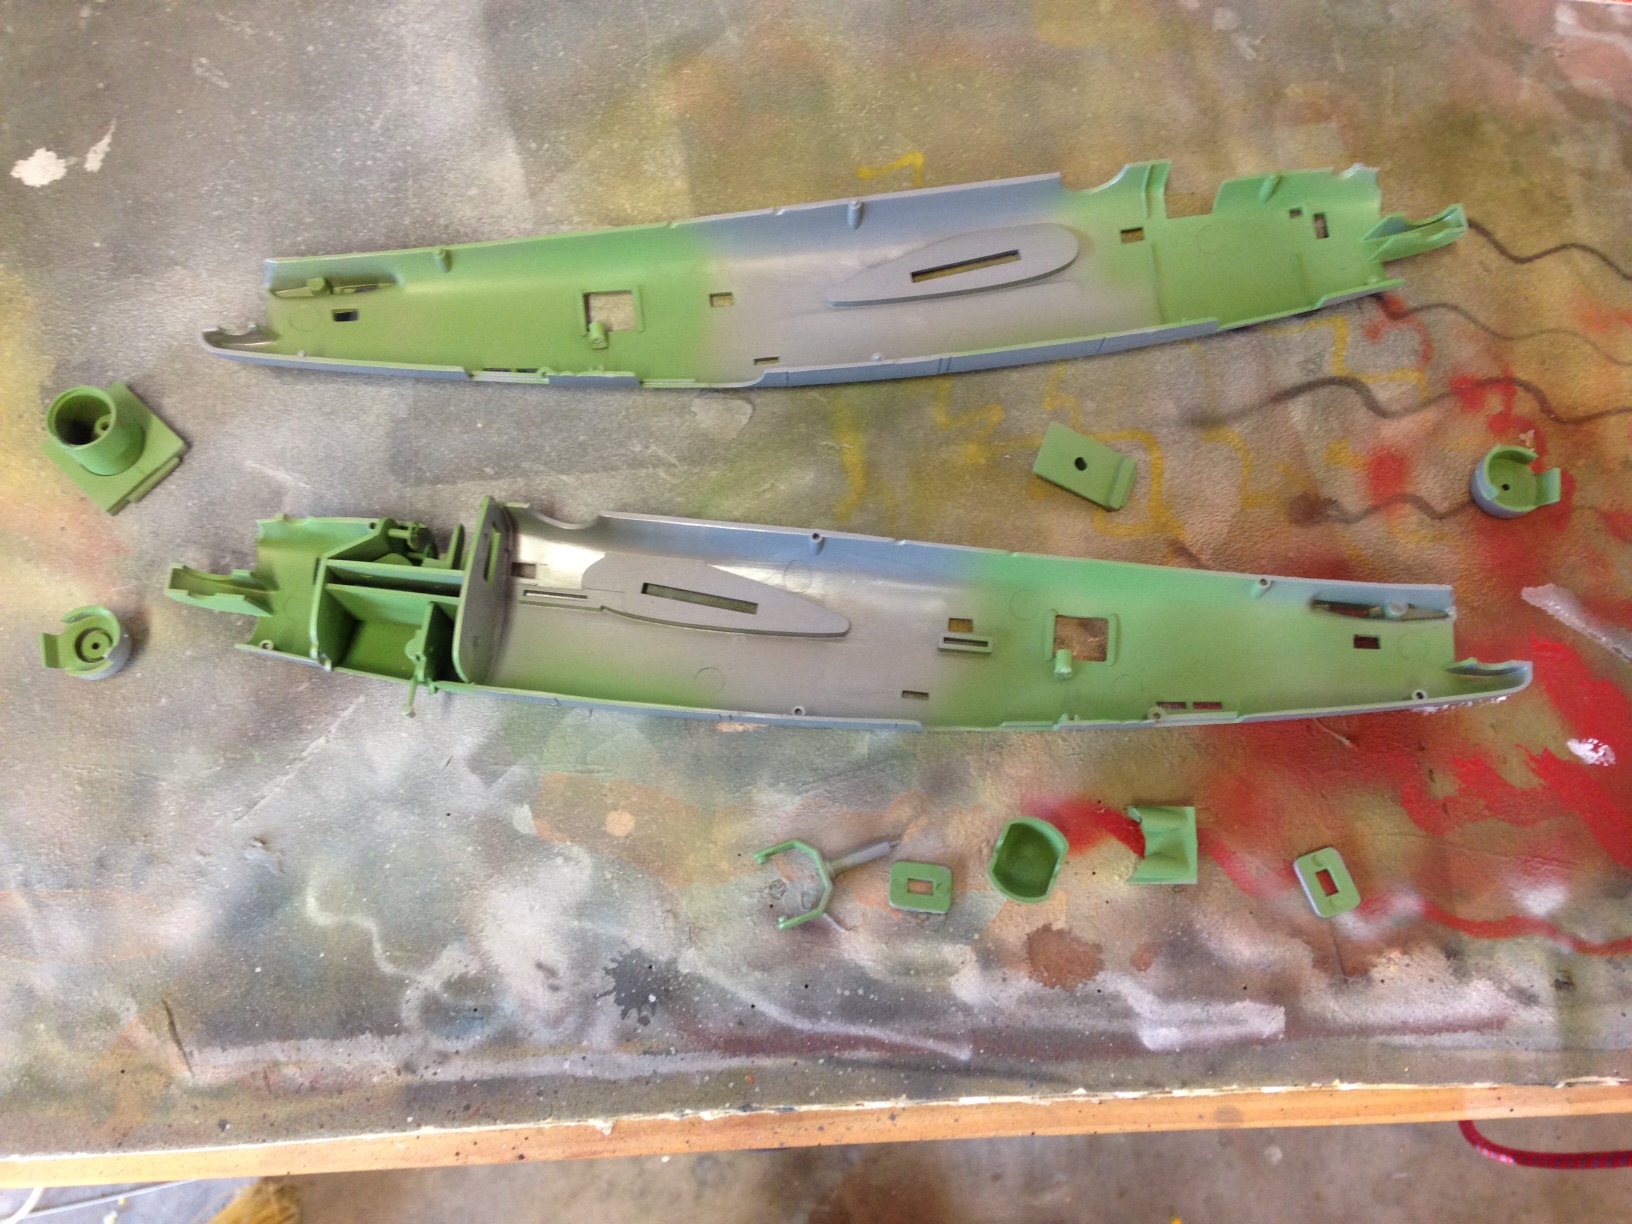
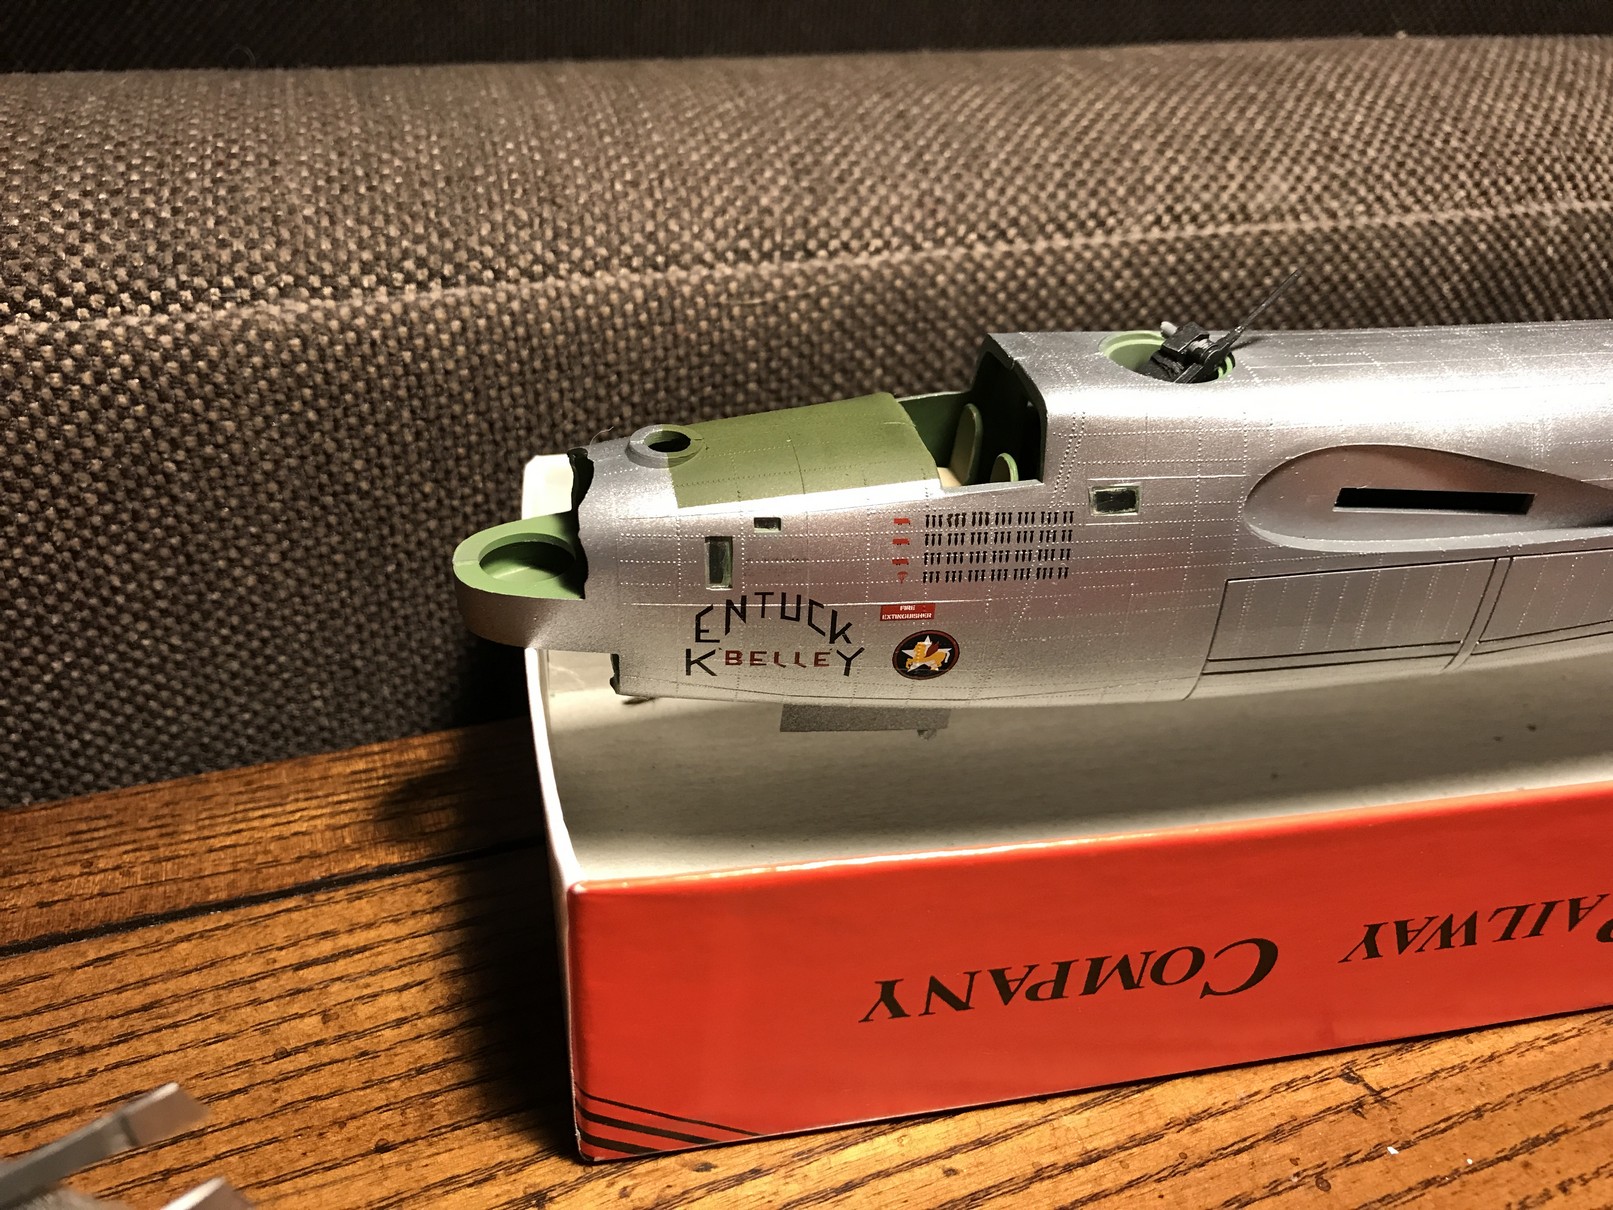
I then painted all of the interior parts a chromate green color, which seemed appropriate.
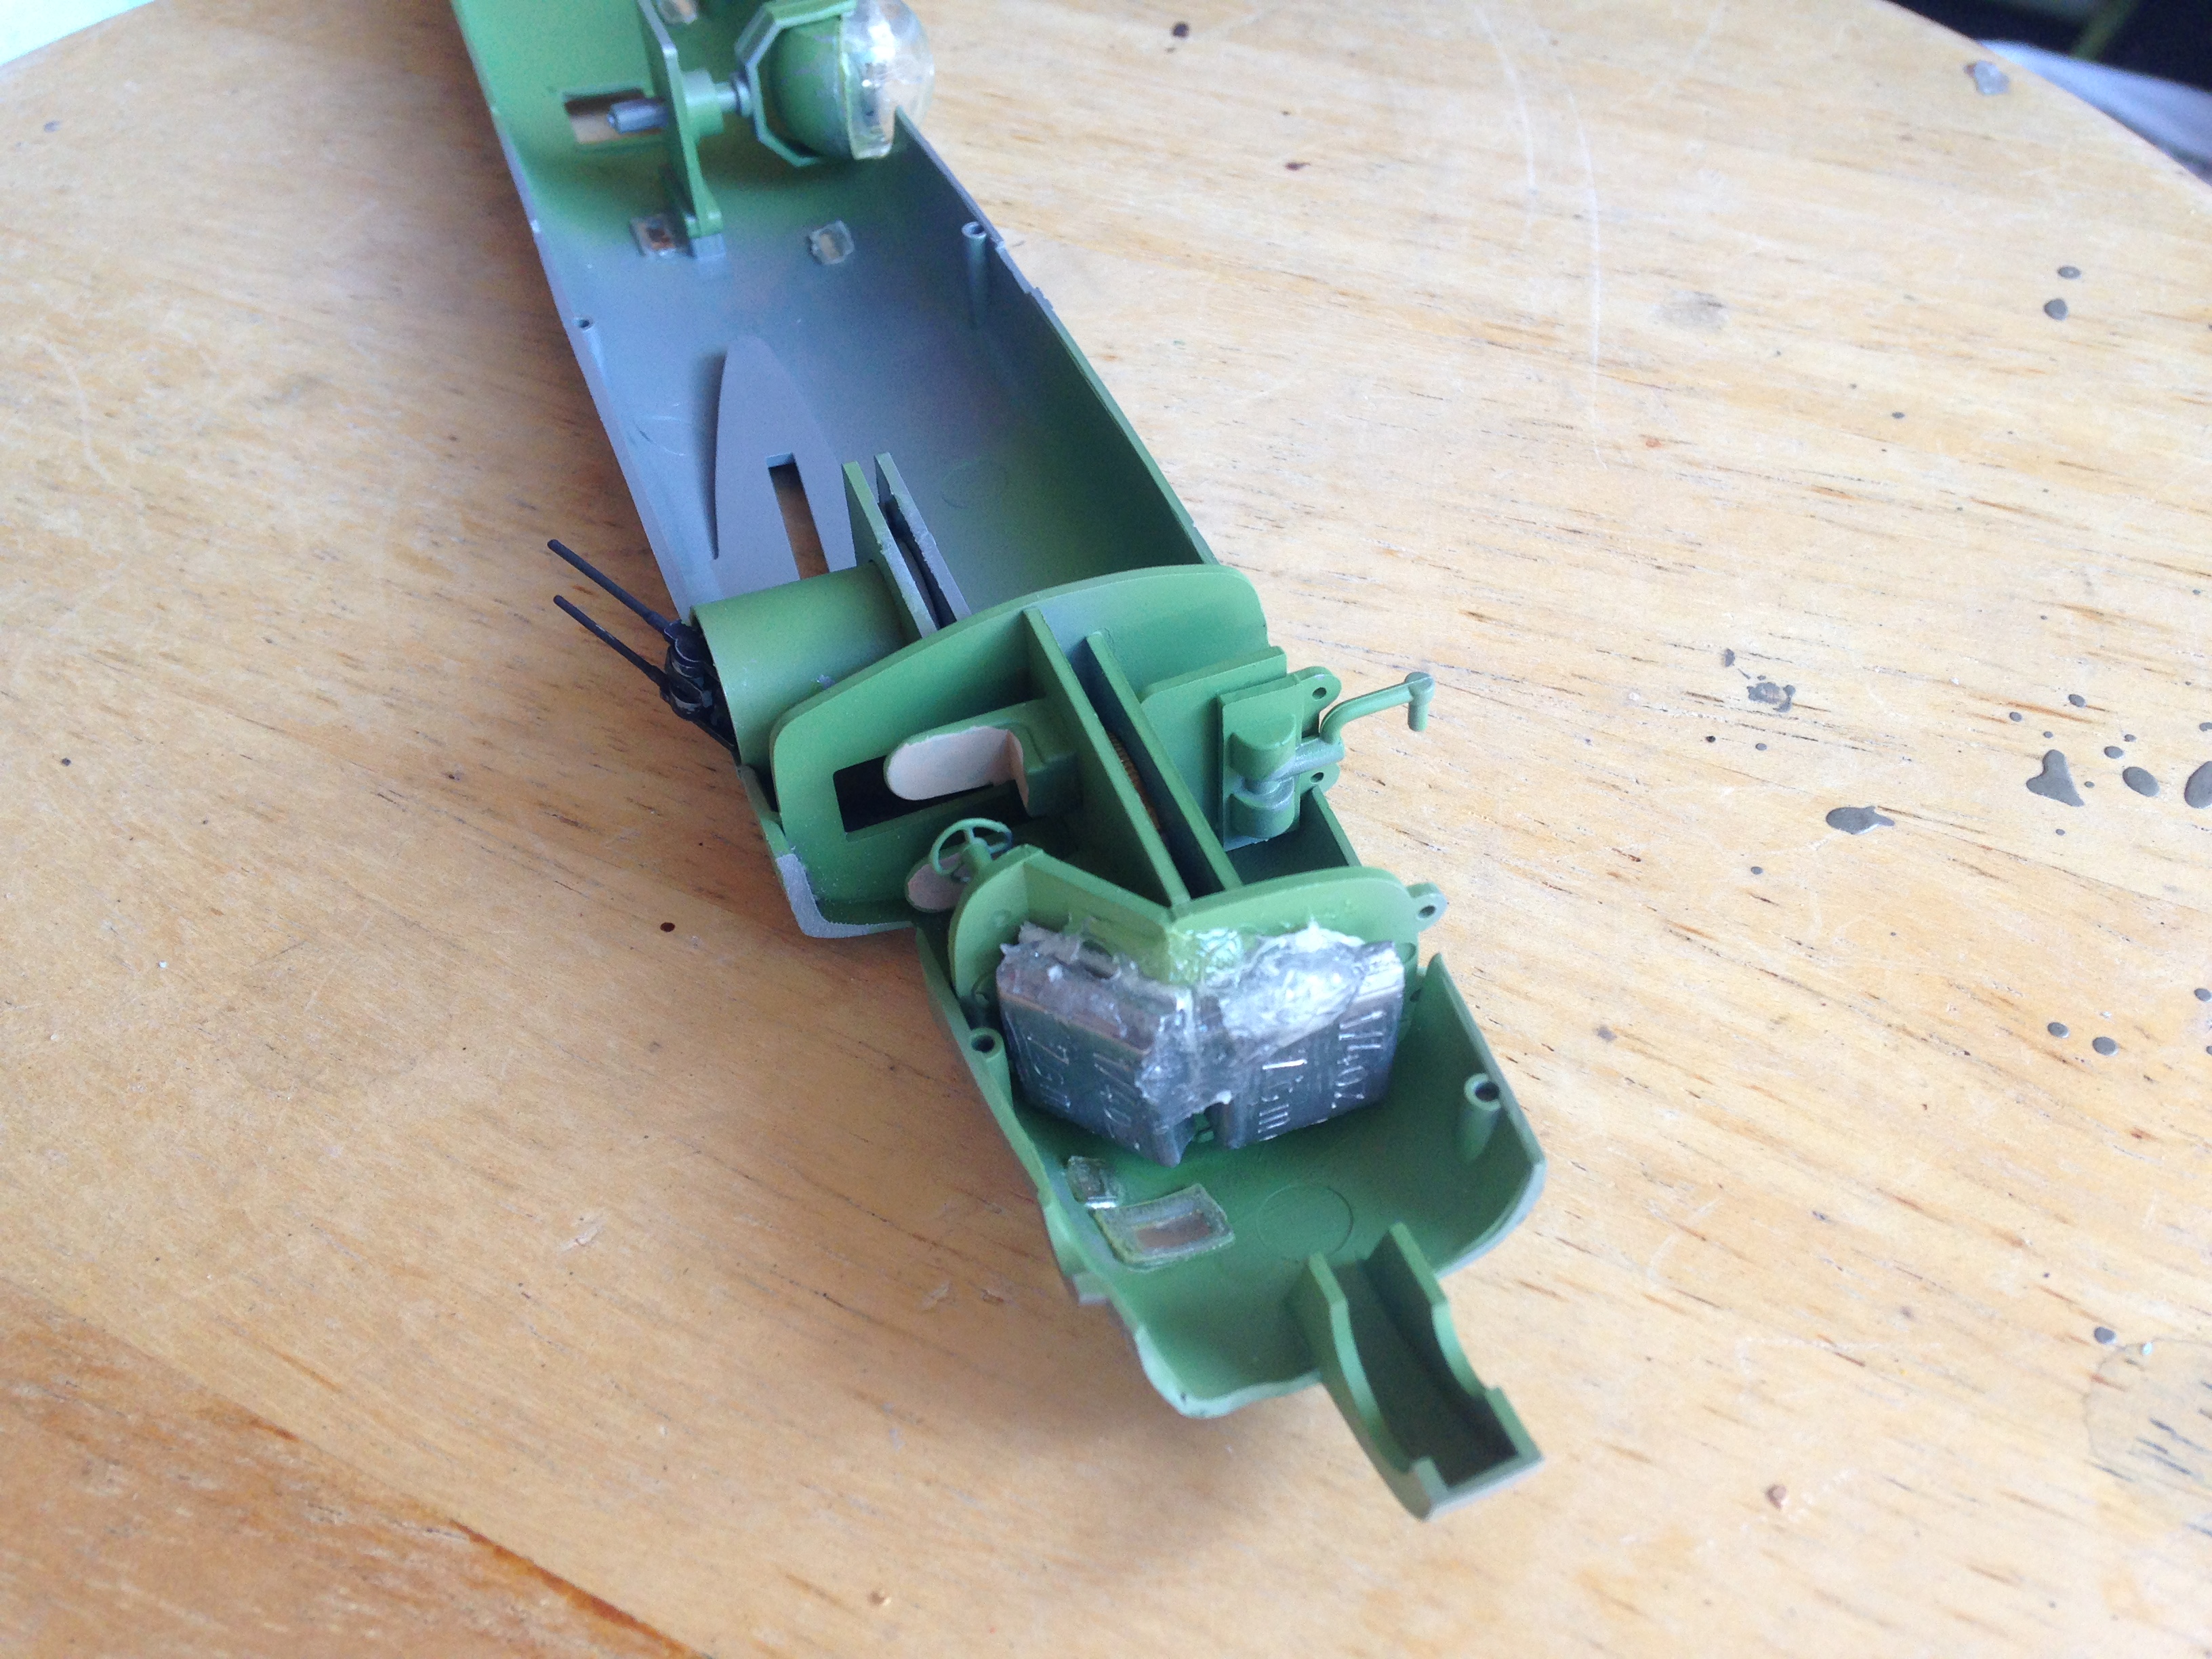 I debated whether to go through the hassle of masking every single window (and there are a few) plus plugging the openings in order to paint. In the end, I decided it was worth it to approach this in a conventional manner. I did remember (as I sometimes don't) to add some weight to the nose- trying to avoid tail-sitting. A couple of railroad weights were added to the nose area, and some pennies cemented in the bomb bay. With that, the fuselage was ready for closing.
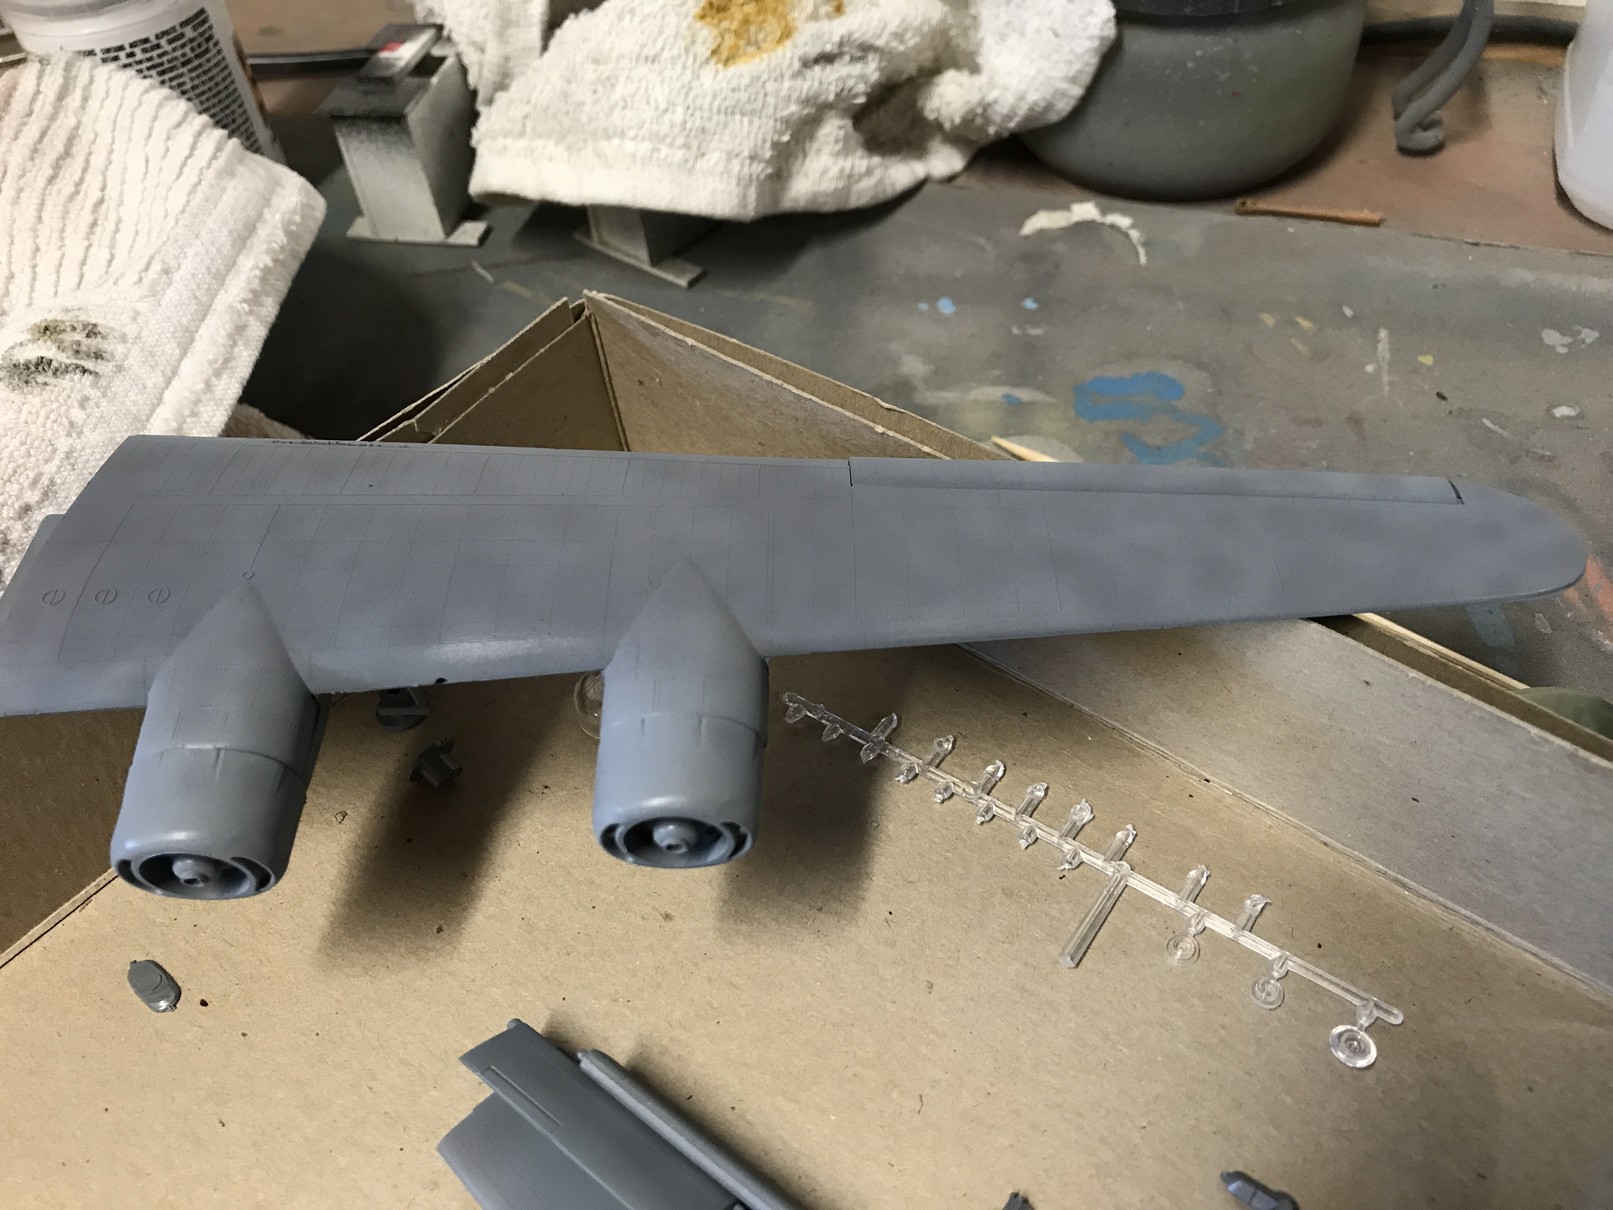
The closure went relatively smoothly- a small ridge on the top was fairly easy to scrape away with a razor blade, and a couple of other steps were sanded down. It was then given a primer of gray, which highlighted some seams I filled with putty and then sanded.
| Paint and Markings |
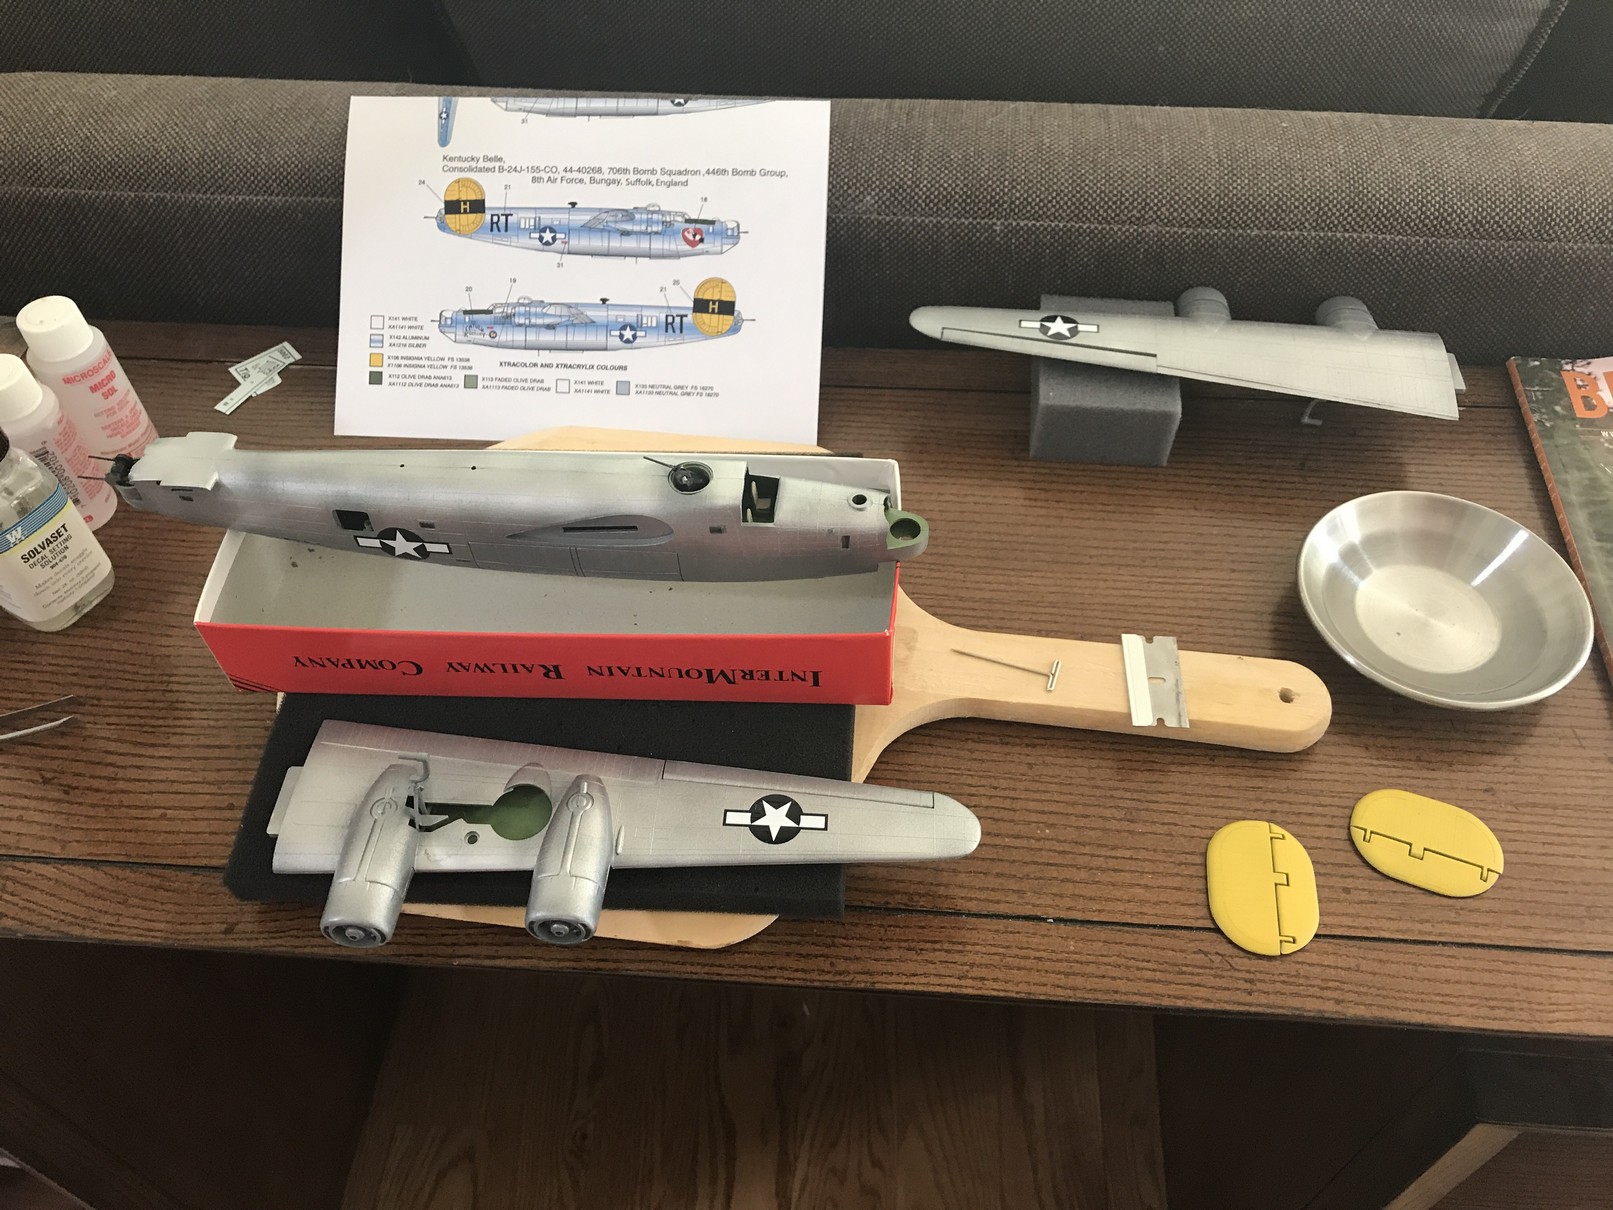
So many great options to choose from! One thing that the B-24 has going for it is a huge variety of possible paint schemes. Was very hard to choose, but I invested in some decals to give me some flexibility. The kit decals had not survived the many years of storage.
|
|
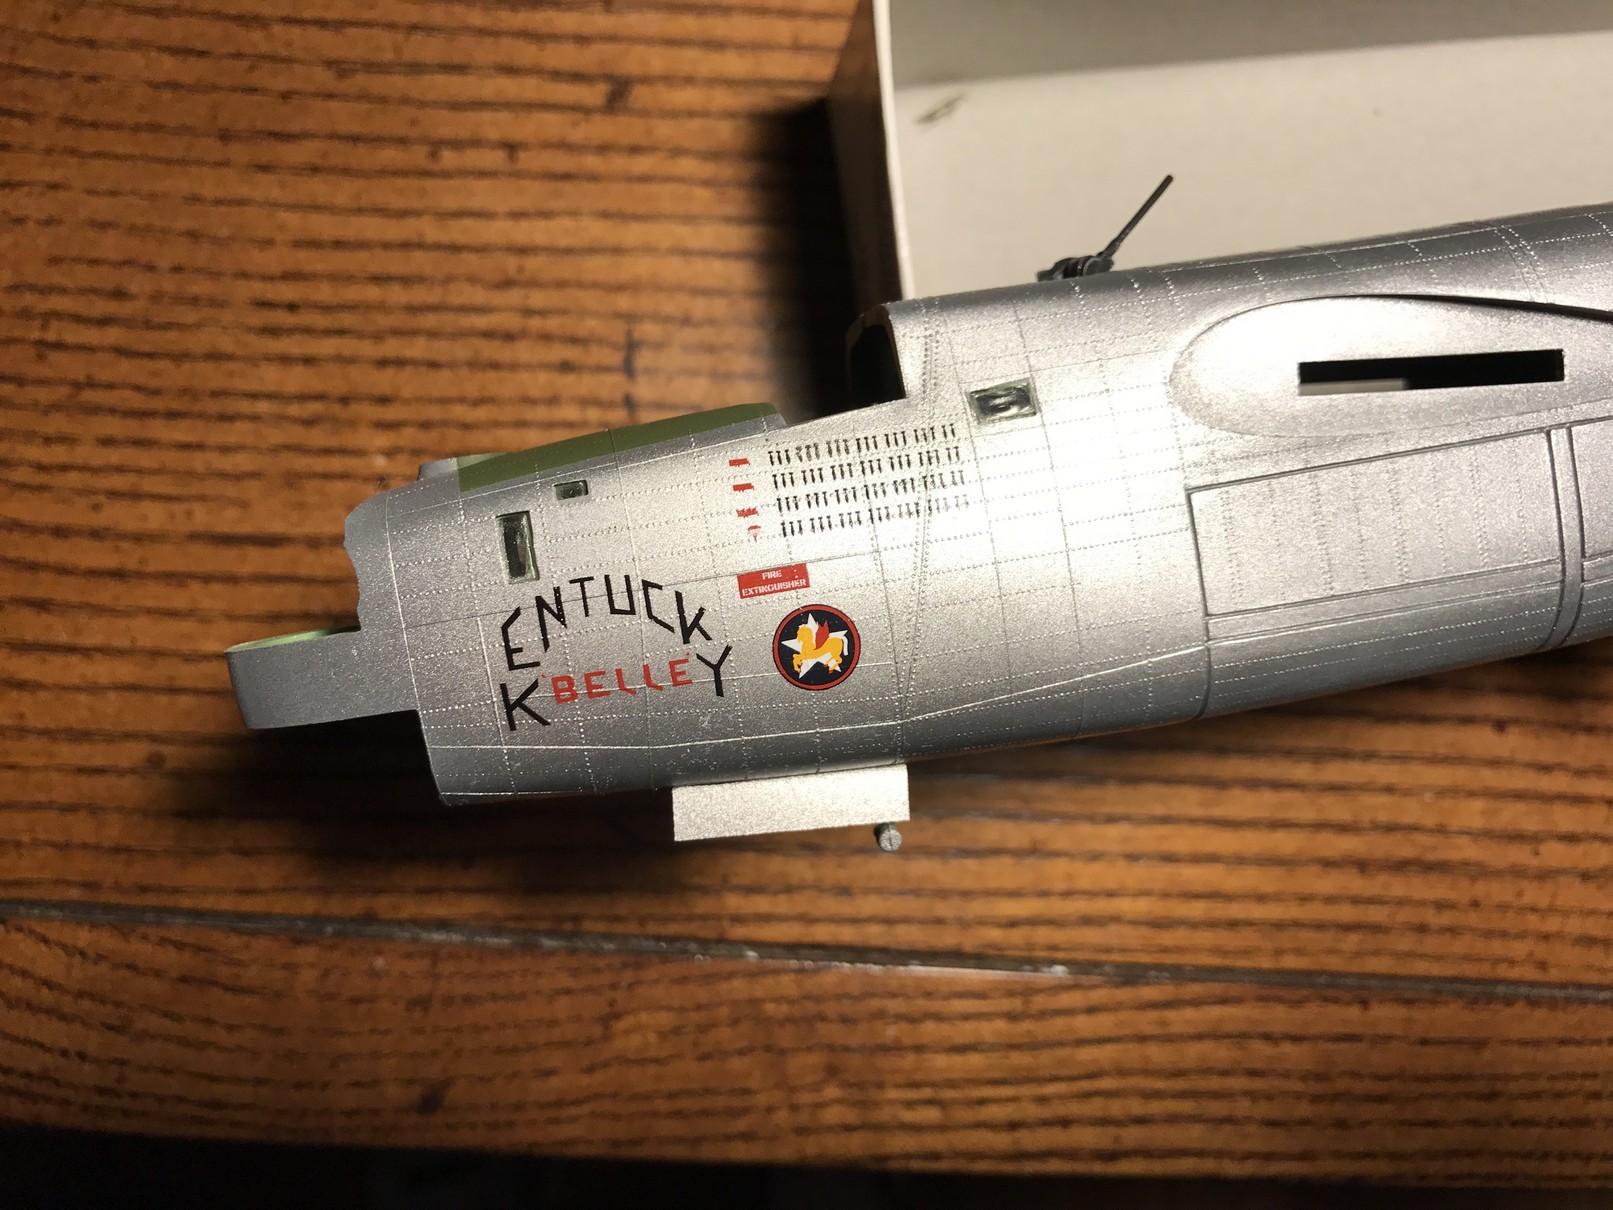
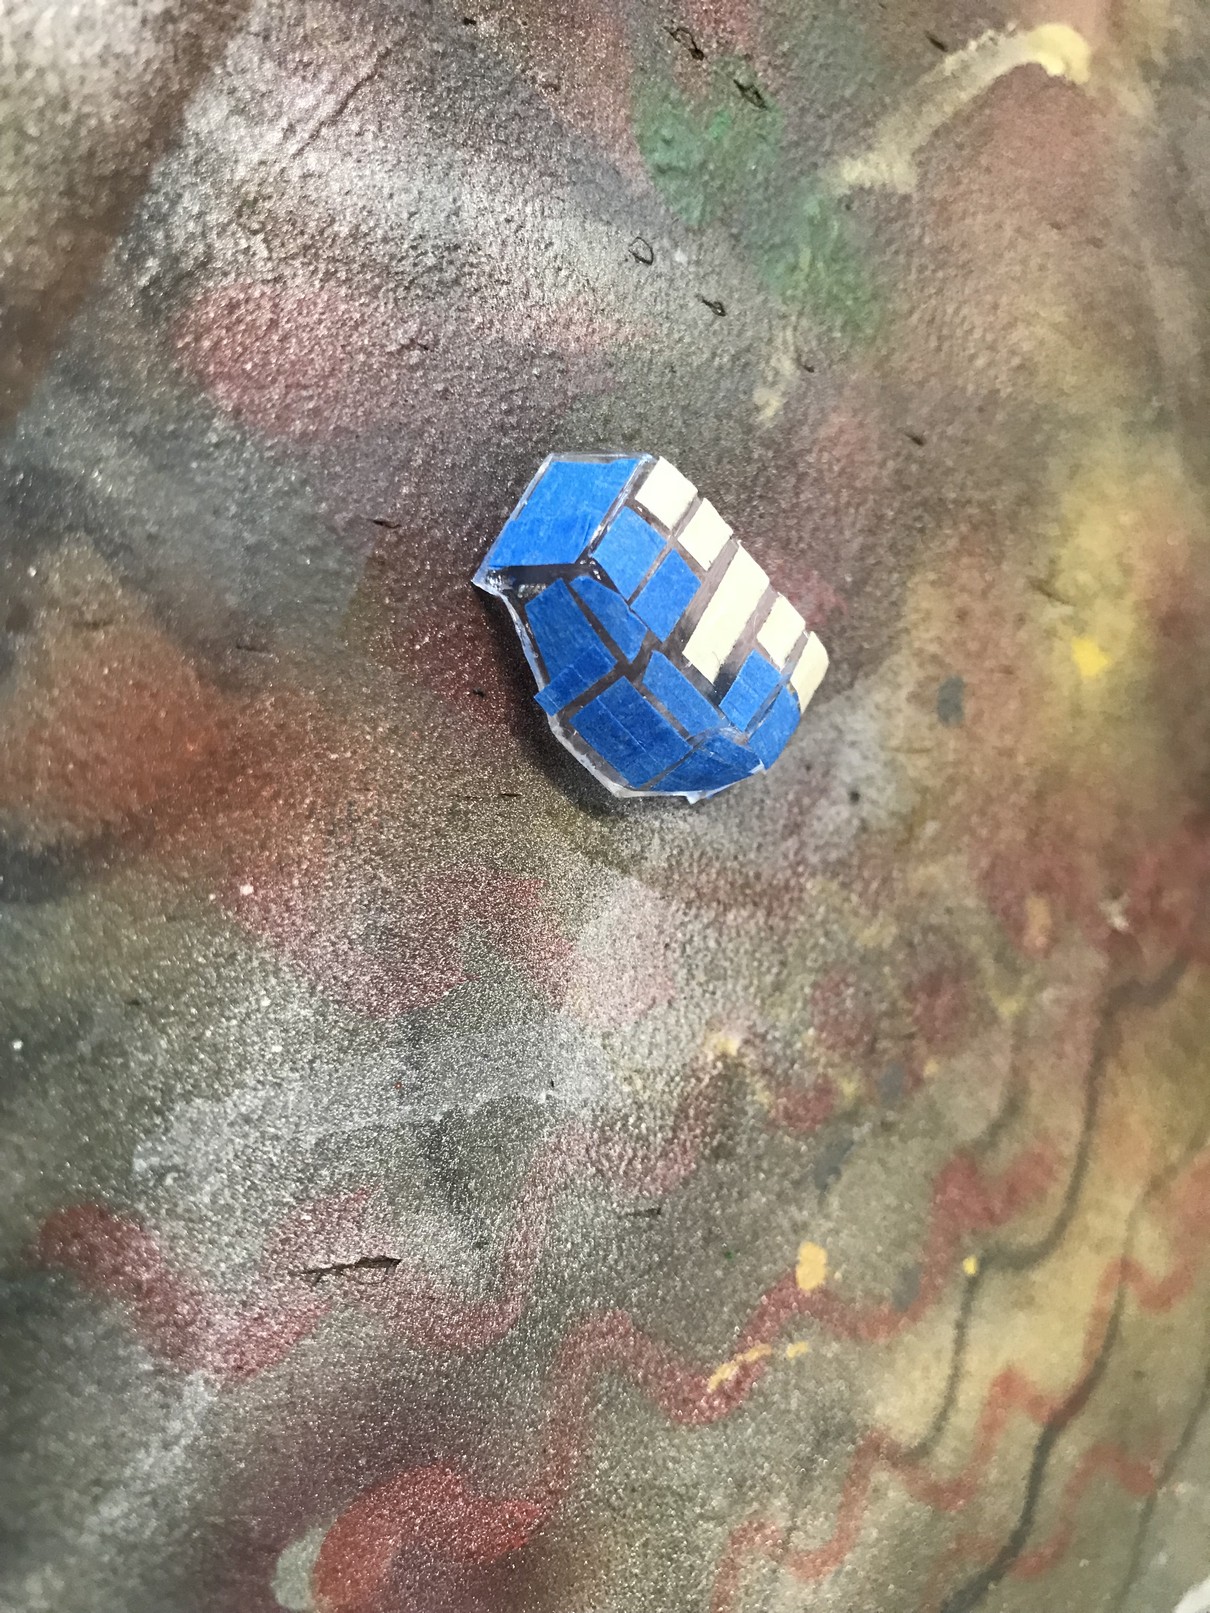
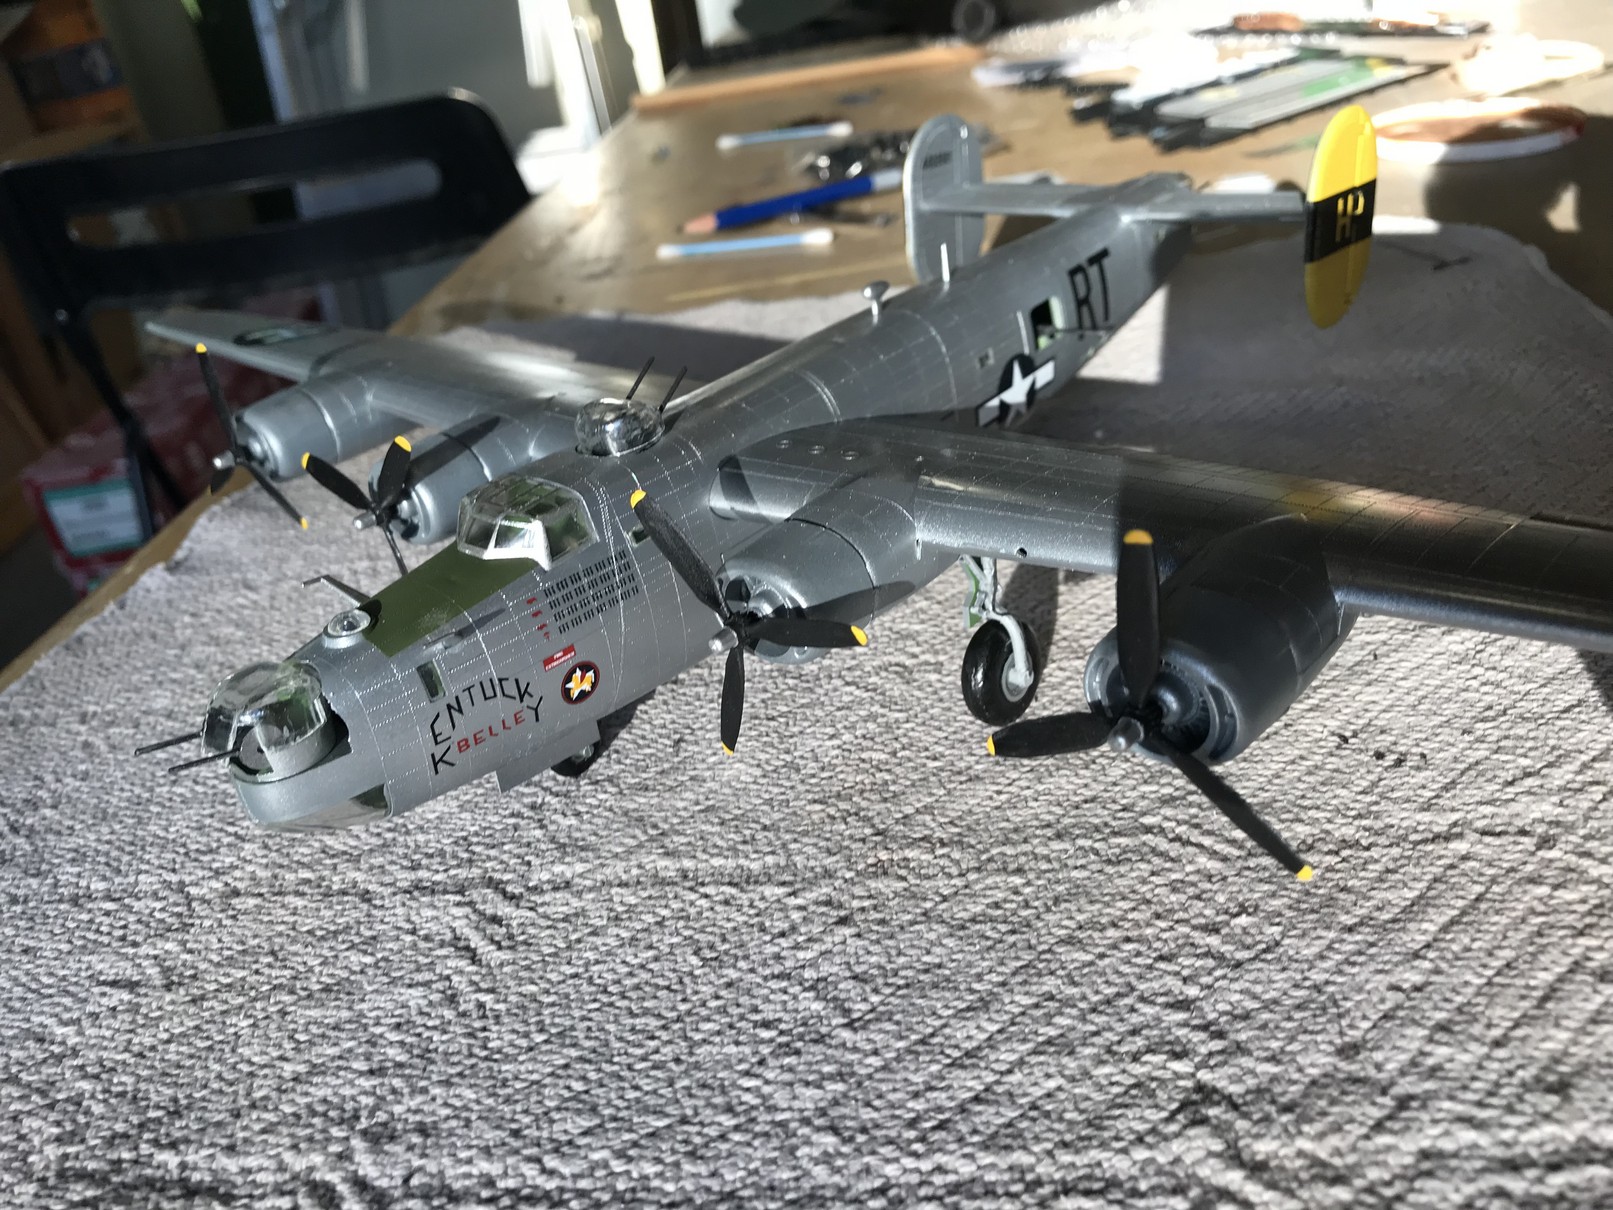
I decided to use this aircraft as a way to test a new technique. Rather than pre-shading the seams, I simply went over the model with patches of dark gray. The idea is to have some variation show through the top coat of silvery aluminum. I had recently read about this technique, and the rationale made sense to me: mottling an undercoat, along with thin overlayers, to achieve panel shading. Hadn't ever really connected my painting of miniature figures with aircraft- one of those slap forehead moments for sure! Yes, those are both on my site. Yes, I like both. No, I hadn't brought over that technique to aircraft (though I had with armor). Sometimes the obvious just isn't obvious.
 |
 |
 |
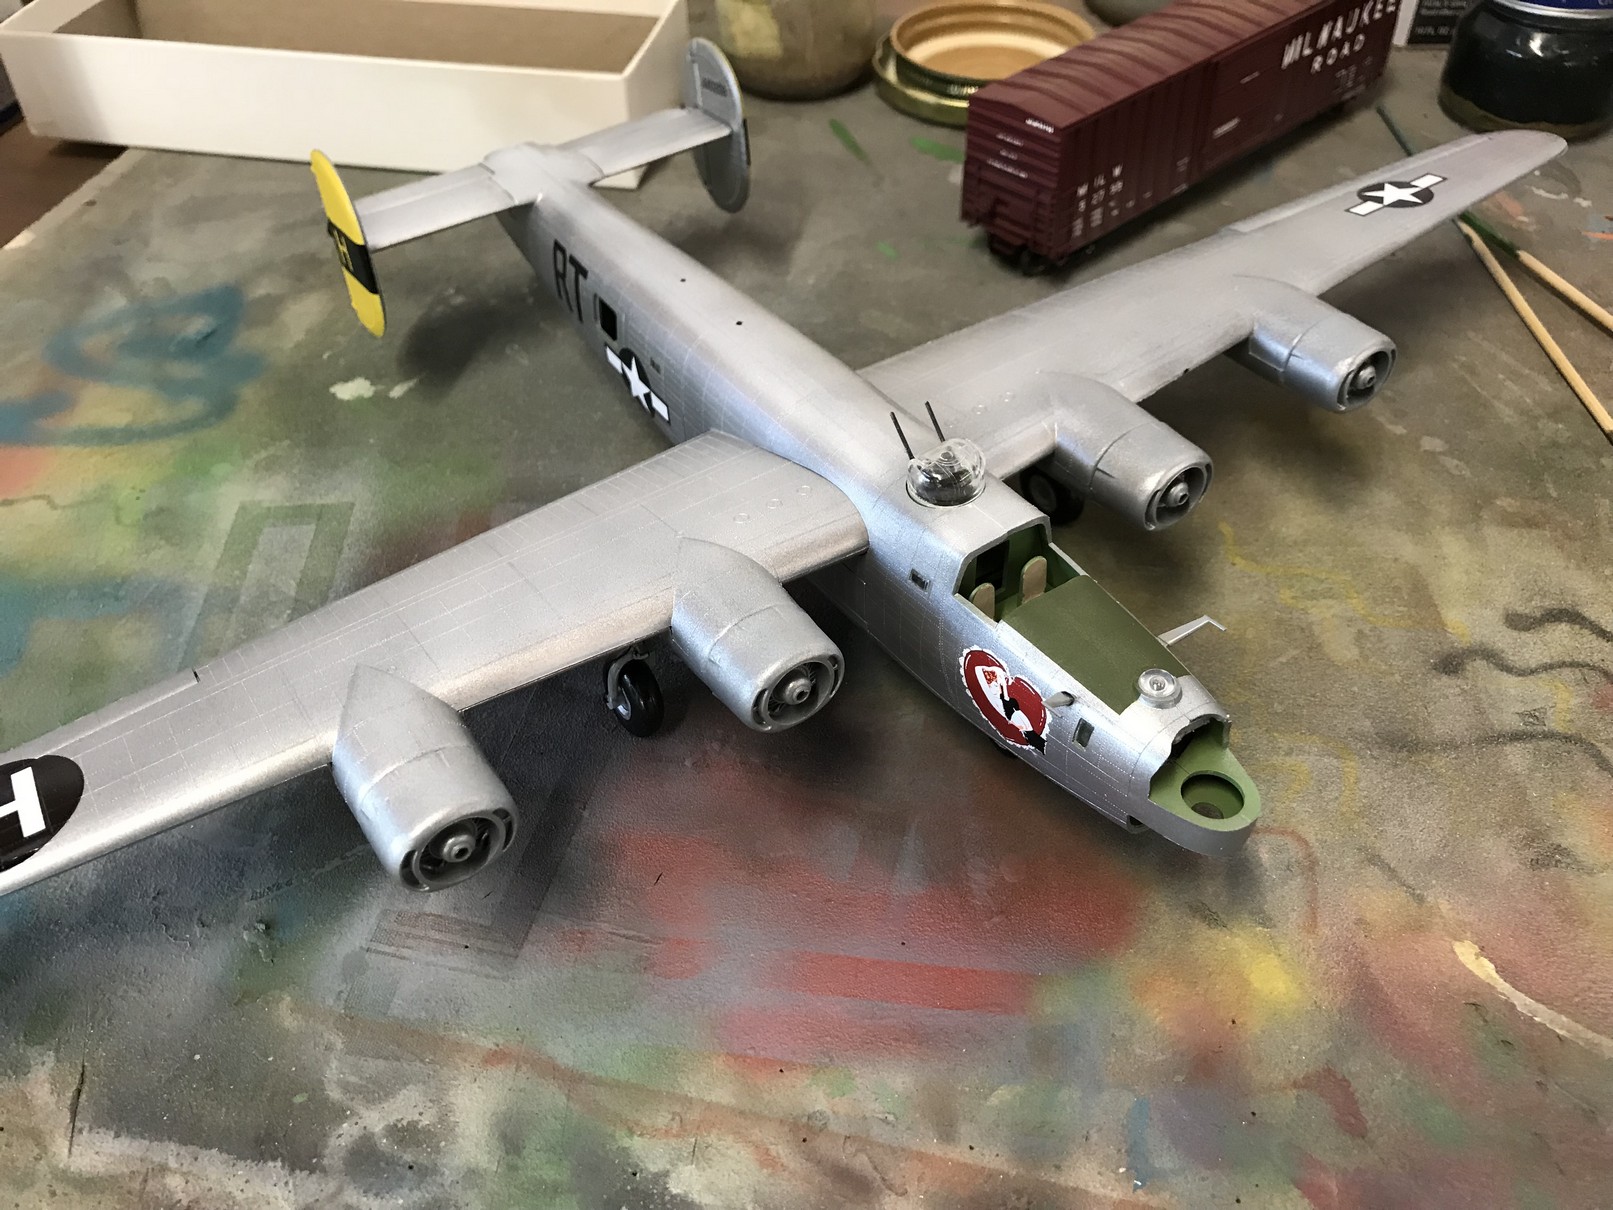
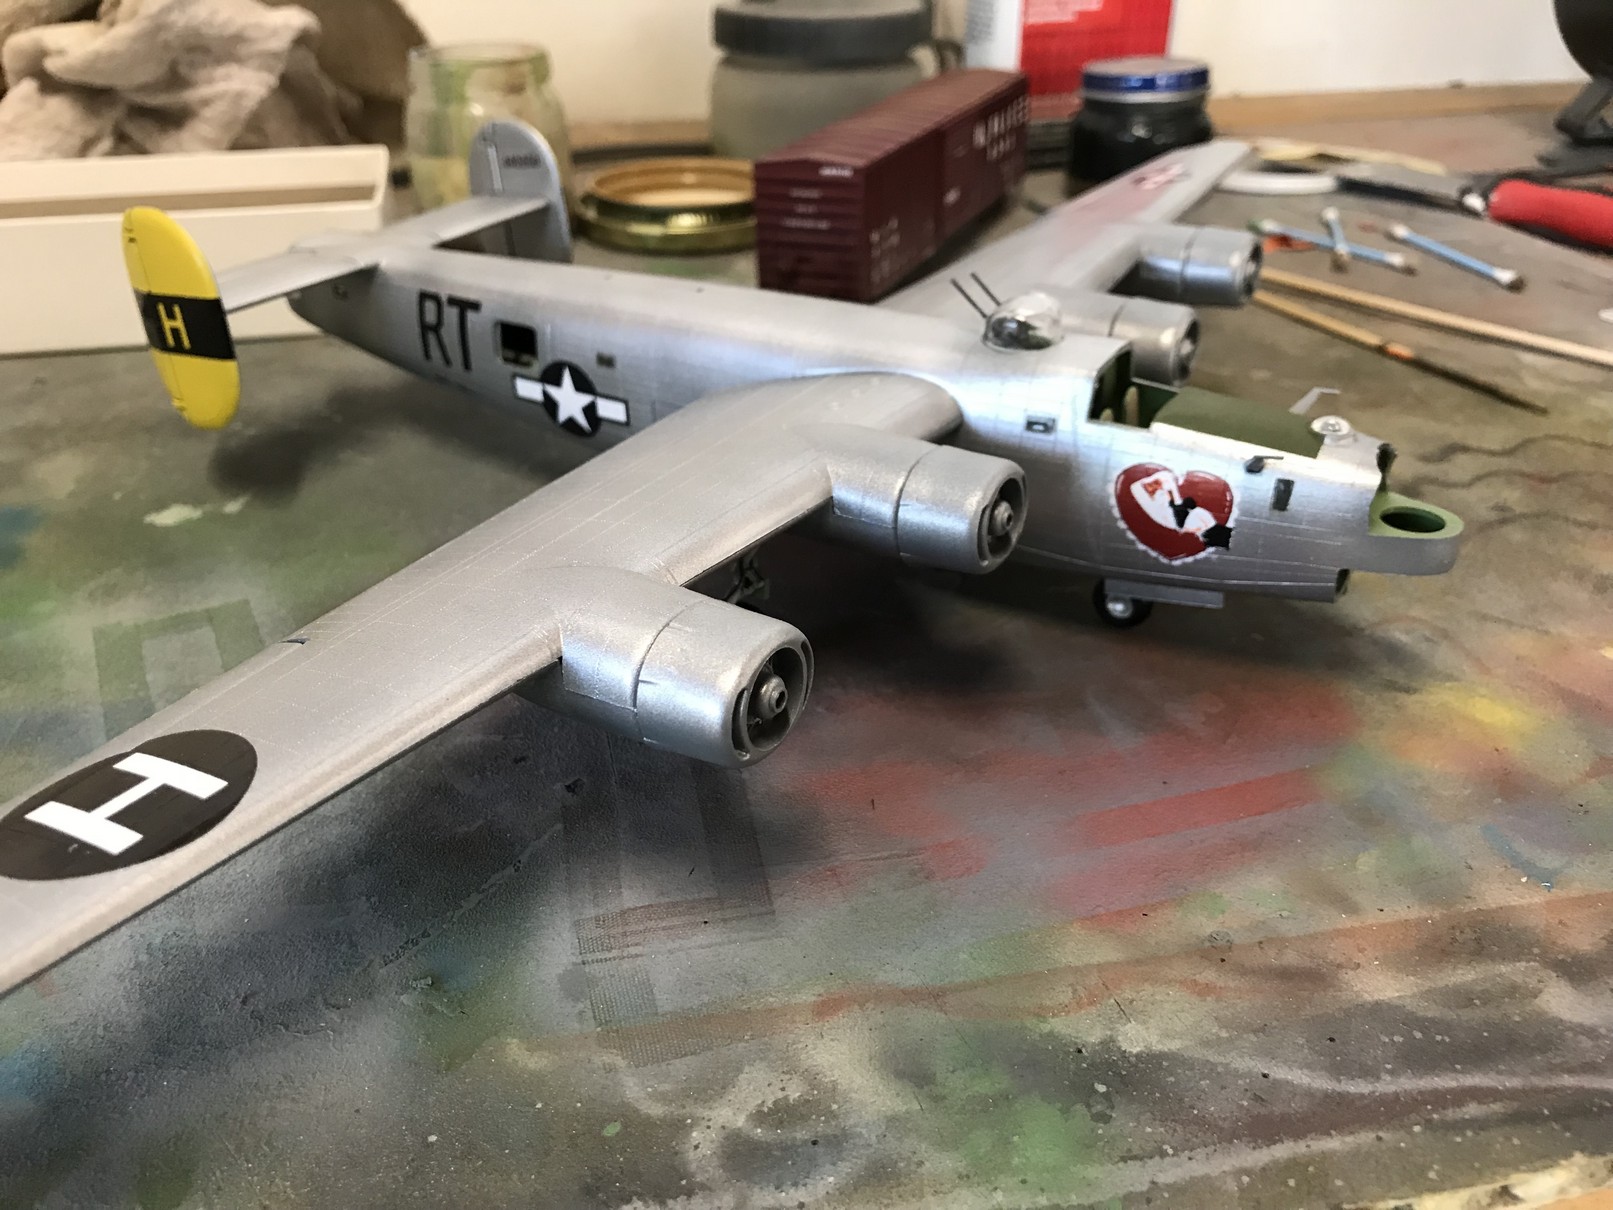
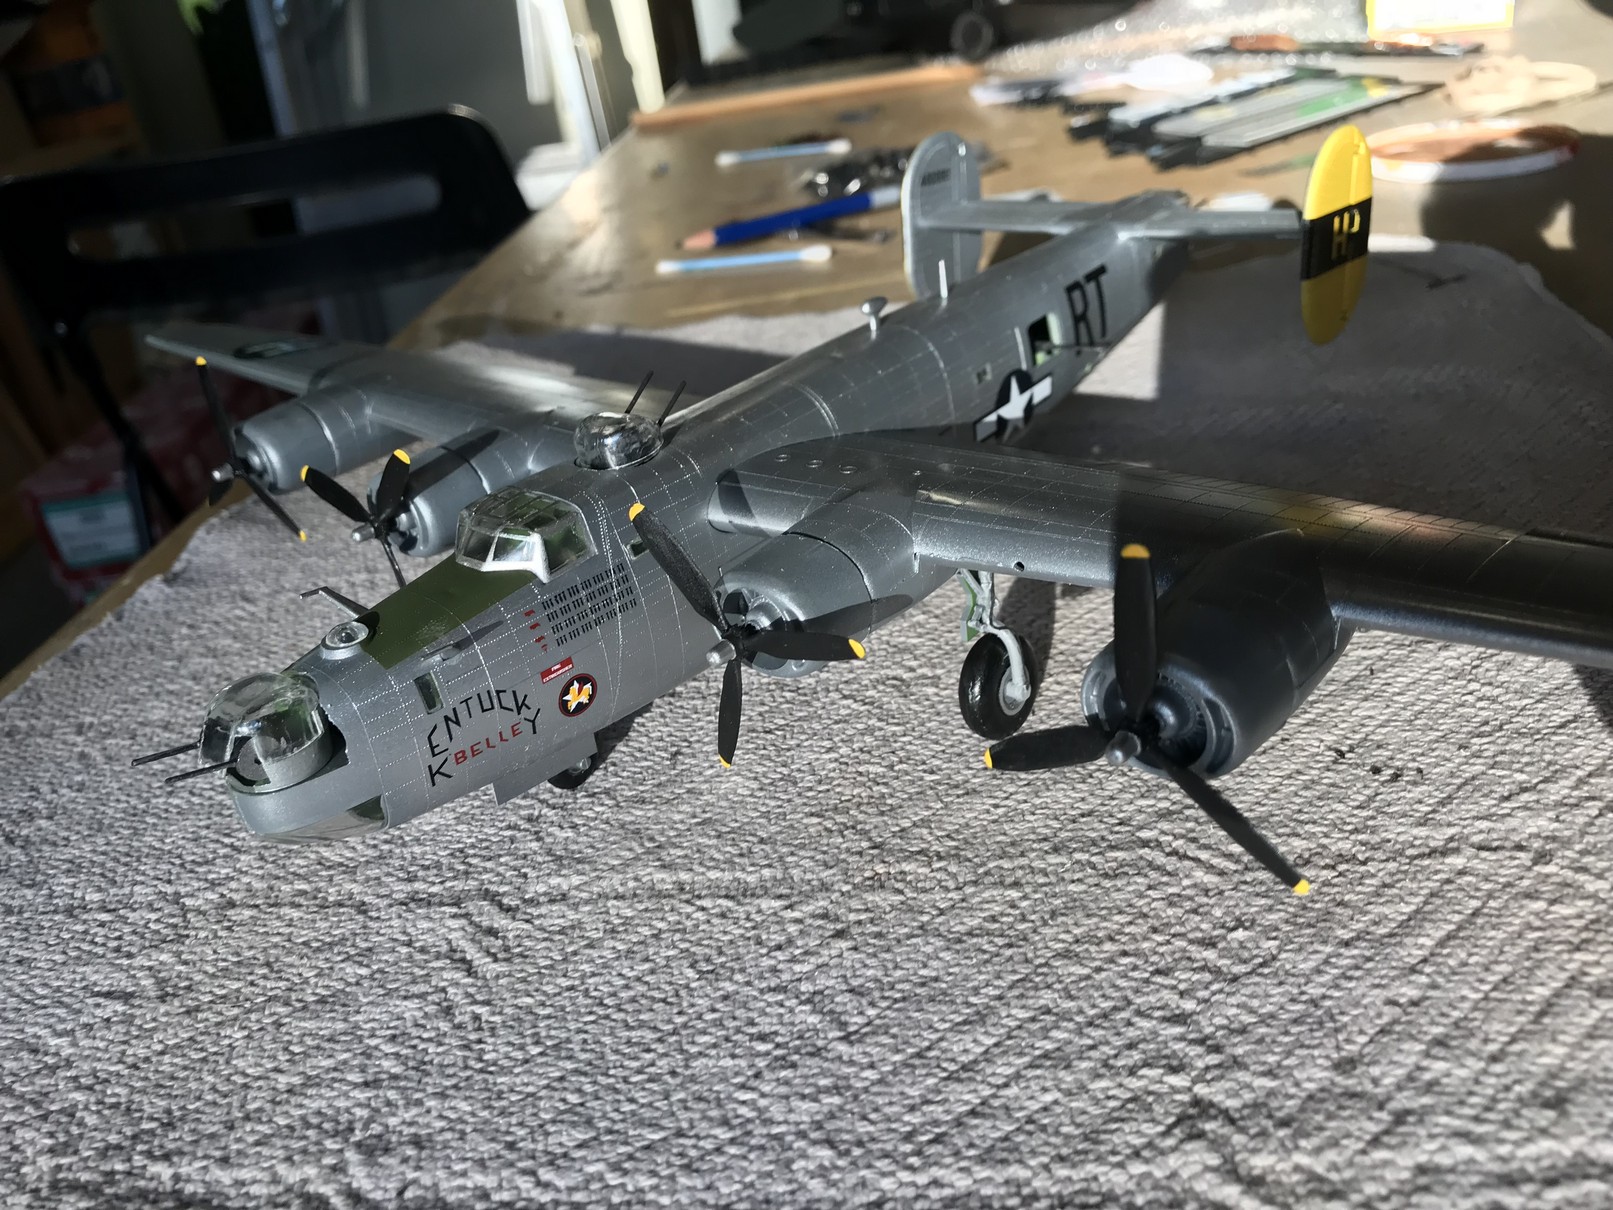
After the dark gray patches, it was time for the aluminum finish. I shot very thinned paint from an angle to maintain shading in crevasses (there aren't many, but you work with what you have), and then changed the angle in certain areas to try for some variation.
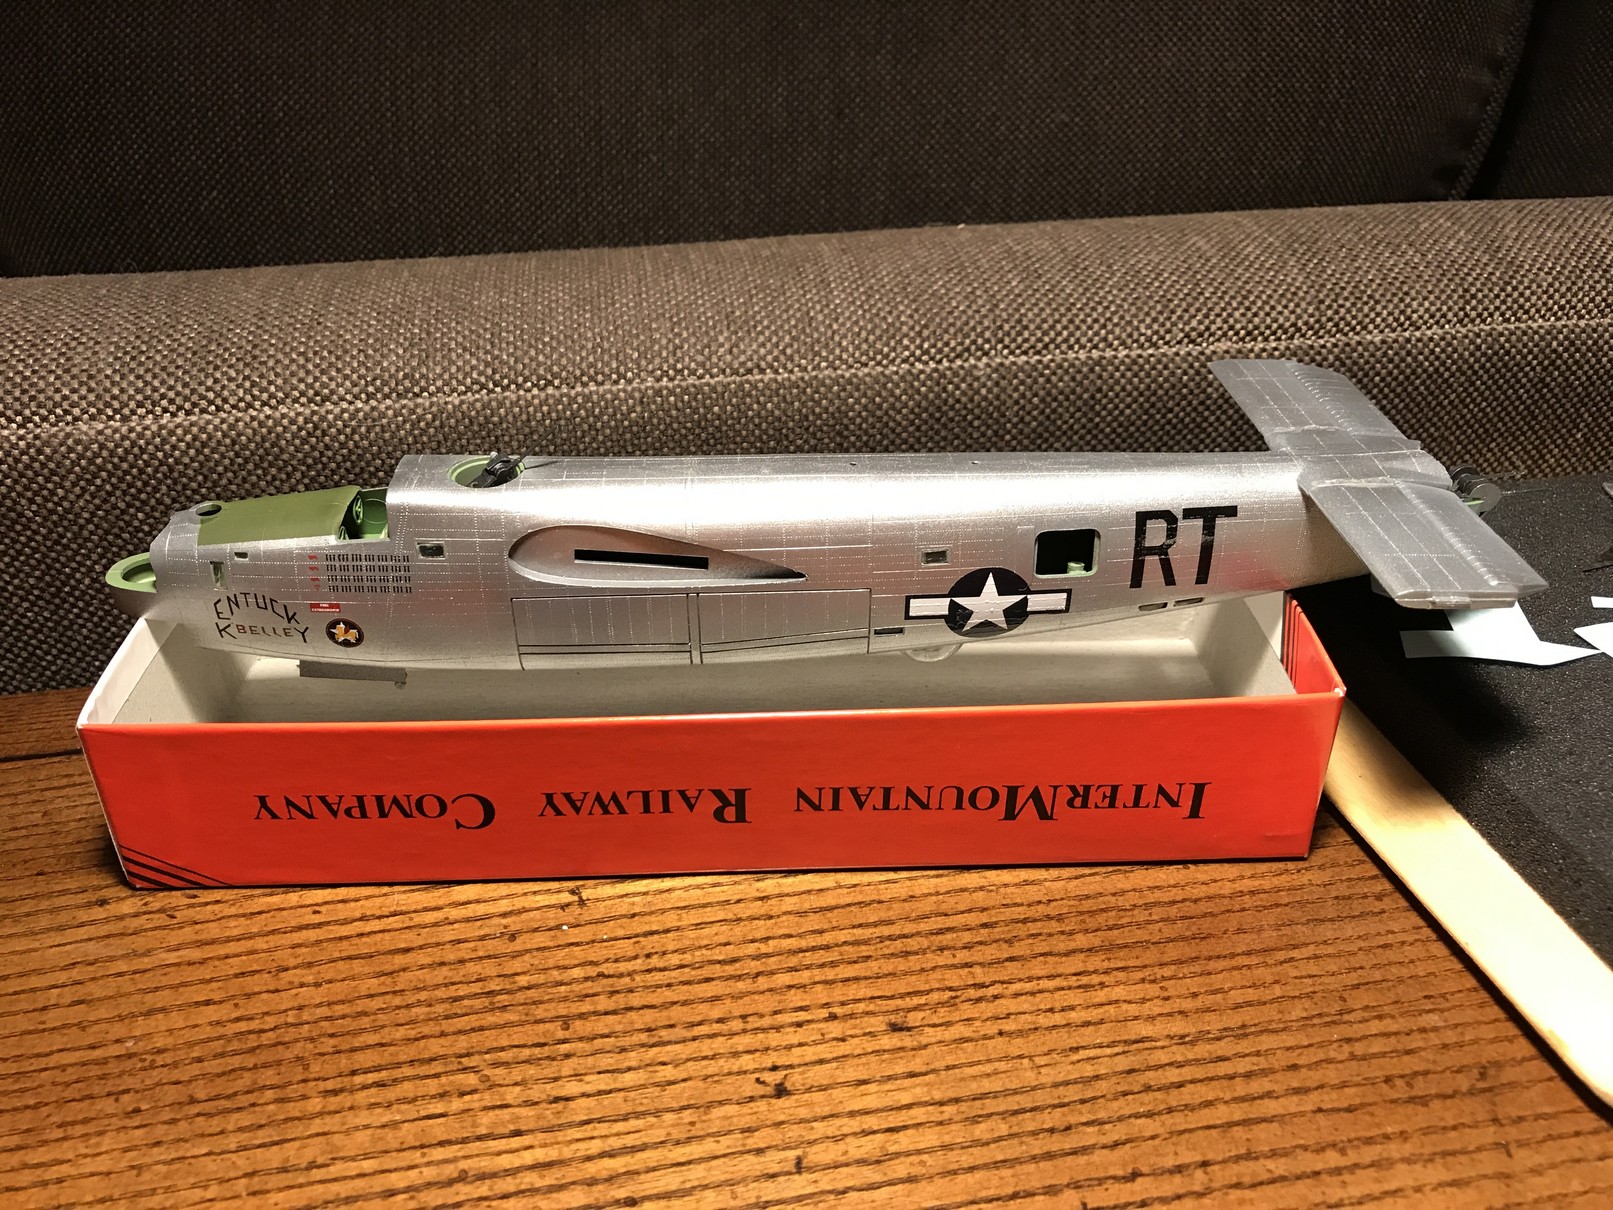
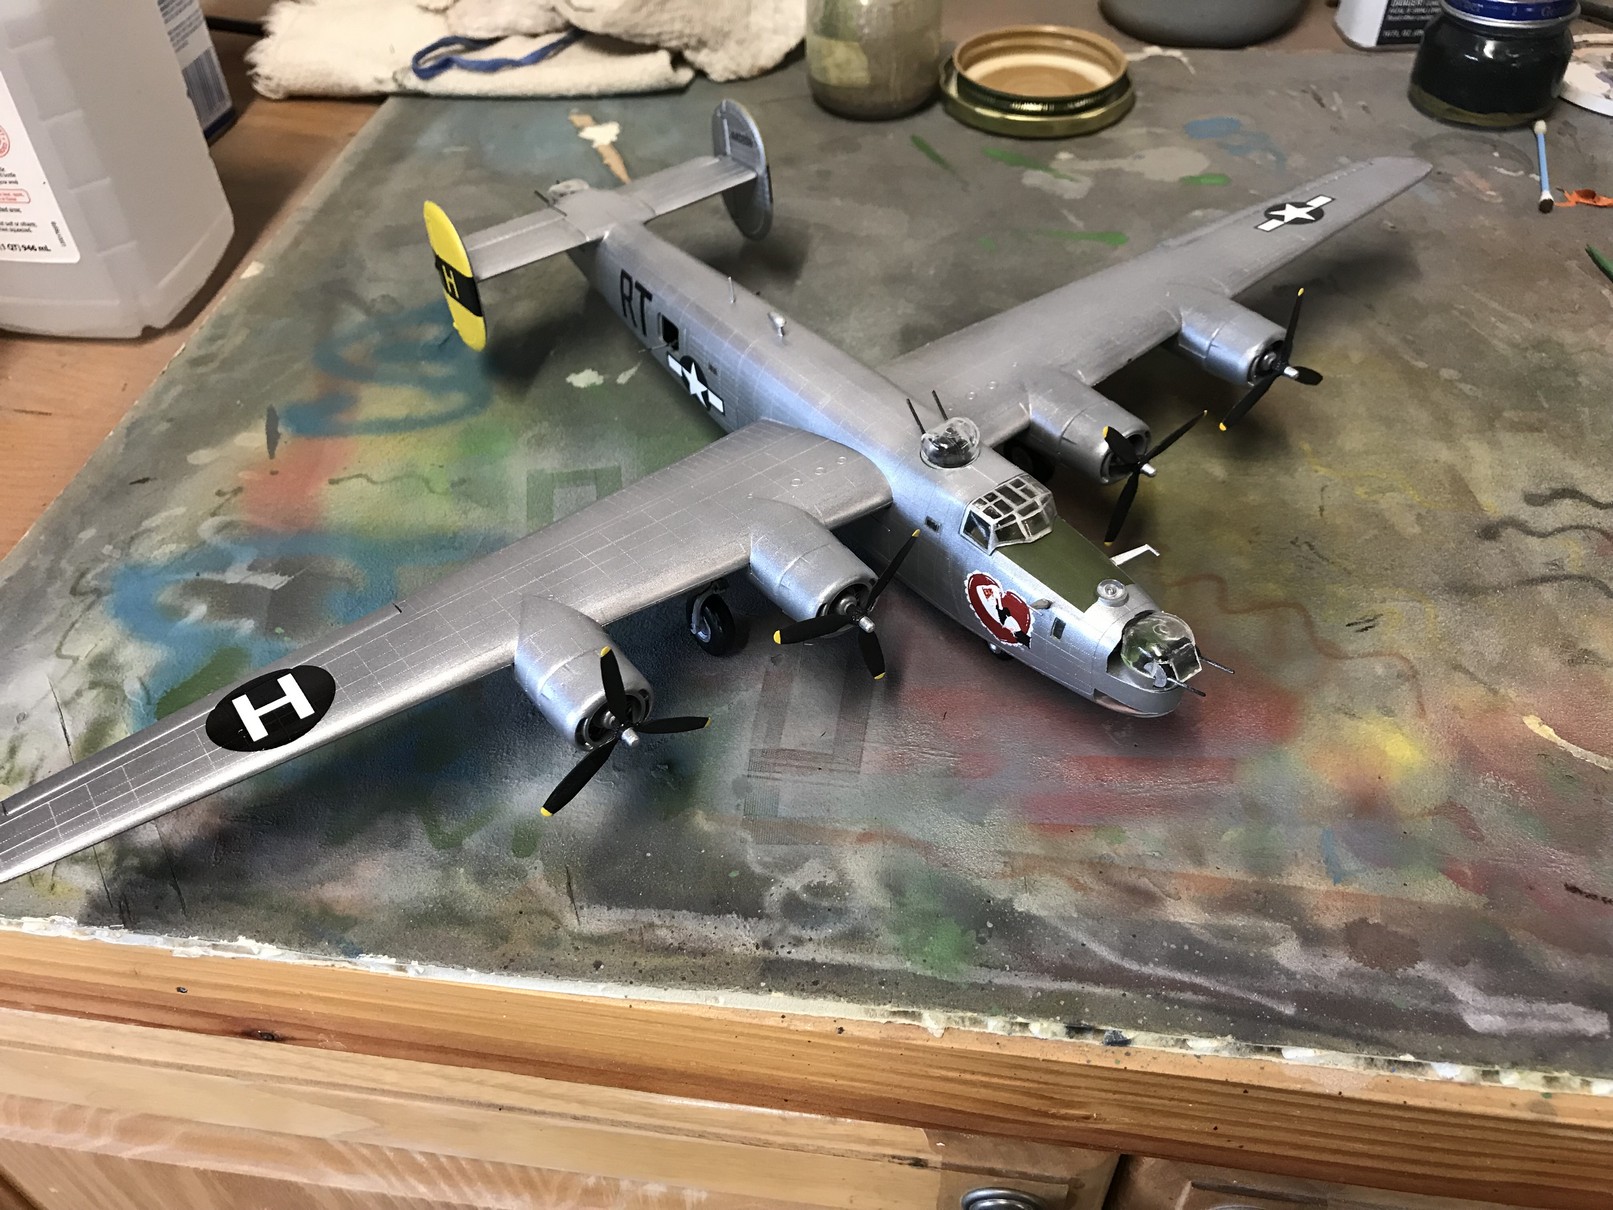
After the base aluminum was applied, the decals come next (well, after an airbrush of Future). These went on well overall, though the gap in the rudders is pretty sizeable across which the "H" has to span. A razor blade and some Solvaset helped there, and a little black paint in the gaps was needed. I also paused to mask off and paint the anti-glare green on the nose before adding the decals to that part of the aircraft- didn't want to tape over the decals, even after a covering coat of finish.
 |
 | |
 |
 |
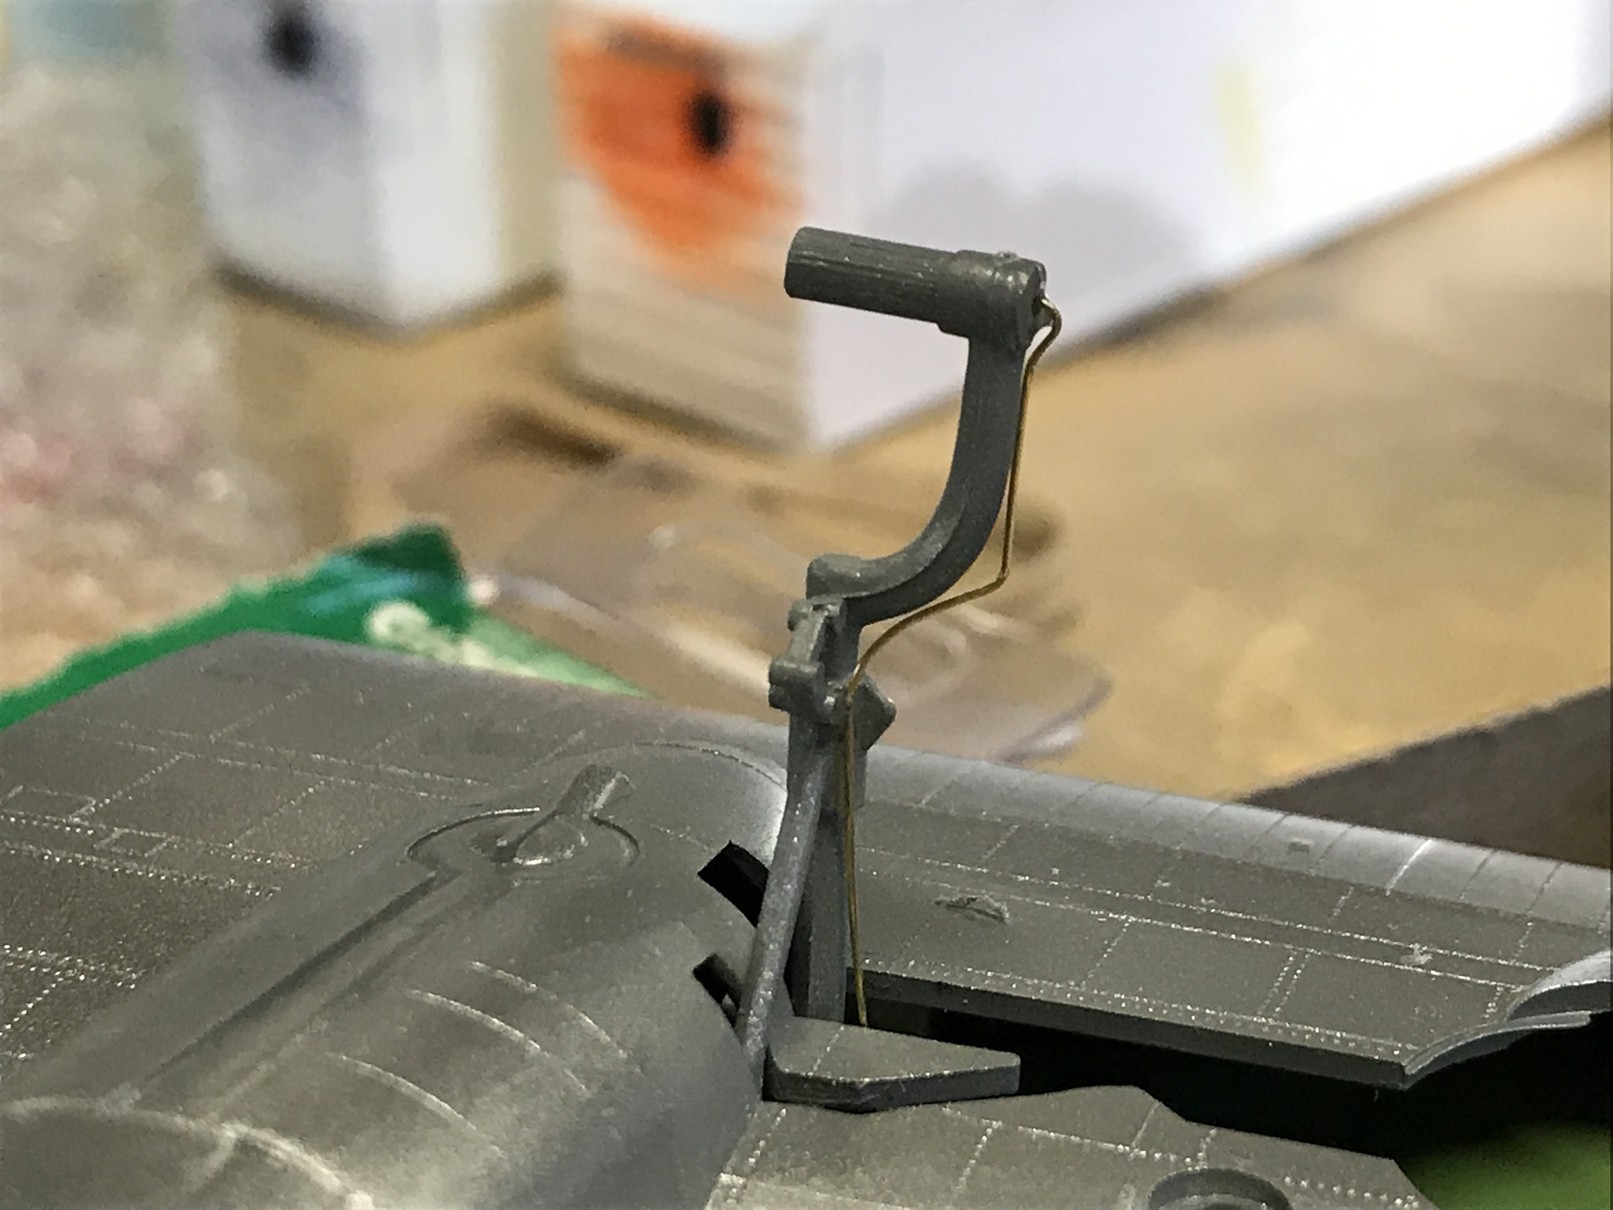
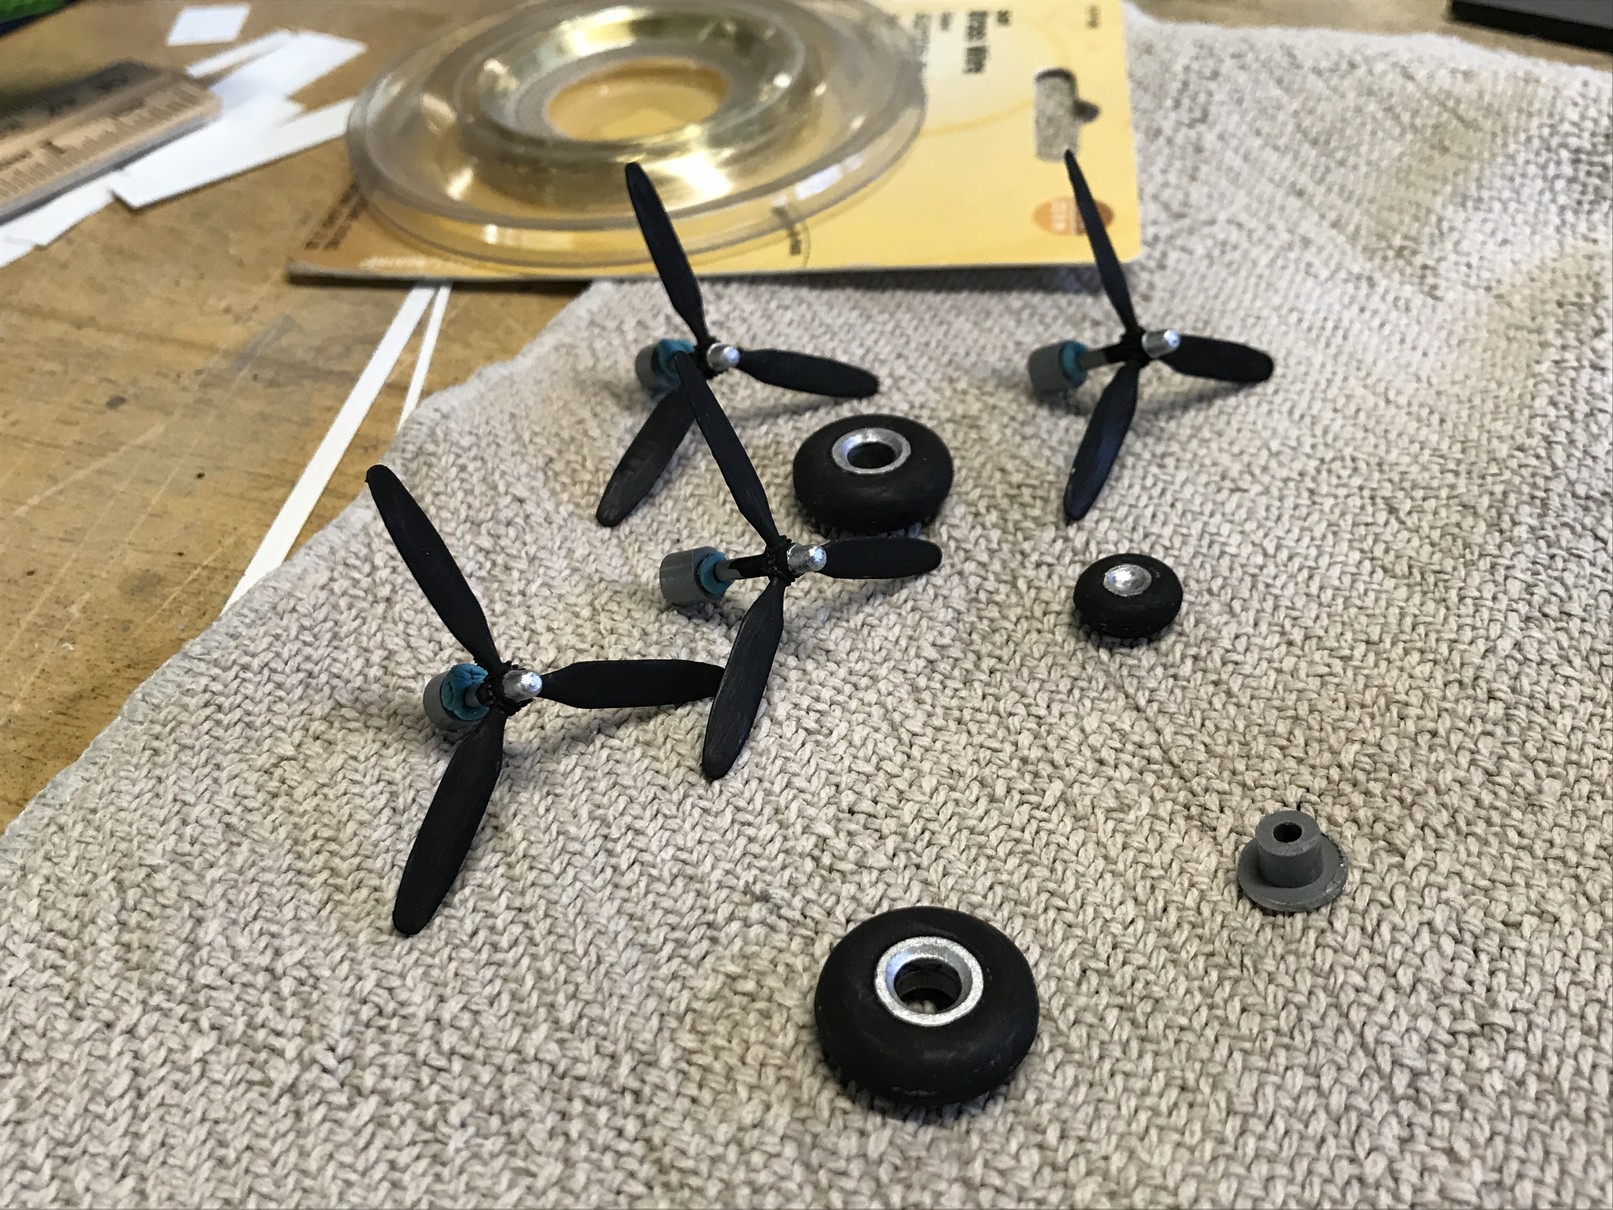
Fit in some work on the propellers- painting them separately. I spent a little time on the landing gear as well. Just added a small wire to the gear and bent it around to at least add something to the model. Not really close to what the prototype includes, but is better than nothing I think. I also sanded a flat spot down on the tires, and applied some paint too (basic paints- weathering will come next).
 |
 |
 |
| Final Assembly |
Now it's getting real! After the tires are on each of the wings and the nose wheel is attached, I'm ready to fit the wings, and hope the weight up front is enough to keep her steady.
Of course it wasn't, so back to the nose I went, this time with model railroad weights with double-sided tape to secure them (that, and a healthy does of superglue), which did the trick.
 |
 |
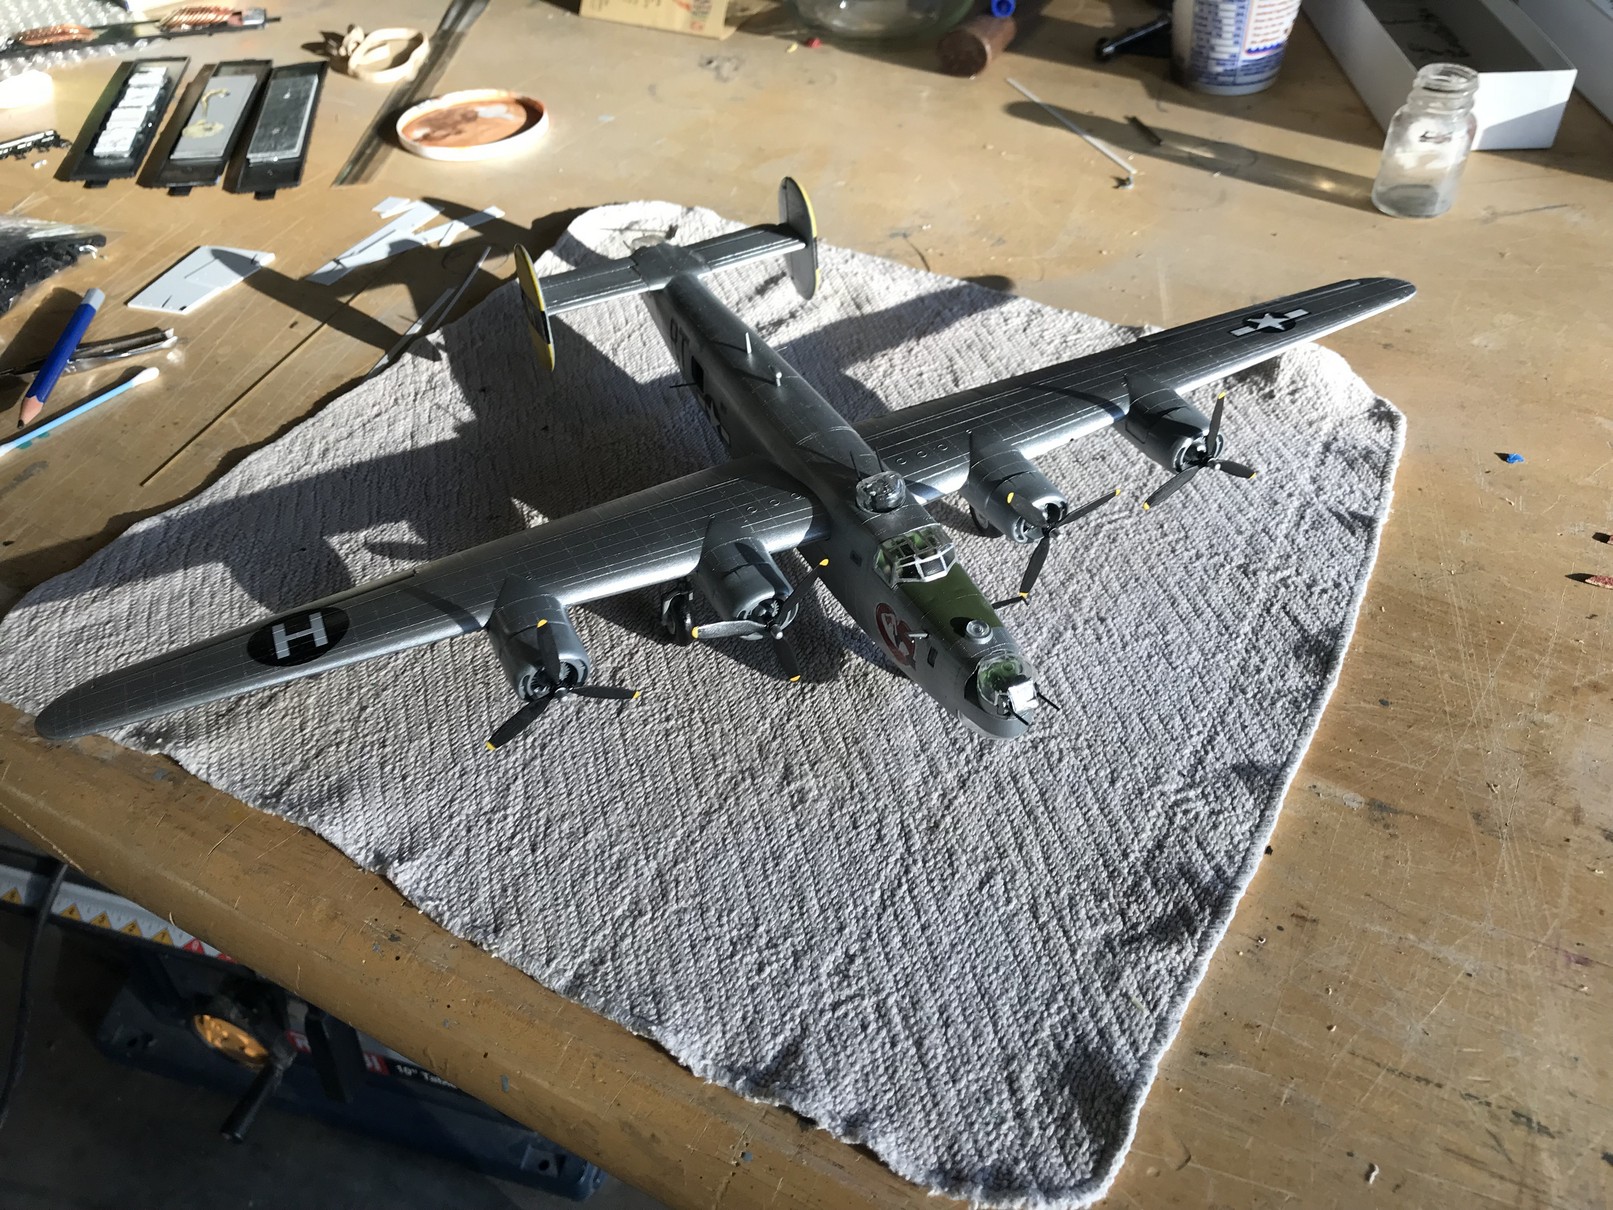
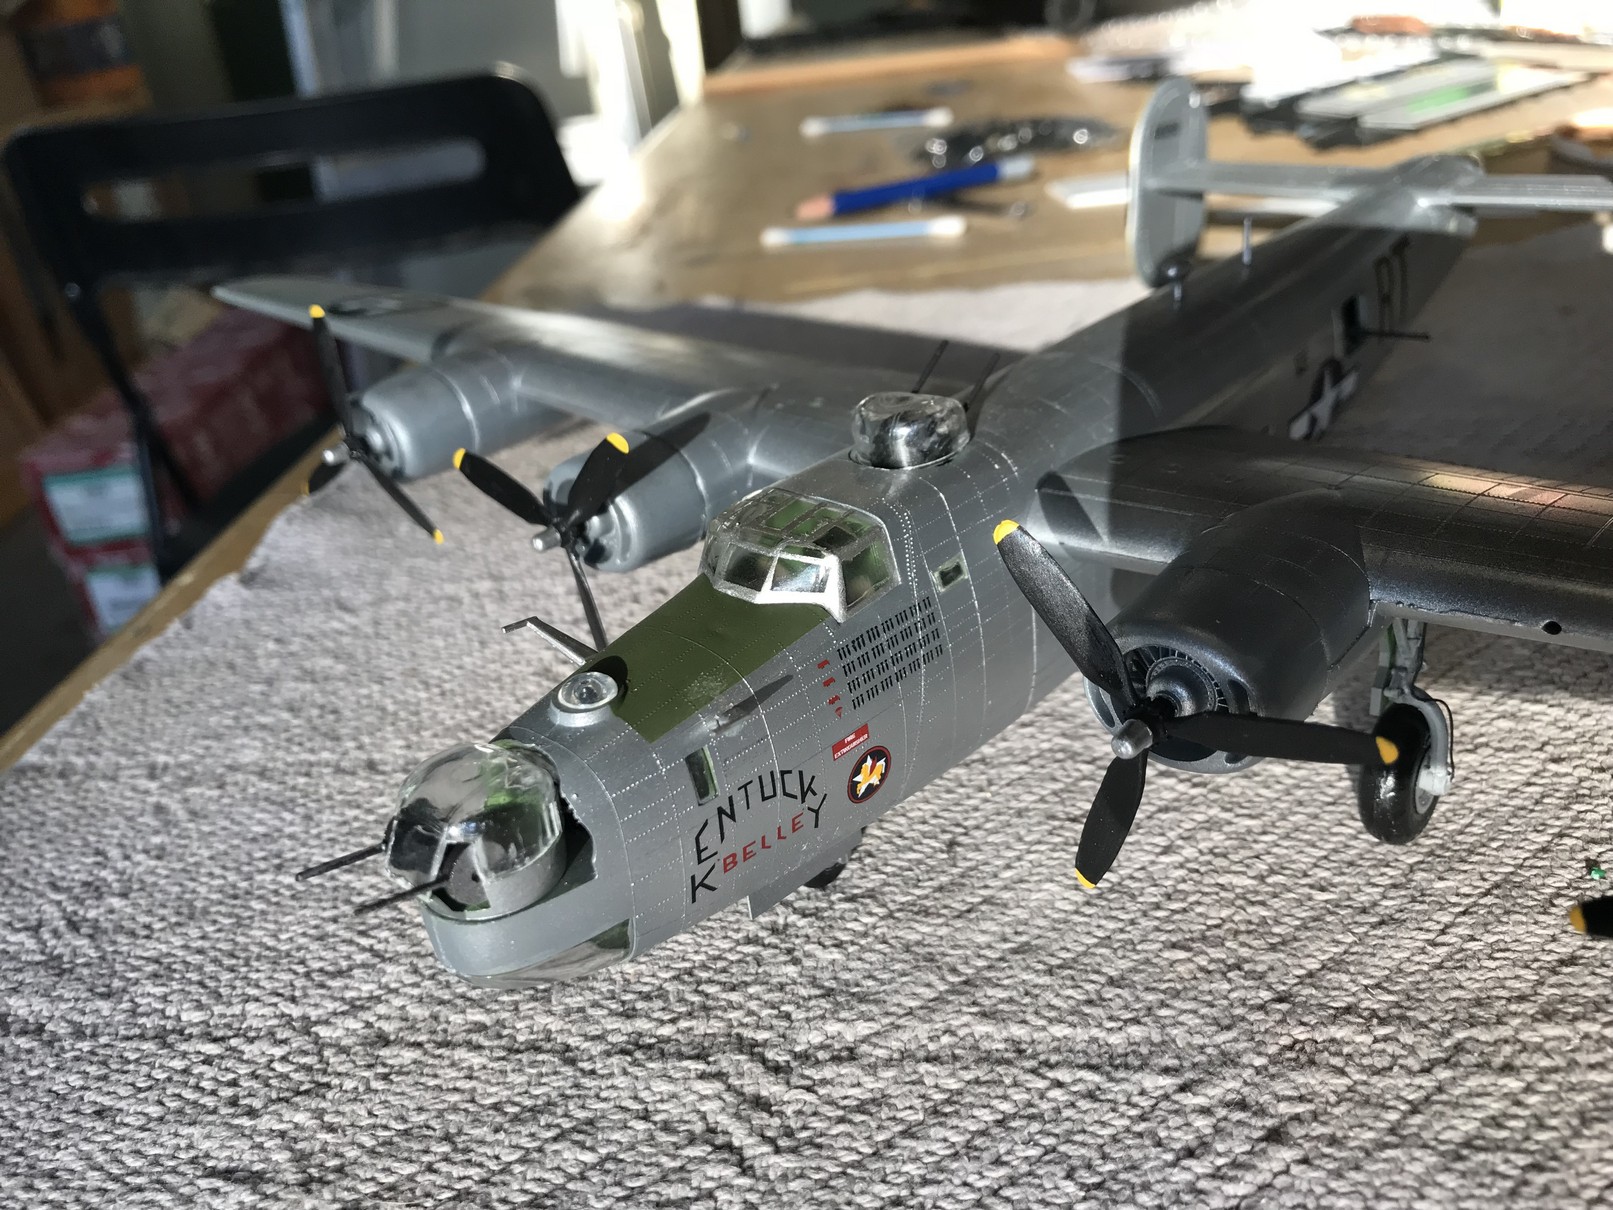
Ah, the canopy. The Airfix kit didn't have much relief at all for the canopy frame. I used pictures from prototypes and from model forums (hello Britmodeller- looking at you!) to make some educated guesses as to where to produce frames. I don't like a lot of tedious masking, but didn't see much choice so bit the bullet and dove in.
 |
Yuck what a pain! Not my favorite part of building, that's for sure. Still, needed to be done, and after a coat of Tamiya I was ready to seat the canopy. I brush painted the frames in the under-chin windows. Based on photos, there wasn't a metal frame in the turrets, so I left those as is.
 |
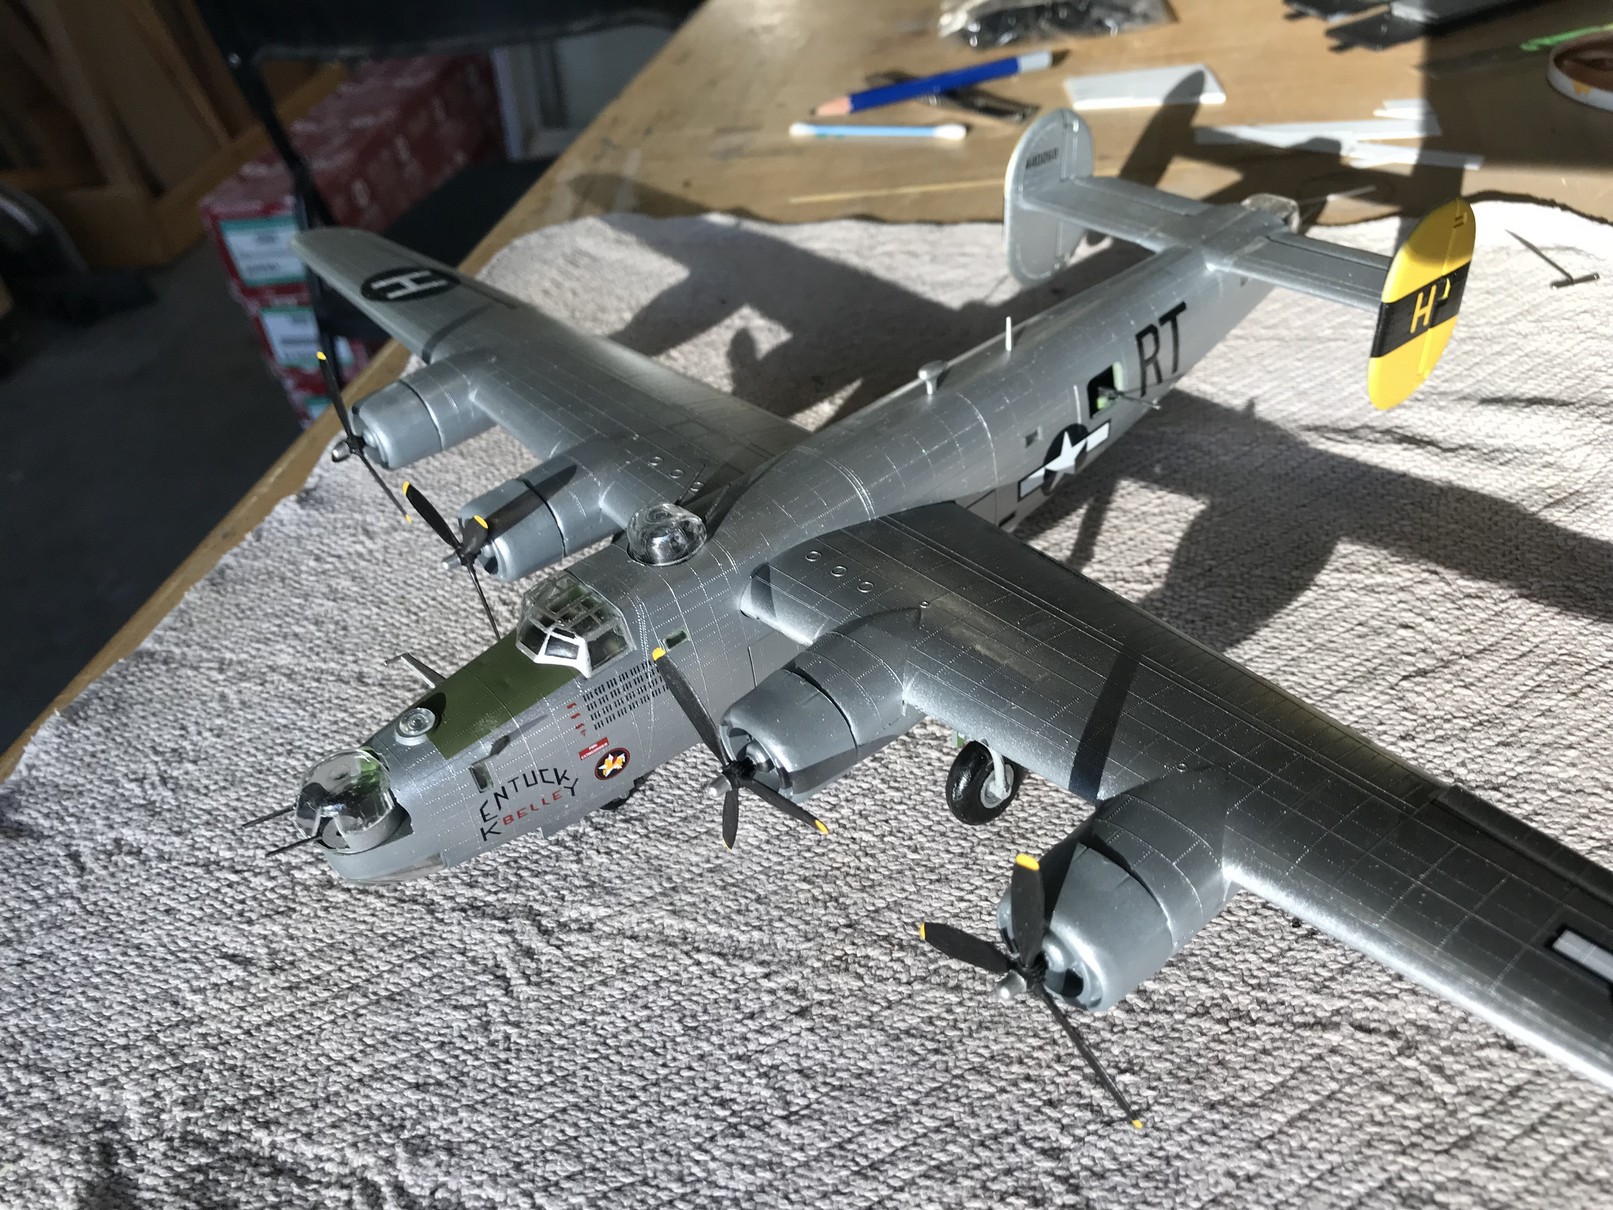
I've dry-fitted the props in order to get some more photos.
 |
 |
 |
 |
 |
| Summary |
Wow what fun! Yes, it's crude and kludgey in areas, but looks impressive in the collection due to its size and brightness.
| Resources |
Instruction Sheet link